2006 LAND ROVER FRELANDER 2 air condition
[x] Cancel search: air conditionPage 2898 of 3229
Wheels and tyres
178
L
All of the vehicle's tyres (including the spare)
should be checked regularly for damage, wear
and distortion. If you ar e in any doubt about the
condition of a tyre, have it checked immediately
by a tyre repair centre, or your Land Rover
Dealer/Authorised repairer.
Tyre wear
Good driving practise w ill improve the mileage
you obtain from your tyres, and avoid
unnecessary damage.
• Always ensure that the tyre pressures are
correctly adjusted.
• Always observe the posted speed limits,
and advisory speeds for bends.
• Avoid pulling away quickly, or hard
acceleration.
• Avoid making fast turns or braking
sharply.
• Wherever possible, avoid potholes, or
obstacles on the road.
• Do not drive up kerbs, or rub the tyres
against them when parking.
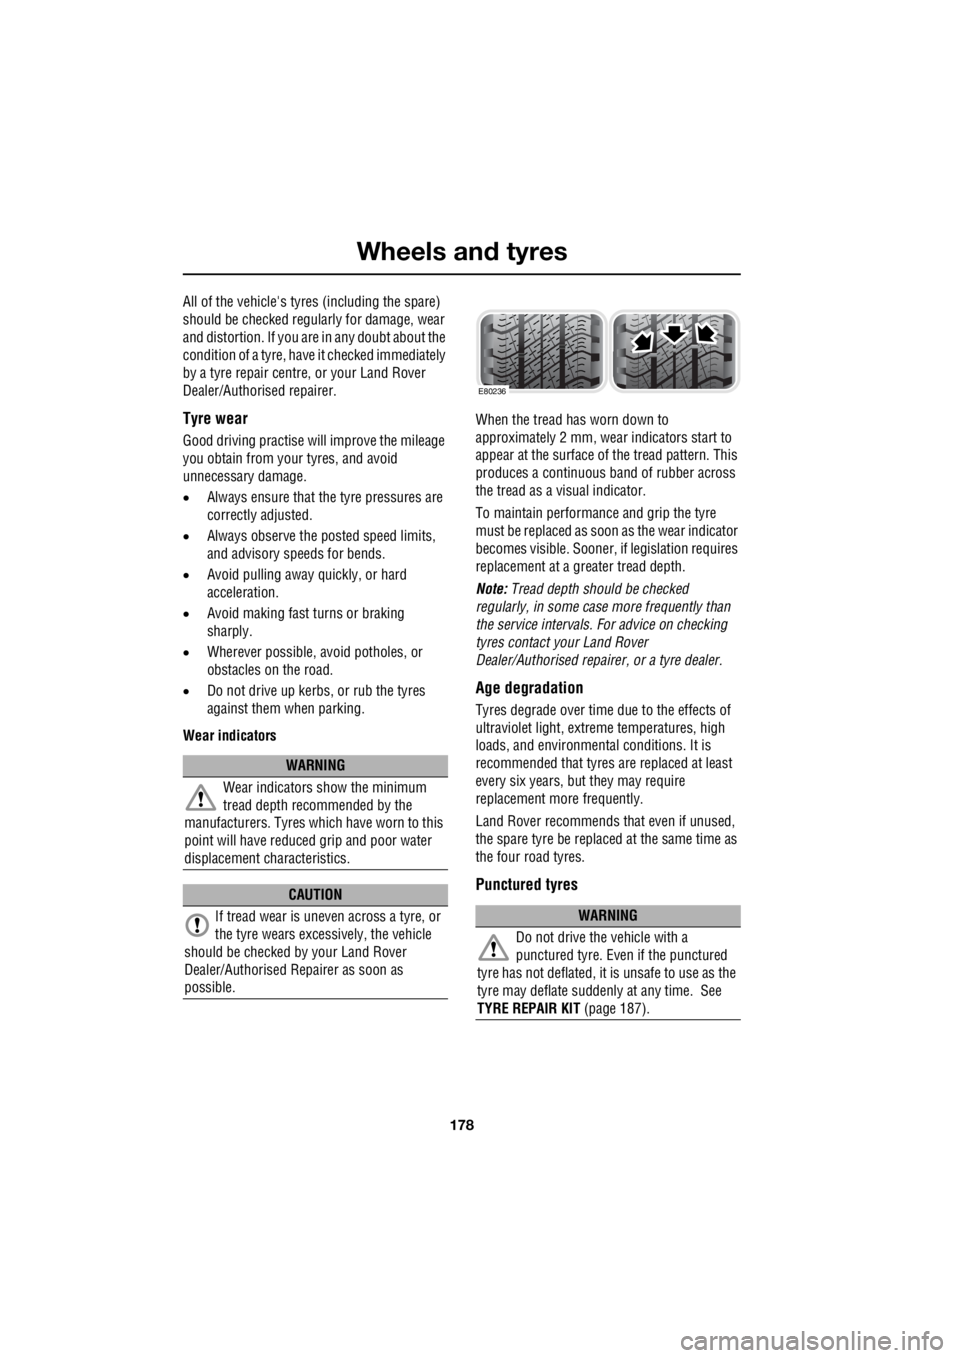
Wear indicators When the tread has worn down to
approximately 2 mm, wear indicators start to
appear at the surface of the tread pattern. This
produces a continuous ba nd of rubber across
the tread as a visual indicator.
To maintain performance and grip the tyre
must be replaced as s oon as the wear indicator
becomes visible. Sooner, if legislation requires
replacement at a greater tread depth.
Note: Tread depth should be checked
regularly, in some case more frequently than
the service intervals. For advice on checking
tyres contact your Land Rover
Dealer/Authorised repairer, or a tyre dealer.
Age degradation
Tyres degrade over time due to the effects of
ultraviolet light, extreme temperatures, high
loads, and environmen tal conditions. It is
recommended that tyres are replaced at least
every six years, but they may require
replacement more frequently.
Land Rover recommends that even if unused,
the spare tyre be replaced at the same time as
the four road tyres.
Punctured tyres
WARNING
Wear indicators show the minimum
tread depth recommended by the
manufacturers. Tyres whic h have worn to this
point will have reduced grip and poor water
displacement characteristics.
CAUTION
If tread wear is uneve n across a tyre, or
the tyre wears excessively, the vehicle
should be checked by your Land Rover
Dealer/Authorised Repairer as soon as
possible.
WARNING
Do not drive the vehicle with a
punctured tyre. Even if the punctured
tyre has not deflated, it is unsafe to use as the
tyre may deflat e suddenly at an y time. See
TYRE REPAIR KIT (page 187).
E80236
Page 2910 of 3229

Wheels and tyres
190
L
Using the Land Rover tyre repair kit
Note: All vehicle drivers and occupants should
be made aware that a temporary repair has
been made to a tyre fitted to the vehicle. They
should also be made aware of the special
driving conditions im posed when using a
repaired tyre. Repair procedure
1. Open the tyre repair kit and peel off the
maximum speed label. Attach the label to
the facia in the driver's field of view. Take
care not to obstruct any of the instruments
or warning lights.
2. Uncoil the compressor power cable and
the inflation hose.
3. Unscrew the orange cap from the sealant
bottle receiver, and the sealant bottle cap.
4. Screw the sealant bottle into the receiver
(clockwise) until tight.
• Screwing the bottle onto the receiver will
pierce the bottle's se al. Do not unscrew
a full, or partly us ed bottle from the
receiver. Doing so will result in the
sealant leaking from the bottle.
5. Remove the valve cap from the damaged
tyre.
6. Remove the protective cap from the
inflation hose, and c onnect the inflation
hose to the tyre valve. Ensure that the hose
is screwed on firmly.
7. Ensure that the compressor switch is in
the off ( O) position.
8. Insert the power cable connector into an
auxiliary power socket. See AUXILIARY
POWER SOCKETS (page 110).
9. Unless the vehicle is in an enclosed or
poorly ventilated area , start the engine.
10. Set the compressor switch to the on ( l)
position.
11. Inflate the tyre to a minimum of 1.8 bar (26
lb/in²) and a maximum of 3.5 bar (51
lb/in²).
†
WARNINGS
Avoid skin contact with the sealant
which contains natu ral rubber latex.
Do not unscrew the sealant bottle from the
receiver until it is empty, as sealant will leak
out.
If the tyre inflation pressure does not
reach 1.8 bar (26 lb/in²) within seven
minutes, the tyre may have suffered excessive
damage. A temporary repair will not be
possible, and the vehicle should not be driven
until the tyre has been replaced.
CAUTIONS
Before attempting a tyre repair, ensure
that the vehicle is parked safely, as far
away from passing traffic as possible.
Ensure that the parki ng brake is applied,
and P is selected if an automatic
transmission is fitted.
Do not attempt to remove foreign objects
such as nails, screws, etc from the tyre.
Always run the engine when using the
compressor, unless the vehicle is in an
enclosed, or poorly ventilated space.
To prevent overheating do not operate
the compressor continuously for longer
than ten minutes.
Page 2911 of 3229
191
Wheels and tyres
R
12. During the inflation, switch the
compressor off briefly to check the tyre
pressure using the gauge mounted on the
compressor.
• It should not take longer than seven
minutes to inflate the tyre. If after seven
minutes the tyre ha s not reached the
minimum pressure, the tyre should not
be used.
13. Once the tyre has been inflated switch off
the compressor. If desired the engine may
be turned off after the compressor has
been turned off.
14. Remove the power connector from the
auxiliary power socket.
15. Remove the inflation hose from the tyre
valve by unscrewing it as quickly as
possible (anti-clockwise).
16. Replace the inflation hose protective cap,
and the tyre valve cap.
17. Do not remove the sealant bottle from the
receiver.
18. Ensure that the tyre repair kit (including
the bottle, and receiver caps) are placed
securely in the vehicle. You will need to
use the kit to check the tyre pressure after
3km (2 miles) so ensure they are easily
accessible.
19. Immediately drive the vehicle for 3 km (2
miles) to allow the sealant to coat the inner
surface of the tyre and form a seal at the
puncture.
†When pumping the sealant through the tyre
valve, the pressure may rise up to 6 bar (87
lb/in²). The pressure will drop again after
approximately 30 seconds.
Checking the tyre pressure after a repair
1. Drive the vehicle for 3 km (2 miles) then
stop in a safe place. Carry out a visual
examination of the tyres condition.
2. Remove the protective cap from the
inflation hose.
3. Screw the inflation hos e connector firmly
onto the tyre valve.
4. Read the tyre pressure from the gauge.
5. If the pressure of the sealant filled tyre is
above 1.3 bar (19 lb/in²) adjust the
pressure to the correct value. See
TECHNICAL SPECIFICATIONS (page 194).
6. Ensure that the compressor switch is in
the off position ( O), and insert the power
cable connector into an auxiliary power
socket. See AUXILIARY POWER
SOCKETS (page 110).
7. If the vehicle is in a well ventilated area,
start the engine.
8. Switch on the compressor ( I), and inflate
the tyre to the correct pressure.
WARNINGS
When driving the vehicle, if you
experience vibr ations, abnormal
steering, or noises, re duce speed immediately.
Drive with extreme caution and reduced speed
to the first safe place to stop the vehicle.
Visually examine the tyre, and check it's
pressure. If there are any signs of damage or
deformity to the tyre, or the tyre pressure is
below 1.3 bar (19 lb/i n²) do not continue
driving.
Consult a tyre repair centre, or your
Land Rover Dealer/Authorised repairer
for advice concerning the replacement of a
tyre after using a tyre repair kit.
Page 2912 of 3229
Wheels and tyres
192
L
9. To check the tyre pressure turn off the
compressor then read the pressure from
the gauge.
10. When the compressor is off, if the tyre
pressure is too high, release the required
amount of pressure using the pressure
relief valve.
11. Once the tyre is inflated to the correct
pressure, switch off the compressor and
remove the power plug from the auxiliary
socket.
12. Unscrew the inflation hose connector from
the tyre valve, replace the tyre valve cap
and the inflation hose connector protective
cap.
13. Do not remove the sealant bottle from the
receiver.
14. Ensure that the tyre repair kit (including
the bottle, and receiver caps) are placed
securely in the vehicle.
15. Drive to the nearest tyre repair centre, or
Land Rover Dealer/Autho rised repairer for
a replacement tyre to be fitted. Ensure that
you make the repair centre aware that the
tyre repair kit has been used before the tyre
is removed.
16. Both the tyre inflation hose, and the sealant
bottle should be replac ed once a new tyre
has been fitted.
Only sealant bottles which are
completely empty should be
disposed of with normal household
waste. Sealant bottles which contain some
sealant, and the tyre in flation hose, should be
disposed of by a tyre specialist, or your Land
Rover Dealer/Authorised repairer in
compliance with local waste disposal
regulations.USING SNOW CHAINS
Land Rover approved trac tion devices may be
used to improve traction on a hard road surface
in heavy snow conditions . They should not be
used in off-road conditions.
If it becomes necessary to fit traction devices,
the following points should be observed:-
• Single sided Spike-spyder traction devices
can only be fitted to the front wheels of
vehicles fitted with 17 or 18 inch diameter
wheels.
• The wheels and tyres fitted must
conform to the specifications of the
original equipment.
• No traction devices should be fitted to the
rear wheels.
• Only Land Rover approved traction devices
should be used on the vehicle. Only Land
Rover approved tracti on devices have been
tested to ensure that they do not cause
damage to the vehicl e. Contact your Land
Rover Dealer/Authorised repairer for
information.
• Always read, understa nd, and follow the
snow chain manufacturer's instructions.
Pay particular attention to the maximum
speed, and fitti ng instructions.
WARNING
Only use traction devices in heavy snow
conditions, on hard road surfaces.
Dynamic Stability Control (DSC) must be
switched off when using traction devices. DSC
limits wheel spin which is required to maintain
traction in deep snow conditions.
Never exceed 50 km/h (30 mph) when traction
devices are fitted.
Never fit traction devices to a temporary use
spare wheel.
Page 2913 of 3229

193
Wheels and tyres
R
• Avoid tyre/vehicle damage by removing
the traction devices as soon as the
conditions allow.
TYRE GLOSSARY
Terms used
lbf/in² or psi
Pounds per square inch, an imperial unit of
measure for pressure.
kPa
Kilo Pascal, a metric unit of measure for
pressure.
Cold tyre pressure
The air pressure in a tyre which has been
standing in excess of th ree hours, or driven for
less than one mile.
Maximum inflation pressure
The maximum pressure to which the tyre
should be inflated. This pressure is given on
the tyre side wall in lbf/in² (psi) and kPa.
Note: This pressure is the maximum allowed
by the tyre manufacturer. It is not the pressure
recommended for use. See TECHNICAL
SPECIFICATIONS (page 194).
Kerb weight
The weight of a standa rd vehicle, including a
full tank of fuel, any optional equipment fitted,
and with the correct coolant and oil levels.
Gross vehicle weight
The maximum permissible weight of a vehicle
with driver, passengers, load, luggage,
equipment, and towbar load.
Accessory weight
The combined weight (in excess of those items
replaced) of items available as factory installed
equipment. Production options weight
The combined weight of options installed
which weigh in excess of 1.4 kg (3 lb) more
than the standard items that they replaced, and
are not already considered in kerb or accessory
weights. Items such as heavy duty brakes, high
capacity battery, special trim etc.
Vehicle capacity weight
The number of seats multiplied by 68 kg (150
lb) plus the rated amount of load/luggage.
Maximum loaded vehicle weight
The sum of kerb wei ght, accessory weight,
vehicle capacity weig ht, plus any production
option weights.
Rim
The metal support for a ty re, or tyre and tube,
upon which the tyre beads are seated.
Bead
The inner edge of a tyre th at is shaped to fit to
the rim and form an air tight seal. The bead is
constructed of steel wires which are wrapped,
or reinforced, by the ply cords.
Page 2917 of 3229

197
Fuses
R
Fuse number Rating (Amps) Fuse colour Circuits protected F1 5 tan Glow plugs
F2 15 blue Automatic transmission
F3 80 - Cooling fans
F4 60 - Glow plugs
F5 - - -
F6 (Diesel) 10 red Engine management F6 (Petrol) 15 blue Engine management F7 5 tan Relays
F8 (Diesel) 10 red Engine management F8 (Petrol) 15 blue Engine management
F9 (Diesel) 10 red Engine management
F9 (Petrol) 15 blue Engine management
F10 (Petrol) 10 red Engine management
F11 (Diesel) 10 red Engine management
F11 (Petrol) 10 red Engine management
F12 (Diesel) 10 red Engine management
F12 (Petrol) 20 yell ow Engine management
F13 15 blue Air Conditioning
F14 (Diesel) 15 blue Engine management
F15 40 green Starter motor
F16 (Diesel) 100 - Diesel PTC heater F17 60 - Passenger compartment fuse box supply
F18 60 - Passenger compartment fuse box supply
F19 60 - Luggage compartment fuse box supply
F20 60 - Luggage compartment fuse box supply
F21 60 - Luggage compartment fuse box supply - Audio unit
F22 30 pink Windscreen wipers
F23 - - -
Page 2925 of 3229
205
Status after a collision
R
Status after a collisionDRIVING AFTER A COLLISION
Before starting or driving
If the vehicle has been involved in an accident
it should be checke d thoroughly before
attempting to start the engine or drive the
vehicle.
Check for :-
• Fuel leaks.
• Fluid leaks.
• Battery damage.
• Damage to wiring.
• Damage to lights.
• Damage to steering, suspension, wheels
or tyres.
• Sharp or protruding bodywork.
• Operation of doors and locks.
• Condition and operation of seat belts and
SRS components.
• Condition of chil d seats and their
mounting/attach ment points.
Note: This list is not exhaustive.
Resetting the fuel cut-off
The fuel system cut-off forms part of the Safety
and Restraint System (SRS) fitted to your
vehicle. Following an im pact, and depending on
the severity, the fuel pump may be switched
off.
1. Switch the ignition off, and wait for one
minute.
2. Turn the ignition on for 30 seconds.
3. Check the vehicle thoroughly for fuel leaks.
If a leak is detected switch the ignition off
immediately.
• The vehicle must not be started if a leak
is present. Seek qualified advice, and
have the vehicle recovered.
4. If no leaks are detected, start the vehicle.
When driving
When driving a vehicle which has been
involved in a collision use caution and pay extra
attention to the operation of the vehicle. If any
changes in vehicle operati on after the collision
are noted when compared to it's operation
before the collision, do not continue to drive
the vehicle. Stop the vehicle as soon as it is
safe to do so, and have the vehicle recovered.
Pay particular attent ion to changes in :-
• Steering.
• Braking.
• Unusual noises.
• Warning lights or messages displayed.
• Problems with electrical systems.
WARNING
If the vehicle is involved in a collision it
should be checked by a Land Rover
Dealer/Authorised repairer, or suitably
qualified persons before starting or driving.
WARNING
The fuel cut-off s hould never be reset
if you can smell fuel , or a leak can be
seen. Doing so can lead to a fire which
may cause personal injury or death.
Page 2974 of 3229
Telephone
254
L
TelephoneGENERAL INFORMATION
Note: The vehicle tele phone system is
designed to function with a wide variety of
Bluetooth telephones. As these telephones
have a wide range of audio and echo
performance characteristics, it may take a few
seconds for the vehicl e telephone system to
adapt and deliver optimum audio performance.
It may be necessary to reduce the in-vehicle
volume slightly to fully optimise audio
performance and reduce echo. Note:
The vehicle's Bluetooth telephone
system can be used with an appropriate
Bluetooth-equipped mobile telephone.
Note: Please refer to your Land Rover
Dealer/Authorised Repairer for a list of
compatible telephones.
Telephone networks
The Telephone netw ork standard allows you to
use your telephone in many countries.
However, telephone reception may be poor or
unavailable in remote re gions. This may be due
to the inadequate power of the transmitter,
which results in a weak signal or incomplete
coverage.
WARNINGS
Using the telephone ne ar the car: do not
telephone inside a garage or near an
open car bonnet. The air may contain fuel
vapours and the tele phone could produce
sparks and start a fire.
Unusual ambient conditions: Switch off
the telephone in areas where high
explosives are being used. High frequency
remote controls could be interfered with and
cause an explosion. Switch off your telephone
in areas with a high explosion risk. This
includes filling stations, fuel storage areas or
chemical factories, as well as places where the
air contains fuel vapour, chemicals or metal
dust. The telephone might possibly produce
sparks and cause a fire or explosion.
Medical equipment: The functioning of
cardiac pacemakers or hearing aids
may be impaired when the phone is in use.
Check with a doctor or manufacturer whether
any such devices you or your passengers are
using are sufficiently protected against
high-frequency energy.
Always stow your mobile phone
securely. In an accident loose items can
cause injury.