2006 DODGE RAM SRT-10 check engine
[x] Cancel search: check enginePage 886 of 5267
7.BASE ENGINE
Inspect speed indicator ring for damaged/missing teeth.
Check for internal engine damage.
Repair Complete.
Ye s>>
Repair complete.
Perform POWERTRAIN VERIFICATION TEST VER - 1 (DIESEL). (Refer to 8 - ELECTRICAL/ELEC-
TRONIC CONTROL MODULES/ENGINE CONTROL MODULE - DIAGNOSIS AND TESTING)
Page 887 of 5267
*ENGINE NO START/HARD START
Possible Causes
DTC/PRODUCT IMPROVEMENT
BATTERY VOLTAGE
STARTING ACCESSORIES
ENGINE TIMING
FUEL SUPPLY SYSTEM
INJECTION SYSTEM
FUEL RETURN
AIR SYSTEM
OTHER VEHICLE SYSTEMS
BASE ENGINE
Always perform the Pre-Diagnostic Troubleshooting procedure before proceeding. (Refer to 9 - ENGINE -
DIAGNOSIS AND TESTING)
Diagnostic Test
1.DTC/PRODUCT IMPROVEMENT
Check for any TSB’s related to customer’s complaint or DTC’s present.
Follow appropriate guidelines in DTC troubleshooting tree or instructions in TSB.
Is vehicle repaired?
Ye s>>
Repair complete.
Perform POWERTRAIN VERIFICATION TEST VER - 1 (DIESEL). (Refer to 8 - ELECTRICAL/ELEC-
TRONIC CONTROL MODULES/ENGINE CONTROL MODULE - DIAGNOSIS AND TESTING)
No>>
Go To 2
2.BATTERY VOLTAGE
Check for low battery voltage.
Is battery voltage okay?
No>>
Repair low battery voltage.
Perform POWERTRAIN VERIFICATION TEST VER - 1 (DIESEL). (Refer to 8 - ELECTRICAL/ELEC-
TRONIC CONTROL MODULES/ENGINE CONTROL MODULE - DIAGNOSIS AND TESTING)
Ye s>>
Go To 3
3.STARTING ACCESSORIES
Inspect the Ignition switch (check for proper output voltage and/or open circuit).
Inspect the Starter.
Inspect the Grid Heaters.
Inspect the Fuel Heater.
Is vehicle repaired?
Ye s>>
Repair complete.
Perform POWERTRAIN VERIFICATION TEST VER - 1 (DIESEL). (Refer to 8 - ELECTRICAL/ELEC-
TRONIC CONTROL MODULES/ENGINE CONTROL MODULE - DIAGNOSIS AND TESTING)
No>>
Go To 4
Page 888 of 5267

4.ENGINE TIMING
Inspect speed indicator ring for damaged/missing teeth.
Inspect for dirty or damaged pins at Crankshaft position sensor (CKP) or Camshaft position sensor (CMP).
Verify proper overhead adjustments.
Is vehicle repaired?
Ye s>>
Repair complete.
Perform POWERTRAIN VERIFICATION TEST VER - 1 (DIESEL). (Refer to 8 - ELECTRICAL/ELEC-
TRONIC CONTROL MODULES/ENGINE CONTROL MODULE - DIAGNOSIS AND TESTING)
No>>
Go To 5
5.FUEL SUPPLY SYSTEM
Verify proper fuel quality, grade and level in vehicle.
Use scan tool to monitor fuel rail pressure. If pressure does not fluctuatemore then +/- 500 psi of setpoint than the
fuel system is not the cause of the complaint. Proceed to step 6. If condition exist continue.
Verify proper low pressure supply to the Injection Pump by performing the “*IN-TANK FUEL LIFT PUMP FLOW
TEST - DIESEL” Procedure.
Use the “*HIGH PRESSURE FUEL PUMP PERFORMANCE TEST - DIESEL” to check for failed fuel pump.
Perform “*CHECKING PRESSURE LIMITING VALVE ON THE FUEL - DIESEL”.
Is vehicle repaired?
Ye s>>
Repair complete.
Perform POWERTRAIN VERIFICATION TEST VER - 1 (DIESEL). (Refer to 8 - ELECTRICAL/ELEC-
TRONIC CONTROL MODULES/ENGINE CONTROL MODULE - DIAGNOSIS AND TESTING)
No>>
Go To 6
6.INJECTION SYSTEM
Perform “*INJECTOR RETURN FLOW TEST”. If okay go next step.
Check for correct injectors and injector shims.
Visuslly inspect injector wire nuts and pass through connectors for damageorcorrosion.
Is vehicle repaired?
Ye s>>
Repair complete.
Perform POWERTRAIN VERIFICATION TEST VER - 1 (DIESEL). (Refer to 8 - ELECTRICAL/ELEC-
TRONIC CONTROL MODULES/ENGINE CONTROL MODULE - DIAGNOSIS AND TESTING)
No>>
Go To 7
7.FUEL RETURN
Check for kinked or restricted fuel return lines.
Check fuel tank venting.
Is vehicle repaired?
Ye s>>
Repair complete.
Perform POWERTRAIN VERIFICATION TEST VER - 1 (DIESEL). (Refer to 8 - ELECTRICAL/ELEC-
TRONIC CONTROL MODULES/ENGINE CONTROL MODULE - DIAGNOSIS AND TESTING)
No>>
Go To 8
Page 889 of 5267
8.INTAKE SYSTEM
Check for inlet restriction, inspect air filter for excessive dirt/debris. Verify air intake lines are not kinked or restricted.
Check for air system leaks. Perform “*INTAKE AIR SYSTEM PRESSURE TEST - DIESEL”.
Inspect Turbocharger for wheel clearance and proper wastegate operation.
Check for exhaust restriction. Verify proper exhaust brake operation. Check for kinked or blocked exhaust pipes.
Is vehicle repaired?
Ye s>>
Repair complete.
Perform POWERTRAIN VERIFICATION TEST VER - 1 (DIESEL). (Refer to 8 - ELECTRICAL/ELEC-
TRONIC CONTROL MODULES/ENGINE CONTROL MODULE - DIAGNOSIS AND TESTING)
No>>
Go To 9
9.OTHER VEHICLE SYSTEMS
Verify proper operation of the Transmission Clutch.
Verify proper operation of the Transmission.
Verify proper operation of the Vehicle brakes (check for dragging).
Verify proper operation of the Cooling fan operation cycle time.
Verify proper operation of the Engine driven accessories.
Verify proper operation of the Accelerator pedal (restricted or out of calibration).
Verify no excess Electrical Noise.
Verify no Moisture in harness connector or corroded terminals.
Is vehicle repaired?
Ye s>>
Repair complete.
Perform POWERTRAIN VERIFICATION TEST VER - 1 (DIESEL). (Refer to 8 - ELECTRICAL/ELEC-
TRONIC CONTROL MODULES/ENGINE CONTROL MODULE - DIAGNOSIS AND TESTING)
No>>
Go To 7
10.BASE ENGINE
Inspect speed indicator ring for damaged/missing teeth.
Check for internal engine damage.
Repair Complete.
Ye s>>
Repair complete.
Perform POWERTRAIN VERIFICATION TEST VER - 1 (DIESEL). (Refer to 8 - ELECTRICAL/ELEC-
TRONIC CONTROL MODULES/ENGINE CONTROL MODULE - DIAGNOSIS AND TESTING)
Page 890 of 5267
*FUEL HEATER THERMOSTAT TEST
Diagnostic Test
1.FUEL HEATER THERMOSTAT TEST
To check the operating resistance levels on the thermostat and fuel heaterperform the following:
1. Unplug the wiring harness from the thermostat.
2. Check the resistance across the two pins of the thermostat with an Ohm meter.
3. The ambient temperature must be below the
Circuit close temperature; 1° +/- 3° Cto perform this check.
4. If necessary, induce this ambient temperature by placing ice packs on the thermostat to produce an
effective
ambient temperature
below the circuit close temperature.
5. The resistance across the two pins should be within the range of 0.3 Ohms to 0.45 Ohms for a properly operating
thermostat and heater.
6. If the resistance from step 2 is out of range, remove the thermostat and check the resistance across the terminal
connections of the heater (the heater can be checked at room temperatures).
7. The resistance across the terminal pins of the heater should be within the same range of step 2.
8. Replace the heater if resistance is not within the proper operation range.
9. Replace the heater if resistance is not within the proper operation range. Re-install the thermostat with a new
o-ring.
10. If the heater resistance is within the proper operating.
11. Circuit close temperature; 1° +/- 3° C
12. Circuit open temperature; 18° +/- 4° C
13. Fuel Heater Thermostat 0.3 - 0.45 Ohms at less than 1 degree C
14. Fuel Heater 0.3 - 0.45 Ohms at room temperature
View Repair
Repair
Te s t c o m p l e t e .
Perform POWERTRAIN VERIFICATION TEST VER - 1 (DIESEL). (Refer to 8 - ELECTRICAL/ELEC-
TRONIC CONTROL MODULES/ENGINE CONTROL MODULE - DIAGNOSIS AND TESTING)
Page 895 of 5267
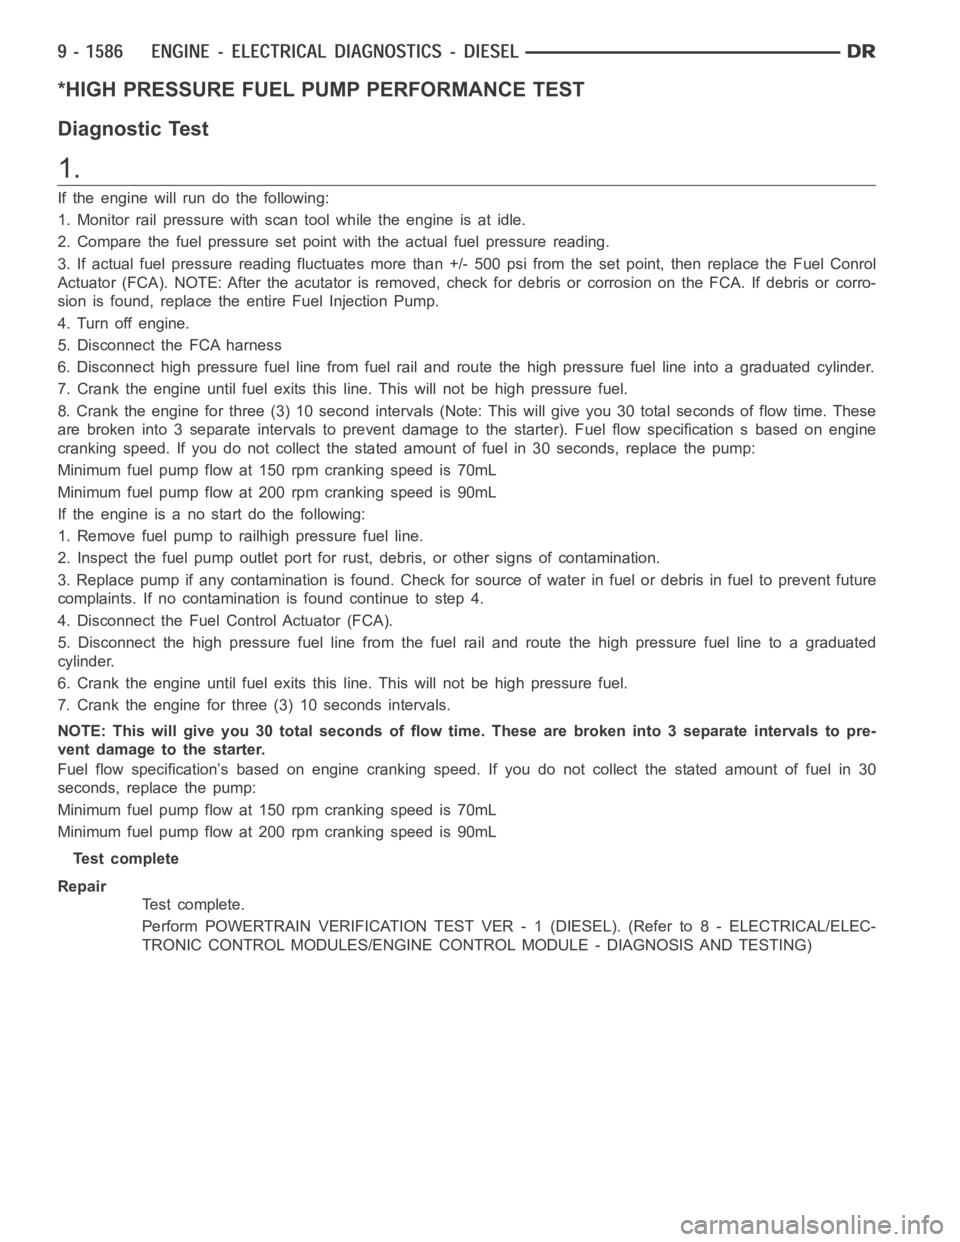
*HIGH PRESSURE FUEL PUMP PERFORMANCE TEST
Diagnostic Test
1.
If the engine will run do the following:
1. Monitor rail pressure with scan tool while the engine is at idle.
2. Compare the fuel pressure set point with the actual fuel pressure reading.
3. If actual fuel pressure reading fluctuates more than +/- 500 psi from theset point, then replace the Fuel Conrol
Actuator (FCA). NOTE: After the acutator is removed, check for debris or corrosion on the FCA. If debris or corro-
sion is found, replace the entire Fuel Injection Pump.
4. Turn off engine.
5. Disconnect the FCA harness
6. Disconnect high pressure fuel line from fuel rail and route the high pressure fuel line into a graduated cylinder.
7. Crank the engine until fuel exits this line. This will not be high pressurefuel.
8. Crank the engine for three (3) 10 second intervals (Note: This will give you 30 total seconds of flow time. These
are broken into 3 separate intervals to prevent damage to the starter). Fuel flow specification s based on engine
cranking speed. If you do not collect the stated amount of fuel in 30 seconds, replace the pump:
Minimum fuel pump flow at 150 rpm cranking speed is 70mL
Minimum fuel pump flow at 200 rpm cranking speed is 90mL
If the engine is a no start do the following:
1. Remove fuel pump to railhigh pressure fuel line.
2. Inspect the fuel pump outlet port for rust, debris, or other signs of contamination.
3. Replace pump if any contamination is found. Check for source of water in fuel or debris in fuel to prevent future
complaints. If no contamination is found continue to step 4.
4. Disconnect the Fuel Control Actuator (FCA).
5. Disconnect the high pressure fuel line from the fuel rail and route the high pressure fuel line to a graduated
cylinder.
6. Crank the engine until fuel exits this line. This will not be high pressurefuel.
7. Crank the engine for three (3) 10 seconds intervals.
NOTE: This will give you 30 total seconds of flow time. These are broken into3 separate intervals to pre-
vent damage to the starter.
Fuel flow specification’s based on engine cranking speed. If you do not collect the stated amount of fuel in 30
seconds, replace the pump:
Minimum fuel pump flow at 150 rpm cranking speed is 70mL
Minimum fuel pump flow at 200 rpm cranking speed is 90mL
Test complete
Repair
Te s t c o m p l e t e .
Perform POWERTRAIN VERIFICATION TEST VER - 1 (DIESEL). (Refer to 8 - ELECTRICAL/ELEC-
TRONIC CONTROL MODULES/ENGINE CONTROL MODULE - DIAGNOSIS AND TESTING)
Page 904 of 5267
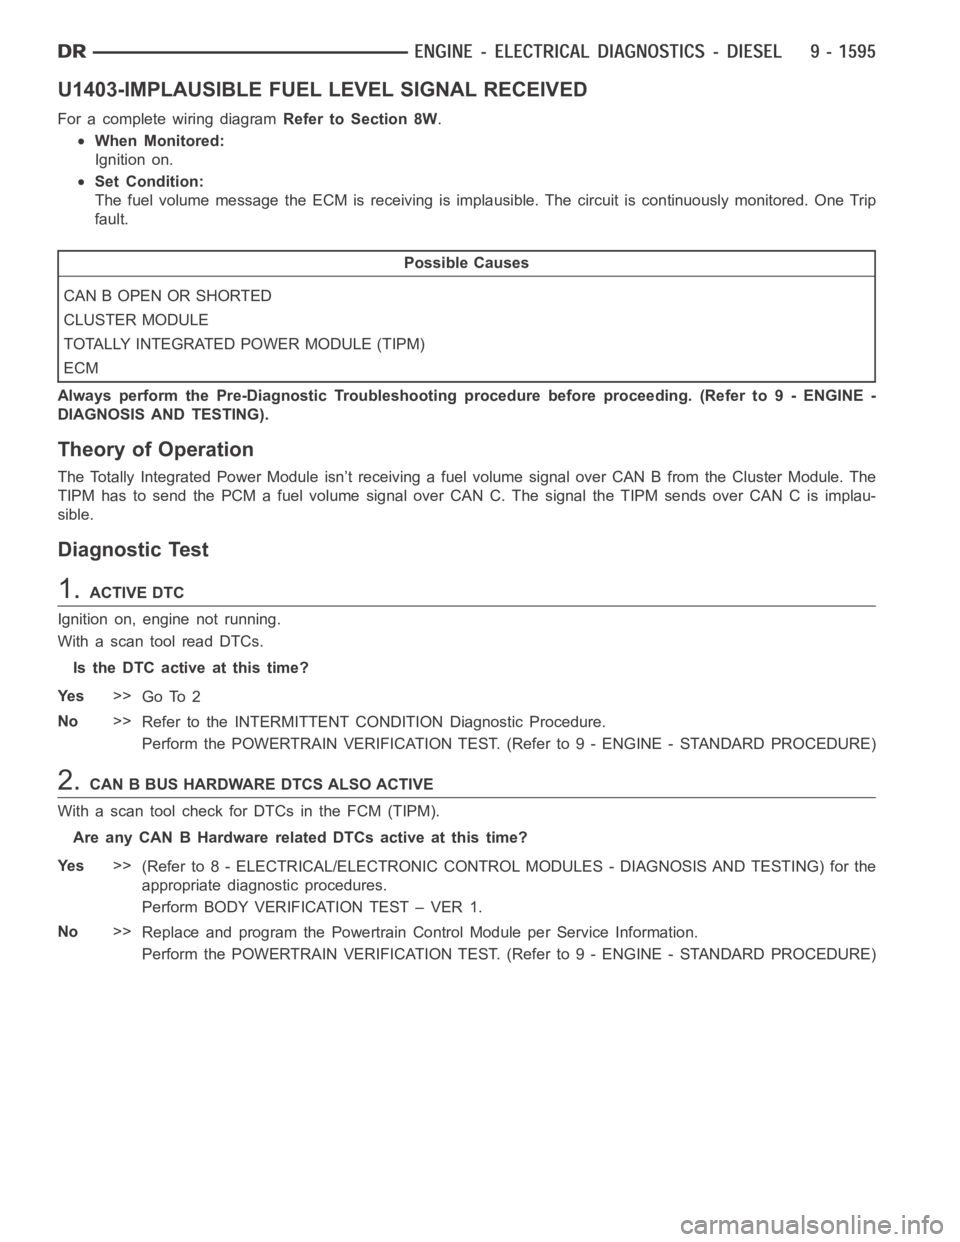
U1403-IMPLAUSIBLE FUEL LEVEL SIGNAL RECEIVED
For a complete wiring diagramRefer to Section 8W.
When Monitored:
Ignition on.
Set Condition:
The fuel volume message the ECM is receiving is implausible. The circuit iscontinuously monitored. One Trip
fault.
Possible Causes
CAN B OPEN OR SHORTED
CLUSTER MODULE
TOTALLY INTEGRATED POWER MODULE (TIPM)
ECM
Always perform the Pre-Diagnostic Troubleshooting procedure before proceeding. (Refer to 9 - ENGINE -
DIAGNOSIS AND TESTING).
Theory of Operation
The Totally Integrated Power Module isn’t receiving a fuel volume signal over CAN B from the Cluster Module. The
TIPM has to send the PCM a fuel volume signal over CAN C. The signal the TIPM sendsoverCANCisimplau-
sible.
Diagnostic Test
1.ACTIVE DTC
Ignition on, engine not running.
With a scan tool read DTCs.
Is the DTC active at this time?
Ye s>>
Go To 2
No>>
Refer to the INTERMITTENT CONDITION Diagnostic Procedure.
Perform the POWERTRAIN VERIFICATION TEST. (Refer to 9 - ENGINE - STANDARD PROCEDURE)
2.CAN B BUS HARDWARE DTCS ALSO ACTIVE
With a scan tool check for DTCs in the FCM (TIPM).
Are any CAN B Hardware related DTCs active at this time?
Ye s>>
(Refer to 8 - ELECTRICAL/ELECTRONIC CONTROL MODULES - DIAGNOSIS AND TESTING) for the
appropriate diagnostic procedures.
Perform BODY VERIFICATION TEST – VER 1.
No>>
Replace and program the Powertrain Control Module per Service Information.
Perform the POWERTRAIN VERIFICATION TEST. (Refer to 9 - ENGINE - STANDARD PROCEDURE)
Page 909 of 5267
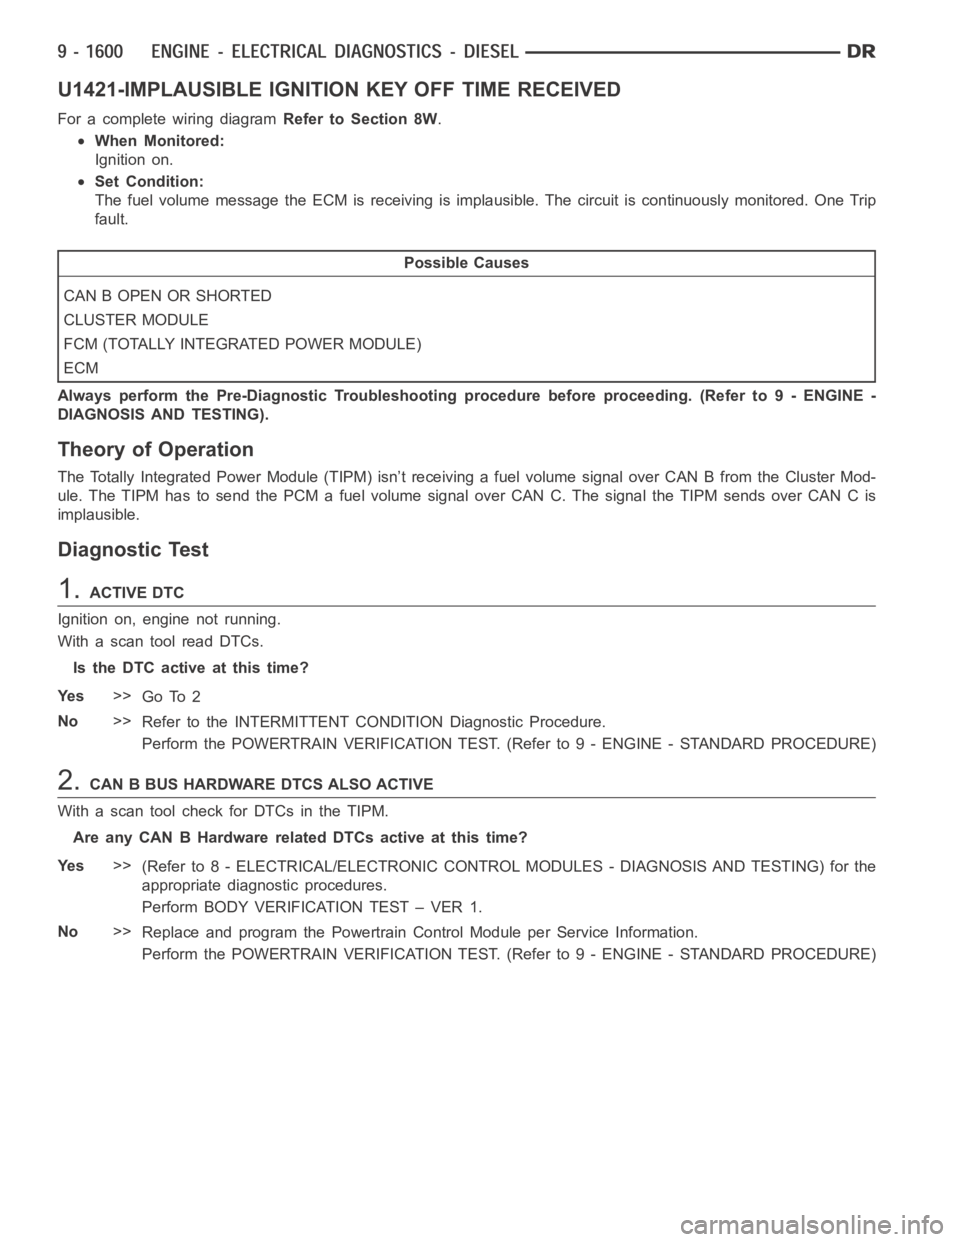
U1421-IMPLAUSIBLE IGNITION KEY OFF TIME RECEIVED
For a complete wiring diagramRefer to Section 8W.
When Monitored:
Ignition on.
Set Condition:
The fuel volume message the ECM is receiving is implausible. The circuit iscontinuously monitored. One Trip
fault.
Possible Causes
CAN B OPEN OR SHORTED
CLUSTER MODULE
FCM (TOTALLY INTEGRATED POWER MODULE)
ECM
Always perform the Pre-Diagnostic Troubleshooting procedure before proceeding. (Refer to 9 - ENGINE -
DIAGNOSIS AND TESTING).
Theory of Operation
The Totally Integrated Power Module (TIPM) isn’t receiving a fuel volume signal over CAN B from the Cluster Mod-
ule. The TIPM has to send the PCM a fuel volume signal over CAN C. The signal the TIPM sends over CAN C is
implausible.
Diagnostic Test
1.ACTIVE DTC
Ignition on, engine not running.
With a scan tool read DTCs.
Is the DTC active at this time?
Ye s>>
Go To 2
No>>
Refer to the INTERMITTENT CONDITION Diagnostic Procedure.
Perform the POWERTRAIN VERIFICATION TEST. (Refer to 9 - ENGINE - STANDARD PROCEDURE)
2.CAN B BUS HARDWARE DTCS ALSO ACTIVE
With a scan tool check for DTCs in the TIPM.
Are any CAN B Hardware related DTCs active at this time?
Ye s>>
(Refer to 8 - ELECTRICAL/ELECTRONIC CONTROL MODULES - DIAGNOSIS AND TESTING) for the
appropriate diagnostic procedures.
Perform BODY VERIFICATION TEST – VER 1.
No>>
Replace and program the Powertrain Control Module per Service Information.
Perform the POWERTRAIN VERIFICATION TEST. (Refer to 9 - ENGINE - STANDARD PROCEDURE)