Page 2414 of 5135
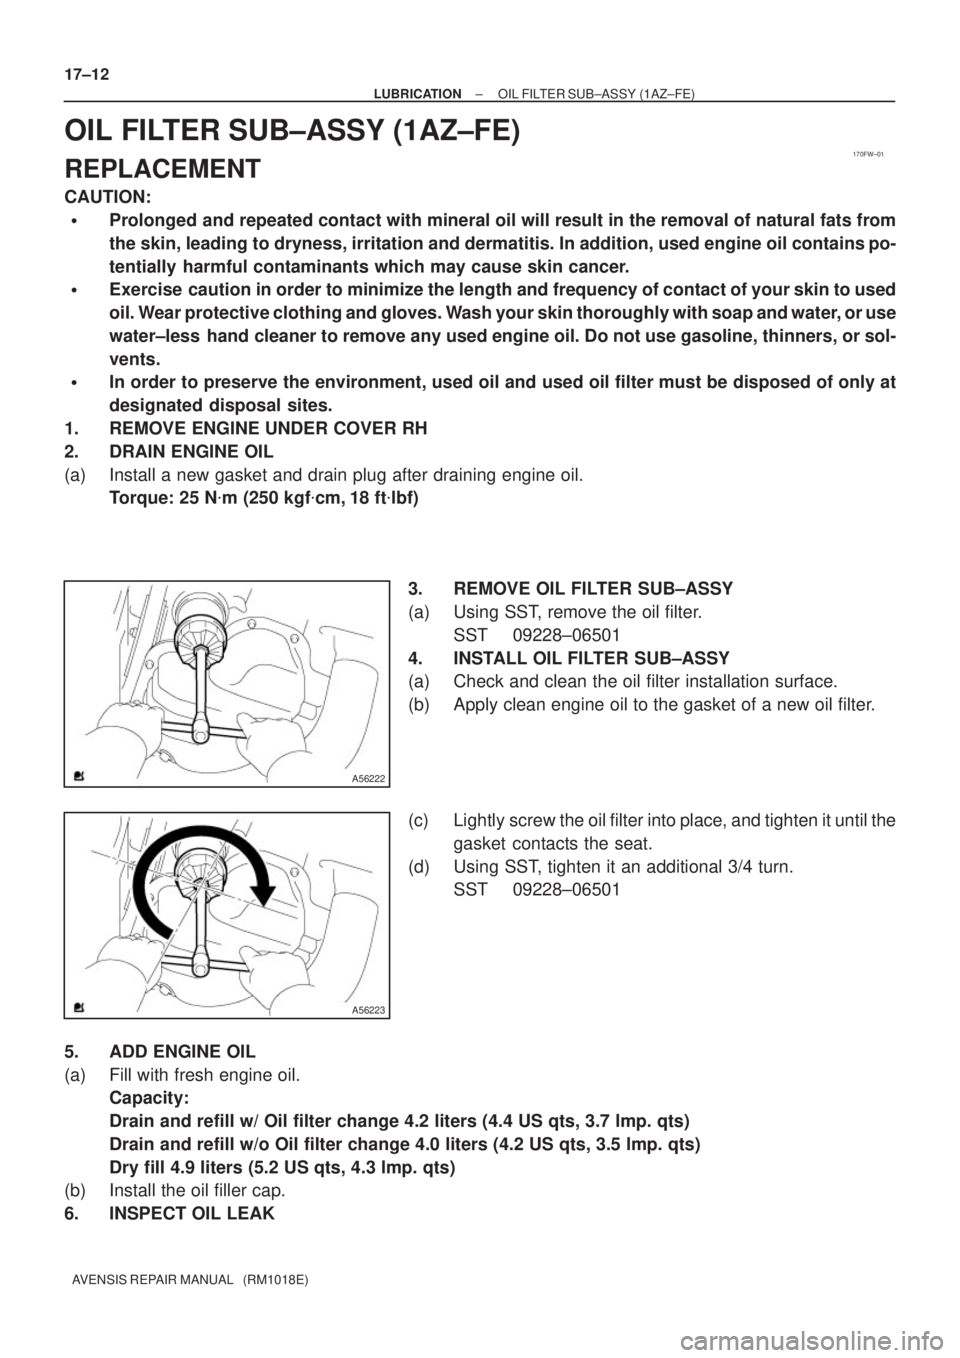
170FW±01
A56222
A56223
17±12
± LUBRICATIONOIL FILTER SUB±ASSY (1AZ±FE)
AVENSIS REPAIR MANUAL (RM1018E)
OIL FILTER SUB±ASSY (1AZ±FE)
REPLACEMENT
CAUTION:
�Prolonged and repeated contact with mineral oil will result in the removal of natural fats from
the skin, leading to dryness, irritation and dermatitis. In addition, used engine oil contains po-
tentially harmful contaminants which may cause skin cancer.
�Exercise caution in order to minimize the length and frequency of contact of your skin to used
oil. Wear protective clothing and gloves. Wash your skin thoroughly with soap and water, or use
water±less hand cleaner to remove any used engine oil. Do not use gasoline, thinners, or sol-
vents.
�In order to preserve the environment, used oil and used oil filter must be disposed of only at
designated disposal sites.
1. REMOVE ENGINE UNDER COVER RH
2. DRAIN ENGINE OIL
(a) Install a new gasket and drain plug after draining engine oil.
Torque: 25 N�m (250 kgf�cm, 18 ft�lbf)
3. REMOVE OIL FILTER SUB±ASSY
(a) Using SST, remove the oil filter.
SST 09228±06501
4. INSTALL OIL FILTER SUB±ASSY
(a) Check and clean the oil filter installation surface.
(b) Apply clean engine oil to the gasket of a new oil filter.
(c) Lightly screw the oil filter into place, and tighten it until the
gasket contacts the seat.
(d) Using SST, tighten it an additional 3/4 turn.
SST 09228±06501
5. ADD ENGINE OIL
(a) Fill with fresh engine oil.
Capacity:
Drain and refill w/ Oil filter change 4.2 liters (4.4 US qts, 3.7 lmp. qts)
Drain and refill w/o Oil filter change 4.0 liters (4.2 US qts, 3.5 lmp. qts)
Dry fill 4.9 liters (5.2 US qts, 4.3 lmp. qts)
(b) Install the oil filler cap.
6. INSPECT OIL LEAK
Page 2421 of 5135
170FS±01
A79297
A79298
SST
A79299
3/4 turn
SST 17±4
± LUBRICATIONOIL FILTER SUB±ASSY (1ZZ±FE/3ZZ±FE)
AVENSIS REPAIR MANUAL (RM1018E)
OIL FILTER SUB±ASSY (1ZZ±FE/3ZZ±FE)
REPLACEMENT
CAUTION:
�Prolonged and repeated contact with engine oil will result in the removal of natural oils from
the skin, leading to dryness, irritation and dermatitis. In addition, used engine oil contains po-
tentially harmful contaminants which may cause skin cancer.
�Precautions should be taken when replacing engine oil to minimize the risk of your skin making
contact with used engine oil. Wear protective clothes and gloves. Wash your skin thoroughly
with soap and water, or use water±less hand cleaner to remove any used engine oil. Do not use
gasoline, thinners, or solvents.
�In order to preserve the environment, used oil and used oil filter must be disposed of only at
designated disposal sites.
1. DRAIN ENGINE OIL
(a) Remove the oil pan drain plug and drain engine oil.
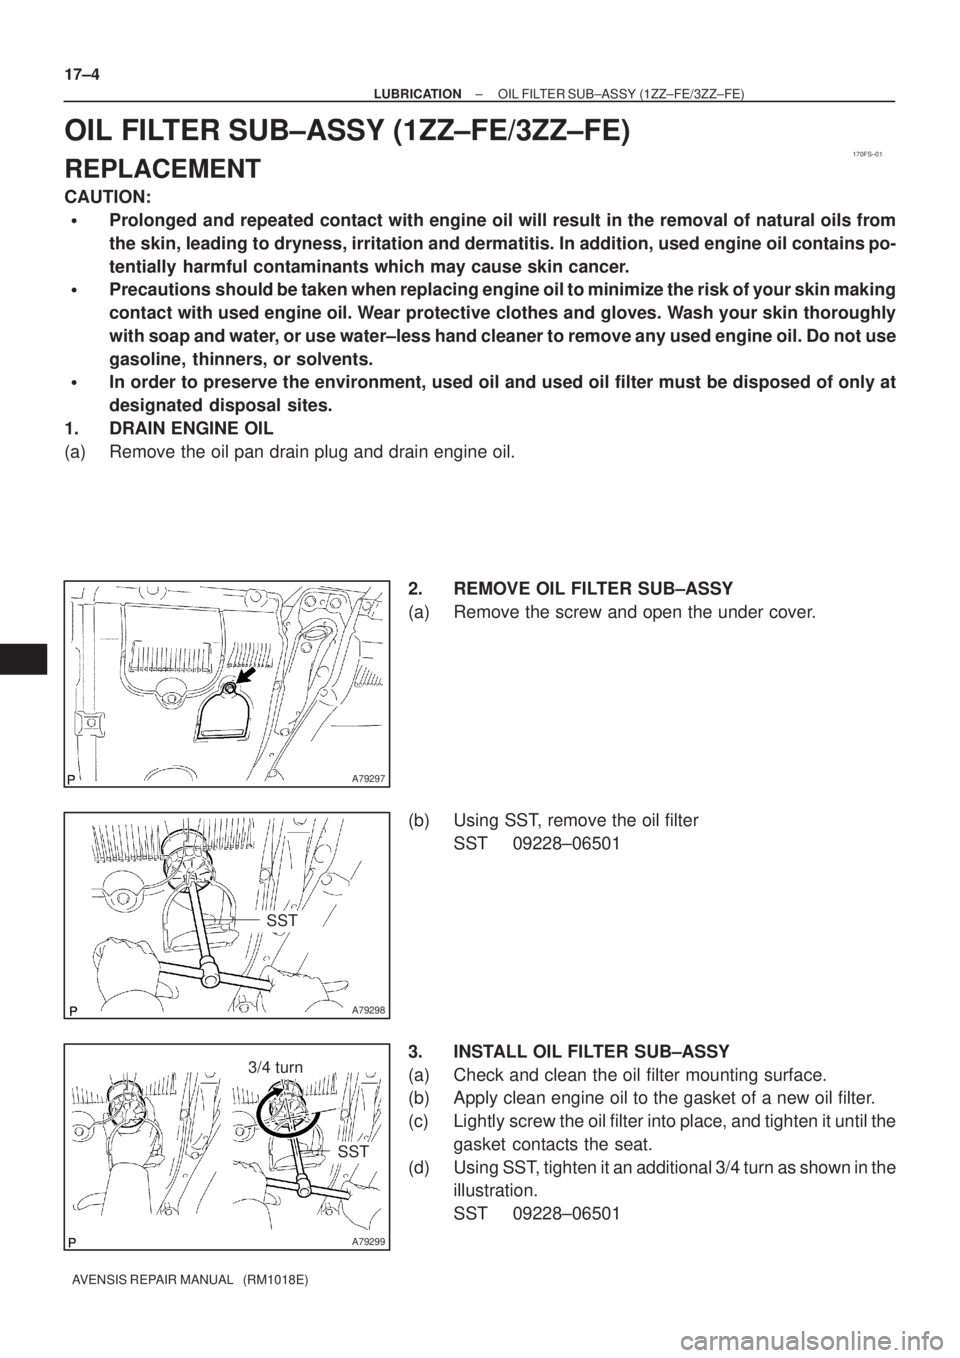
2. REMOVE OIL FILTER SUB±ASSY
(a) Remove the screw and open the under cover.
(b) Using SST, remove the oil filter
SST 09228±06501
3. INSTALL OIL FILTER SUB±ASSY
(a) Check and clean the oil filter mounting surface.
(b) Apply clean engine oil to the gasket of a new oil filter.
(c) Lightly screw the oil filter into place, and tighten it until the
gasket contacts the seat.
(d) Using SST, tighten it an additional 3/4 turn as shown in the
illustration.
SST 09228±06501
Page 2422 of 5135
± LUBRICATIONOIL FILTER SUB±ASSY (1ZZ±FE/3ZZ±FE)
17±5
AVENSIS REPAIR MANUAL (RM1018E)
4. INSTALL OIL PAN DRAIN PLUG
(a) Clean and install the oil pan drain plug with a new gasket.
Torque: 37 N�m (377 kgf�cm, 27 in.�lbf)
5. ADD ENGINE OIL
Capacity:
With oil filler replacement: 3.7 liters (3.9 US qts, 3.3 lmp. qts)
Without oil filler replacement: 3.5 liters (3.7 US qts, 3.1 lmp. qts)
Dry fill: 4.2 liters (4.4 US qts, 3.7 lmp. qts)
6. CHECK FOR ENGINE OIL LEAKS
Page 2428 of 5135
160ME±01
A79148
SST
16±46
±
COOLING WATER PUMP ASSY(1CD±FTV)
AVENSIS REPAIR MANUAL (RM1018E)
WATER PUMP ASSY(1CD±FTV)
REPLACEMENT
1.REMOVE RADIATOR SUPPORT OPENING COVER
2.REMOVE ENGINE ROOM COVER SIDE
3.DRAIN ENGINE COOLANT(See page 16±44)
4.REMOVE FRONT WHEEL RH
5.REMOVE ENGINE UNDER COVER SUB±ASSY NO.1
6.REMOVE ENGINE UNDER COVER RH
7.REMOVE ENGINE COVER NO.1
(a)Remove the 5 nuts and the engine cover.
8.REMOVE INJECTOR DRIVER (See page 14±286)
9.REMOVE V (COOLER COMPRESSOR TO CRANKSHAFT PULLEY) BELT NO.1 (See page 14±269)
10.REMOVE GENERATOR V BELT (See page 14±269)
11.SEPARATE POWER STEERING IDLE PULLEY BRACKET (See page 14±286)
12.SEPARATE ENGINE MOUNTING INSULATOR SUB±ASSY RH(See page 14±307)
13.REMOVE CRANKSHAFT PULLEY(See page 14±307) SST 09213±54015 (90105±08076), 09330±00021, 09950±50013 (0995\
1±05010, 09952±05010, 09953±05020, 09954±05031)
14. REMOVE IDLER PULLEY SUB±ASSY
(a) Remove the bolt, the washer and the pulley.
15.REMOVE TIMING BELT NO.2 COVER(See page 14±307)
16.REMOVE TIMING BELT NO.1 COVER(See page 14±307)
17. REMOVE TIMING BELT GUIDE
18.REMOVE TRANSVERSE ENGINE ENGINE MOUNTING BRACKET(See page 14±307)
19.SET NO. 1 CYLINDER TO TDC/COMPRESSION(See page 14±307)
20.REMOVE TIMING CHAIN COVER PLATE(See page 14±307)
21.REMOVE TIMING BELT(See page 14±307)
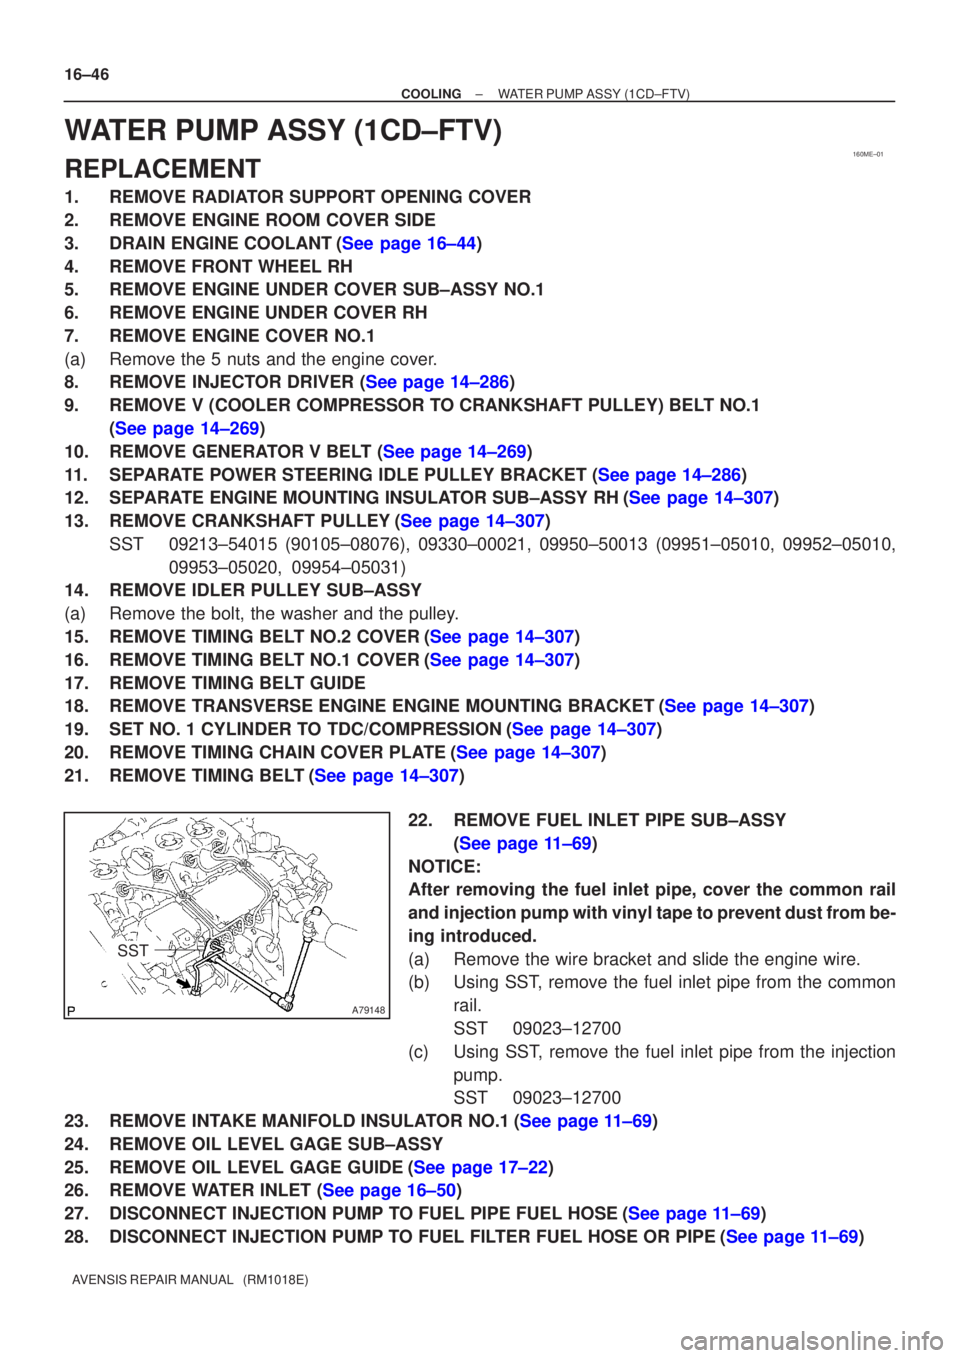
22. REMOVE FUEL INLET PIPE SUB±ASSY(See page 11±69)
NOTICE:
After removing the fuel inlet pipe, cover the common rail
and injection pump with vinyl tape to prevent dust from be-
ing introduced.
(a) Remove the wire bracket and slide the engine wire.
(b) Using SST, remove the fuel inlet pipe from the common rail.
SST 09023±12700
(c) Using SST, remove the fuel inlet pipe from the injection pump.
SST 09023±12700
23.REMOVE INTAKE MANIFOLD INSULATOR NO.1(See page 11±69)
24. REMOVE OIL LEVEL GAGE SUB±ASSY
25.REMOVE OIL LEVEL GAGE GUIDE(See page 17±22)
26.REMOVE WATER INLET (See page 16±50)
27.DISCONNECT INJECTION PUMP TO FUEL PIPE FUEL HOSE(See page 11±69)
28.DISCONNECT INJECTION PUMP TO FUEL FILTER FUEL HOSE OR PIPE(See page 11±69)
Page 2457 of 5135
170FO±01
A79191
A79192
17±30
± LUBRICATIONOIL FILTER SUB±ASSY (1CD±FTV)
AVENSIS REPAIR MANUAL (RM1018E)
OIL FILTER SUB±ASSY (1CD±FTV)
REPLACEMENT
NOTICE:
�Prolonged and repeated contact with engine oil will result in the removal of natural oils from
the skin, leading to dryness, irritation and dermatitis. In addition, used engine oil contains po-
tentially harmful contaminants which may cause skin cancer.
�Precautions should be taken when replacing engine oil to minimize the risk of your skin making
contact with used engine oil. Wear protective clothing and gloves. Wash your skin thoroughly
with soap and water, or use water±less hand cleaner to remove any used engine oil. Do not use
gasoline, thinners, or solvents.
�In order to preserve the environment, used oil and oil filter must be disposed of at designated
disposal sites.
1. DRAIN ENGINE OIL
(a) Remove the oil filler cap.
(b) Remove the oil drain plug and drain the oil into a container.
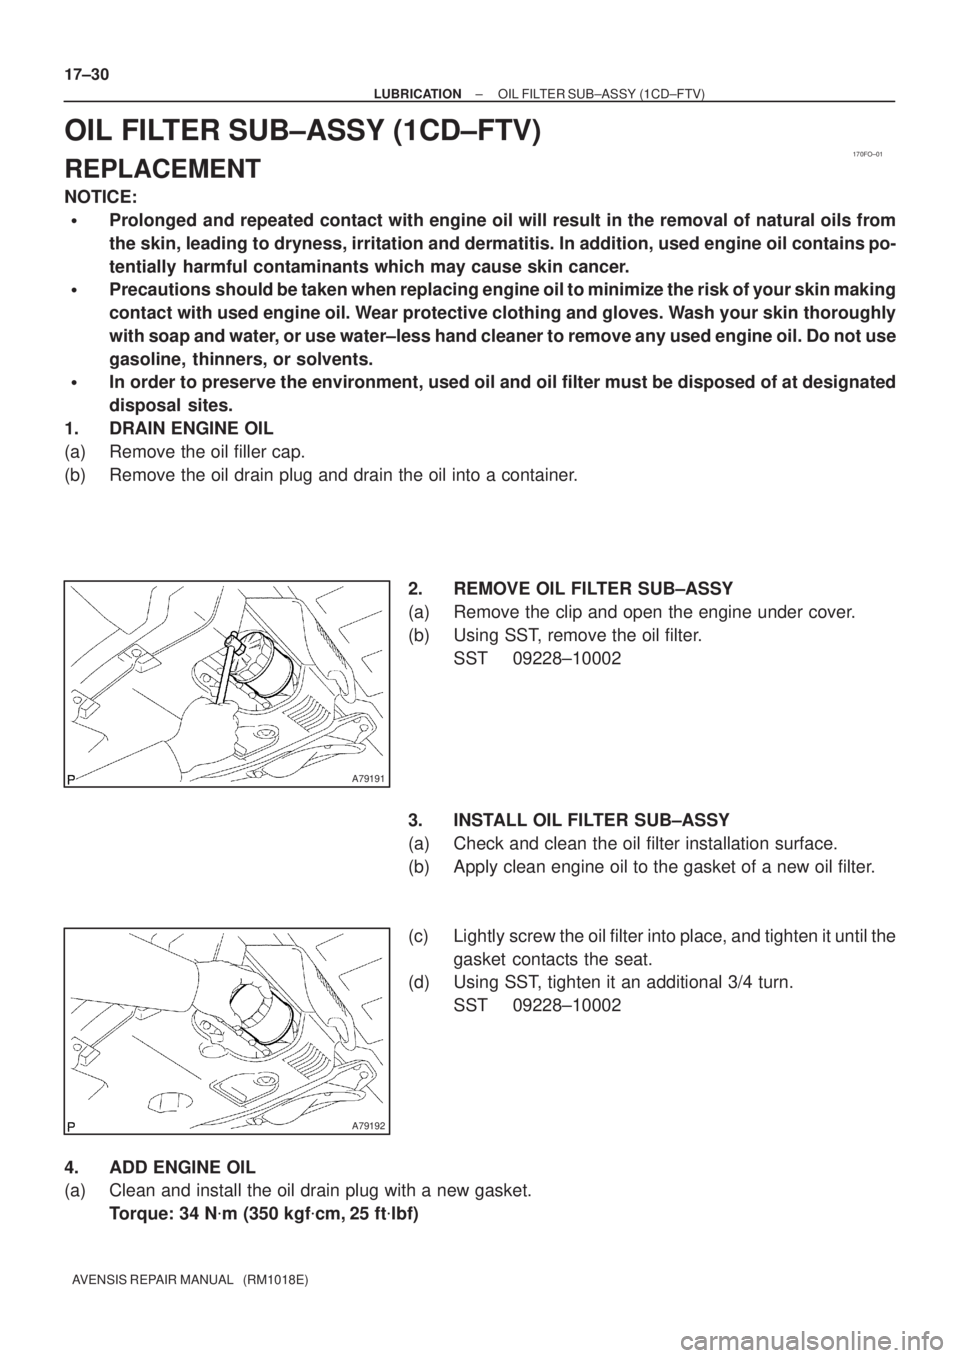
2. REMOVE OIL FILTER SUB±ASSY
(a) Remove the clip and open the engine under cover.
(b) Using SST, remove the oil filter.
SST 09228±10002
3. INSTALL OIL FILTER SUB±ASSY
(a) Check and clean the oil filter installation surface.
(b) Apply clean engine oil to the gasket of a new oil filter.
(c) Lightly screw the oil filter into place, and tighten it until the
gasket contacts the seat.
(d) Using SST, tighten it an additional 3/4 turn.
SST 09228±10002
4. ADD ENGINE OIL
(a) Clean and install the oil drain plug with a new gasket.
Torque: 34 N�m (350 kgf�cm, 25 ft�lbf)
Page 2458 of 5135
± LUBRICATIONOIL FILTER SUB±ASSY (1CD±FTV)
17±31
AVENSIS REPAIR MANUAL (RM1018E)
(b) Fill with fresh engine oil.
Capacity:
With the oil filter replacement: 5.9 liters (6.2 US qts, 5.2 lmp. qts)
Without the oil filter replacement: 5.3 liters (5.6 US qts, 4.7 lmp. qts)
Dry fill: 6.7 liters (7.1 US qts, 5.9 lmp. qts)
(c) Install the oil filler cap.
5. CHECK FOR ENGINE OIL LEAKS
Page 2900 of 5135
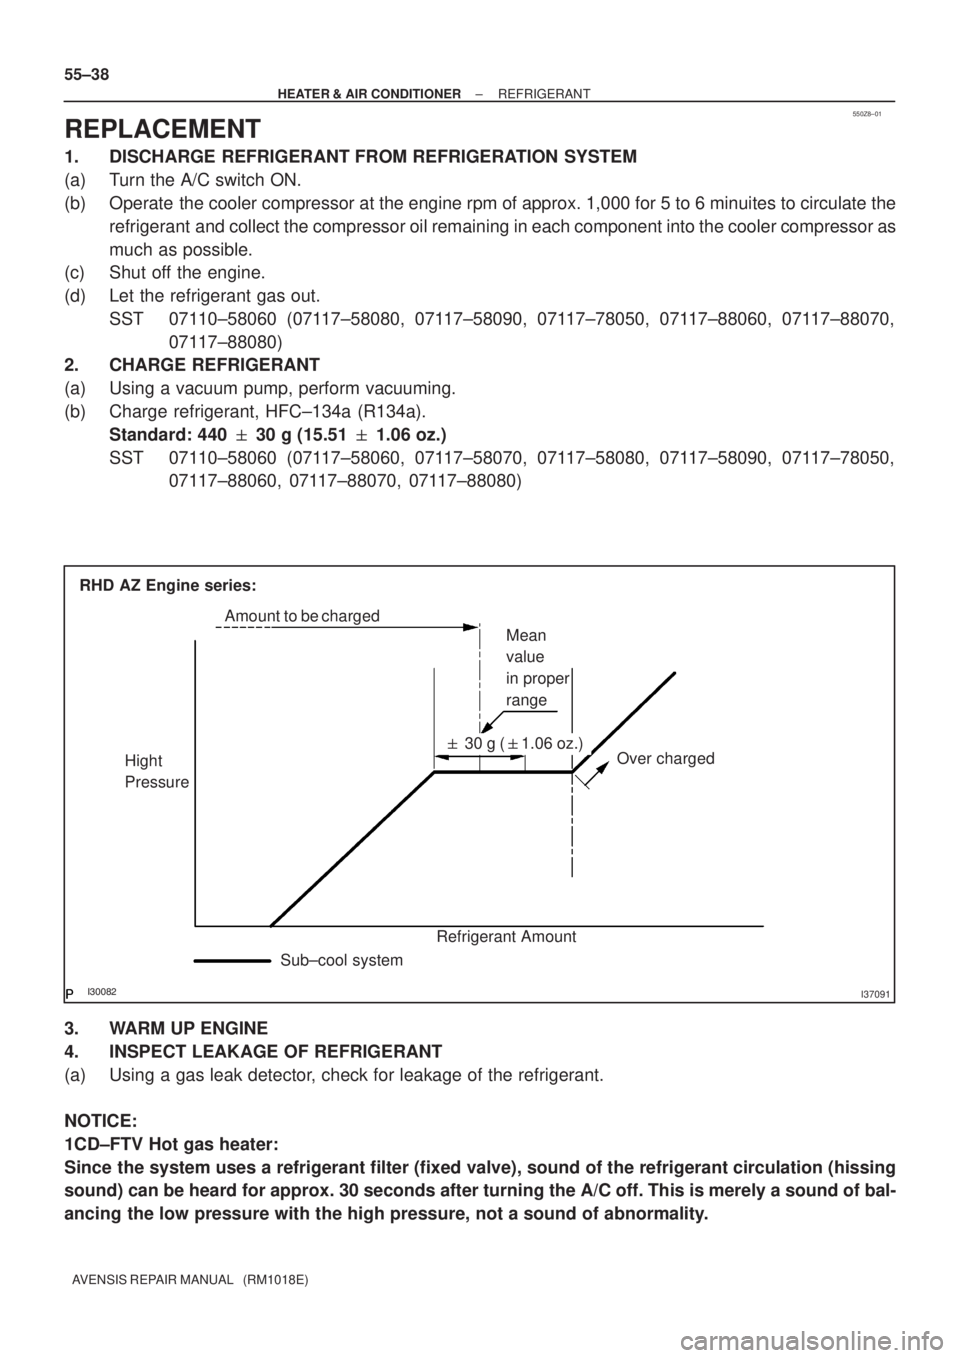
550Z8±01
������I37091
Over charged Mean
value
in proper
range
Hight
Pressure
Refrigerant Amount� 30 g (�1.06 oz.) Amount to be charged
Sub±cool system RHD AZ Engine series: 55±38
± HEATER & AIR CONDITIONERREFRIGERANT
AVENSIS REPAIR MANUAL (RM1018E)
REPLACEMENT
1. DISCHARGE REFRIGERANT FROM REFRIGERATION SYSTEM
(a) Turn the A/C switch ON.
(b) Operate the cooler compressor at the engine rpm of approx. 1,000 for 5 to 6 minuites to circulate the
refrigerant and collect the compressor oil remaining in each component into the cooler compressor as
much as possible.
(c) Shut off the engine.
(d) Let the refrigerant gas out.
SST 07110±58060 (07117±58080, 07117±58090, 07117±78050, 07117±88060, 07117±88070,
07117±88080)
2. CHARGE REFRIGERANT
(a) Using a vacuum pump, perform vacuuming.
(b) Charge refrigerant, HFC±134a (R134a).
Standard: 440 � 30 g (15.51 � 1.06 oz.)
SST 07110±58060 (07117±58060, 07117±58070, 07117±58080, 07117±58090, 07117±78050,
07117±88060, 07117±88070, 07117±88080)
3. WARM UP ENGINE
4. INSPECT LEAKAGE OF REFRIGERANT
(a) Using a gas leak detector, check for leakage of the refrigerant.
NOTICE:
1CD±FTV Hot gas heater:
Since the system uses a refrigerant filter (fixed valve), sound of the refrigerant circulation (hissing
sound) can be heard for approx. 30 seconds after turning the A/C off. This is merely a sound of bal-
ancing the low pressure with the high pressure, not a sound of abnormality.
Page 2913 of 5135
I22122
Condition
NOTE : These gauge indica-
tions occur when the refrigera-
tion system opens and the re-
frigerant is charged without
vacuuming. : Air conditioning system does not function.
I22123
Condition : Air conditioning system does not function effectively. 55±36
± HEATER & AIR CONDITIONERREFRIGERANT
AVENSIS REPAIR MANUAL (RM1018E)
(7) When there is air in the refrigeration system:
SymptomProbable causeDiagnosisCorrective Actions
Pressure is extreamly high on both
low and the high pressure sidesAir in refrigeration system
� There is air in refrigeration sys-
tem
� Vacuuming is insufficient(1) Check if compressor oil is dirty
or insufficient
(2) Vacuum air and supply new re-
frigerant
(8) When the refrigerant filter is defective:
SymptomProbable causeDiagnosisCorrective Actions
� Pressure is extreamly high on
low pressure side
� Pressure is extreamly high on
high pressure side
Trouble with refrigerant filterExcessive refrigerantReplace refrigerant filter