FRONT SEAT
SE-21
C
D
E
F
G
H
J
K
L
MA
B
SE
1. Headrest 2. Headrest holder (free) 3. Headrest holder (locked)
4. Seatback board 5. Seatback assembly 6. Lumbar support lever knob
7. Seat cushion trim 8. Seat cushion heater unit 9. Seat cushion pad
10. Seat cushion frame 11. Power seat switch 12. Power seat switch escutcheon
13. Reclining switch knob 14. Slide & lifter switch knob 15. Seat cushion inner finisher
16. Seat adjuster assembly 17. Front leg cover 18. Seat cushion front finisher
19. Seat control unit 20. Power seat harness 21. Seat slide cover
22. Seat cushion outer finisher 23. Gasket 24. Rear leg cover
25. Panel 26. Seat belt buckle 27. Lifter dial
28. Reclining lever knob
TF-100
TRANSFER CONTROL UNIT
TRANSFER CONTROL UNIT
PFP:33084
Removal and InstallationEDS0032J
REMOVAL
1. Switch 4WD shift switch to 2WD and set transfer assembly to 2WD.
CAUTION:
When removal transfer control unit, transfer state must be at 2WD or AUTO.
2. Turn the ignition switch OFF and disconnect the battery cables.
3. Remove the lower instrument panel LH (LHD models) or lower instrument panel RH (RHD models). Refer
toIP-13, "
LOWER INSTRUMENT PANEL LH"(LHD models) orIP-13, "LOWER INSTRUMENT PANEL
LH"(RHD models).
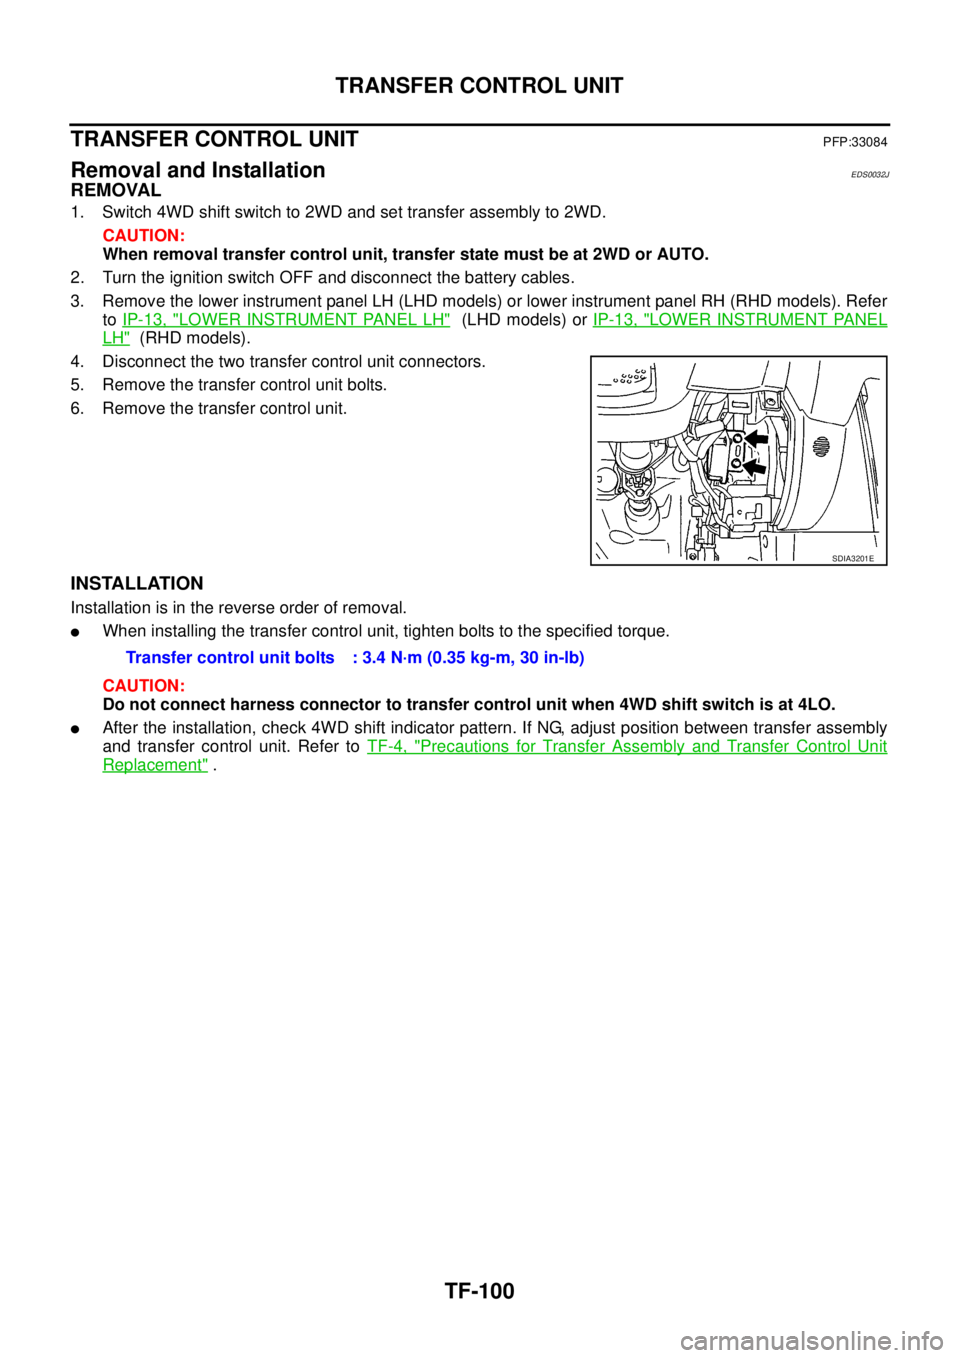
4. Disconnect the two transfer control unit connectors.
5. Remove the transfer control unit bolts.
6. Remove the transfer control unit.
INSTALLATION
Installation is in the reverse order of removal.
lWhen installing the transfer control unit, tighten bolts to the specified torque.
CAUTION:
Do not connect harness connector to transfer control unit when 4WD shift switch is at 4LO.
lAfter the installation, check 4WD shift indicator pattern. If NG, adjust position between transfer assembly
and transfer control unit. Refer toTF-4, "
Precautions for Transfer Assembly and Transfer Control Unit
Replacement".
SDIA3201E
Transfer control unit bolts : 3.4 N·m (0.35 kg-m, 30 in-lb)