Page 3789 of 4264
ON-VEHICLE SERVICE (AW30 –40LE) 7A3-33
Torque Specifications
RTW37ALF001701
Page 3792 of 4264
7A3-36 ON-VEHICLE SERVICE (AW30 –40LE)
10.Disconnect the solenoid wiring connectors from the
shift solenoid S1(1), S2(2), lock-up solenoid(3) and
pressure control solenoid(4).
249RY 00011
249RY 00012
11. Remove each retaining bolts and solenoids. (Except
pressure control solenoid:)
Pressure control solenoid cannot be removed.
Installation
To install, follow the removal steps in reverse order
noting the following point;
Refer to the section Reassembly of Majo
r
Components(2) and Transmission Removal an
d
Installation .
Torque:
Solenoid S1, S2 bolt – 7 N �m (61 Ib in)
Lock-up solenoid bolt – 10 N �m (87 Ib in)
Page 3795 of 4264
ON-VEHICLE SERVICE (AW30 –40LE) 7A3-39
Installation
To install, follow the removal steps in reverse order
noting the following point;
1. Reinstall the parts removed with the valve bod
y
assembly to their assigned positions in the
transmission case (check valve assembly, C0
accumulator pistons, etc). Install the valve bod
y
assembly to the transmission case.
Refer to REASSEMBLY OF MAJO
R
COMPONENTS (2).
2. Solenoid clamp bolt
Torque : 7 N �
��
�
m (61 Ib in)
3. Valve body fixing bolts
Each bolt location and length (mm) is indicated in
the figure.
Torque : 10 N �
��
�
m (87 Ib in)
NOTE: Tighten the bolts toward outside equally.
244R200078
4. Oil strainer fixing bolts
Torque : 10 N �
��
�
m (87 Ib in)
5. Oil pan fixing bolts
Torque : 8 N �
��
�
m (69 Ib in)
Page 3796 of 4264
7A3-40 ON-VEHICLE SERVICE (AW30 –40LE)
Rear Oil Seal (Adapter Housing, 4�
� �
�4)
Removal
1. Remove the front and rear propeller shaft assembly
from the transfer case.
2. Remove the transfer case assembly from the transmission case.
Refer to Section 4 DRIVELINE/AXLE.
3. Using a screwdriver, remove the rear oil seal.
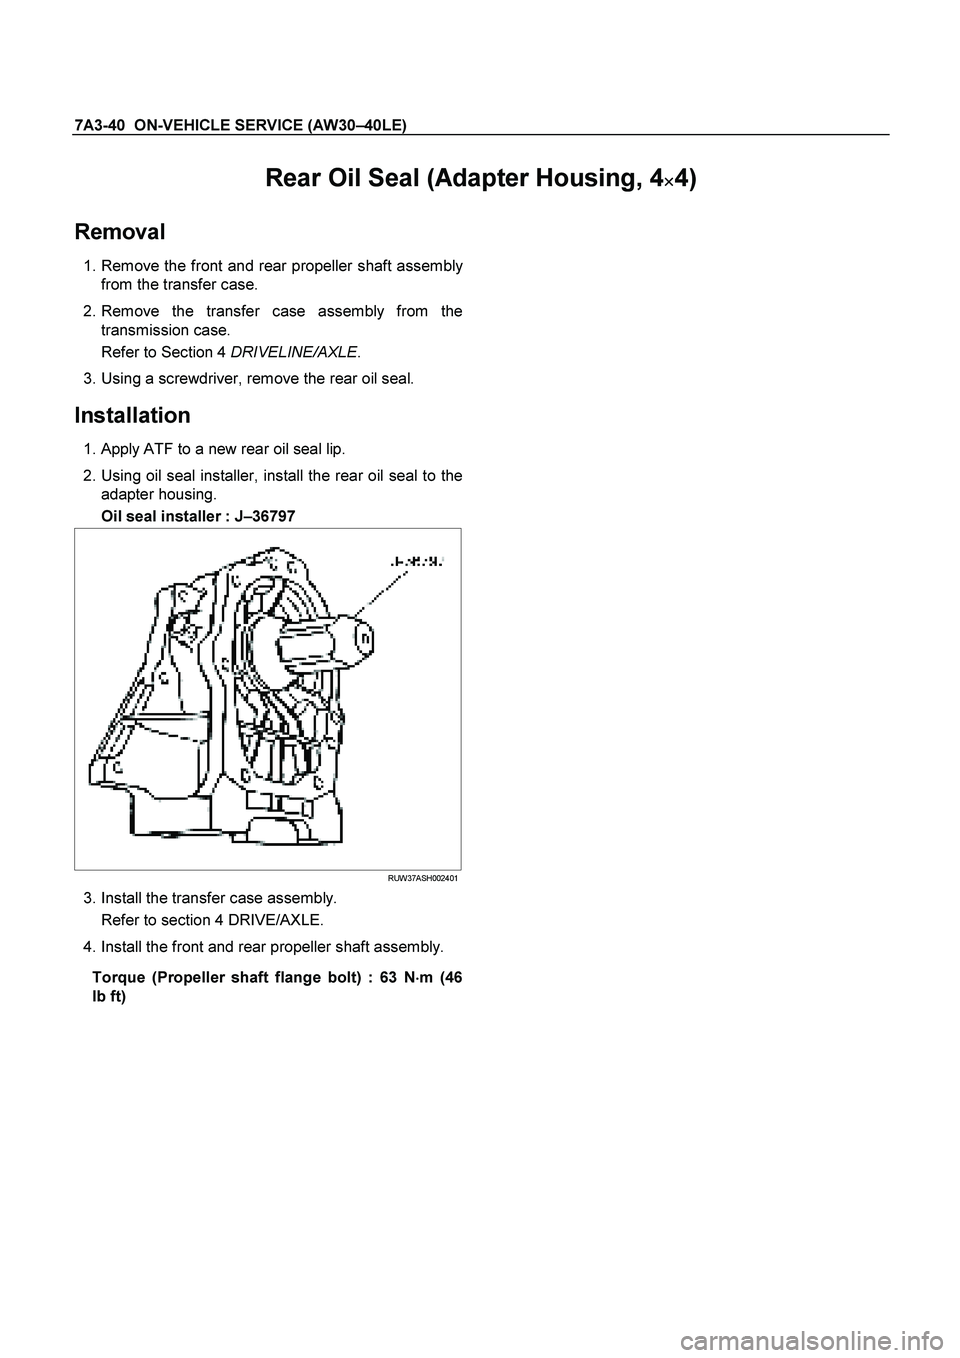
Installation
1. Apply ATF to a new rear oil seal lip.
2. Using oil seal installer, install the rear oil seal to the adapter housing.
Oil seal installer : J –36797
RUW37ASH002401
3. Install the transfer case assembly.
Refer to section 4 DRIVE/AXLE.
4. Install the front and rear propeller shaft assembly.
Torque (Propeller shaft flange bolt) : 63 N �
��
�
m (46
Ib ft)
Page 3797 of 4264
ON-VEHICLE SERVICE (AW30 –40LE) 7A3-41
Rear Oil Seal (Extension Housing, 4�
� �
�2)
Removal
1. Remove the rear propeller shaft assembly.
2. Using a screwdriver, remove the rear oil seal.
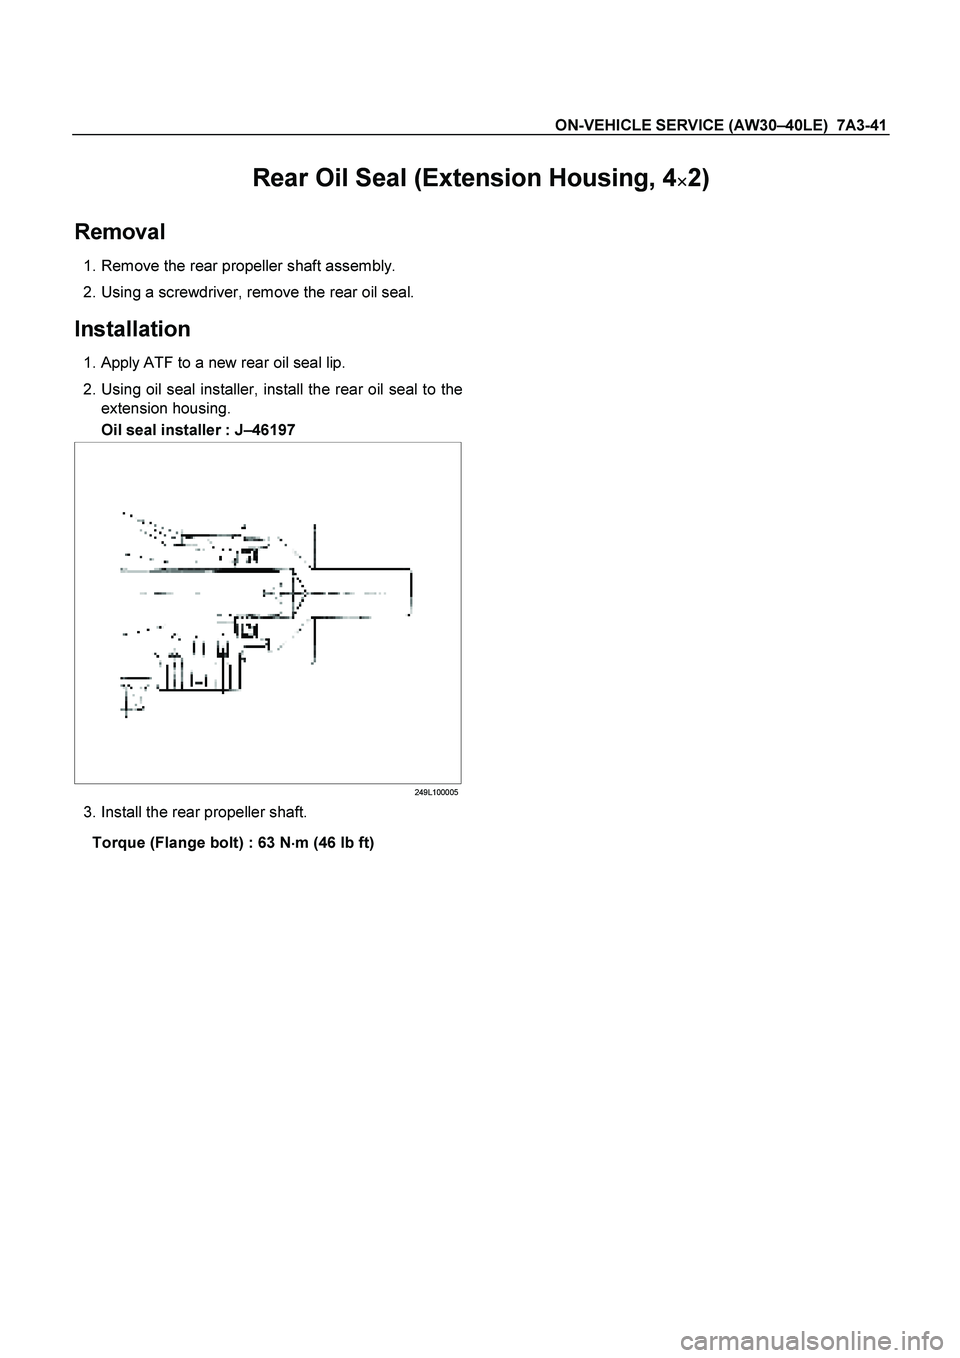
Installation
1. Apply ATF to a new rear oil seal lip.
2. Using oil seal installer, install the rear oil seal to the extension housing.
Oil seal installer : J –46197
249L100005
3. Install the rear propeller shaft.
Torque (Flange bolt) : 63 N �
��
�
m (46 Ib ft)
Page 3798 of 4264
7A3-42 ON-VEHICLE SERVICE (AW30 –40LE)
Transmission Assembly
Transmission and Associated Parts
Legend
(9) Under Cover
(1) Rear Propeller Shaft (10) Flex Plate Torque Converter bolt
(2) Front Propeller Shaft (4WD only) (11) Shift Cable
(3) Middle Exhaust Pipe (12) Rear Mount Rubber
(4) Transfer Case Assembly (4WD only) (13) Heat Protector
(5) Fuel Pipe Clip and Bracket (14) Transmission Crossmember
(6) ATF Pipe and Clip (15) Transmission Assembly (2WD)
(7) Oil Level Gauge and Guide Tube (16) Transmission Assembly (4WD)
(8) Suspension Crossmember
Page 3800 of 4264
7A3-44 ON-VEHICLE SERVICE (AW30 –40LE)
14. Remove the under covers.
P1010012
15. Remove the flex plate torque converter bolts by
turning the crank shaft.
P1010005
16. Remove the heat protector and the fuel pipe clips
with fuel pipes on the transmission crossmember.
P1010005B
17.Disconnect the ATF pipes.
18. Remove the ATF pipe clips.
P1010024
Page 3802 of 4264
7A3-46 ON-VEHICLE SERVICE (AW30 –40LE)
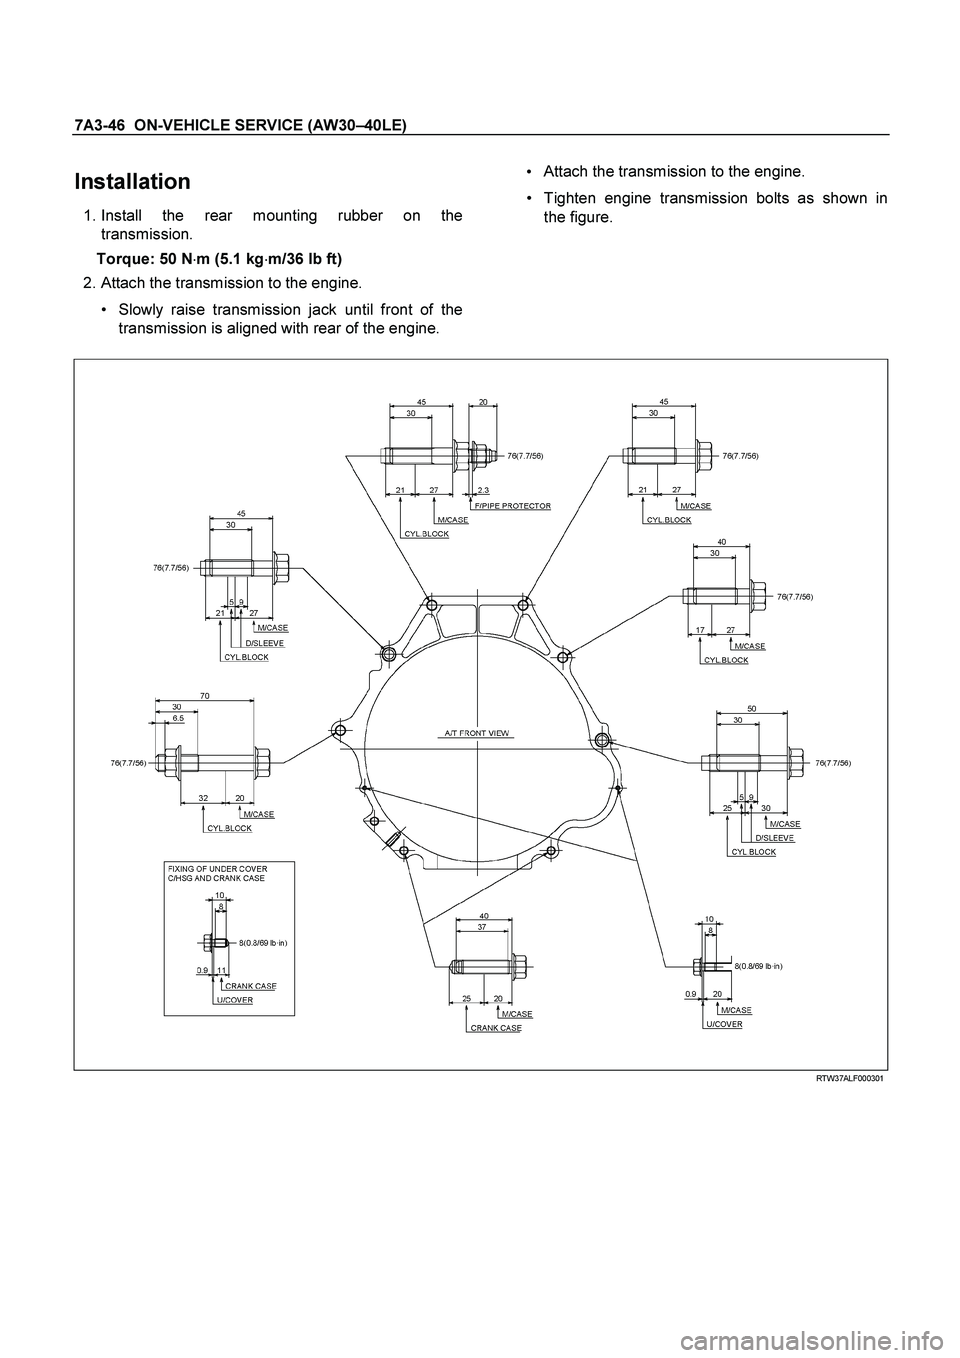
Installation
1. Install the rear mounting rubber on the
transmission.
Torque: 50 N �m (5.1 kg �m/36 lb ft)
2. Attach the transmission to the engine.
Slowly raise transmission jack until front of the
transmission is aligned with rear of the engine.
Attach the transmission to the engine.
Tighten engine transmission bolts as shown in
the figure.
RTW37ALF000301
 7A3-33
Torque Specifications
RTW37ALF001701")

10.Disconnect the solenoid wiring connectors from the
shift solenoid S1(1), S2(2), lock-up solenoid(3) and
pressure control solenoid(4).
249RY 0")
 7A3-39
Installation
To install, follow the removal steps in reverse order
noting the following point;
1. Reinstall the parts removed with the valve bod
y")

Transmission Assembly
Transmission and Associated Parts
Legend
(9) Under Cover
(1) Rear Propeller Shaft (10) Flex Plate Torque Co")

14. Remove the under covers.
P1010012
15. Remove the flex plate torque converter bolts by
turning the crank shaft.
P1010005")