Page 117 of 2493
Unit: mm (in)
Standard Limit
Intake0.020 - 0.050
(0.0008 - 0.0020)0.1 (0.004)
Exhaust0.040 - 0.070
(0.0016 - 0.0028)0.1 (0.004)
+If it exceeds the limit, replace valve and remeasure clearance.
+If limit is still exceeded after replacing valve, replace valve
guide.
SEM008A
VALVE GUIDE REPLACEMENTNJEM0019S091. To remove valve guide, heat cylinder head to 110 to 130ÉC
(230 to 266ÉF).
SEM931C
2. Drive out valve guide with a press [under a 20 kN (2 ton, 2.2
US ton, 2.0 Imp ton) pressure] or hammer and suitable tool.
SEM932C
3. Ream cylinder head valve guide hole.
Valve guide hole diameter
(for service parts):
Intake & Exhaust
9.685 - 9.696 mm (0.3813 - 0.3817 in)
MEM096A
4. Heat cylinder head to 110 to 130ÉC (230 to 266ÉF) and press
service valve guide into cylinder head.
Projection ªLº:
11.5 - 11.7 mm (0.453 - 0.461 in)
CYLINDER HEADQG
Inspection (Cont'd)
EM-39
Page 120 of 2493
SEM161D
2. Check diameter of valve lifter and valve lifter guide bore.
Valve lifter outside diameter:
29.960 - 29.975 mm (1.1795 - 1.1801 in)
SEM920F
Lifter guide inside diameter:
30.000 - 30.021 mm (1.1811 - 1.1819 in)
Clearance between valve lifter and valve lifter guide:
0.025 - 0.065 mm (0.0010 - 0.0026 in)
If it exceeds the limit, replace valve lifter or cylinder head which
exceeds the standard diameter tolerance.
SEM921F
Valve ClearanceNJEM0041CHECKINGNJEM0041S01Check valve clearance while engine is warm and not running.
1. Remove rocker cover.
2. Remove all spark plugs.
3. Set No. 1 cylinder at TDC on its compression stroke.
+Align pointer with TDC mark on crankshaft pulley.
+Check that valve lifters on No. 1 cylinder are loose and valve
lifters on No. 4 are tight.
+If not, turn crankshaft one revolution (360É) and align as
described above.
SEM922F
4. Check only those valves shown in the figure.
CYLINDER HEADQG
Inspection (Cont'd)
EM-42
Page 122 of 2493
SEM144D
SEM145D
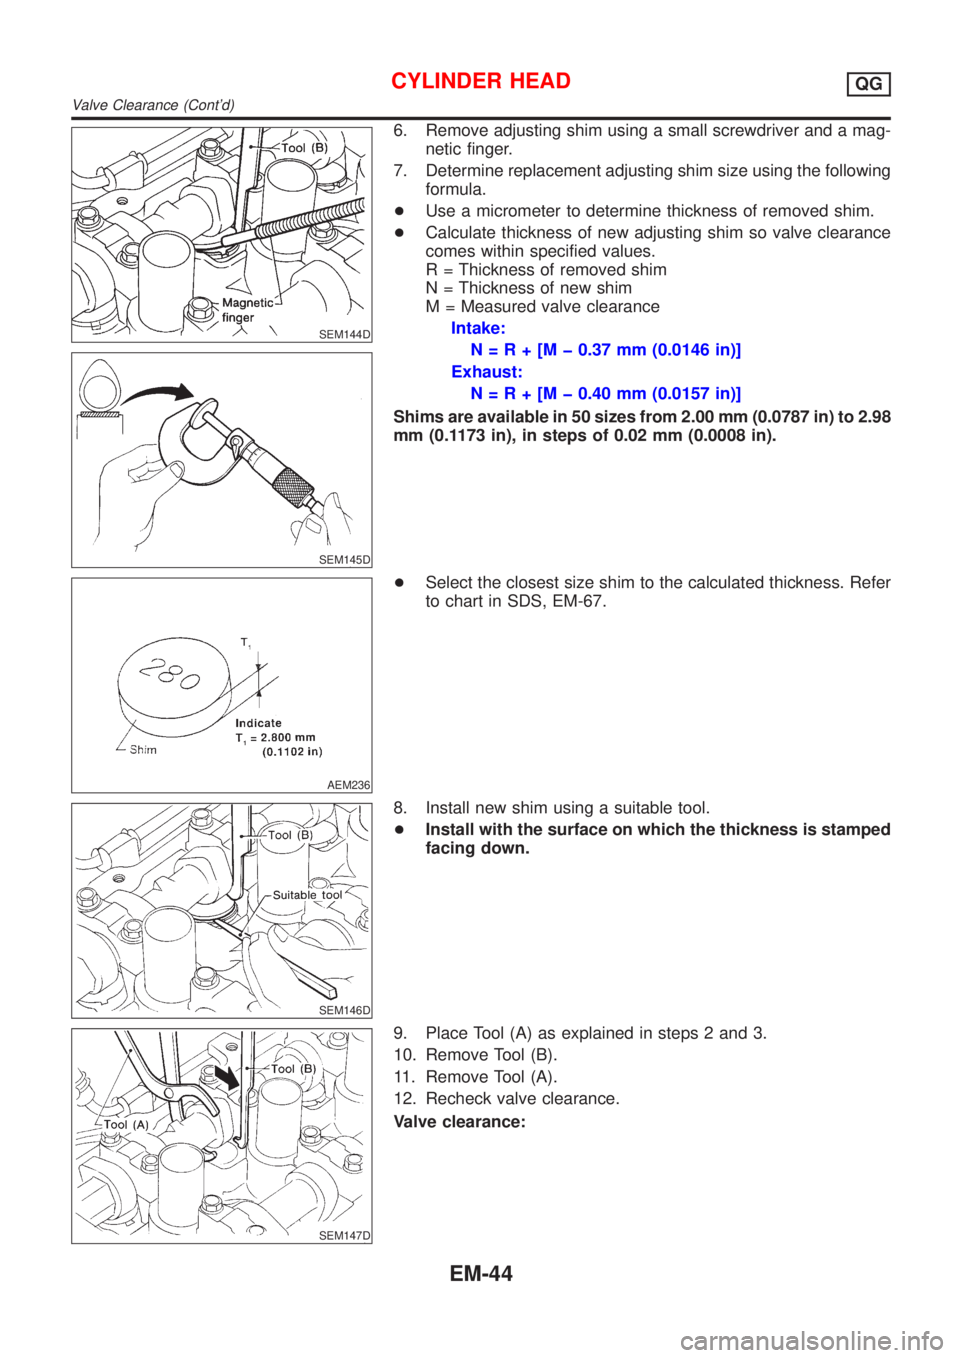
6. Remove adjusting shim using a small screwdriver and a mag-
netic finger.
7. Determine replacement adjusting shim size using the following
formula.
+Use a micrometer to determine thickness of removed shim.
+Calculate thickness of new adjusting shim so valve clearance
comes within specified values.
R = Thickness of removed shim
N = Thickness of new shim
M = Measured valve clearance
Intake:
N=R+[Mþ0.37 mm (0.0146 in)]
Exhaust:
N=R+[Mþ0.40 mm (0.0157 in)]
Shims are available in 50 sizes from 2.00 mm (0.0787 in) to 2.98
mm (0.1173 in), in steps of 0.02 mm (0.0008 in).
AEM236
+Select the closest size shim to the calculated thickness. Refer
to chart in SDS, EM-67.
SEM146D
8. Install new shim using a suitable tool.
+Install with the surface on which the thickness is stamped
facing down.
SEM147D
9. Place Tool (A) as explained in steps 2 and 3.
10. Remove Tool (B).
11. Remove Tool (A).
12. Recheck valve clearance.
Valve clearance:
CYLINDER HEADQG
Valve Clearance (Cont'd)
EM-44
Page 132 of 2493
SEM928F
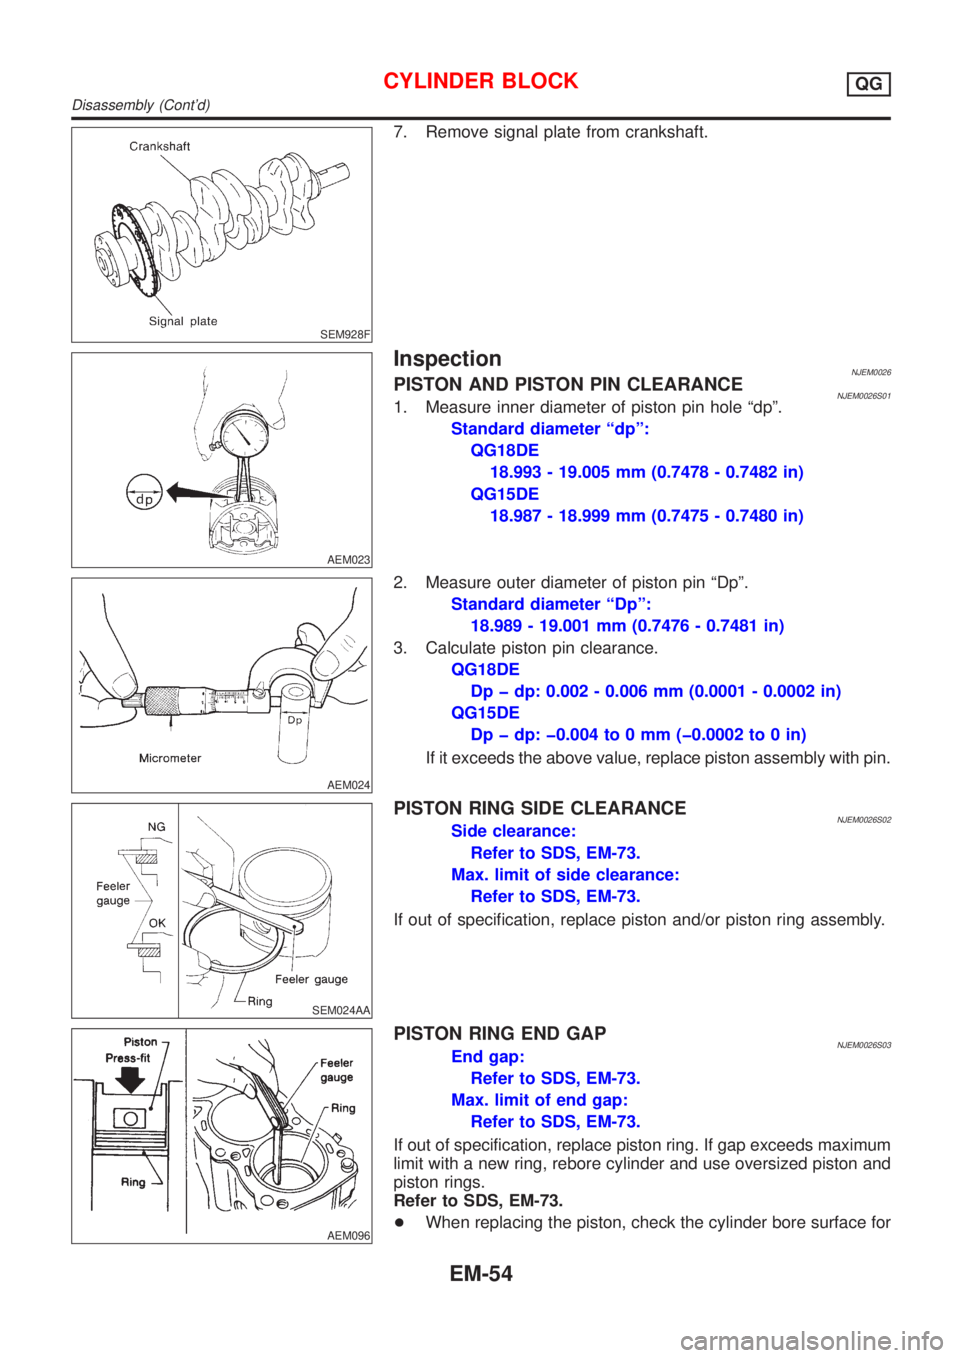
7. Remove signal plate from crankshaft.
AEM023
InspectionNJEM0026PISTON AND PISTON PIN CLEARANCENJEM0026S011. Measure inner diameter of piston pin hole ªdpº.
Standard diameter ªdpº:
QG18DE
18.993 - 19.005 mm (0.7478 - 0.7482 in)
QG15DE
18.987 - 18.999 mm (0.7475 - 0.7480 in)
AEM024
2. Measure outer diameter of piston pin ªDpº.
Standard diameter ªDpº:
18.989 - 19.001 mm (0.7476 - 0.7481 in)
3. Calculate piston pin clearance.
QG18DE
Dp þ dp: 0.002 - 0.006 mm (0.0001 - 0.0002 in)
QG15DE
Dp þ dp: þ0.004 to 0 mm (þ0.0002 to 0 in)
If it exceeds the above value, replace piston assembly with pin.
SEM024AA
PISTON RING SIDE CLEARANCENJEM0026S02Side clearance:
Refer to SDS, EM-73.
Max. limit of side clearance:
Refer to SDS, EM-73.
If out of specification, replace piston and/or piston ring assembly.
AEM096
PISTON RING END GAPNJEM0026S03End gap:
Refer to SDS, EM-73.
Max. limit of end gap:
Refer to SDS, EM-73.
If out of specification, replace piston ring. If gap exceeds maximum
limit with a new ring, rebore cylinder and use oversized piston and
piston rings.
Refer to SDS, EM-73.
+When replacing the piston, check the cylinder bore surface for
CYLINDER BLOCKQG
Disassembly (Cont'd)
EM-54
Page 134 of 2493
SEM166D
SEM929F
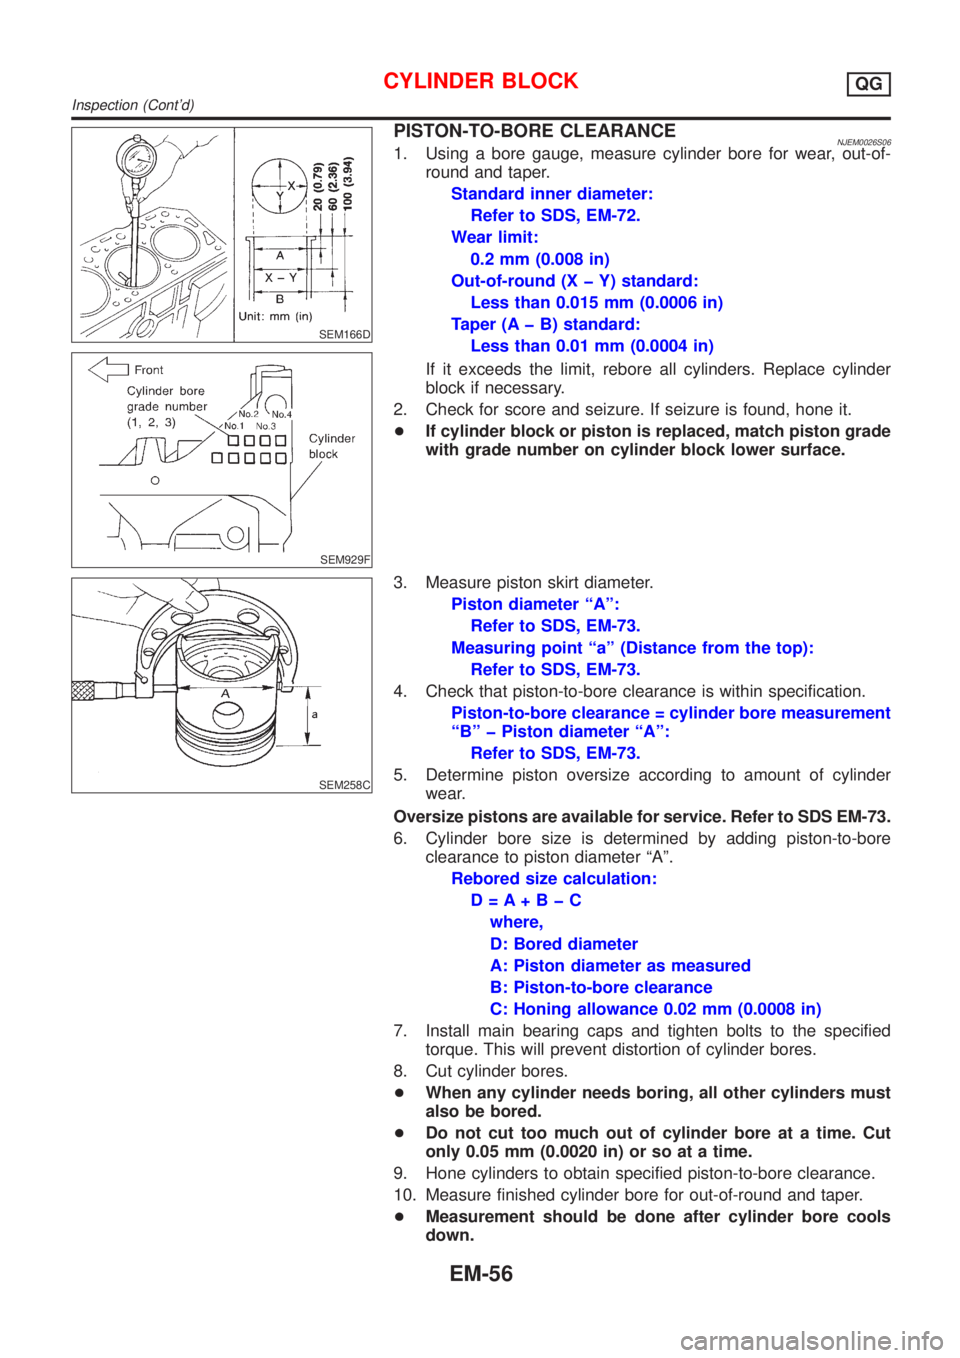
PISTON-TO-BORE CLEARANCENJEM0026S061. Using a bore gauge, measure cylinder bore for wear, out-of-
round and taper.
Standard inner diameter:
Refer to SDS, EM-72.
Wear limit:
0.2 mm (0.008 in)
Out-of-round (X þ Y) standard:
Less than 0.015 mm (0.0006 in)
Taper (A þ B) standard:
Less than 0.01 mm (0.0004 in)
If it exceeds the limit, rebore all cylinders. Replace cylinder
block if necessary.
2. Check for score and seizure. If seizure is found, hone it.
+If cylinder block or piston is replaced, match piston grade
with grade number on cylinder block lower surface.
SEM258C
3. Measure piston skirt diameter.
Piston diameter ªAº:
Refer to SDS, EM-73.
Measuring point ªaº (Distance from the top):
Refer to SDS, EM-73.
4. Check that piston-to-bore clearance is within specification.
Piston-to-bore clearance = cylinder bore measurement
ªBº þ Piston diameter ªAº:
Refer to SDS, EM-73.
5. Determine piston oversize according to amount of cylinder
wear.
Oversize pistons are available for service. Refer to SDS EM-73.
6. Cylinder bore size is determined by adding piston-to-bore
clearance to piston diameter ªAº.
Rebored size calculation:
D=A+BþC
where,
D: Bored diameter
A: Piston diameter as measured
B: Piston-to-bore clearance
C: Honing allowance 0.02 mm (0.0008 in)
7. Install main bearing caps and tighten bolts to the specified
torque. This will prevent distortion of cylinder bores.
8. Cut cylinder bores.
+When any cylinder needs boring, all other cylinders must
also be bored.
+Do not cut too much out of cylinder bore at a time. Cut
only 0.05 mm (0.0020 in) or so at a time.
9. Hone cylinders to obtain specified piston-to-bore clearance.
10. Measure finished cylinder bore for out-of-round and taper.
+Measurement should be done after cylinder bore cools
down.
CYLINDER BLOCKQG
Inspection (Cont'd)
EM-56
Page 135 of 2493
SEM316A
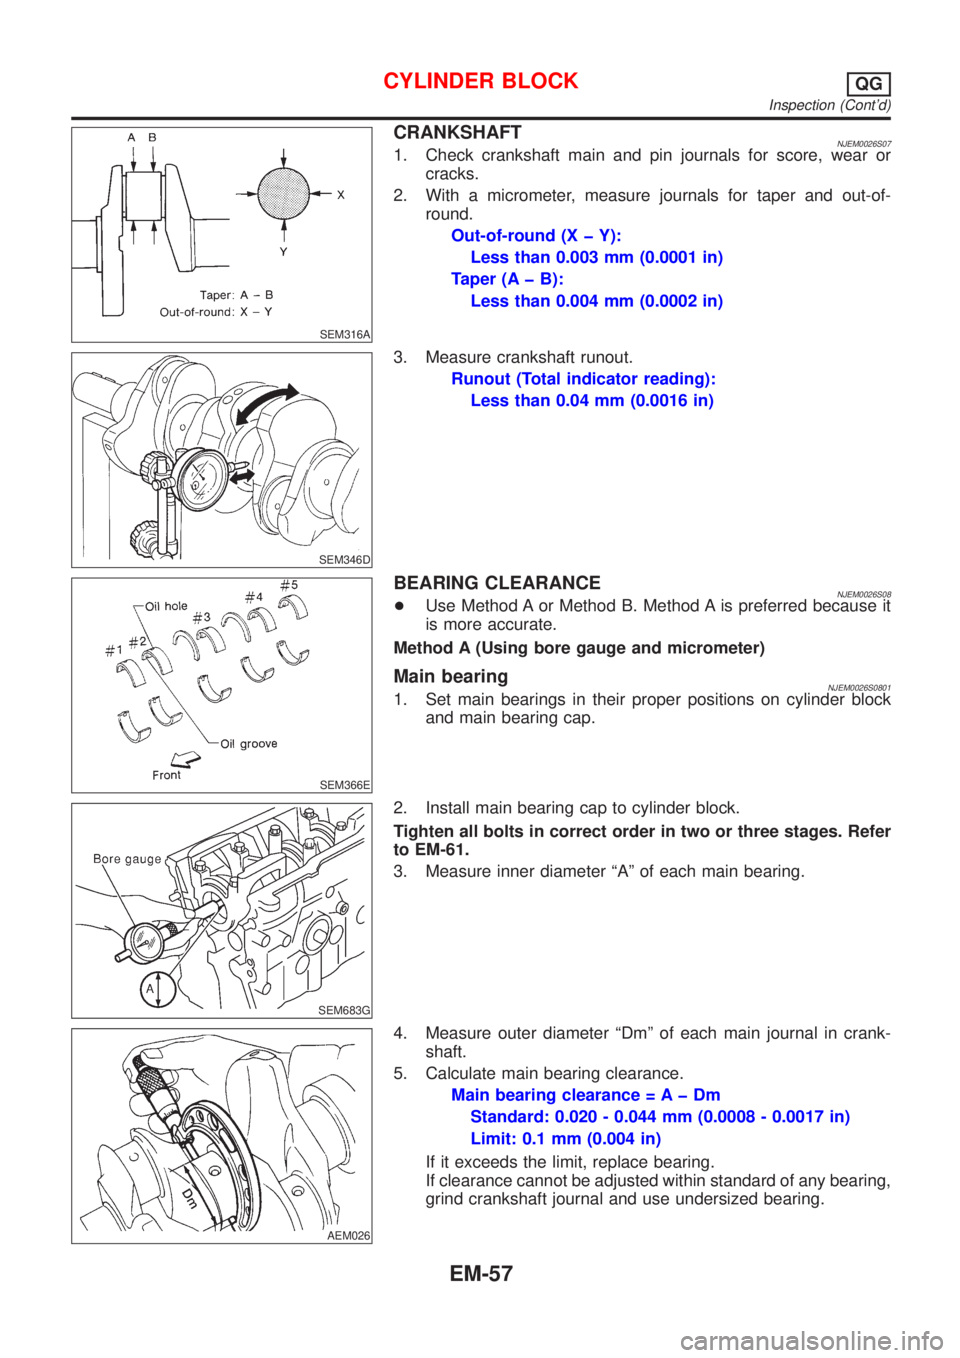
CRANKSHAFTNJEM0026S071. Check crankshaft main and pin journals for score, wear or
cracks.
2. With a micrometer, measure journals for taper and out-of-
round.
Out-of-round (X þ Y):
Less than 0.003 mm (0.0001 in)
Taper (A þ B):
Less than 0.004 mm (0.0002 in)
SEM346D
3. Measure crankshaft runout.
Runout (Total indicator reading):
Less than 0.04 mm (0.0016 in)
SEM366E
BEARING CLEARANCENJEM0026S08+Use Method A or Method B. Method A is preferred because it
is more accurate.
Method A (Using bore gauge and micrometer)
Main bearingNJEM0026S08011. Set main bearings in their proper positions on cylinder block
and main bearing cap.
SEM683G
2. Install main bearing cap to cylinder block.
Tighten all bolts in correct order in two or three stages. Refer
to EM-61.
3. Measure inner diameter ªAº of each main bearing.
AEM026
4. Measure outer diameter ªDmº of each main journal in crank-
shaft.
5. Calculate main bearing clearance.
Main bearing clearance = A þ Dm
Standard: 0.020 - 0.044 mm (0.0008 - 0.0017 in)
Limit: 0.1 mm (0.004 in)
If it exceeds the limit, replace bearing.
If clearance cannot be adjusted within standard of any bearing,
grind crankshaft journal and use undersized bearing.
CYLINDER BLOCKQG
Inspection (Cont'd)
EM-57
Page 136 of 2493
SEM588A
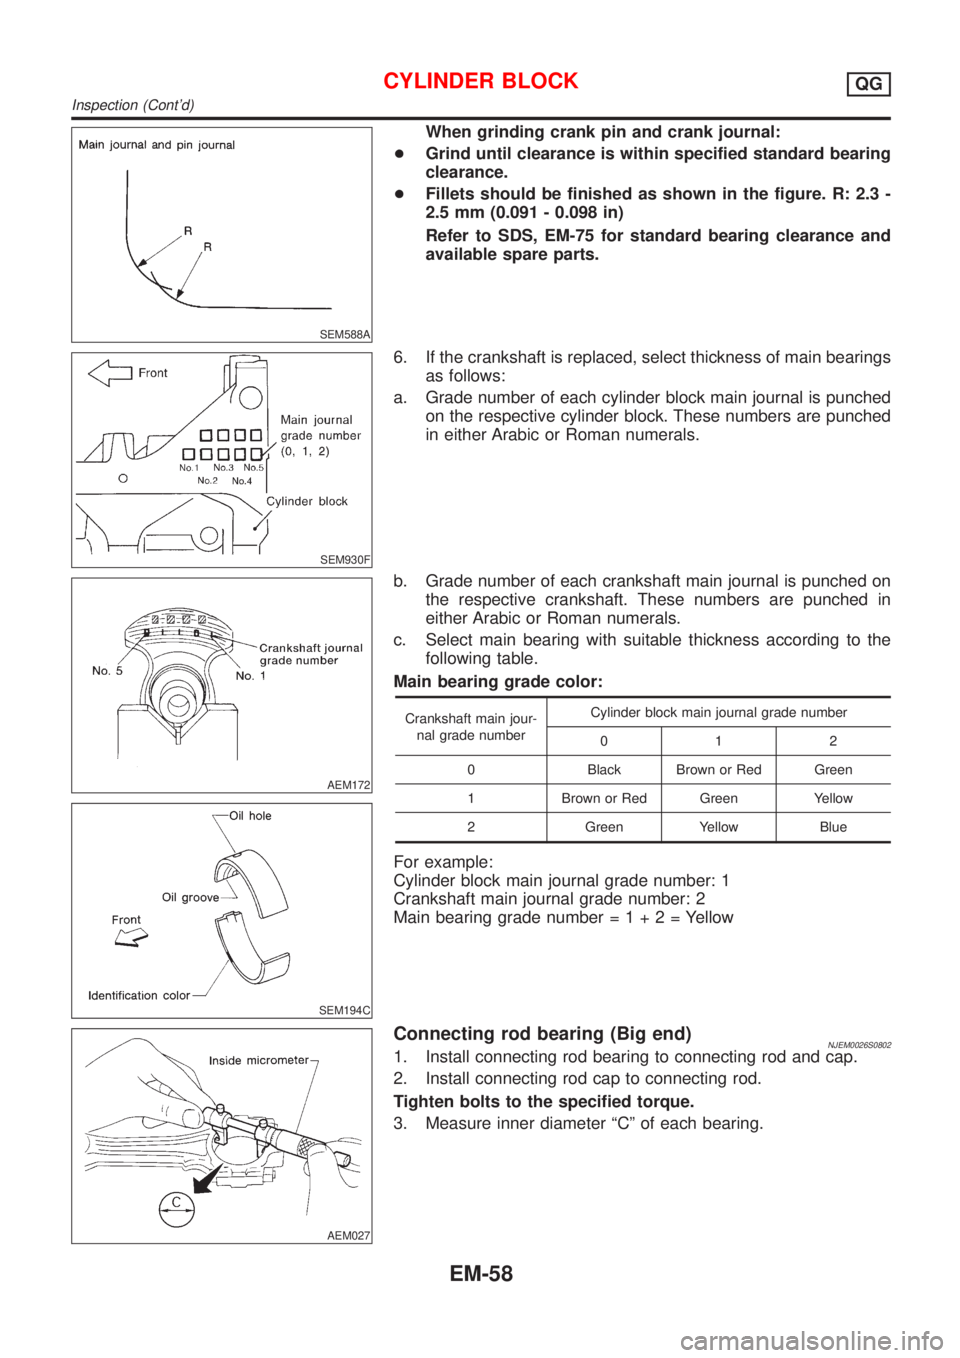
When grinding crank pin and crank journal:
+Grind until clearance is within specified standard bearing
clearance.
+Fillets should be finished as shown in the figure. R: 2.3 -
2.5 mm (0.091 - 0.098 in)
Refer to SDS, EM-75 for standard bearing clearance and
available spare parts.
SEM930F
6. If the crankshaft is replaced, select thickness of main bearings
as follows:
a. Grade number of each cylinder block main journal is punched
on the respective cylinder block. These numbers are punched
in either Arabic or Roman numerals.
AEM172
SEM194C
b. Grade number of each crankshaft main journal is punched on
the respective crankshaft. These numbers are punched in
either Arabic or Roman numerals.
c. Select main bearing with suitable thickness according to the
following table.
Main bearing grade color:
Crankshaft main jour-
nal grade numberCylinder block main journal grade number
012
0 Black Brown or Red Green
1 Brown or Red Green Yellow
2 Green Yellow Blue
For example:
Cylinder block main journal grade number: 1
Crankshaft main journal grade number: 2
Main bearing grade number=1+2=Yellow
AEM027
Connecting rod bearing (Big end)NJEM0026S08021. Install connecting rod bearing to connecting rod and cap.
2. Install connecting rod cap to connecting rod.
Tighten bolts to the specified torque.
3. Measure inner diameter ªCº of each bearing.
CYLINDER BLOCKQG
Inspection (Cont'd)
EM-58
Page 137 of 2493
AEM028
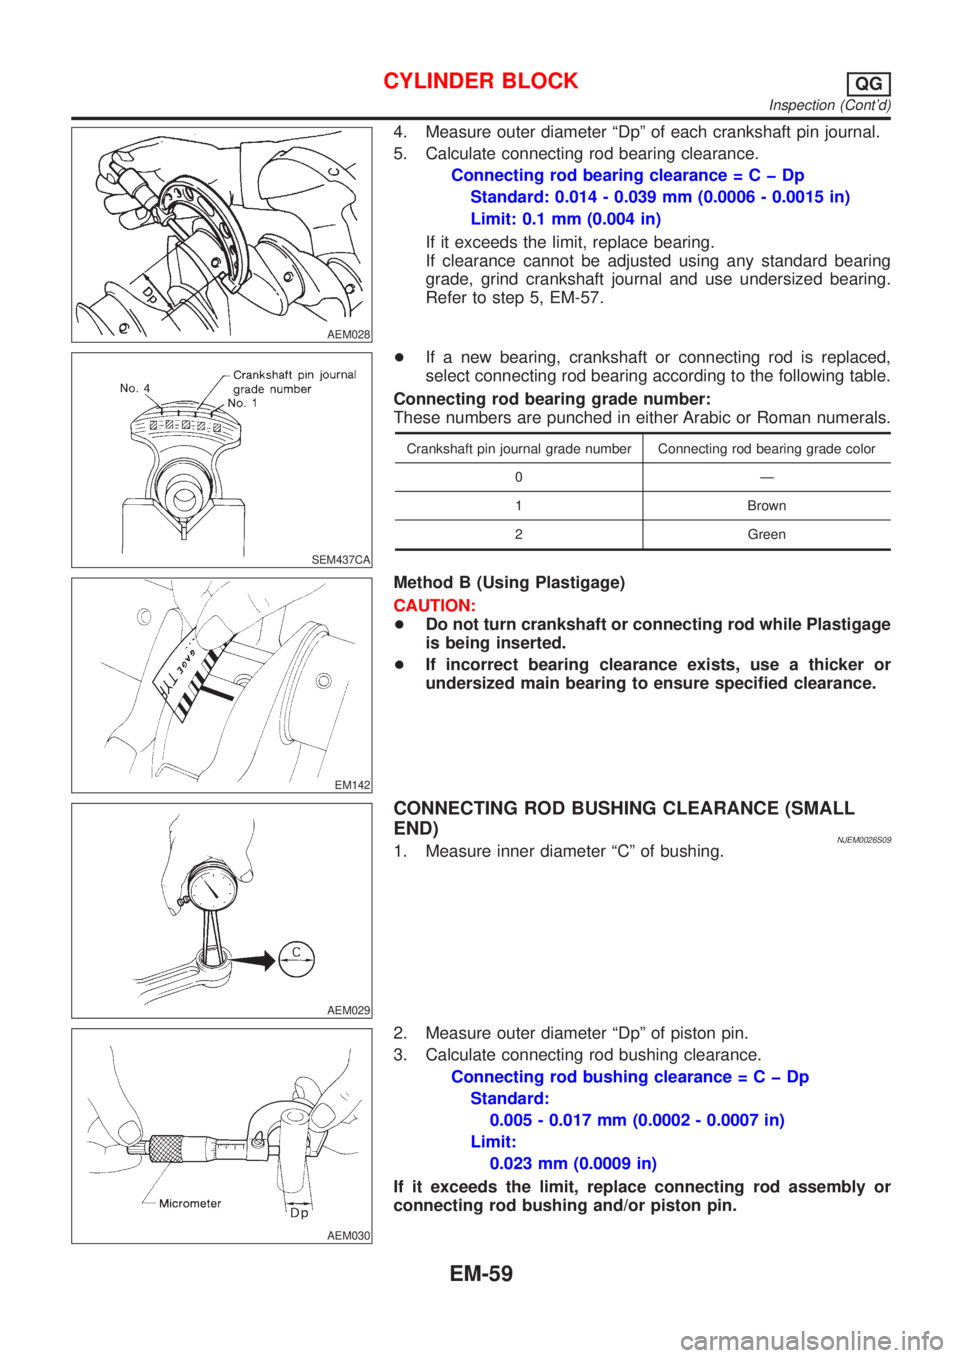
4. Measure outer diameter ªDpº of each crankshaft pin journal.
5. Calculate connecting rod bearing clearance.
Connecting rod bearing clearance=CþDp
Standard: 0.014 - 0.039 mm (0.0006 - 0.0015 in)
Limit: 0.1 mm (0.004 in)
If it exceeds the limit, replace bearing.
If clearance cannot be adjusted using any standard bearing
grade, grind crankshaft journal and use undersized bearing.
Refer to step 5, EM-57.
SEM437CA
+If a new bearing, crankshaft or connecting rod is replaced,
select connecting rod bearing according to the following table.
Connecting rod bearing grade number:
These numbers are punched in either Arabic or Roman numerals.
Crankshaft pin journal grade number Connecting rod bearing grade color
0Ð
1 Brown
2 Green
EM142
Method B (Using Plastigage)
CAUTION:
+Do not turn crankshaft or connecting rod while Plastigage
is being inserted.
+If incorrect bearing clearance exists, use a thicker or
undersized main bearing to ensure specified clearance.
AEM029
CONNECTING ROD BUSHING CLEARANCE (SMALL
END)
NJEM0026S091. Measure inner diameter ªCº of bushing.
AEM030
2. Measure outer diameter ªDpº of piston pin.
3. Calculate connecting rod bushing clearance.
Connecting rod bushing clearance=CþDp
Standard:
0.005 - 0.017 mm (0.0002 - 0.0007 in)
Limit:
0.023 mm (0.0009 in)
If it exceeds the limit, replace connecting rod assembly or
connecting rod bushing and/or piston pin.
CYLINDER BLOCKQG
Inspection (Cont'd)
EM-59