Page 1637 of 3342

2. WAGON MODEL
Installation is in the reverse order of removal.
CAUTION:
�Do not allow center seat belt to get under cushion
when folding cushion.
�Ensure that side seat belt tongue is free from cush-
ion and trim panel.
�Lift front of cushion to ensure that cushion is prop-
erly locked.
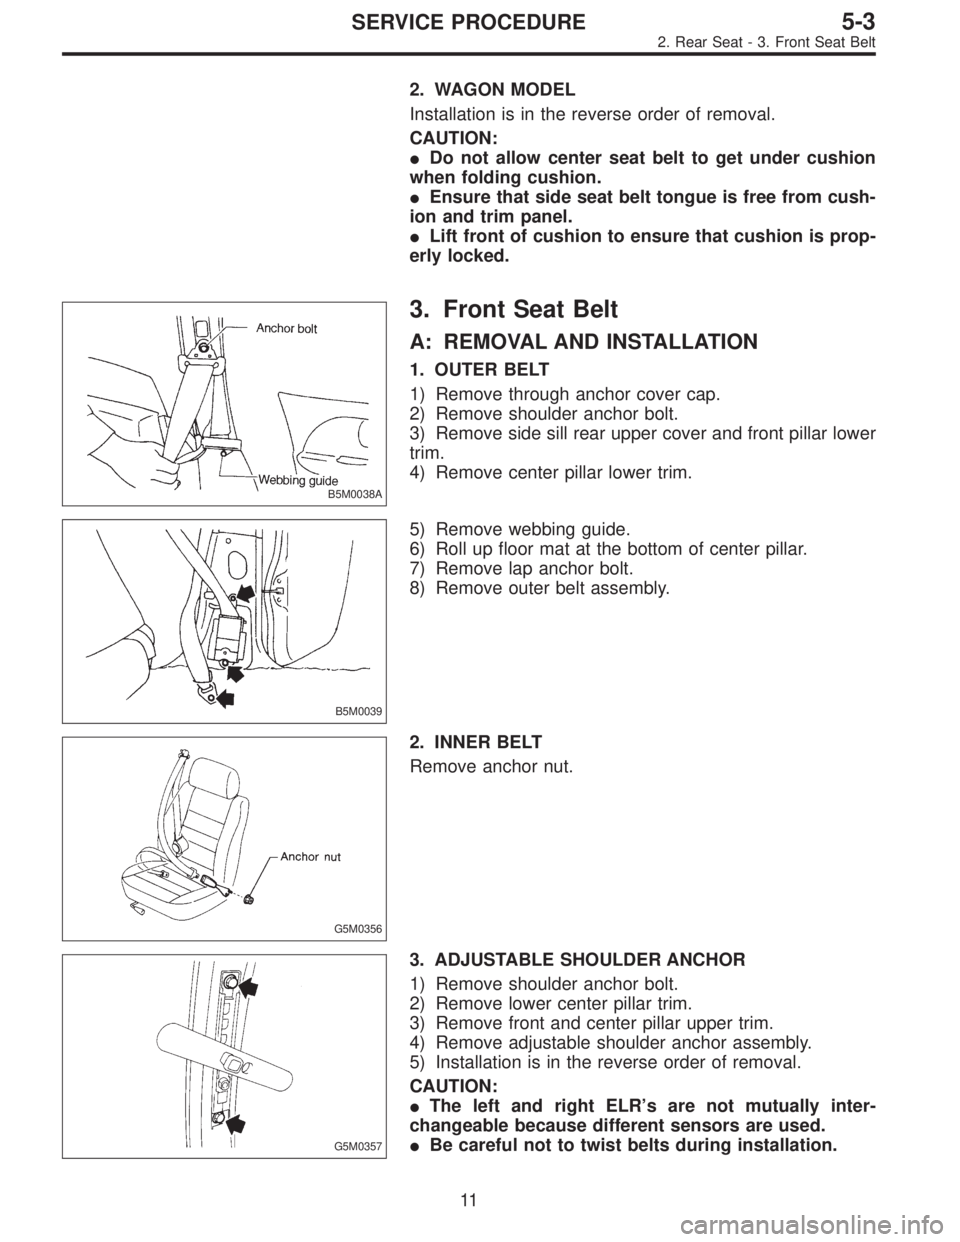
B5M0038A
3. Front Seat Belt
A: REMOVAL AND INSTALLATION
1. OUTER BELT
1) Remove through anchor cover cap.
2) Remove shoulder anchor bolt.
3) Remove side sill rear upper cover and front pillar lower
trim.
4) Remove center pillar lower trim.
B5M0039
5) Remove webbing guide.
6) Roll up floor mat at the bottom of center pillar.
7) Remove lap anchor bolt.
8) Remove outer belt assembly.
G5M0356
2. INNER BELT
Remove anchor nut.
G5M0357
3. ADJUSTABLE SHOULDER ANCHOR
1) Remove shoulder anchor bolt.
2) Remove lower center pillar trim.
3) Remove front and center pillar upper trim.
4) Remove adjustable shoulder anchor assembly.
5) Installation is in the reverse order of removal.
CAUTION:
�The left and right ELR’s are not mutually inter-
changeable because different sensors are used.
�Be careful not to twist belts during installation.
11
5-3SERVICE PROCEDURE
2. Rear Seat - 3. Front Seat Belt
Page 1638 of 3342

2. WAGON MODEL
Installation is in the reverse order of removal.
CAUTION:
�Do not allow center seat belt to get under cushion
when folding cushion.
�Ensure that side seat belt tongue is free from cush-
ion and trim panel.
�Lift front of cushion to ensure that cushion is prop-
erly locked.
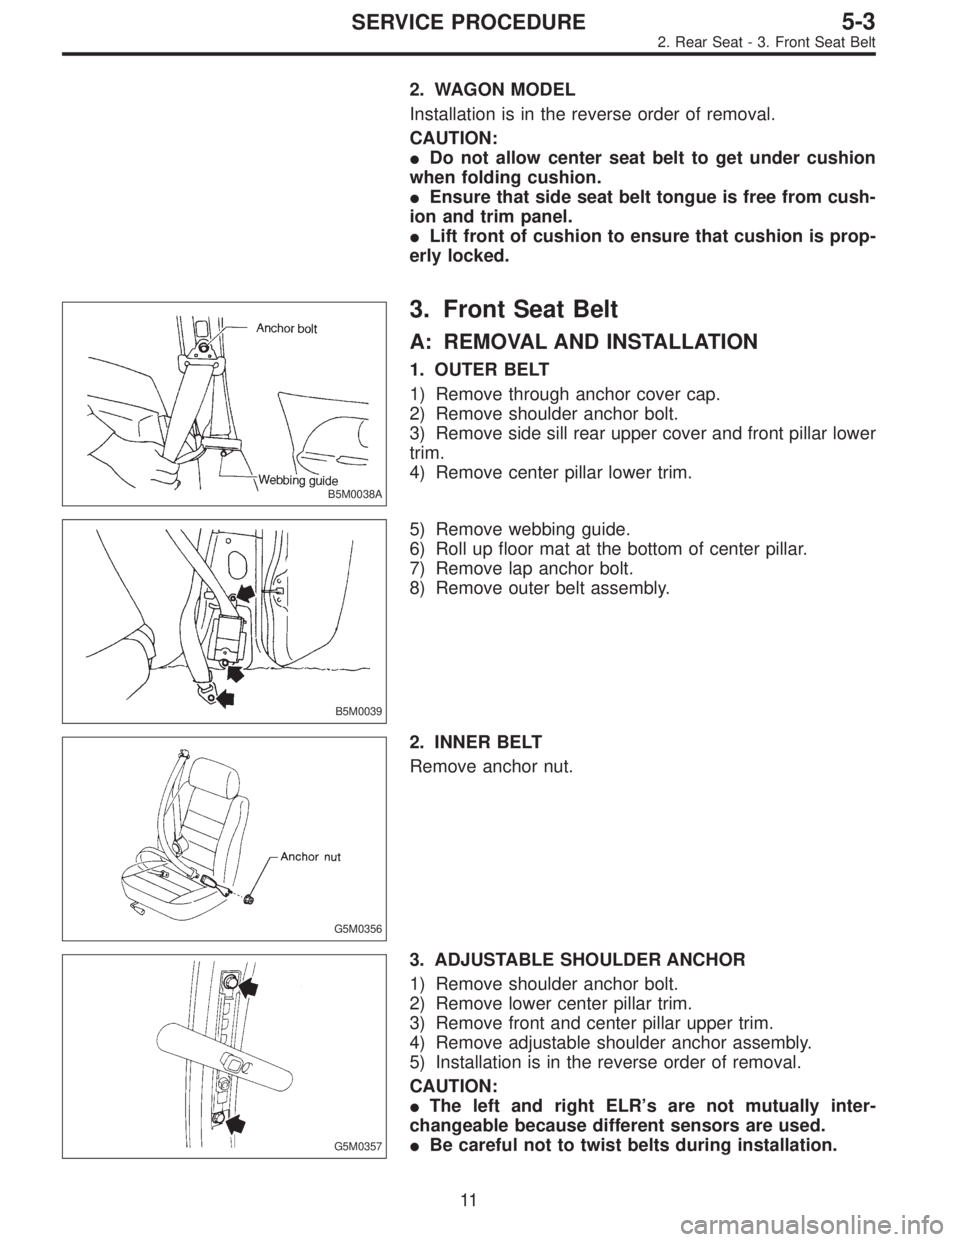
B5M0038A
3. Front Seat Belt
A: REMOVAL AND INSTALLATION
1. OUTER BELT
1) Remove through anchor cover cap.
2) Remove shoulder anchor bolt.
3) Remove side sill rear upper cover and front pillar lower
trim.
4) Remove center pillar lower trim.
B5M0039
5) Remove webbing guide.
6) Roll up floor mat at the bottom of center pillar.
7) Remove lap anchor bolt.
8) Remove outer belt assembly.
G5M0356
2. INNER BELT
Remove anchor nut.
G5M0357
3. ADJUSTABLE SHOULDER ANCHOR
1) Remove shoulder anchor bolt.
2) Remove lower center pillar trim.
3) Remove front and center pillar upper trim.
4) Remove adjustable shoulder anchor assembly.
5) Installation is in the reverse order of removal.
CAUTION:
�The left and right ELR’s are not mutually inter-
changeable because different sensors are used.
�Be careful not to twist belts during installation.
11
5-3SERVICE PROCEDURE
2. Rear Seat - 3. Front Seat Belt
Page 1639 of 3342
G5M0358
4. Rear Seat Belt
A: REMOVAL AND INSTALLATION
1. SEDAN MODEL
1) Remove rear cushion from vehicle.
2) Remove rear backrest from vehicle.
3) Remove rear pillar upper trim.
4) Remove outer anchor bolts.
B5M0040
5) Remove ELR.
G5M0360
6) Remove anchor bolt of outer belt and then remove outer
belt assembly.
7) Remove inner belt.
8) Installation is in the reverse order of removal.
B5M0041
2. WAGON MODEL
1) Raise rear cushion.
2) Remove shoulder anchor bolt.
3) Remove cap strut.
4) Remove rear quarter upper front trim.
G5M0362
5) Remove ELR assembly.
CAUTION:
Remove outer seat belt and center seat belt in similar
manner used to remove those from Sedan model.
12
5-3SERVICE PROCEDURE
4. Rear Seat Belt
Page 1640 of 3342
B5M0042
6) Remove lap anchor cover and then remove lower
anchor bolt.
7) Remove outer belt assembly.
8) Installation is in the reverse order of removal. Ensure
that seat belt is properly reeled on and off after installation
of ELR.
CAUTION:
�Be extremely careful not to confuse center seat
anchor plate with outer seat anchor plate during instal-
lation.
�Ensure that seat belts are free from twisting after
installation.
�Ensure that tongues, buckles and belts are properly
placed on seat.
B5M0046A
5. Inner Trim Panel
A: REMOVAL AND INSTALLATION
1. SIDE SILL COVER
1) Remove front pillar lower trim�
1.
2) Remove side sill rear upper cover trim�
2.
B5M0047
2. CENTER PILLAR LOWER
Remove center pillar lower trim.
13
5-3SERVICE PROCEDURE
4. Rear Seat Belt - 5. Inner Trim Panel
Page 1641 of 3342
B5M0042
6) Remove lap anchor cover and then remove lower
anchor bolt.
7) Remove outer belt assembly.
8) Installation is in the reverse order of removal. Ensure
that seat belt is properly reeled on and off after installation
of ELR.
CAUTION:
�Be extremely careful not to confuse center seat
anchor plate with outer seat anchor plate during instal-
lation.
�Ensure that seat belts are free from twisting after
installation.
�Ensure that tongues, buckles and belts are properly
placed on seat.
B5M0046A
5. Inner Trim Panel
A: REMOVAL AND INSTALLATION
1. SIDE SILL COVER
1) Remove front pillar lower trim�
1.
2) Remove side sill rear upper cover trim�
2.
B5M0047
2. CENTER PILLAR LOWER
Remove center pillar lower trim.
13
5-3SERVICE PROCEDURE
4. Rear Seat Belt - 5. Inner Trim Panel
Page 1642 of 3342
![SUBARU LEGACY 1997 Service Repair Manual B5M0048A
3. CENTER PILLAR UPPER
<Ref. to 5-3 [C500].>
1) Remove front pillar upper trim.
2) Remove upper anchor of front seat belt.
3) Remove center pillar upper trim panel.
4) Installation is in the SUBARU LEGACY 1997 Service Repair Manual B5M0048A
3. CENTER PILLAR UPPER
<Ref. to 5-3 [C500].>
1) Remove front pillar upper trim.
2) Remove upper anchor of front seat belt.
3) Remove center pillar upper trim panel.
4) Installation is in the](/manual-img/17/57434/w960_57434-1641.png)
B5M0048A
3. CENTER PILLAR UPPER
1) Remove front pillar upper trim.
2) Remove upper anchor of front seat belt.
3) Remove center pillar upper trim panel.
4) Installation is in the reverse order of removal.
CAUTION:
�The left and right ELR’s are not mutually inter-
changeable because different sensors are used.
�Be careful not to twist belts during installation.
G5M0363
4. FRONT PILLAR UPPER
Remove front pillar upper trim panel.
CAUTION:
Be sure to securely hook pawls of front pillar upper
trim panel on body flange.
B5M0043A
5. REAR PILLAR UPPER
1) Remove rear seat cushion and backrest.
2) Remove rear seat belt. (Lower anchor bolt)
3) Remove rear pillar upper trim panel.
[C500].>
4) Installation is in the reverse order of removal.
CAUTION:
Be sure to securely hook pawls of rear pillar upper trim
panel on body flange.
B5M0049
6. REAR PILLAR LOWER
1) Remove side sill rear upper cover trim.
2) Remove rear pillar lower trim.
B5M0044A
7. REAR QUARTER PILLAR UPPER
1) Remove rear seat belt. (Upper anchor bolt)
2) Remove cap strut.
3) Remove rear quarter upper front trim�
1.
4) Remove rear quarter upper rear trim�
2.
5) Installation is in the reverse order of removal.
CAUTION:
Be sure to securely hook pawls of rear quarter pillar
trim panel on body flange.
14
5-3SERVICE PROCEDURE
5. Inner Trim Panel
Page 1643 of 3342
![SUBARU LEGACY 1997 Service Repair Manual B5M0045
8. REAR QUARTER PILLAR LOWER
<Ref. to 5-3 [C500].>
1) Set rear seat cushion up.
2) Remove side sill rear upper cover.
3) Remove rear seat belt. (Upper anchor and lower anchor
bolts)
4) Remove SUBARU LEGACY 1997 Service Repair Manual B5M0045
8. REAR QUARTER PILLAR LOWER
<Ref. to 5-3 [C500].>
1) Set rear seat cushion up.
2) Remove side sill rear upper cover.
3) Remove rear seat belt. (Upper anchor and lower anchor
bolts)
4) Remove](/manual-img/17/57434/w960_57434-1642.png)
B5M0045
8. REAR QUARTER PILLAR LOWER
1) Set rear seat cushion up.
2) Remove side sill rear upper cover.
3) Remove rear seat belt. (Upper anchor and lower anchor
bolts)
4) Remove side skirt trim.
5) Remove cap strut.
6) Remove rear quarter upper rear trim.
7) Remove rear quarter pillar lower trim.
8) Installation is in the reverse order of removal.
CAUTION:
Be careful not to ride trim panel over harness,
insulators, etc.
B5M0050
9. ROOF TRIM
1) Remove room mirror, room light, sun visor and assist
grip.
2) Remove front pillar upper, center pillar upper, rear quar-
ter upper and rear rail trim.
3) Using ST, remove clips and then detach roof trim.
ST 925580000 PULLER
4) Installation is in the reverse order of removal.
CAUTION:
When removing clip, use great care to prevent damag-
ing the roof trim.
10. FLOOR MAT
Supplemental Restraint System“Airbag”
Airbag system wiring harness is routed near floor mat.
CAUTION:
�All Airbag system wiring harness and connectors
are colored yellow. Do not use electrical test equip-
ment on these circuit.
�Be careful not to damage Airbag system wiring har-
ness when servicing floor mat.
The following procedure is applicable to all models.
15
5-3SERVICE PROCEDURE
5. Inner Trim Panel
Page 1711 of 3342
B6M0472A
5) Installing end frame
When assembling end frame to yoke, align notched portion
of end frame with lead wire grommet.
B6M0473A
6) Installing yoke
When installing yoke to magnetic switch, align notch of
yoke with protrusion of magnetic switch.
G6M0095
2. Generator
A: REMOVAL AND INSTALLATION
1) Disconnect battery ground cable.
G2M0088
2) Disconnect connector and terminal from generator.
G2M0286
3) Remove V-belt cover.
4) Remove front side V-belt.
16
6-1SERVICE PROCEDURE
1. Starter - 2. Generator