2024 FORD F650/750 lock
[x] Cancel search: lockPage 171 of 386
The warning system uses two stages. Atfirst the system issues a temporary warningthat you need to take a rest. This messageonly appears for a short time. If the systemdetects further reduction in drivingalertness, another warning could be issuedwhich remains in the information displayfor a longer time. Press OK on the steeringwheel control to clear the warning. Whenactive the system runs in the backgroundand only issues a warning if required.
Resetting the System
You can reset the system by either:
•Switching the ignition off and on.
•Stopping the vehicle and then openingand closing the driver door.
LANE KEEPING SYSTEM (IF
EQUIPPED)
WARNING: You are responsible forcontrolling your vehicle at all times. Thesystem is designed to be an aid and doesnot relieve you of your responsibility todrive with due care and attention. Failureto follow this instruction could result inthe loss of control of your vehicle,personal injury or death.
WARNING: Always drive with duecare and attention when using andoperating the controls and features onyour vehicle.
WARNING: In cold and severeweather conditions the system may notfunction. Rain, snow and spray can alllimit sensor performance.
WARNING: The system will notoperate if the sensor cannot track theroad lane markings.
WARNING: The sensor mayincorrectly track lane markings as otherstructures or objects. This can result ina false or missed warning.
WARNING: Large contrasts inoutside lighting can limit sensorperformance.
WARNING: The system may notoperate properly if the sensor is blocked.Keep the windshield free fromobstruction.
WARNING: If damage occurs in theimmediate area surrounding the sensor,have your vehicle checked as soon aspossible.
WARNING: The system may notcorrectly operate if your vehicle is fittedwith a suspension kit not approved byus.
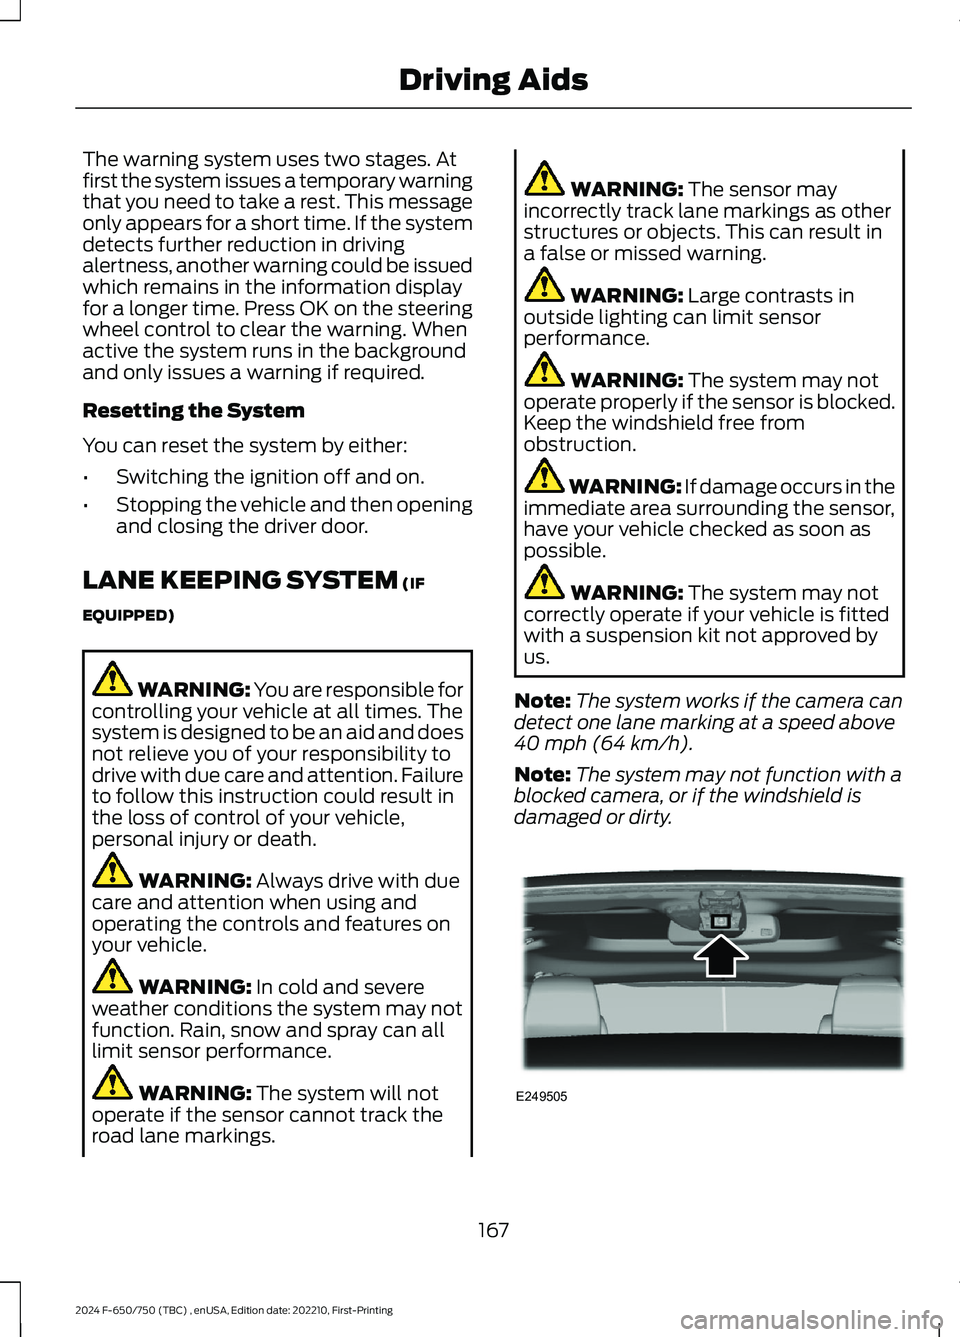
Note:The system works if the camera candetect one lane marking at a speed above40 mph (64 km/h).
Note:The system may not function with ablocked camera, or if the windshield isdamaged or dirty.
167
2024 F-650/750 (TBC) , enUSA, Edition date: 202210, First-PrintingDriving AidsE249505
Page 172 of 386

When you switch the lane keeping systemon and the camera detects a drift out ofthe travel lane, the system alerts the driverby playing a chime.
Switching the System On and Off
Note:The system stores the on or offsetting until you manually change it.
Press the button to switch thesystem on or off. The button isabove the audio unit or on thecenter console.
System Settings
Adjust the system sensitivity and intensitythrough the display screen. The systemremembers the last selection. You do notneed to readjust the setting each time youswitch on your vehicle.
Sensitivity: This setting allows you toselect where you would like to receive thealert within the lane. Increasing thesensitivity setting moves the warning zonesin closer to your vehicle.
NormalA
IncreasedB
Note:The alert diagram illustrates generalzone coverage. It does not provide exactzone parameters.
System Display
When you switch on the system, a graphicwith lane markings appears in the displayscreen.
Note:The overhead vehicle graphic maystill display if adaptive cruise control isenabled.
While the system is on, the color of thelane markings change to indicate thesystem status.
Gray: Indicates that the system istemporarily unable to provide a warningon the indicated side(s). This may bebecause:
•Your vehicle is below the activationspeed.
•The direction indicator is active.
•Your vehicle is in a dynamic maneuver.
•The road has no or poor lane markingsin the camera field-of-view.
•Certain conditions can prevent thecamera from detecting the lanemarkings. These conditions can includeany of the following: environmental,traffic, vehicle conditions, significantsun angles, shadows, snow, heavy rainor fog, following a large vehicle that isblocking or shadowing the lane, or poorheadlamp illumination.
168
2024 F-650/750 (TBC) , enUSA, Edition date: 202210, First-PrintingDriving AidsE173233 E165517 E233874
Page 173 of 386
See Troubleshooting for additionalinformation.
Green: Indicates that the system isavailable or ready to provide a warning onthe indicated side(s).
Red: Indicates that the system is providingor has just provided a lane keeping alertwarning.
You can temporarily disable the system atany time by doing the following:
•Quick braking.
•Fast acceleration.
•Using your direction indicator.
•Evasive steering maneuver.
•Driving too close to the lane markings.
Troubleshooting
Why is the feature not available (line markings are gray) when I can see the lane markingson the road?
Your vehicle speed is outside the operational range of the feature.
The sun is shining directly into the camera lens.
A quick intentional lane change has occurred.
Your vehicle stays too close to the lane markings.
Driving at high speeds in curves.
The last feature activation occurred a short time ago.
Ambiguous lane markings, for example in construction zones.
Rapid transition from light to dark, or from dark to light.
Sudden offset in lane markings.
ABS or AdvanceTrac™ is active.
There is a camera blockage due to dirt, grime, fog, frost or water on the windshield.
You are driving too close to the vehicle in front of you.
Transitioning between no lane markings to lane markings or vice versa.
There is standing water on the road.
Faint lane markings, for example partial yellow lane markings on concrete roads.
Lane width is too narrow or too wide.
No one calibrated the camera after replacing the windshield.
Driving on tight roads or on uneven roads.
Vehicle accessories are blocking the camera, for example a snowplow.
169
2024 F-650/750 (TBC) , enUSA, Edition date: 202210, First-PrintingDriving Aids
Page 176 of 386
Pre-Collision Assist Settings
Active braking turns on every time youswitch the ignition on. You cannot adjustthe Pre-Collision Assist settings.
Note:We recommend that you switch thesystem off if you install a snow plow orsimilar object in such a way that it mayblock the radar sensor. Your vehicleremembers the system status across keycycles.
Blocked Sensors
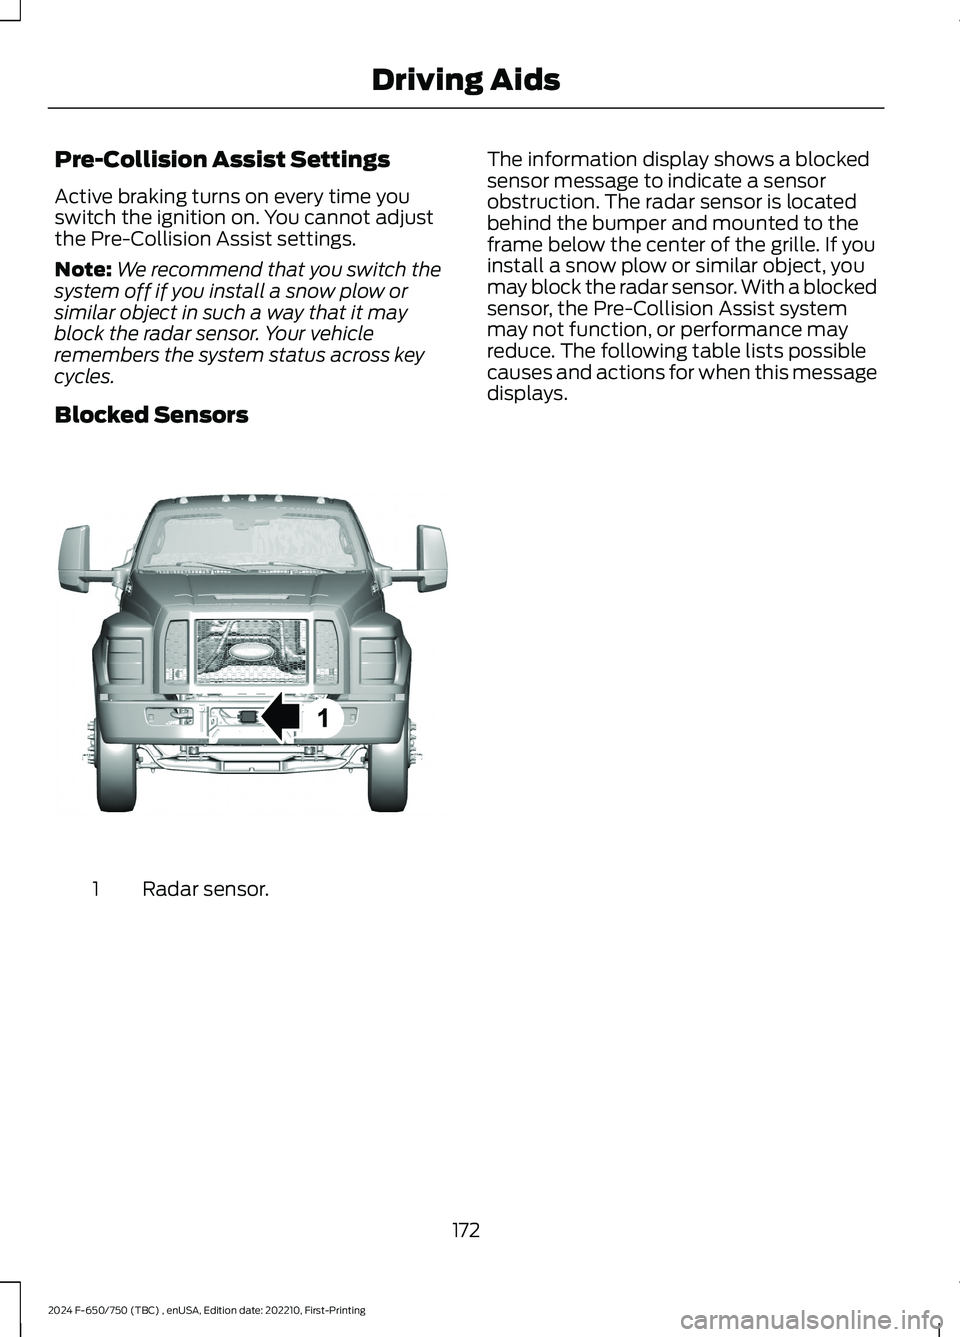
Radar sensor.1
The information display shows a blockedsensor message to indicate a sensorobstruction. The radar sensor is locatedbehind the bumper and mounted to theframe below the center of the grille. If youinstall a snow plow or similar object, youmay block the radar sensor. With a blockedsensor, the Pre-Collision Assist systemmay not function, or performance mayreduce. The following table lists possiblecauses and actions for when this messagedisplays.
172
2024 F-650/750 (TBC) , enUSA, Edition date: 202210, First-PrintingDriving AidsE312316
Page 180 of 386
Note:Switch the system off if you install asnowplow or similar object in such a waythat it may block the radar sensor. Yourvehicle remembers the selected settingacross key cycles.
Blocked Sensors
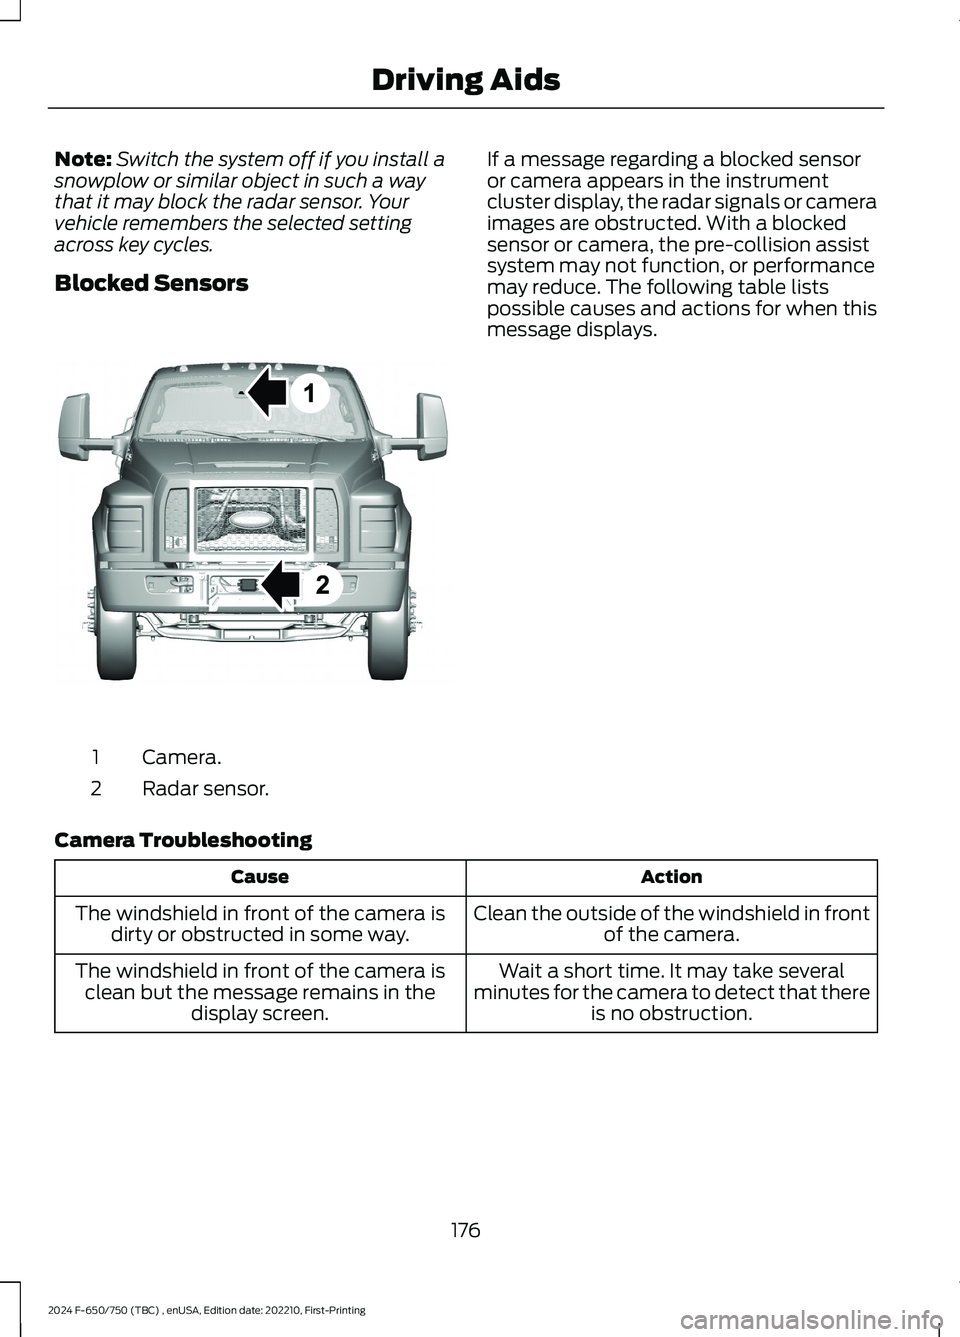
Camera.1
Radar sensor.2
If a message regarding a blocked sensoror camera appears in the instrumentcluster display, the radar signals or cameraimages are obstructed. With a blockedsensor or camera, the pre-collision assistsystem may not function, or performancemay reduce. The following table listspossible causes and actions for when thismessage displays.
Camera Troubleshooting
ActionCause
Clean the outside of the windshield in frontof the camera.The windshield in front of the camera isdirty or obstructed in some way.
Wait a short time. It may take severalminutes for the camera to detect that thereis no obstruction.
The windshield in front of the camera isclean but the message remains in thedisplay screen.
176
2024 F-650/750 (TBC) , enUSA, Edition date: 202210, First-PrintingDriving AidsE311873
Page 182 of 386
LOAD LIMIT
WARNING: Do not exceedthe GVWR or the GAWRspecified on the SafetyCompliance Certification Label.
WARNING: Do not usereplacement tires with lowerload carrying capacities than theoriginal tires because they maylower the vehicle's GVWR andGAWR limitations. Replacementtires with a higher limit than theoriginals do not increase theGVWR and GAWR limitations.
WARNING: Exceeding anyvehicle weight rating limitationcould result in serious damageto the vehicle and/or personalinjury.
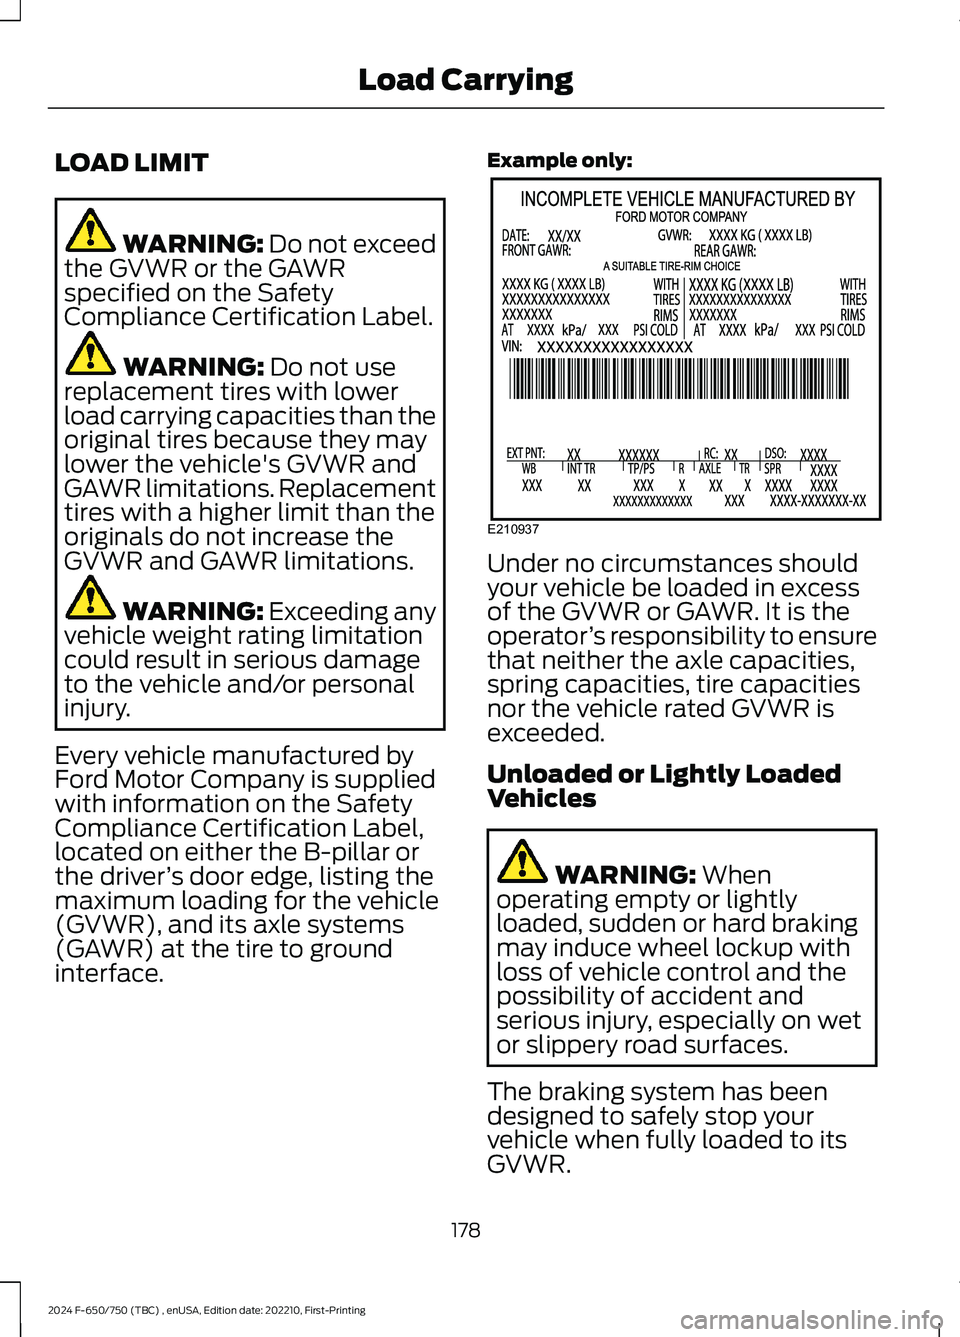
Every vehicle manufactured byFord Motor Company is suppliedwith information on the SafetyCompliance Certification Label,located on either the B-pillar orthe driver’s door edge, listing themaximum loading for the vehicle(GVWR), and its axle systems(GAWR) at the tire to groundinterface.
Example only:
Under no circumstances shouldyour vehicle be loaded in excessof the GVWR or GAWR. It is theoperator’s responsibility to ensurethat neither the axle capacities,spring capacities, tire capacitiesnor the vehicle rated GVWR isexceeded.
Unloaded or Lightly LoadedVehicles
WARNING: Whenoperating empty or lightlyloaded, sudden or hard brakingmay induce wheel lockup withloss of vehicle control and thepossibility of accident andserious injury, especially on wetor slippery road surfaces.
The braking system has beendesigned to safely stop yourvehicle when fully loaded to itsGVWR.
178
2024 F-650/750 (TBC) , enUSA, Edition date: 202210, First-PrintingLoad CarryingE210937
Page 188 of 386
•Shift to a lower gear when driving downa long or steep hill. Do not apply thebrakes continuously, as they mayoverheat and become less effective.
•If your transmission is equipped withthe Tow/Haul feature, use this featurewhen towing. This provides enginebraking and helps eliminate excessivetransmission shifting for optimum fueleconomy and transmission cooling.
•Allow more distance for stopping witha trailer attached. Anticipate stops andbrake gradually.
FIFTH WHEEL OPERATION (IF
EQUIPPED)
WARNING: Failure to follow thefifth wheel manufacturer’s instructionsfor hooking and unhooking as well assliding the fifth wheel could result in anaccident, personal injury or death.
WARNING: When the tractor andtrailer are parked unattended, the trailerbrake hand control should never be usedto apply the brake, since air may leakfrom the system, allowing vehiclemovement, resulting in possible propertydamage, personal injury or death.
Before hook-up, make sure:
•The fifth wheel jaws are fully open.
•The fifth wheel is fully tilted back toprevent body damage when the tractoris backed under a trailer.
•You block the trailer wheels and adjustand apply the trailer spring brakes.Never chase a trailer.
•The brake hoses and light cords areclear of the fifth wheel.
Hook-up
1.Back the tractor squarely under thetrailer, engaging the fifth-wheel jawson the kingpin. Always back up slowly;make sure the trailer is neither too highnor too low. Avoid backing under thetrailer from an angle.
2.Connect the service and emergencybrake hoses and trailer light connector.
3.Inspect the jaws of the fifth wheel tobe sure they have fully closed on thetrailer kingpin and the trailer plate isresting securely on the fifth wheel.
4.Make sure the coupler release lever isin the locked position.
5.Charge the trailer brake system. Setthe trailer brakes, with either the handvalve or tractor protection valve. Pullagainst the trailer for an extra check ofproper hook-up. Do not pull hardenough to damage or strain theequipment.
6.Set the tractor parking brakes and fullyraise the trailer landing gear.
7.Check the operation of all trailer lightsand correct any lights that may befaulty.
Un-hook
1.Try to keep the tractor and trailer in astraight line.
2.Apply the parking brakes.
3.Lower the trailer landing gear, makingsure it is on solid, level ground. Theweight of the trailer is to be on thelanding gear.
4.Block the trailer wheels.
5.Disconnect the brake hoses and lightcords. Be sure hoses and cords areclear.
6.Pull coupler release lever to disengagethe fifth wheel jaws.
184
2024 F-650/750 (TBC) , enUSA, Edition date: 202210, First-PrintingTowing
Page 190 of 386

GENERAL DRIVING POINTS
General Information
•Accelerate smoothly and evenly. Rapidacceleration increases fuelconsumption without increasing engineperformance.
•When approaching a hill, press theaccelerator smoothly to start theincline at full power, and then shiftdown as needed to maintain vehiclespeed.
•When going down a hill, or long steepgrades, prevent overspeeding of theengine. Normally, choose the samegear to descend the hill that you use toascend the hill. The engine governorhas no control over engine speed whenit is being pushed by a loaded vehicle.
•Do not operate in a gear that permitsan engine speed more than themaximum governed speed or high-idleRPM (no load).
•Always shift to a lower gear at highaltitudes to prevent engine smoking.
Backing Up
WARNING: All vehicles have blindspots. To reduce the risk of severe injuryor property damage, never move yourvehicle to the side or rear or change laneswithout being sure your way is clear onboth sides and to your rear.
WARNING: To reduce the risk ofthe possibility of personal injury whilebacking up the vehicle, always be sureyour vehicle’s path is clear.
Before backing up your vehicle, be sure youcan do so safely. If anything behind the cablimits your view, do not rely on mirrorsalone to make sure that your intended pathis clear. If other people are in the vicinity,have someone standing well behind yourvehicle and outside of your intended path(visible through an exterior mirror) guideyou as you back up.
Although OSHA or some governmentalregulations may require the use of anelectrical or mechanical back up alarm towarn bystanders, such an alarm does notguarantee that the intended path is clear.When in doubt, get out of your vehicle andvisually check the intended path is clear.Back up slowly as to allow others time tomove, if necessary.
If you install an electrical back up alarm,connect it to the backup lamp circuit.
Parking
WARNING: When parking yourvehicle, do not leave the transmission ingear; if the key is in the on position andthe vehicle rolls, the engine could start.Failure to follow these instructions couldresult in an unattended vehicle moving,possibly causing personal injury orproperty damage.
Always use the parking brake. Whenparking on a grade, block the wheels andturn the front wheels to one side so that ifyour vehicle rolls, the front tires act againstthe curb to stop your vehicle. The frontwheels are more effective at stopping arolling vehicle than the rear wheels.
186
2024 F-650/750 (TBC) , enUSA, Edition date: 202210, First-PrintingDriving Hints