Page 97 of 446

3-19
Convenient features of your vehicle
3
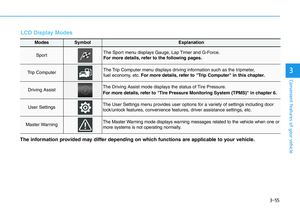
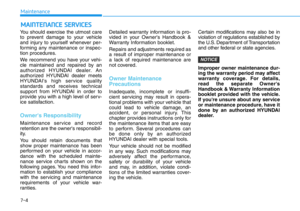
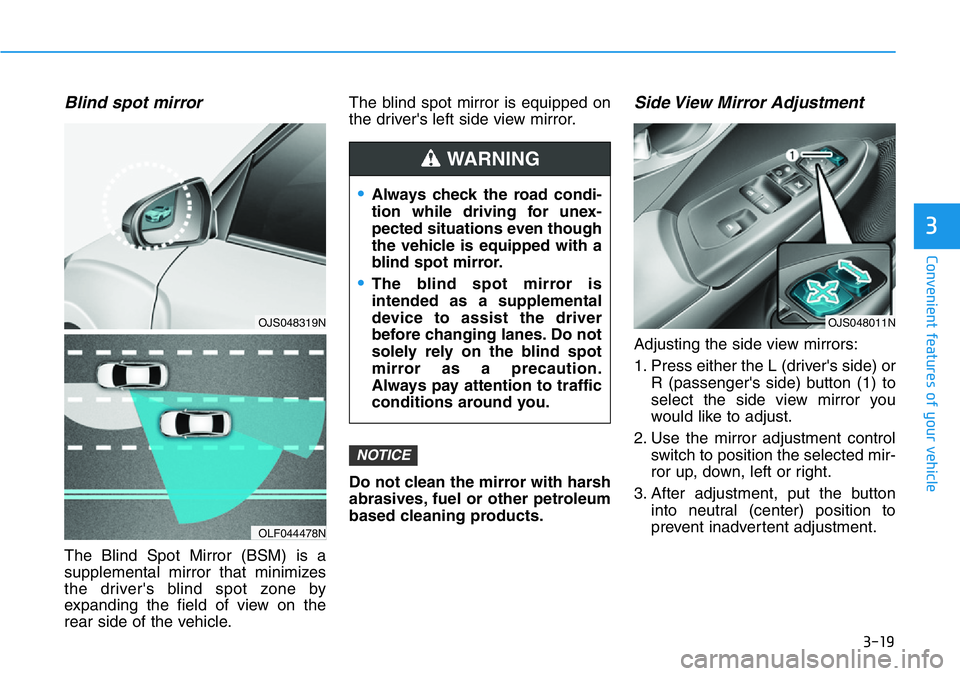
Blind spot mirror
The Blind Spot Mirror (BSM) is a
supplemental mirror that minimizes
the driver's blind spot zone by
expanding the field of view on the
rear side of the vehicle.The blind spot mirror is equipped on
the driver's left side view mirror.
Do not clean the mirror with harsh
abrasives, fuel or other petroleum
based cleaning products.
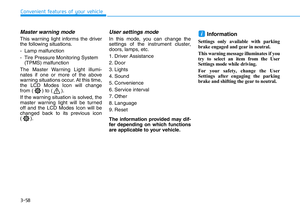
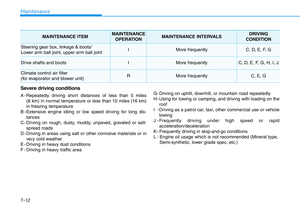
Side View Mirror Adjustment
Adjusting the side view mirrors:
1. Press either the L (driver's side) or
R (passenger's side) button (1) to
select the side view mirror you
would like to adjust.
2. Use the mirror adjustment control
switch to position the selected mir-
ror up, down, left or right.
3. After adjustment, put the button
into neutral (center) position to
prevent inadvertent adjustment.
NOTICE
OJS048319N
OLF044478N
•Always check the road condi-
tion while driving for unex-
pected situations even though
the vehicle is equipped with a
blind spot mirror.
•The blind spot mirror is
intended as a supplemental
device to assist the driver
before changing lanes. Do not
solely rely on the blind spot
mirror as a precaution.
Always pay attention to traffic
conditions around you.
WARNING
OJS048011N
Page 98 of 446
3-20
Convenient features of your vehicle
• The mirrors stop moving when
they reach the maximum adjust-
ing angles, but the motor contin-
ues to operate while the switch
is pressed. Do not press the
switch longer than necessary,
because this can damage the
motor.
• Do not attempt to adjust the side
view mirrors by hand, because
this can damage the motor.
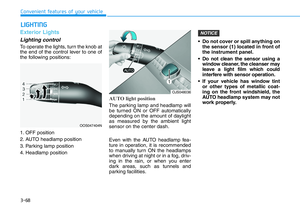
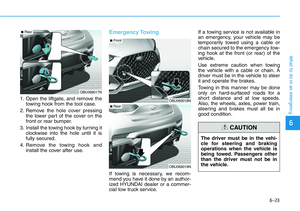
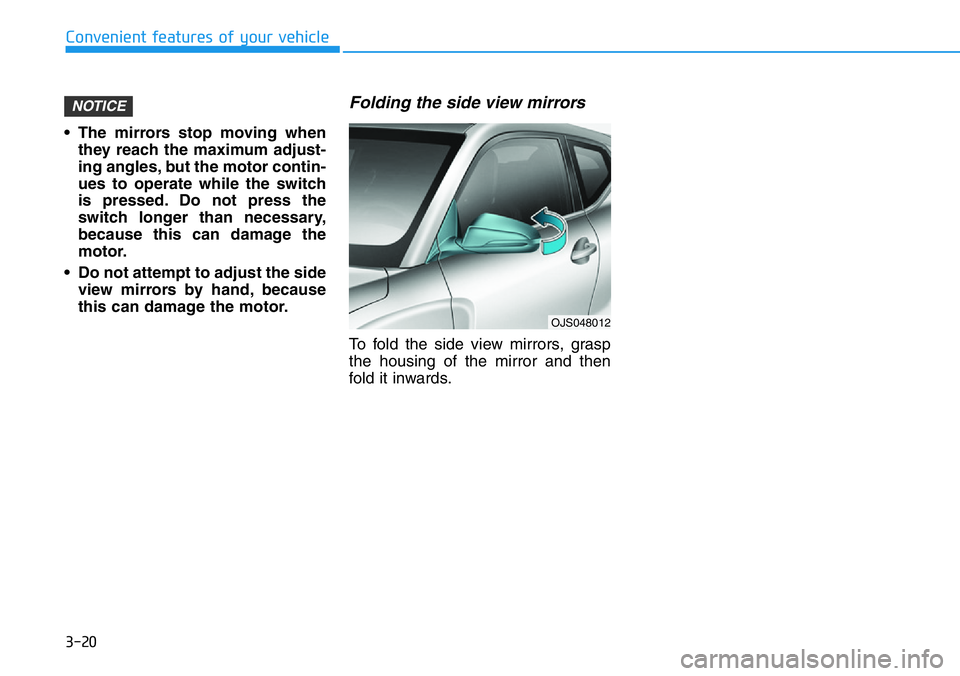
Folding the side view mirrors
To fold the side view mirrors, grasp
the housing of the mirror and then
fold it inwards.
NOTICE
OJS048012
Page 99 of 446
3-21
Convenient features of your vehicle
3
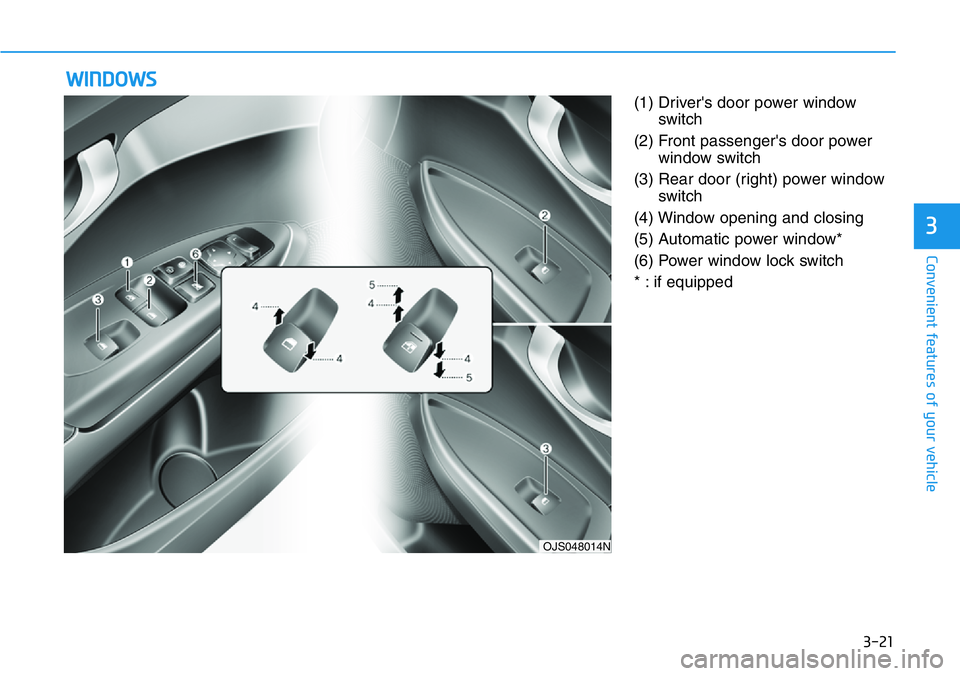
(1) Driver's door power window
switch
(2) Front passenger's door power
window switch
(3) Rear door (right) power window
switch
(4) Window opening and closing
(5) Automatic power window*
(6) Power window lock switch
* : if equipped
WINDOWS
OJS048014N
Page 100 of 446

3-22
Convenient features of your vehicle
Power Windows
The ignition switch must be in the ON
position to be able to raise or lower
the windows. Each door has a Power
Window switch to control that door's
window. The driver has a Power
Window Lock switch which can block
the operation of rear passenger win-
dows. The power windows will oper-
ate for approximately 30 seconds
after the ignition switch is placed in
the ACC or LOCK/OFF position.
However, if the front doors are
opened, the Power Windows will not
operate even within the 30 second
period.
Information
• In cold and wet climates, power win-
dows may not work properly due to
freezing conditions.
• While driving with the rear win-
dows down, your vehicle may
demonstrate a wind buffeting or
pulsation noise. This noise is normal
and can be reduced or eliminated by
taking the following actions. If the
noise occurs with one or both of the
rear windows down, partially lower
both front windows approximately
one inch.
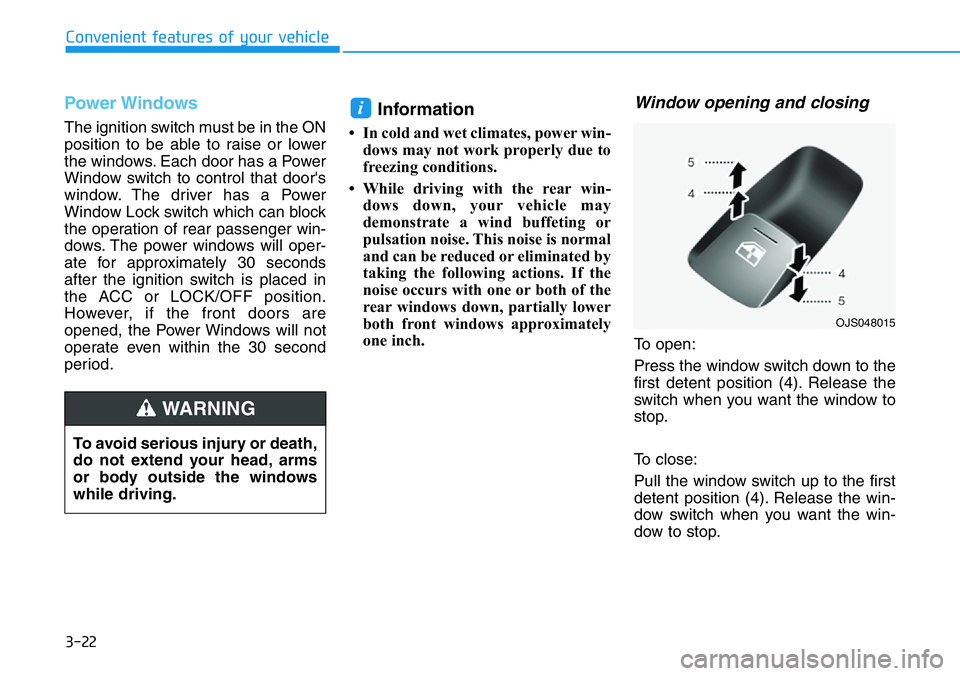
Window opening and closing
To open:
Press the window switch down to the
first detent position (4). Release the
switch when you want the window to
stop.
To close:
Pull the window switch up to the first
detent position (4). Release the win-
dow switch when you want the win-
dow to stop.
i
To avoid serious injury or death,
do not extend your head, arms
or body outside the windows
while driving.
WARNING
OJS048015
Page 101 of 446

3-23
Convenient features of your vehicle
3
Auto down window (if equipped)
Pressing the power window switch
down momentarily to the second
detent position (5) completely lowers
the window even when the switch is
released. To stop the window at the
desired position while the window is
in operation, pull up or press down
and release the switch.
Auto up/down window
(if equipped)
Pressing or pulling up the power win-
dow switch momentarily to the sec-
ond detent position (5) completely
lowers or lifts the window even when
the switch is released. To stop the
window at the desired position while
the window is in operation, pull up or
press down and release the switch.
To reset the power windows
If the power windows do not operate
normally, the automatic power win-
dow system must be reset as follows:
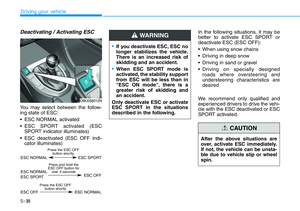
1. Place the ignition switch to the ON
position.
2. Close the window and continue
pulling up on the power window
switch for at least one second.
If the power windows do not operate
properly after resetting, have the
system checked by an authorized
HYUNDAI dealer.
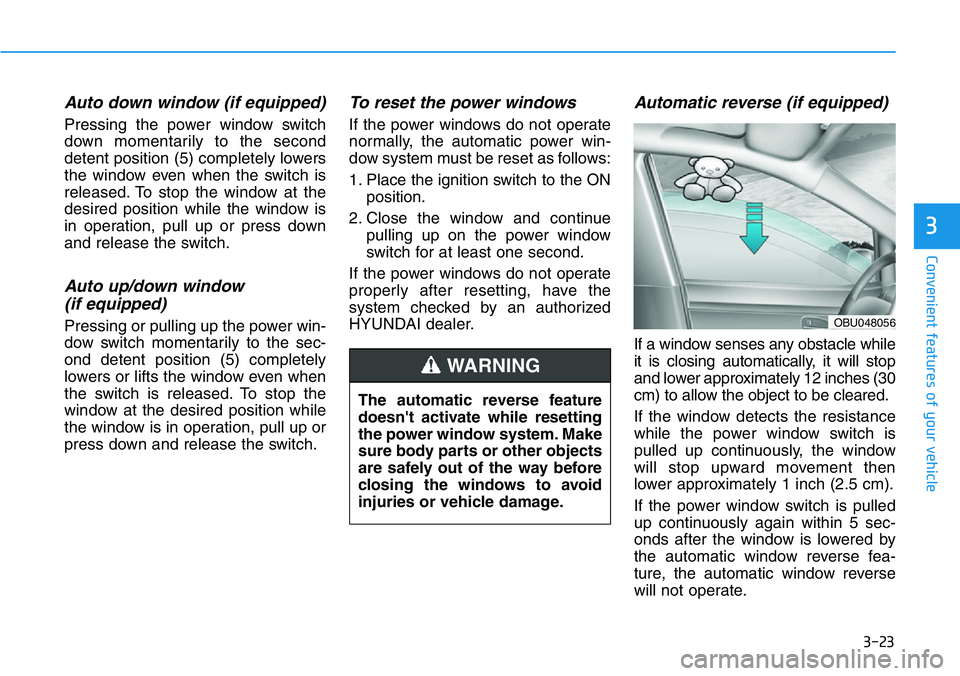
Automatic reverse (if equipped)
If a window senses any obstacle while
it is closing automatically, it will stop
and lower approximately 12 inches (30
cm) to allow the object to be cleared.
If the window detects the resistance
while the power window switch is
pulled up continuously, the window
will stop upward movement then
lower approximately 1 inch (2.5 cm).
If the power window switch is pulled
up continuously again within 5 sec-
onds after the window is lowered by
the automatic window reverse fea-
ture, the automatic window reverse
will not operate. The automatic reverse feature
doesn't activate while resetting
the power window system. Make
sure body parts or other objects
are safely out of the way before
closing the windows to avoid
injuries or vehicle damage.
WARNING
OBU048056
Page 102 of 446

3-24
Convenient features of your vehicle
Information
The automatic reverse feature is only
active when the "Auto Up" feature is
used by fully pulling up the switch to
the second detent.
Do not install any accessories on
the windows. The automatic reverse
feature may not operate.
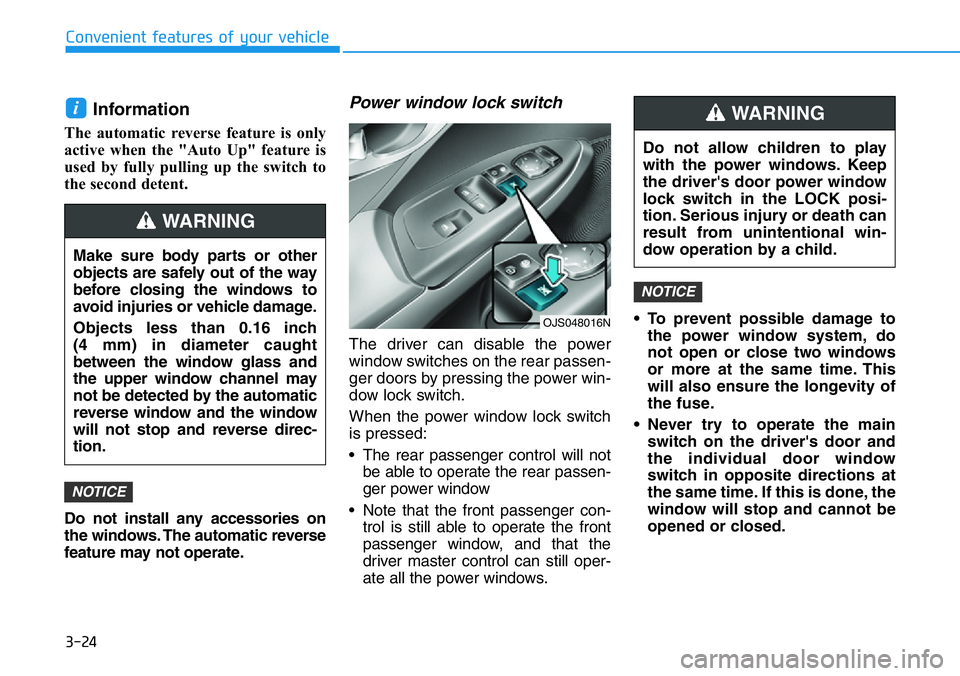
Power window lock switch
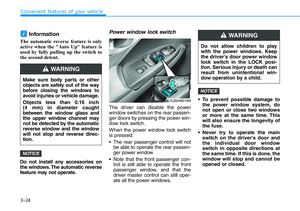
The driver can disable the power
window switches on the rear passen-
ger doors by pressing the power win-
dow lock switch.
When the power window lock switch
is pressed:
• The rear passenger control will not
be able to operate the rear passen-
ger power window
• Note that the front passenger con-
trol is still able to operate the front
passenger window, and that the
driver master control can still oper-
ate all the power windows.• To prevent possible damage to
the power window system, do
not open or close two windows
or more at the same time. This
will also ensure the longevity of
the fuse.
• Never try to operate the main
switch on the driver's door and
the individual door window
switch in opposite directions at
the same time. If this is done, the
window will stop and cannot be
opened or closed.
NOTICE
NOTICE
i
Do not allow children to play
with the power windows. Keep
the driver's door power window
lock switch in the LOCK posi-
tion. Serious injury or death can
result from unintentional win-
dow operation by a child.
WARNING
Make sure body parts or other
objects are safely out of the way
before closing the windows to
avoid injuries or vehicle damage.
Objects less than 0.16 inch
(4 mm) in diameter caught
between the window glass and
the upper window channel may
not be detected by the automatic
reverse window and the window
will not stop and reverse direc-
tion.
WARNING
OJS048016N
Page 103 of 446
3-25
Convenient features of your vehicle
3
Hood
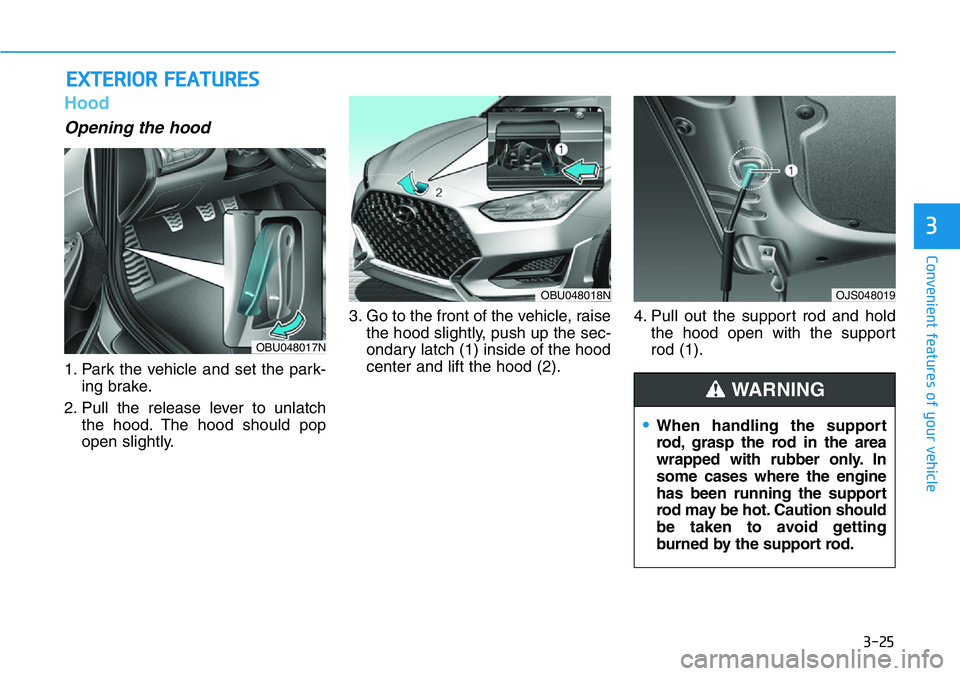
Opening the hood
1. Park the vehicle and set the park-
ing brake.
2. Pull the release lever to unlatch
the hood. The hood should pop
open slightly.3. Go to the front of the vehicle, raise
the hood slightly, push up the sec-
ondary latch (1) inside of the hood
center and lift the hood (2).4. Pull out the support rod and hold
the hood open with the support
rod (1).
EXTERIOR FEATURES
•When handling the support
rod, grasp the rod in the area
wrapped with rubber only. In
some cases where the engine
has been running the support
rod may be hot. Caution should
be taken to avoid getting
burned by the support rod.
WARNING
OBU048017N
OBU048018NOJS048019
Page 104 of 446

3-26
Convenient features of your vehicle
Closing the hood
1. Before closing the hood, check in
and around the engine compart-
ment to ensure the following:
- Any tools or other loose objects
are removed from the engine
room area or hood opening area
- All glove, rags, or other com-
bustible material is removed
from the engine compartment
- All filler caps are tightly and cor-
rectly installed
2. Lower the hood halfway (lifted
approximately 12 inches (30 cm)
from the closed position) and push
down to securely lock in place.
Then double check to be sure the
hood is secure. If the hood can be
raised slightly, it is not securely
locked. Open it again and close it
with more force.
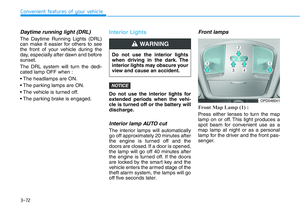
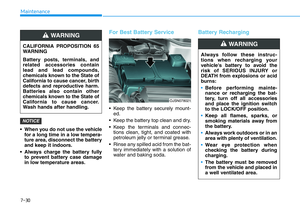
Liftgate
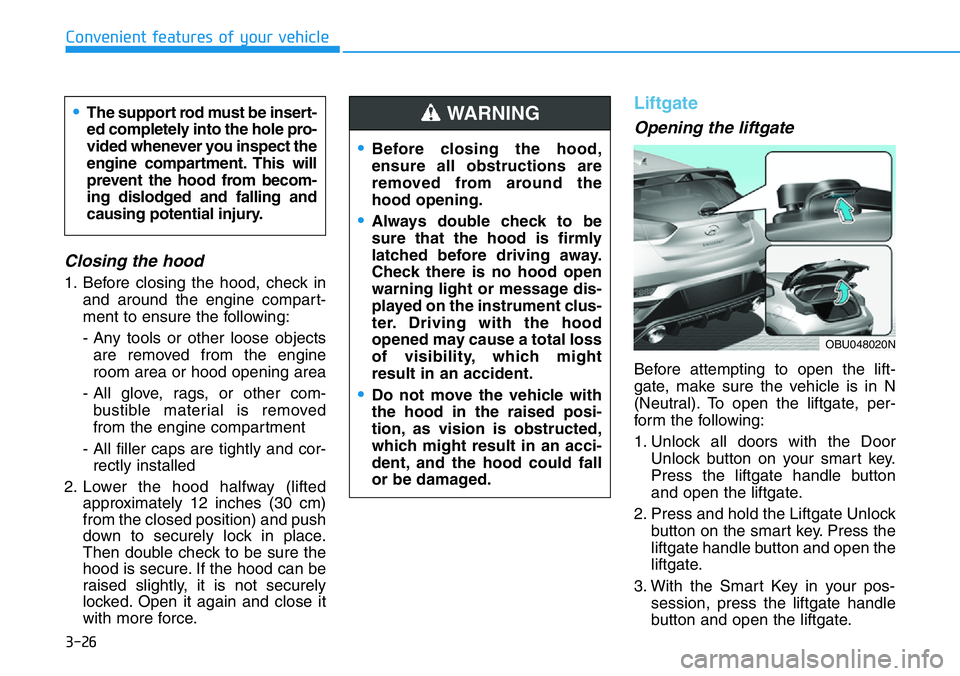
Opening the liftgate
Before attempting to open the lift-
gate, make sure the vehicle is in N
(Neutral). To open the liftgate, per-
form the following:
1. Unlock all doors with the Door
Unlock button on your smart key.
Press the liftgate handle button
and open the liftgate.
2. Press and hold the Liftgate Unlock
button on the smart key. Press the
liftgate handle button and open the
liftgate.
3. With the Smart Key in your pos-
session, press the liftgate handle
button and open the liftgate.
•Before closing the hood,
ensure all obstructions are
removed from around the
hood opening.
•Always double check to be
sure that the hood is firmly
latched before driving away.
Check there is no hood open
warning light or message dis-
played on the instrument clus-
ter. Driving with the hood
opened may cause a total loss
of visibility, which might
result in an accident.
•Do not move the vehicle with
the hood in the raised posi-
tion, as vision is obstructed,
which might result in an acci-
dent, and the hood could fall
or be damaged.
WARNING •The support rod must be insert-
ed completely into the hole pro-
vided whenever you inspect the
engine compartment. This will
prevent the hood from becom-
ing dislodged and falling and
causing potential injury.
OBU048020N