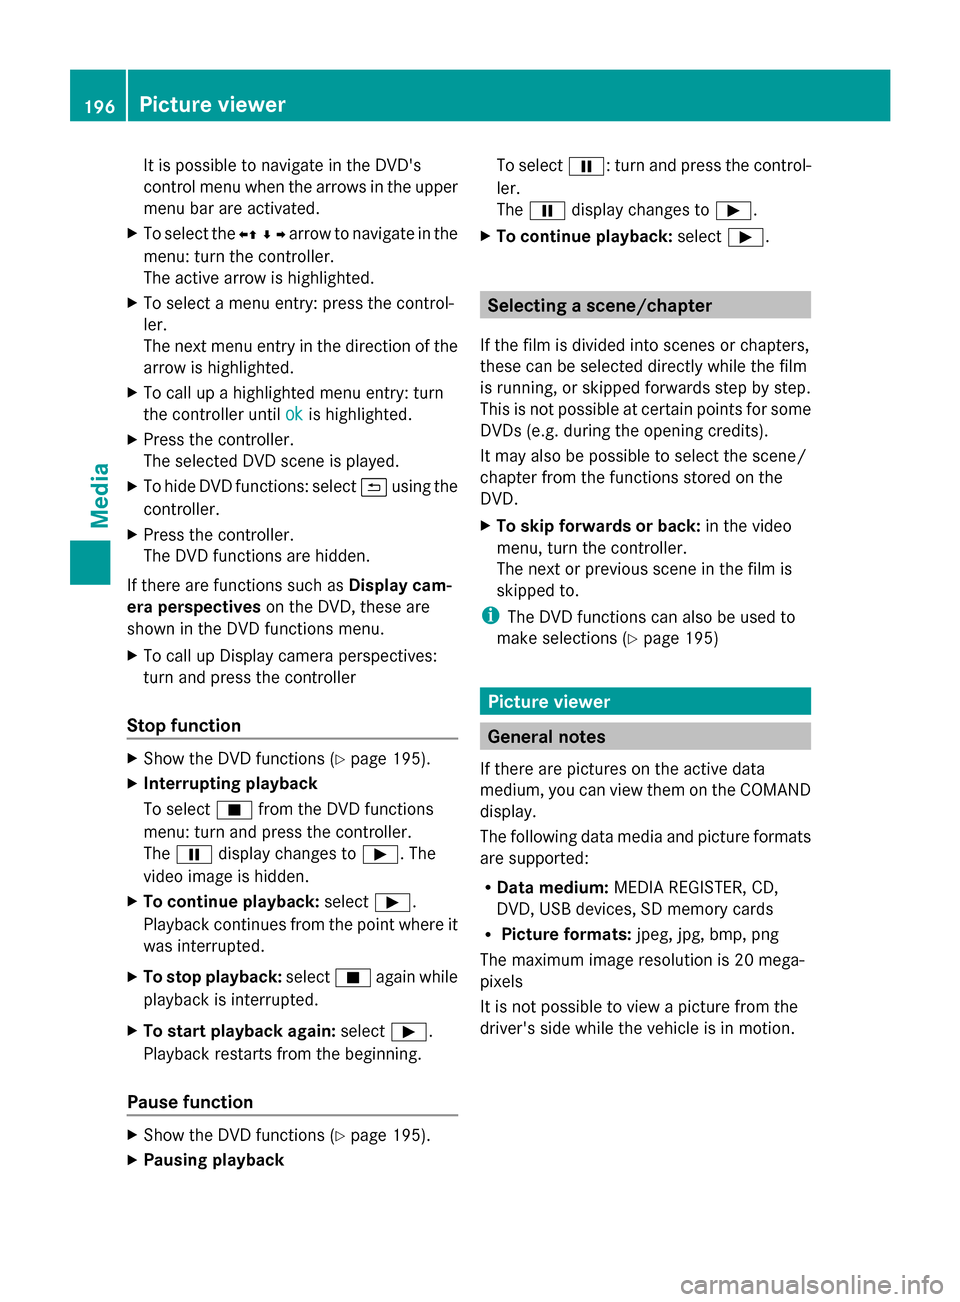
Page 198 of 214

It is possible to navigate in the DVD's
control menu when the arrows in the upper
menu bar are activated.
X To select the 0095009700C50096arrow to navigate in the
menu: turn the controller.
The active arrow is highlighted.
X To select a menu entry: press the control-
ler.
The next menu entry in the direction of the
arrow is highlighted.
X To call up a highlighted menu entry: turn
the controller until ok
ok is highlighted.
X Press the controller.
The selected DVD scene is played.
X To hide DVD functions: select 0039using the
controller.
X Press the controller.
The DVD functions are hidden.
If there are functions such as Display cam-
era perspectives on the DVD, these are
shown in the DVD functions menu.
X To call up Display camera perspectives:
turn and press the controller
Stop function X
Show the DVD functions (Y page 195).
X Interrupting playback
To select 00DBfrom the DVD functions
menu: turn and press the controller.
The 00CF display changes to 00D0. The
video image is hidden.
X To continue playback: select00D0.
Playback continues from the point where it
was interrupted.
X To stop playback: select00DBagain while
playback is interrupted.
X To start playback again: select00D0.
Playback restarts from the beginning.
Pause function X
Show the DVD functions (Y page 195).
X Pausing playback To select
00CF: turn and press the control-
ler.
The 00CF display changes to 00D0.
X To continue playback: select00D0. Selecting a scene/chapter
If the film is divided into scenes or chapters,
these can be selected directly while the film
is running, or skipped forwards step by step.
This is not possible at certain points for some
DVDs (e.g. during the opening credits).
It may also be possible to select the scene/
chapter from the functions stored on the
DVD.
X To skip forwards or back: in the video
menu, turn the controller.
The next or previous scene in the film is
skipped to.
i The DVD functions can also be used to
make selections (Y page 195) Picture viewer
General notes
If there are pictures on the active data
medium, you can view them on the COMAND
display.
The following data media and picture formats
are supported:
R Data medium: MEDIA REGISTER, CD,
DVD, USB devices, SD memory cards
R Picture formats: jpeg, jpg, bmp, png
The maximum image resolution is 20 mega-
pixels
It is not possible to view a picture from the
driver's side while the vehicle is in motion. 196
Picture viewerMedia
Page 209 of 214

ter bar. You can limit the search using the
character bar.
X To select the state or town: enter the initial
letter by turning the controller and then
press to confirm.
X To switch to the list without the character
bar: slide 5or select ok ok.
X To delete an entry: select 0084from the
character bar and press the controller.
Pressing briefly deletes the last letter
entered.
Pressing and holding longer deletes the
entire entry.
X To select the state/province or town in the
list: turn the controller and press to con-
firm.
After selecting a state (or province), the list
of towns appears.
After choosing a town, the information
chart displays the weather forecast for the
selected location. The data is supplied by
the nearest weather station.
Option 2: selecting the area in the
weather map X
Call up the weather map (Y page 207).
X Move the weather map so that the cross-
hair is over the desired area (Y page 208).
X Press the controller.
The information chart shows the weather
forecast for the selected area. The data is
supplied by the nearest weather station. Memory functions
Storing the area in the weather memory You can save locations that are called up fre-
quently in ten preset positions (0, 1-9) in the
weather memory. X
In the weather memory: select the area
for the weather forecast (Y page 205).
The selected location appears at the top in
the status bar.
X To select Position
Position in the information
chart: turn and press the controller.
X Select Presets Presets.
X Select a preset using the controller.
X Press and hold the controller until you hear
a tone.
The area is entered on the selected preset.
Selecting an area from the weather
memory X
Directly from the weather memory:
select Position Position from the information
chart: turn and press the controller.
X Select Presets
Presets.
X Select the memory position which contains
the location you require.
The weather data for the selected area is
displayed. Weather map
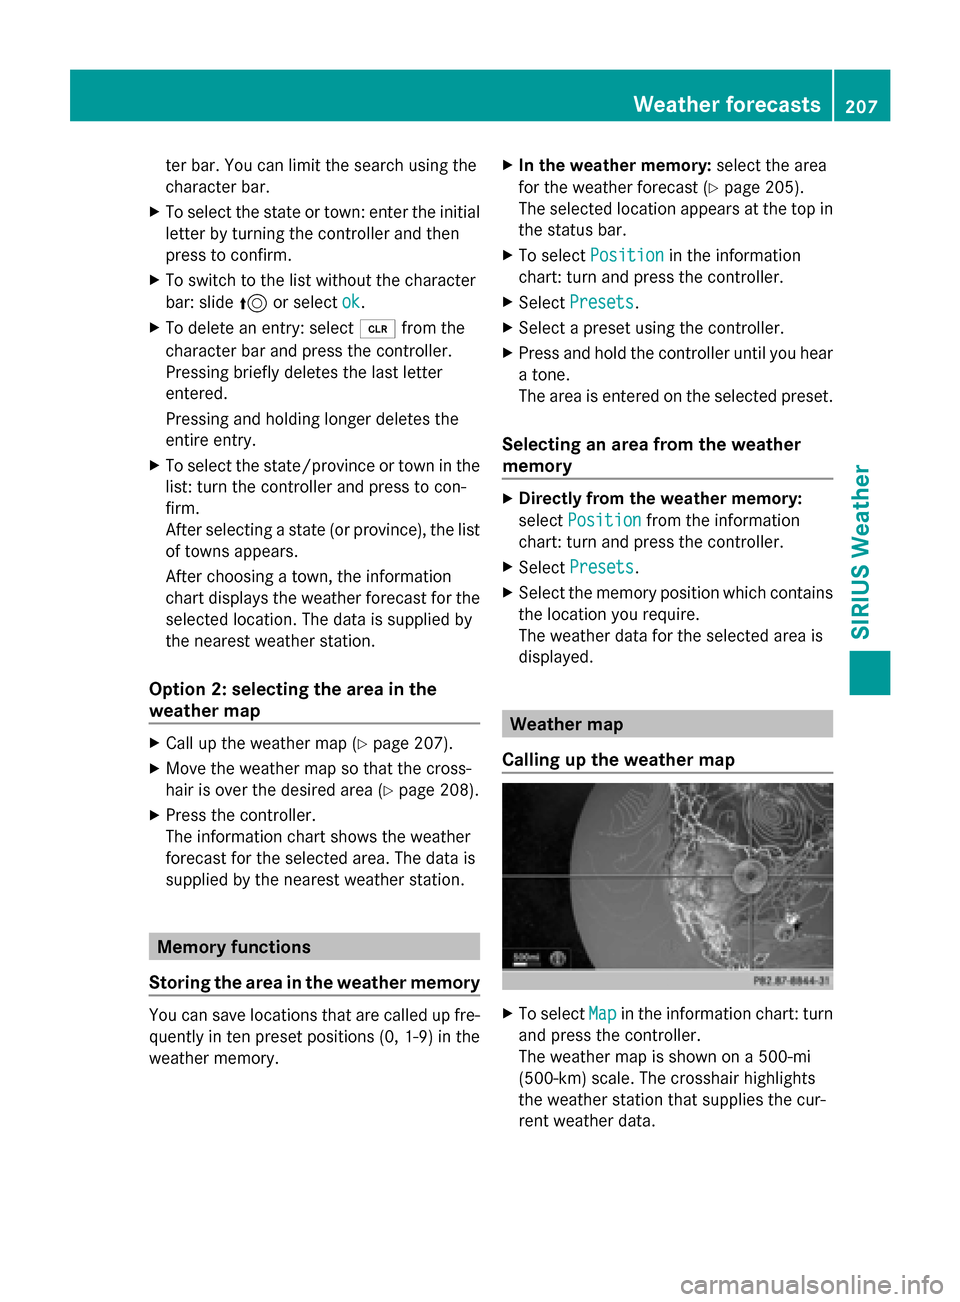
Calling up the weather map X
To select Map Mapin the information chart: turn
and press the controller.
The weather map is shown on a 500-mi
(500-km) scale. The crosshair highlights
the weather station that supplies the cur-
rent weather data. Weather forecasts
207SIRIUS Weather
Page 213 of 214

Region of origin Category
Northwestern
Pacific Ocean
Menu item
Name_LP10 Name_LP10
(Tropical Cyclone)
(Tropical Cyclone) Northwestern
Pacific Ocean
Menu item
Name_1
Name_1
(Typhoon) (Typhoon) Northwestern
Pacific Ocean
Menu item
Name_1
Name_1
(Super-Typhoon) (Super-Typhoon) You can also see the time stamp for the
weather data on map scales of 50 miles and
smaller.
The weather map shows wind directions and
wind speeds.
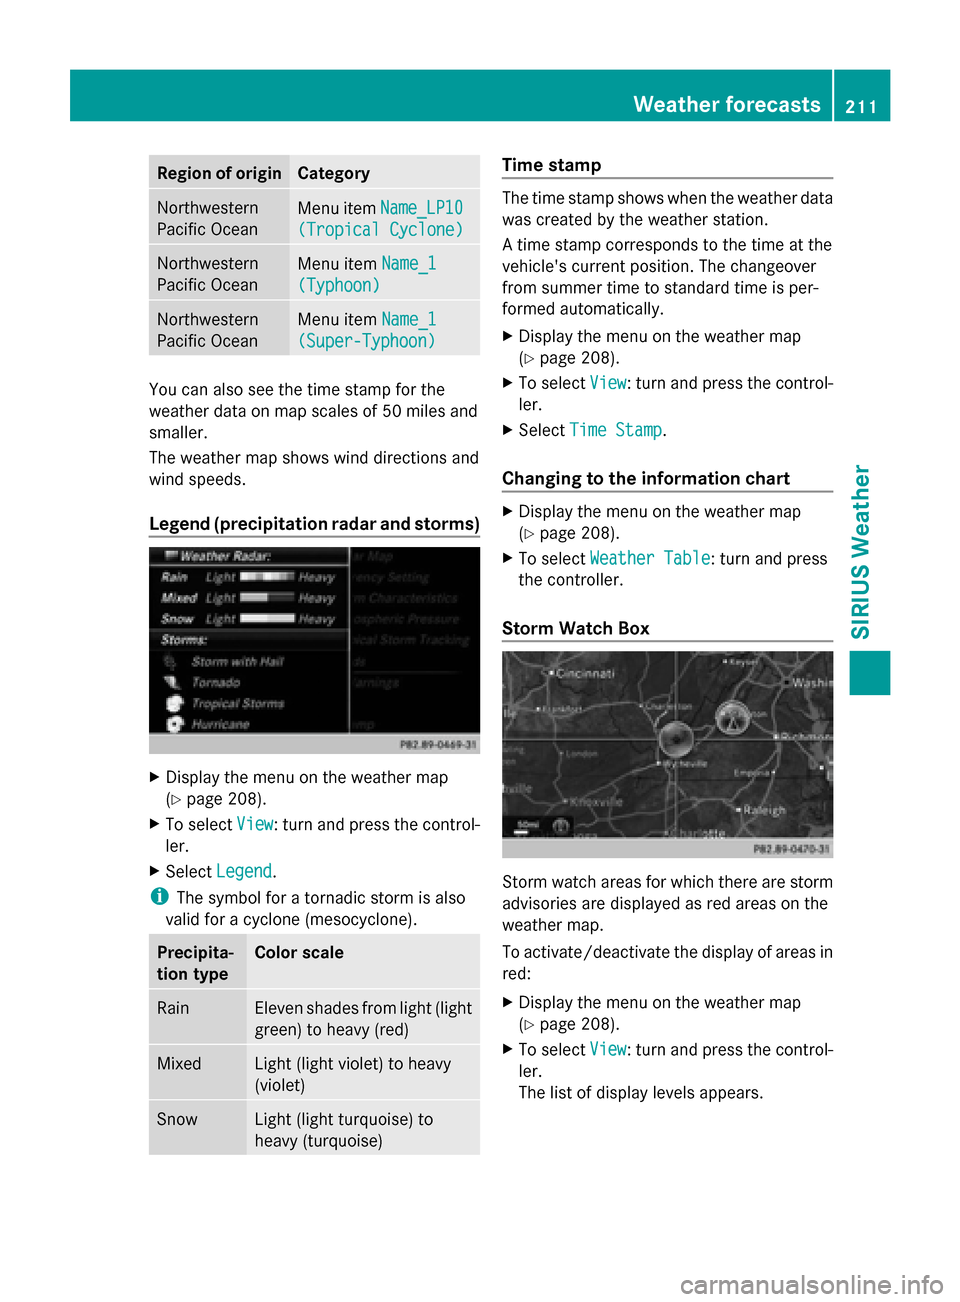
Legend (precipitation radar and storms) X
Display the menu on the weather map
(Y page 208).
X To select View
View : turn and press the control-
ler.
X Select Legend
Legend.
i The symbol for a tornadic storm is also
valid for a cyclone (mesocyclone). Precipita-
tion type Color scale
Rain Eleven shades from light (light
green) to heavy (red)
Mixed Light (light violet) to heavy
(violet)
Snow Light (light turquoise) to
heavy (turquoise) Time stamp
The time stamp shows when the weather data
was created by the weather station.
A time stamp corresponds to the time at the
vehicle's current position. The changeover
from summer time to standard time is per-
formed automatically.
X
Display the menu on the weather map
(Y page 208).
X To select View View: turn and press the control-
ler.
X Select Time Stamp
Time Stamp.
Changing to the information chart X
Display the menu on the weather map
(Y page 208).
X To select Weather Table Weather Table: turn and press
the controller.
Storm Watch Box Storm watch areas for which there are storm
advisories are displayed as red areas on the
weather map.
To activate/deactivate the display of areas in
red:
X
Display the menu on the weather map
(Y page 208).
X To select View View: turn and press the control-
ler.
The list of display levels appears. Weather forecasts
211SIRIUS Weather
Page 214 of 214

X
Select Severe Weather Warnings
Severe Weather Warnings.
X Select Show
Show Symbols
Symbols for
forStorm
Storm Areas
Areas
On Map
On Map .
Depending on the previous setting, activate
0073 or deactivate 0053the display of areas in
red.
To activate/deactivate the automatic display
of warning popups:
X Select Show Automatic Storm Watch
Show Automatic Storm Watch
Popups
Popups .
Depending on the previous setting, activate
0073 or deactivate 0053the automatic display
of warning popups.
To set the radius for the popups:
X Select 5 miles
5 miles (5 km5 km), 50 miles 50 miles (50 km50 km)
or 200 miles
200 miles (200 km200 km).
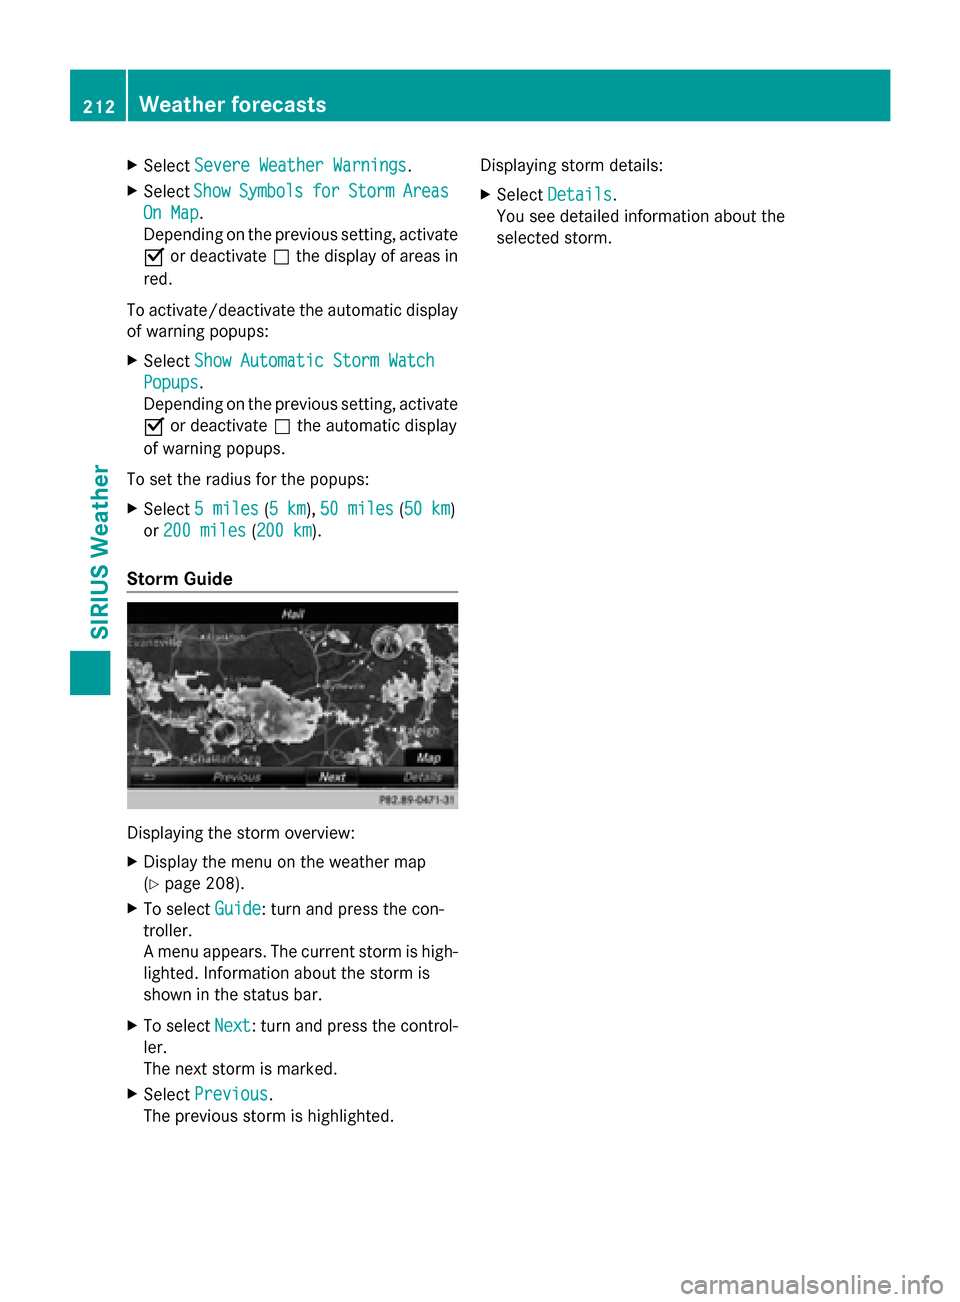
Storm Guide Displaying the storm overview:
X
Display the menu on the weather map
(Y page 208).
X To select Guide
Guide: turn and press the con-
troller.
A menu appears. The current storm is high-
lighted. Information about the storm is
shown in the status bar.
X To select Next
Next: turn and press the control-
ler.
The next storm is marked.
X Select Previous
Previous.
The previous storm is highlighted. Displaying storm details:
X
Select Details Details.
You see detailed information about the
selected storm. 212
Weather forecastsSIRIUS Weather