2015 MERCEDES-BENZ C-Class light
[x] Cancel search: lightPage 158 of 214
Tagging music tracks
If an Apple ®
device is connected, the music
tracks and artist displayed in the radio text
can be stored. Using iTunes you have the
option of purchasing this track.
X In radio mode: slide 00520064the controller.
X Select Options Options.
X Select Tag This Track
Tag This Track.
A message appears in COMAND about stor-
ing the track information. Station Information
X In radio mode: slide 00520064the controller.
X To select Options
Options: turn and press the con-
troller.
X You can determine whether or not the
artist, track or station name are shown in
the main display area with 0073or0053 before
Show Station Information
Show Station Information. Station list
i The station list is only available in the FM/
AM waveband. It includes all FM and AM
stations that can currently be received.
X In radio mode: press the controller.
The station list appears with the stations
currently available. Storing a station
i The available stations for your region are
already saved in COMAND. There are 99
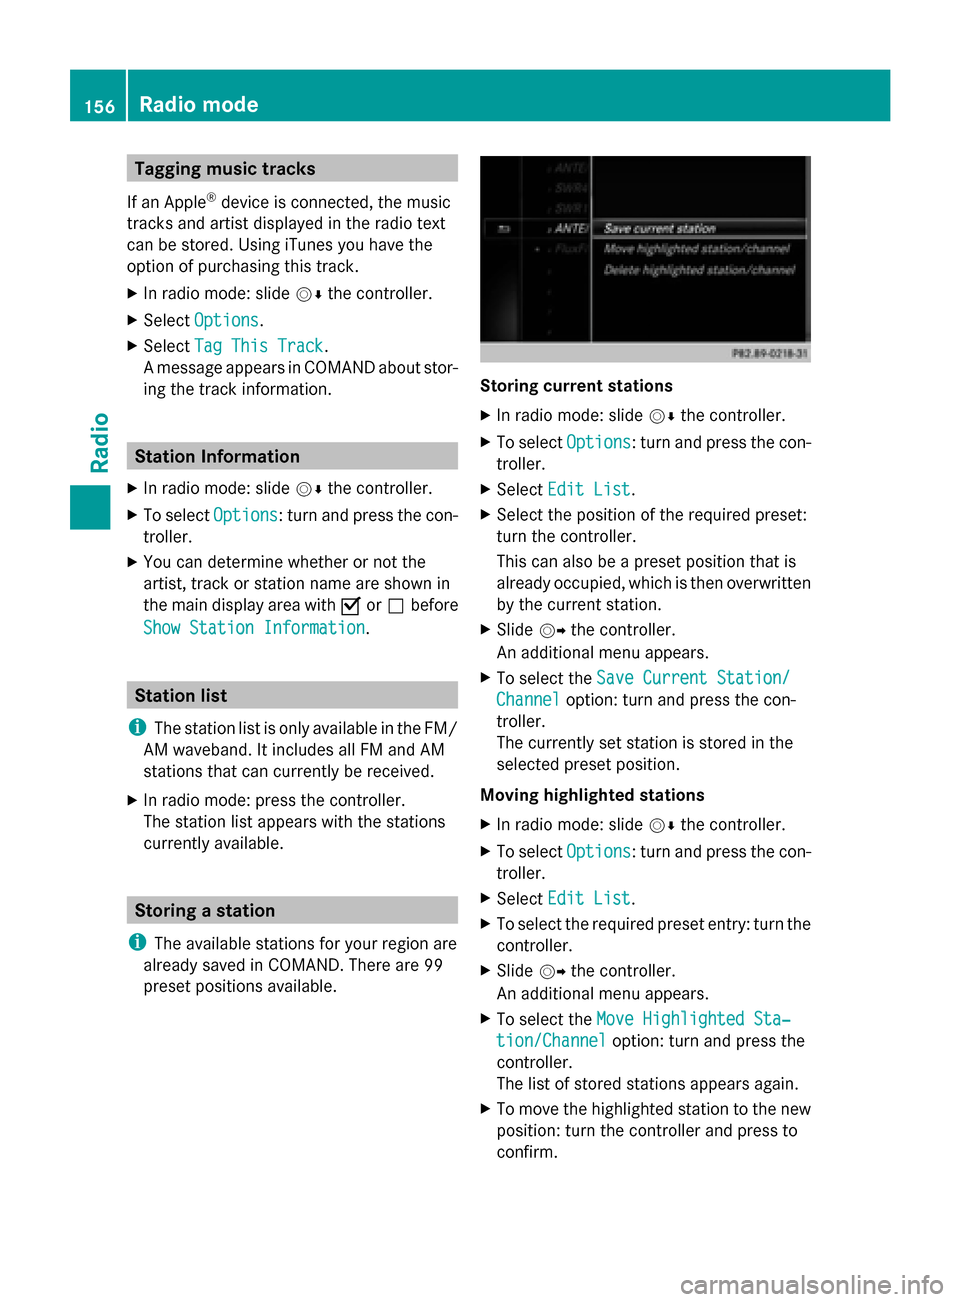
preset positions available. Storing current stations
X
In radio mode: slide 00520064the controller.
X To select Options Options: turn and press the con-
troller.
X Select Edit List
Edit List.
X Select the position of the required preset:
turn the controller.
This can also be a preset position that is
already occupied, which is then overwritten
by the current station.
X Slide 00520096the controller.
An additional menu appears.
X To select the Save Current Station/ Save Current Station/
Channel Channel option: turn and press the con-
troller.
The currently set station is stored in the
selected preset position.
Moving highlighted stations
X In radio mode: slide 00520064the controller.
X To select Options Options: turn and press the con-
troller.
X Select Edit List
Edit List.
X To select the required preset entry: turn the
controller.
X Slide 00520096the controller.
An additional menu appears.
X To select the Move Highlighted Sta‐
Move Highlighted Sta‐
tion/Channel
tion/Channel option: turn and press the
controller.
The list of stored stations appears again.
X To move the highlighted station to the new
position: turn the controller and press to
confirm. 156
Radio modeRadio
Page 159 of 214
Deleting highlighted stations
X
In radio mode: slide 00520064the controller.
X To select Options Optionsin the radio menu bar:
turn and press the controller.
X Select Edit List
Edit List.
X To select the required preset entry: turn the
controller.
X Slide 00520096the controller.
X To select the Delete Highlighted Sta‐
Delete Highlighted Sta‐
tion/Channel tion/Channel option in the additional
menu: turn and press the controller.
X Select Yes
Yes if you really wish to delete the
highlighted sender: press the controller,
otherwise select: No
No: press the controller. Calling up sound settings
X In radio mode: slide 00520064the controller.
X To select Sound
Soundin the radio menu bar: turn
and press the controller.
The sound menu appears: (Y page 200).Radio text
This function is available in HD and FM/AM
radio mode.
Radio text is additional data, meta data or
similar that, in addition to displaying the artist
and track, also includes information on the
current program.
X To switch on radio text: in radio mode, slide
00520064 the controller.
The Radio menu bar is shown.
X To select Info
Info: turn and press the control-
ler. With an active
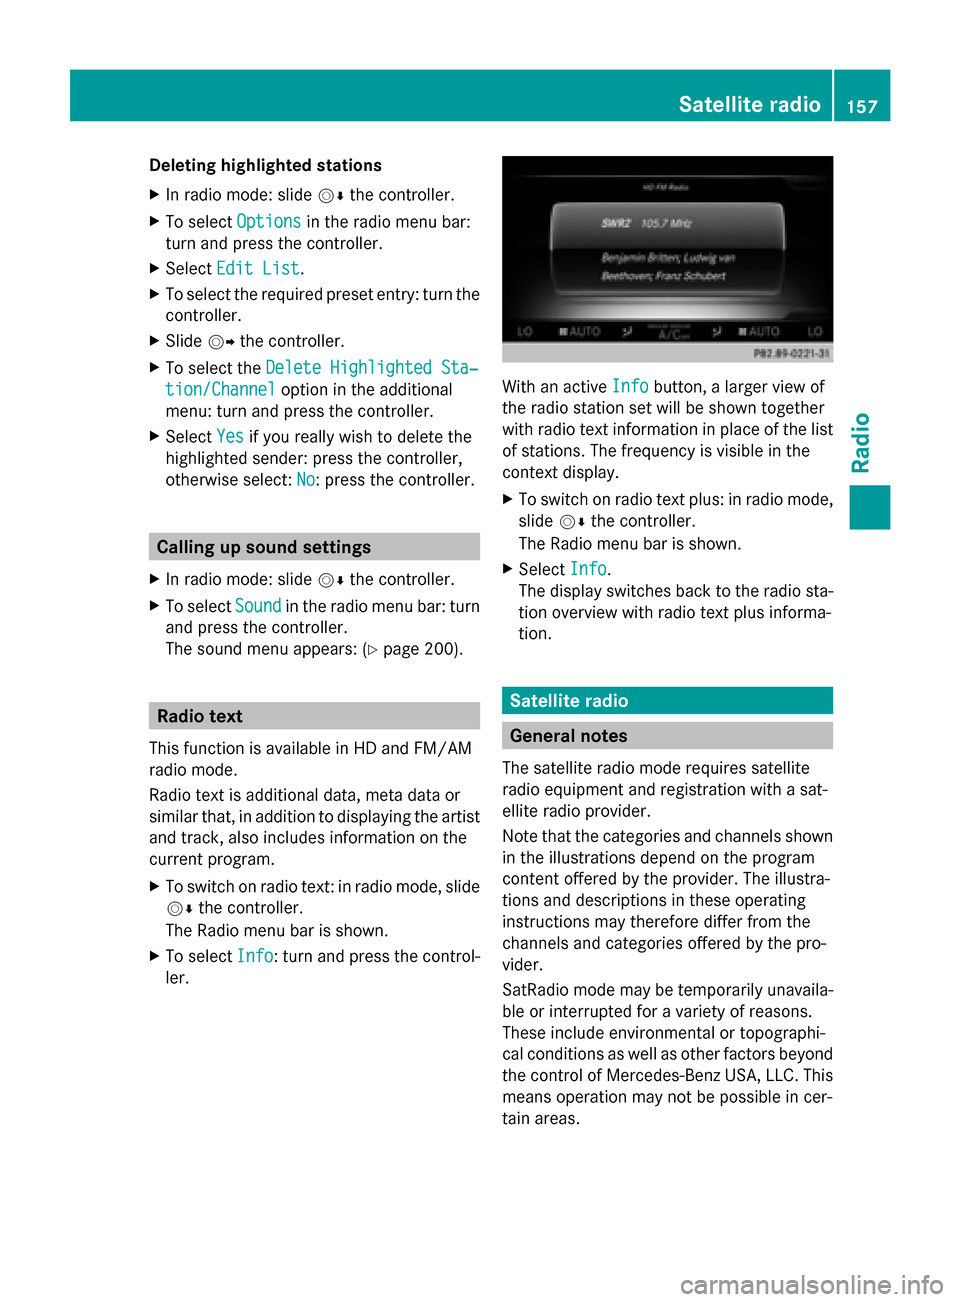
Info Infobutton, a larger view of
the radio station set will be shown together
with radio text information in place of the list
of stations. The frequency is visible in the
context display.
X To switch on radio text plus: in radio mode,
slide 00520064the controller.
The Radio menu bar is shown.
X Select Info Info.
The display switches back to the radio sta-
tion overview with radio text plus informa-
tion. Satellite radio
General notes
The satellite radio mode requires satellite
radio equipment and registration with a sat-
ellite radio provider.
Note that the categories and channels shown
in the illustrations depend on the program
content offered by the provider. The illustra-
tions and descriptions in these operating
instructions may therefore differ from the
channels and categories offered by the pro-
vider.
SatRadio mode may be temporarily unavaila-
ble or interrupted for a variety of reasons.
These include environmental or topographi-
cal conditions as well as other factors beyond
the control of Mercedes-Benz USA, LLC. This
means operation may not be possible in cer-
tain areas. Satellite
radio
157Radio
Page 167 of 214

Using the main function bar
X
To select Media
Media: turn and press the con-
troller.
The menu appears with the available media
sources.
X Select the media source.
If the media source contains music or video
files, these will be played. The correspond-
ing basic menu will be shown. Using the number keypad
i If you touch a key in the touch-sensitive
number keypad, the number field is dis-
played in the additional display area.
X Touch any number key when in media
mode.
The number field is shown. The active
media source is highlighted.
X To select a media source: press the corre-
sponding number key.
If the media source contains music or video
files, these will be played. The correspond-
ing basic menu will be shown.
X To enter a track number: use the number
keypad to enter the desired numbers.
The track is played. Using the device list
X
In media mode, slide 00520064the controller.
The media menu bar appears.
X To select Devices Devices: turn the controller and
press to confirm.
The available media sources will be shown.
The 003Bdot indicates the current setting.
X Select the media source.
If the media source contains music or video
files, these will be played. The correspond-
ing basic menu will be shown. Audio/video mode
Important safety notes
G
WARNING
The CD/DVD drive is a class 1 laser product.
If you open the CD/DVD drive housing, you
could be exposed to invisible laser radiation.
This laser radiation could damage your retina.
There is a risk of injury.
Never open the housing. Always have main-
tenance and repair work carried out at a quali-
fied specialist workshop. G
WARNING
Only when the vehicle is stationary should
you:
R insert a data carrier
R eject a disc
There is a risk of being distracted from the
road and traffic conditions if you insert or
eject a disc while the vehicle is in motion. Audio/video mode
165Media Z
Page 179 of 214
R
USB storage device
R MP3
i Data can only be copied from an MP3
player if this can be configured as a mass
storage device.
Video files from DVD-V cannot be copied.
While copying, several functions will not be
available. If this is the case, you will see a
message to this effect.
1. Selecting a data medium X
To switch on media mode: keep pressing
the 00FD button until the required media
mode has been switched on.
X Slide 00520064the controller.
The media menu bar appears.
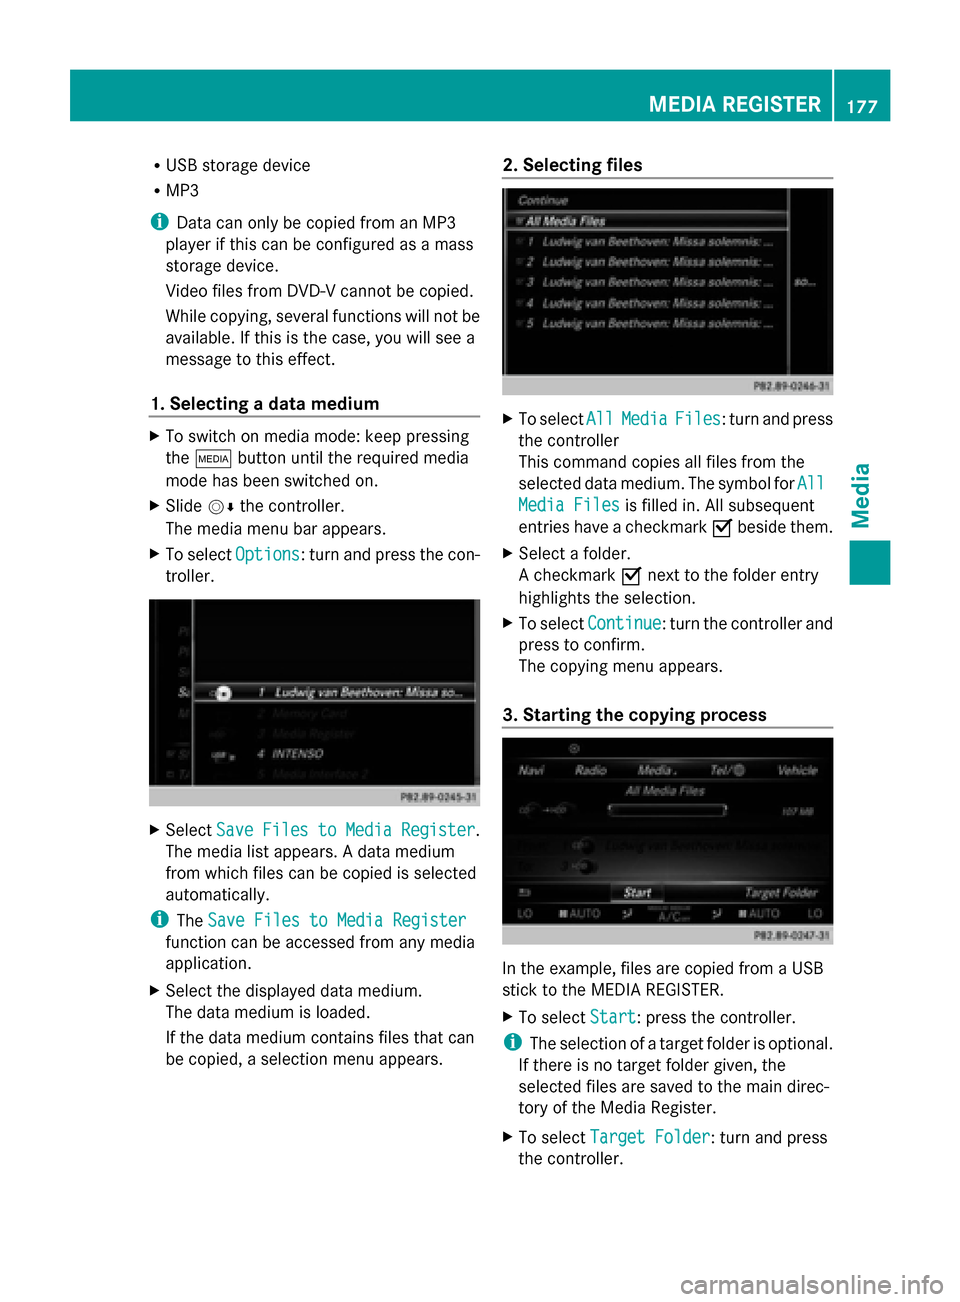
X To select Options
Options: turn and press the con-
troller. X
Select Save Files to Media Register Save Files to Media Register .
The media list appears. A data medium
from which files can be copied is selected
automatically.
i The Save Files to Media Register Save Files to Media Register
function can be accessed from any media
application.
X Select the displayed data medium.
The data medium is loaded.
If the data medium contains files that can
be copied, a selection menu appears. 2. Selecting files
X
To select All AllMedia
Media Files
Files: turn and press
the controller
This command copies all files from the
selected data medium. The symbol for All
All
Media Files
Media Files is filled in. All subsequent
entries have a checkmark 0073beside them.
X Select a folder.
A checkmark 0073next to the folder entry
highlights the selection.
X To select Continue Continue: turn the controller and
press to confirm.
The copying menu appears.
3. Starting the copying process In the example, files are copied from a USB
stick to the MEDIA REGISTER.
X
To select Start Start: press the controller.
i The selection of a target folder is optional.
If there is no target folder given, the
selected files are saved to the main direc-
tory of the Media Register.
X To select Target Folder
Target Folder: turn and press
the controller. MEDIA REGISTER
177Media Z
Page 180 of 214
X
Select a folder.
X Select Continue
Continue.
X To select Start
Start: press the controller.
The copying procedure starts and is shown
in the progress bar.
It may take some time for the copying proc-
ess to be completed, depending on the
amount of data. If there is not enough mem-
ory space, a message to this effect
appears.
i It is possible to change to a different func-
tion (e.g. radio) during the copying proce-
dure. The copying procedure continues in
the background. While the copying proce-
dure is taking place, this is shown by a sym-
bol in the status bar. Once the copying procedure is complete, you
will hear the first track of the copied album.
You can now copy more files to the MEDIA
REGISTER.
X To cancel copying: select Cancel Cancel.
Files are stored in the MEDIA REGISTER up
until the point of cancellation. Renaming/deleting files
X
To switch on Media mode: keep pressing
the 00FD button until the required media
mode has been switched on.
X Slide 00520064the controller.
The media menu bar appears.
X To select Options Options: turn and press the con-
troller.
X Select Manage Media Register
Manage Media Register.
X Select Rename / Delete Files
Rename / Delete Files.
The file list is displayed.
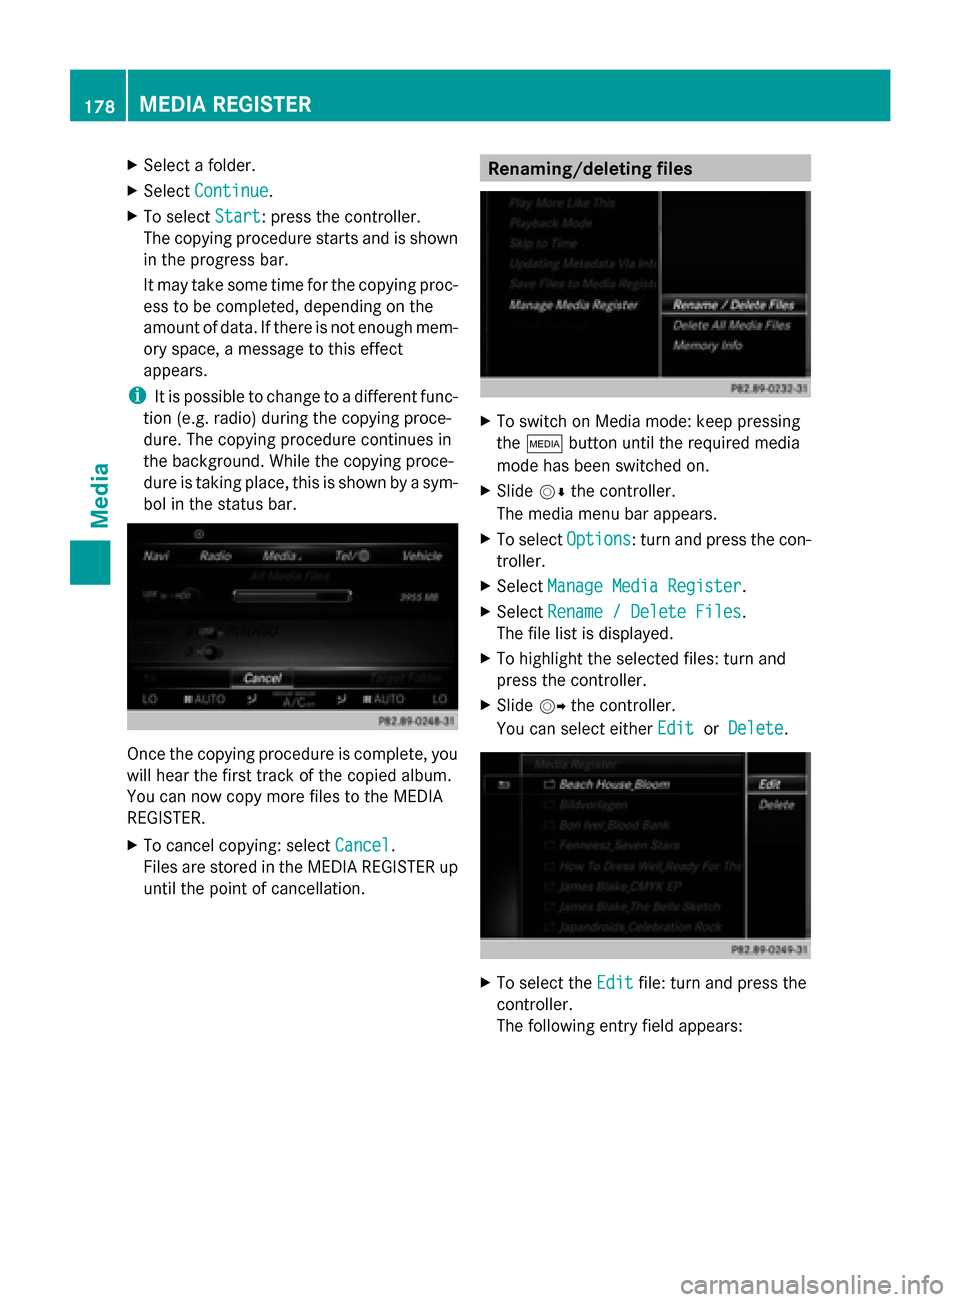
X To highlight the selected files: turn and
press the controller.
X Slide 00520096the controller.
You can select either Edit EditorDelete
Delete . X
To select the Edit
Editfile: turn and press the
controller.
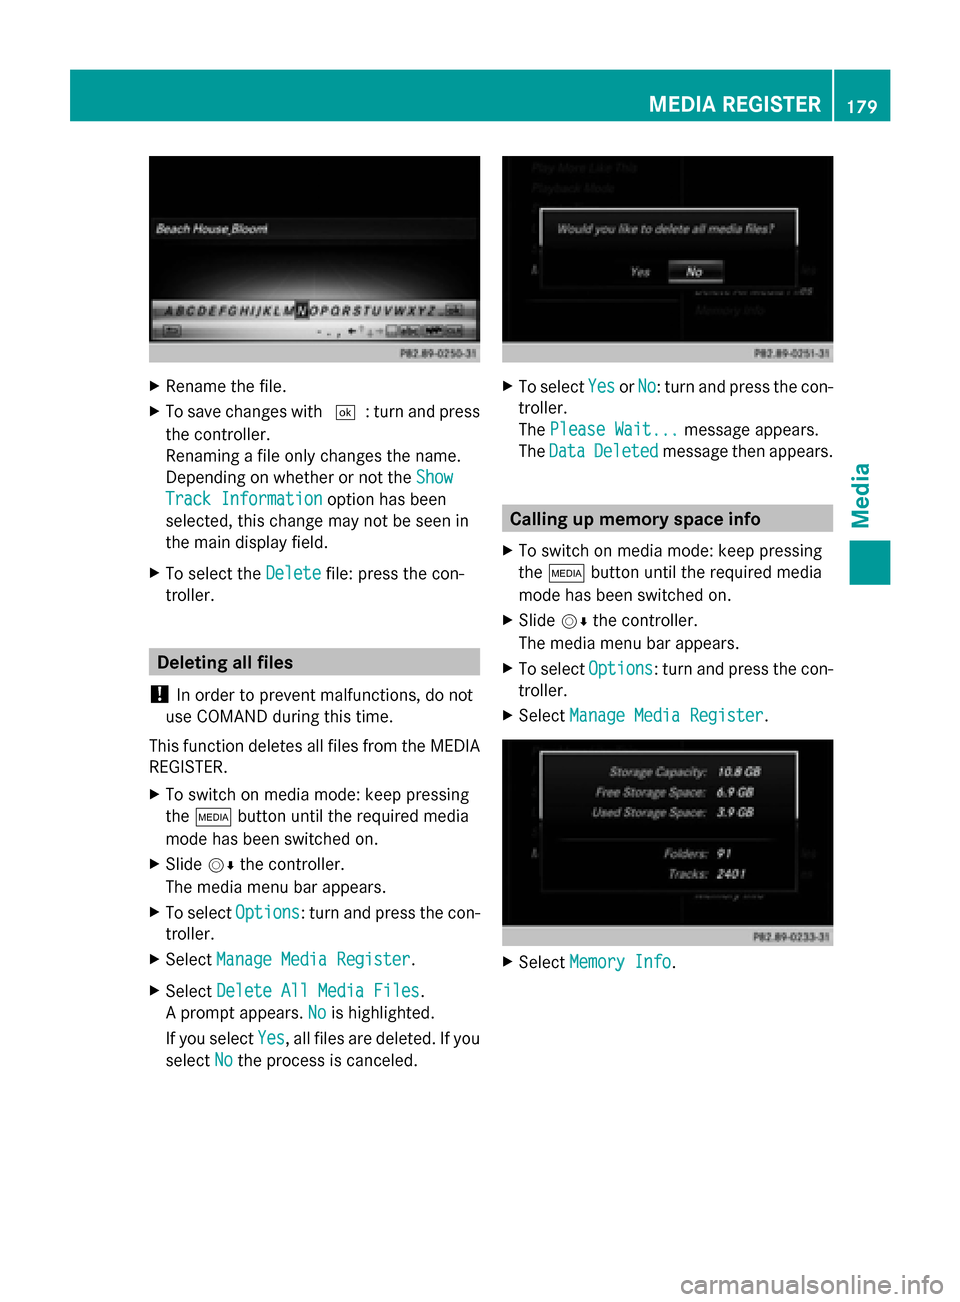
The following entry field appears: 178
MEDIA REGISTERMedia
Page 181 of 214
X
Rename the file.
X To save changes with 0054: turn and press
the controller.
Renaming a file only changes the name.
Depending on whether or not the Show Show
Track Information
Track Information option has been
selected, this change may not be seen in
the main display field.
X To select the Delete
Delete file: press the con-
troller. Deleting all files
! In order to prevent malfunctions, do not
use COMAND during this time.
This function deletes all files from the MEDIA
REGISTER.
X To switch on media mode: keep pressing
the 00FD button until the required media
mode has been switched on.
X Slide 00520064the controller.
The media menu bar appears.
X To select Options
Options: turn and press the con-
troller.
X Select Manage Media Register
Manage Media Register.
X Select Delete All Media Files
Delete All Media Files.
A prompt appears. No Nois highlighted.
If you select Yes
Yes , all files are deleted. If you
select No
No the process is canceled. X
To select Yes
YesorNo
No: turn and press the con-
troller.
The Please Wait... Please Wait... message appears.
The Data
Data Deleted
Deleted message then appears. Calling up memory space info
X To switch on media mode: keep pressing
the 00FD button until the required media
mode has been switched on.
X Slide 00520064the controller.
The media menu bar appears.
X To select Options Options: turn and press the con-
troller.
X Select Manage Media Register
Manage Media Register. X
Select Memory Info
Memory Info. MEDIA REGISTER
179Media Z
Page 193 of 214
Switching full-screen mode on/off
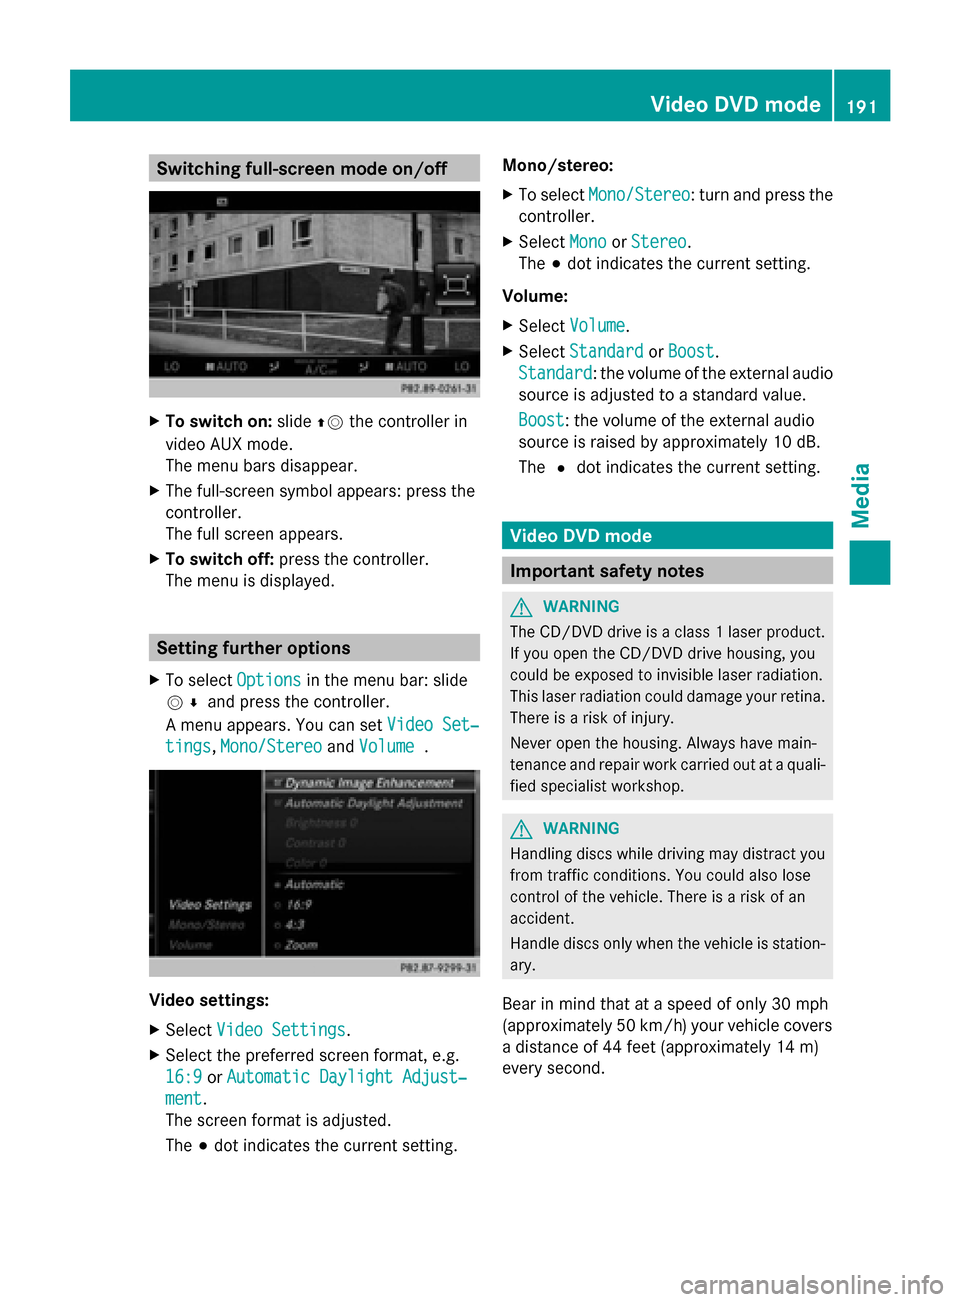
X
To switch on: slide00970052the controller in
video AUX mode.
The menu bars disappear.
X The full-screen symbol appears: press the
controller.
The full screen appears.
X To switch off: press the controller.
The menu is displayed. Setting further options
X To select Options Optionsin the menu bar: slide
005200C5 and press the controller.
A menu appears. You can set Video Set‐
Video Set‐
tings
tings, Mono/Stereo
Mono/Stereo andVolume
Volume . Video settings:
X
Select Video Settings
Video Settings.
X Select the preferred screen format, e.g.
16:9
16:9 orAutomatic Daylight Adjust‐
Automatic Daylight Adjust‐
ment ment.
The screen format is adjusted.
The 003Bdot indicates the current setting. Mono/stereo:
X
To select Mono/Stereo Mono/Stereo: turn and press the
controller.
X Select Mono
MonoorStereo
Stereo.
The 003Bdot indicates the current setting.
Volume:
X Select Volume Volume.
X Select Standard
Standard orBoost
Boost.
Standard
Standard: the volume of the external audio
source is adjusted to a standard value.
Boost Boost: the volume of the external audio
source is raised by approximately 10 dB.
The 0036dot indicates the current setting. Video DVD mode
Important safety notes
G
WARNING
The CD/DVD drive is a class 1 laser product.
If you open the CD/DVD drive housing, you
could be exposed to invisible laser radiation.
This laser radiation could damage your retina.
There is a risk of injury.
Never open the housing. Always have main-
tenance and repair work carried out at a quali-
fied specialist workshop. G
WARNING
Handling discs while driving may distract you
from traffic conditions. You could also lose
control of the vehicle. There is a risk of an
accident.
Handle discs only when the vehicle is station-
ary.
Bear in mind that at a speed of only 30 mph
(approximately 50 km/h) your vehicle covers
a distance of 44 feet (approximately 14 m)
every second. Video DVD
mode
191Media Z
Page 196 of 214

DVD functions
X
To select DVD Functions DVD Functions : turn and press
the controller.
A menu appears ( Ypage 195). Video settings
Dynamic image enhancement The
Dynamic Image Enhancement Dynamic Image Enhancement function
automatically matches BrightnessCon‐
BrightnessCon‐
trast
trast andColor
Color to the film being played. X
To activate or deactivate: place or remove
a tick in front of Dynamic
DynamicImage
ImageEnhance‐
Enhance‐
ment
ment.
Manual image enhancement In order to manually adjust the brightness,
contrast and color, the dynamic image
enhancement function must be switched off. X
To select BrightnessContrast
BrightnessContrast orColor
Color:
turn and press the controller.
A sliding menu appears.
X To select the required value: turn the con-
troller.
X To exit the sliding menu: slide 00950052the con-
troller.
X To switch the Automatic Daylight Automatic Daylight
Adjustment
Adjustment on/off: press the controller.
Setting the picture format The following options are available for the
screen format in the DVD playing:
R Auto Auto;
R 16:9
16:9;
R 4:3
4:3 ;
R Zoom
Zoom.
X To set the picture format: turn and press
the controller.
The dot before the menu entry shows the
selected format. DVD's control menu
Most DVDs have their own control menu
which can be operated using the controller.
Showing the DVD's control menu
X To select Menu Menufrom the DVD functions
menu: turn and press the controller.
The DVD functions menu is hidden and the
DVD's menu entries (e.g. scenes, language,
trailers) are displayed.
X To select a menu entry: turn and press the
controller. 194
Video DVD
modeMedia