2015 MERCEDES-BENZ C-Class turn signal
[x] Cancel search: turn signalPage 51 of 214

X
To change the brightness value: turn and
press the controller.
X To select a zone: slide 9and turn the
controller.
You can find further information on the inter-
ior lighting in the vehicle Operator's Manual.
Setting the color i
Once a color is set, it is used for all zones.
The brightness of the color used can be set
separately for each zone.
X Call up vehicle settings (Y page 48).
X To select Ambient Light: Color
Ambient Light: Color: turn
and press the controller.
The setting element is active.
X To select a color: turn the controller.
You can find further information on the inter-
ior lighting in the vehicle Operator's Manual.
Switching the display lighting on/off This display lighting adjustment function is
only available if the vehicle is not equipped
with the "Ambient lighting" package.
X Call up vehicle settings (Y page 48).
X To select Ambient Light: Display
Ambient Light: Display : turn
and press the controller.
The function switches on or off, depending
on the previous setting.
i The brightness can be changed using the
control between the two displays.
You can find further information on the inter-
ior lighting in the vehicle Operator's Manual. Setting the EASY-ENTRY/EXIT feature
The EASY-ENTRY/EXIT feature makes getting
in and out of your vehicle easier.
X
Call up vehicle settings (Y page 48).
X To select Easy Entry/Exit Easy Entry/Exit : turn and
press the controller.
The setting element is active.
X To change the setting: turn the controller. Activating/deactivating the acoustic
locking confirmation
You can also set an audible signal to confirm
that the vehicle has been locked.
X Call up vehicle settings (Y page 48).
X To select Acoustic Lock Feedback Acoustic Lock Feedback : turn
and press the controller.
The function switches on or off, depending
on the previous setting.
You can find further information on the lock-
ing feature in the vehicle Operator's Manual. Vehicle settings
49Vehicle functions
Page 52 of 214

Activating/deactivating the seat-belt
adjustment function The seat-belt adjustment function adjusts the
driver's and front-passenger seat belt to the
upper body of the occupants.
X Call up vehicle settings ( Ypage 48).
X To select Belt Adjustment
Belt Adjustment: turn and
press the controller.
The function switches on or off, depending
on the previous setting.
You can find further information on seat-belt
adjustment in the vehicle Operator's Manual. Activating/deactivating the auto-
matic folding mirror function When the
Automatic Automatic Mirror
MirrorFolding
Folding func-
tion is activated, the exterior mirrors fold in
automatically as soon as you lock the vehicle
from the outside. The exterior mirrors fold out
automatically again as soon as you unlock the
vehicle. X
Call up vehicle settings ( Ypage 48).
X To select Automatic Mirror Folding
Automatic Mirror Folding:
turn and press the controller.
The function switches on or off, depending
on the previous setting.
You can find further information on the auto-
matic folding mirror function in the vehicle
Operator's Manual. Switching locator lighting on/off
If the locator illumination (surround lighting)
is switched on, as well as the turn signals, the
headlamps will also light up briefly when the
vehicle is unlocked.
X
Call up vehicle settings ( Ypage 48).
X To select Locator Lighting Locator Lighting: turn and
press the controller.
The function switches on or off, depending
on the previous setting.
You can find further information on the lock-
ing feature in the vehicle Operator's Manual. 50
Vehicle settingsVehicle functions
Page 89 of 214
X
To switch to navigation mode: press the
00BE button.
X To show the menu: slide6the control-
ler.
X To select Traffic
Traffic: turn and press the con-
troller.
If satellite signals cannot be received or
there are no traffic reports, you will see a
message to this effect.
X To close the report: press the controller.
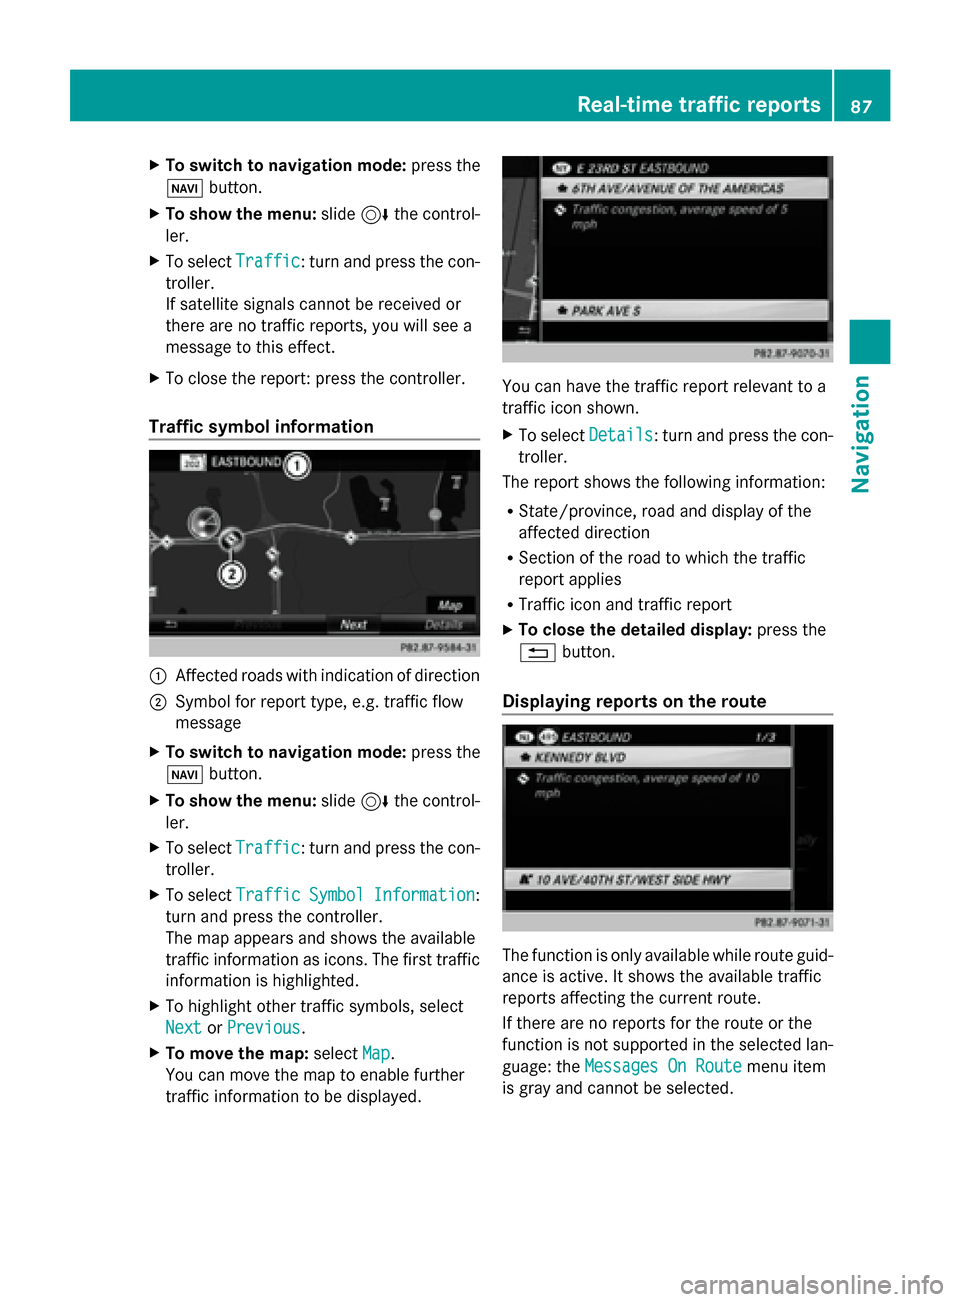
Traffic symbol information 0043
Affected roads with indication of direction
0044 Symbol for report type, e.g. traffic flow
message
X To switch to navigation mode: press the
00BE button.
X To show the menu: slide6the control-
ler.
X To select Traffic
Traffic: turn and press the con-
troller.
X To select Traffic
Traffic Symbol
Symbol Information Information:
turn and press the controller.
The map appears and shows the available
traffic information as icons. The first traffic
information is highlighted.
X To highlight other traffic symbols, select
Next
Next orPrevious Previous.
X To move the map: selectMap
Map.
You can move the map to enable further
traffic information to be displayed. You can have the traffic report relevant to a
traffic icon shown.
X
To select Details Details: turn and press the con-
troller.
The report shows the following information:
R State/province, road and display of the
affected direction
R Section of the road to which the traffic
report applies
R Traffic icon and traffic report
X To close the detailed display: press the
0038 button.
Displaying reports on the route The function is only available while route guid-
ance is active. It shows the available traffic
reports affecting the current route.
If there are no reports for the route or the
function is not supported in the selected lan-
guage: the
Messages On Route Messages On Route menu item
is gray and cannot be selected. Real-time traffic reports
87Navigation Z
Page 100 of 214
X
Press the controller.
The compass display provides the following
information:
R
The current direction of travel with direc-
tion angle (360 degree format) and com-
pass direction
R Longitude and latitude coordinates in
degrees, minutes and seconds
R Height (rounded up) above sea level
R Number of GPS satellites from which
a signal can be received
i Alternatively you can call up this function
using the touchpad (Y page 21).
X To exit the compass display: press the
0038 button. Drive Information
X
Call up the navigation menu ( Ypage 97).
X Turn the controller until Drive Informa‐
Drive Informa‐
tion tion is brought to the front.
X Press the controller.
The Starting Drive Information. Starting Drive Information.
Please Wait...
Please Wait... message appears.
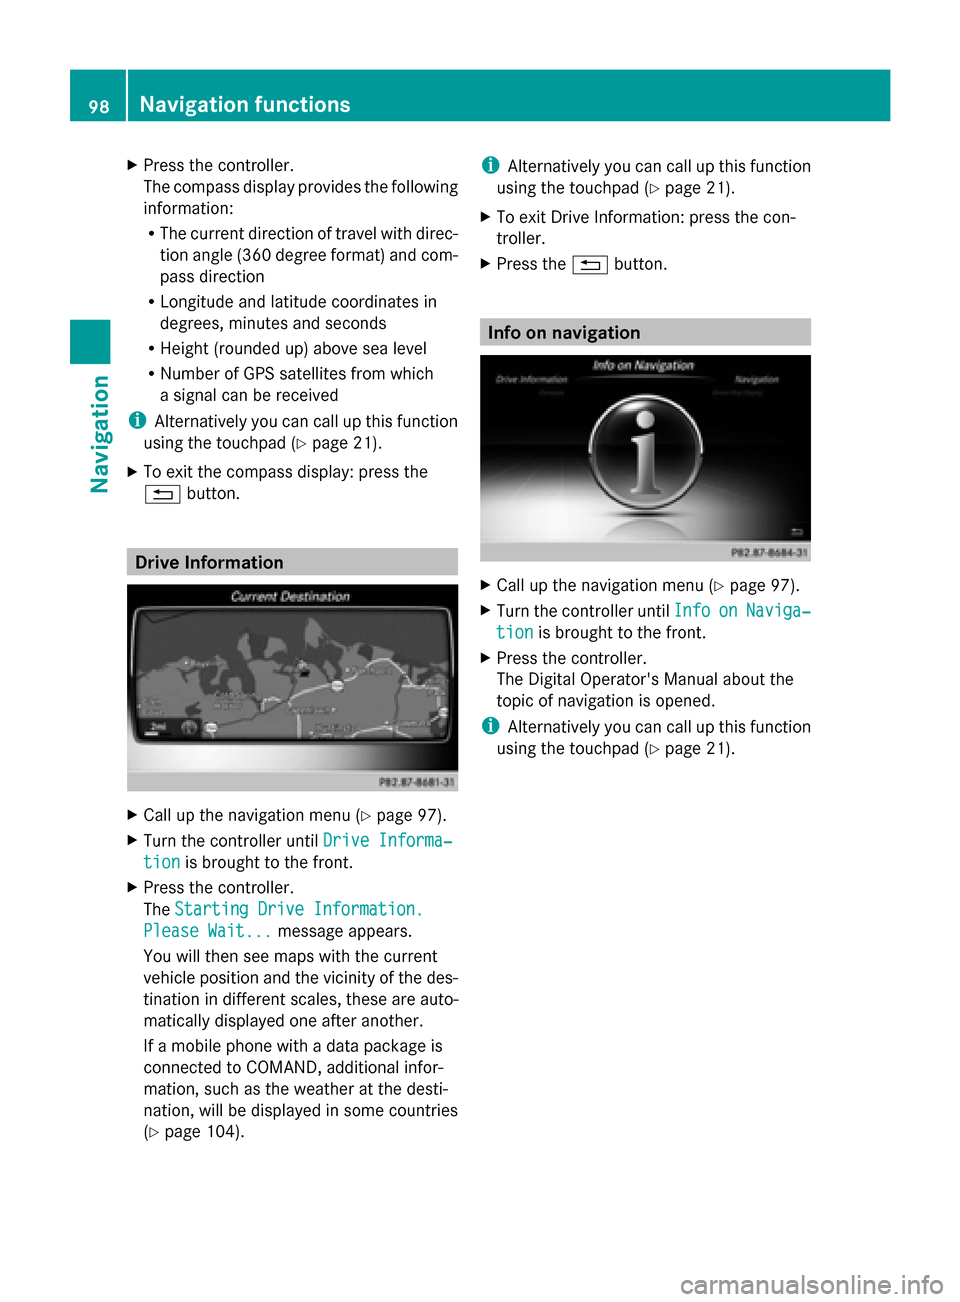
You will then see maps with the current
vehicle position and the vicinity of the des-
tination in different scales, these are auto-
matically displayed one after another.
If a mobile phone with a data package is
connected to COMAND, additional infor-
mation, such as the weather at the desti-
nation, will be displayed in some countries
(Y page 104). i
Alternatively you can call up this function
using the touchpad (Y page 21).
X To exit Drive Information: press the con-
troller.
X Press the 0038button. Info on navigation
X
Call up the navigation menu ( Ypage 97).
X Turn the controller until Info Infoon
onNaviga‐
Naviga‐
tion
tion is brought to the front.
X Press the controller.
The Digital Operator's Manual about the
topic of navigation is opened.
i Alternatively you can call up this function
using the touchpad (Y page 21).98
Navigation functionsNavigation
Page 105 of 214
turning
sliding
009500520096or009700520064
pressing
R using the touchpad (Y page 21).
R using the 0061or0076 button on the mul-
tifunction steering wheel
R using the Voice Control System (see the
separate Voice Control System operating
instructions)
Unless stated otherwise, the descriptions and
illustrations in this section refer to COMAND. Function restrictions
You may have to wait before using telephony
via COMAND in the following situations:
R when the mobile phone is switched off.
R if Bluetooth ®
is switched off on the mobile
phone
R if the mobile phone has not logged on to a
mobile phone network
R if the Bluetooth ®
function is switched off in
COMAND
The telephone automatically tries to log on to
a network. If no network is available, you may
not be able to make a " 911" emergency call.
If you attempt to make an outgoing call, the
No Service No Service message will appear for a short
while. "911" emergency call
G
WARNING
The 911 emergency call system is a public
service. Using it without due cause is a crim-
inal offense.
The following conditions must be fulfilled in
order to make a 911emergency call:
R a valid and operational SIM card is inserted
in the mobile phone
R the mobile phone is switched on R
the PIN has been entered in the mobile
phone
R a mobile phone network is available
R the mobile phone is connected to COMAND
via Bluetooth ®
If you cannot make an emergency call, you
must arrange rescue measures yourself.
To make an emergency call:
X Enter the telephone number
(Y page 109).
X Press 0061.
The telephone makes the connection.
X Wait until the emergency call center
answers and describe the emergency sit-
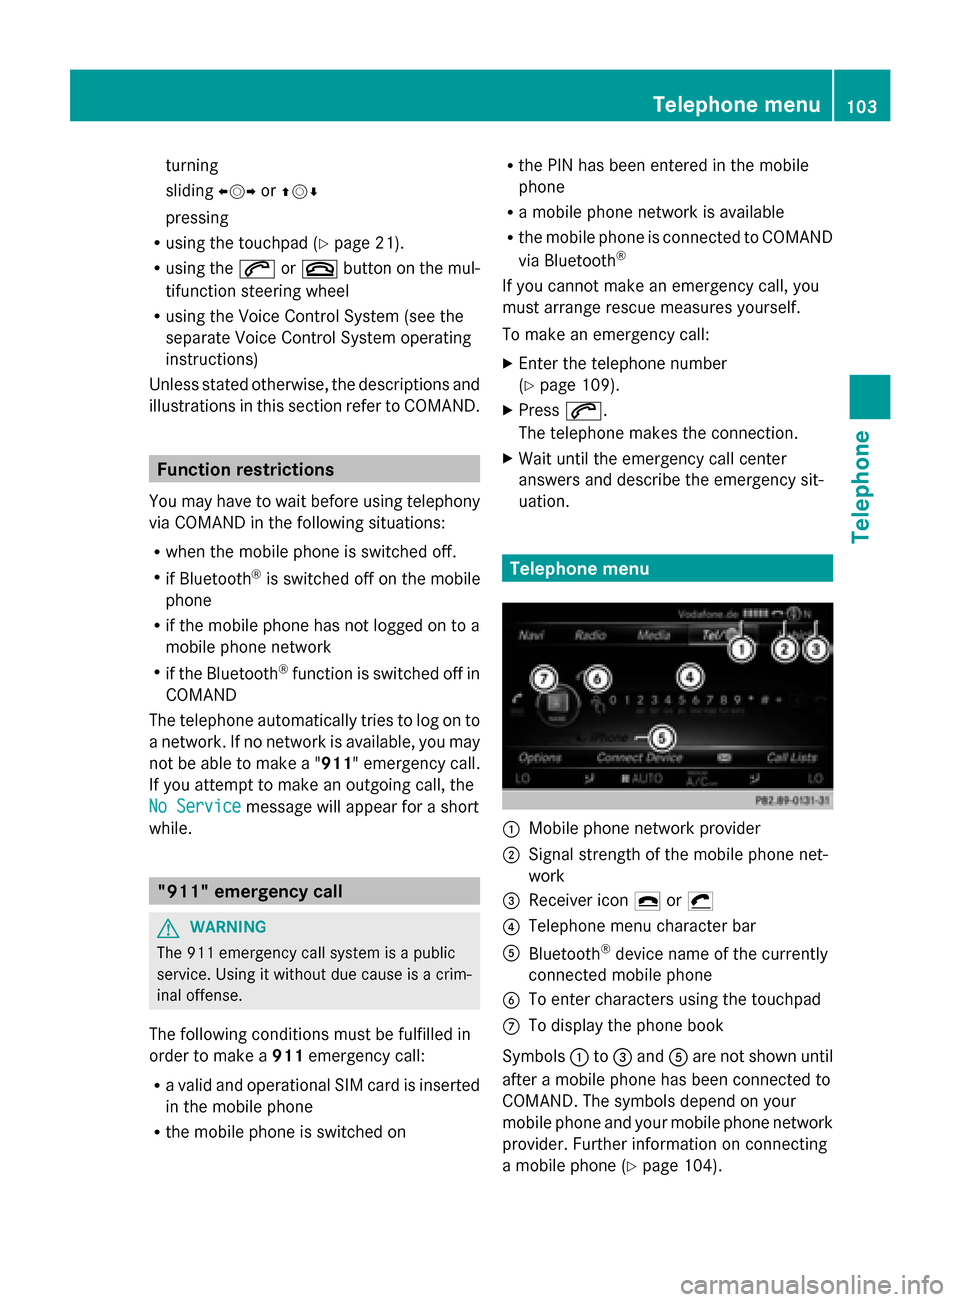
uation. Telephone menu
0043
Mobile phone network provider
0044 Signal strength of the mobile phone net-
work
0087 Receiver icon 0071or0075
0085 Telephone menu character bar
0083 Bluetooth ®
device name of the currently
connected mobile phone
0084 To enter characters using the touchpad
006B To display the phone book
Symbols 0043to0087 and 0083are not shown until
after a mobile phone has been connected to
COMAND. The symbols depend on your
mobile phone and your mobile phone network
provider. Further information on connecting
a mobile phone (Y page 104). Telephone menu
103Telephone Z
Page 129 of 214
X
To select Call Lists
Call Lists: turn and press the
controller.
X Select Speed Dial Preset List
Speed Dial Preset List.
The speed dial list is displayed.
X To highlight the desired memory position:
turn the controller.
X To select G: slide 9the controller.
X To select Delete All Speed Dial Pre‐
Delete All Speed Dial Pre‐
sets sets: turn and press the controller.
X To select Yes
Yes: turn and press the controller.
All speed dials are deleted.
or
X To select No
No: turn and press the controller.
The process is canceled. Messages (text messages and e-
mails) General notes
New messages are identified by the 008F
symbol in the COMAND display and an audi-
ble signal. Once you have read all the mes-
sages, the symbol is no longer displayed.
COMAND displays the 100 newest text mes-
sages and e-mails.
The ú symbol is displayed when the
mobile phone's message memory is full. The
symbol is no longer displayed if you delete
messages on the mobile phone. Prerequisites
To use the message functions, the connected
mobile phone must support the Bluetooth ®
MAP profile. The prompt for the MAP Blue-
tooth ®
profile may have to be confirmed on
the mobile phone.
With some mobile phones, some settings still
have to be made after connecting to
COMAND (see the manufacturer's operating
instructions). The messages are displayed the
next time you connect to COMAND. An e-mail account must be set up on the
mobile phone for the e-mail function (see the
manufacturer’s operating instructions).
To read and write e-mails in COMAND, the e-
mail account first needs to be configured
(Y page 128).
Some mobile phones with the MAP Blue-
tooth ®
profile:
R only show new text messages.
R do not support the deleting or editing of
text messages.
R do not support the drafts folder for text
messages.
R do not support the sending of text mes-
sages.
R do not support the e-mail function.
R do not send messages in a locked status.
Not all mobile phones available on the market
are equally suitable. You can obtain further
information about settings and supported
functions of Bluetooth ®
-capable mobile
phones on the Internet at
http://www.mbusa-mobile.com. Or call
the Mercedes-Benz Customer Assistance
Center at 1-800-FOR-MERCedes
(1-800-367-6372)( for the USA) or Customer
Relations at 1-800-387-0100 (for Canada). Settings
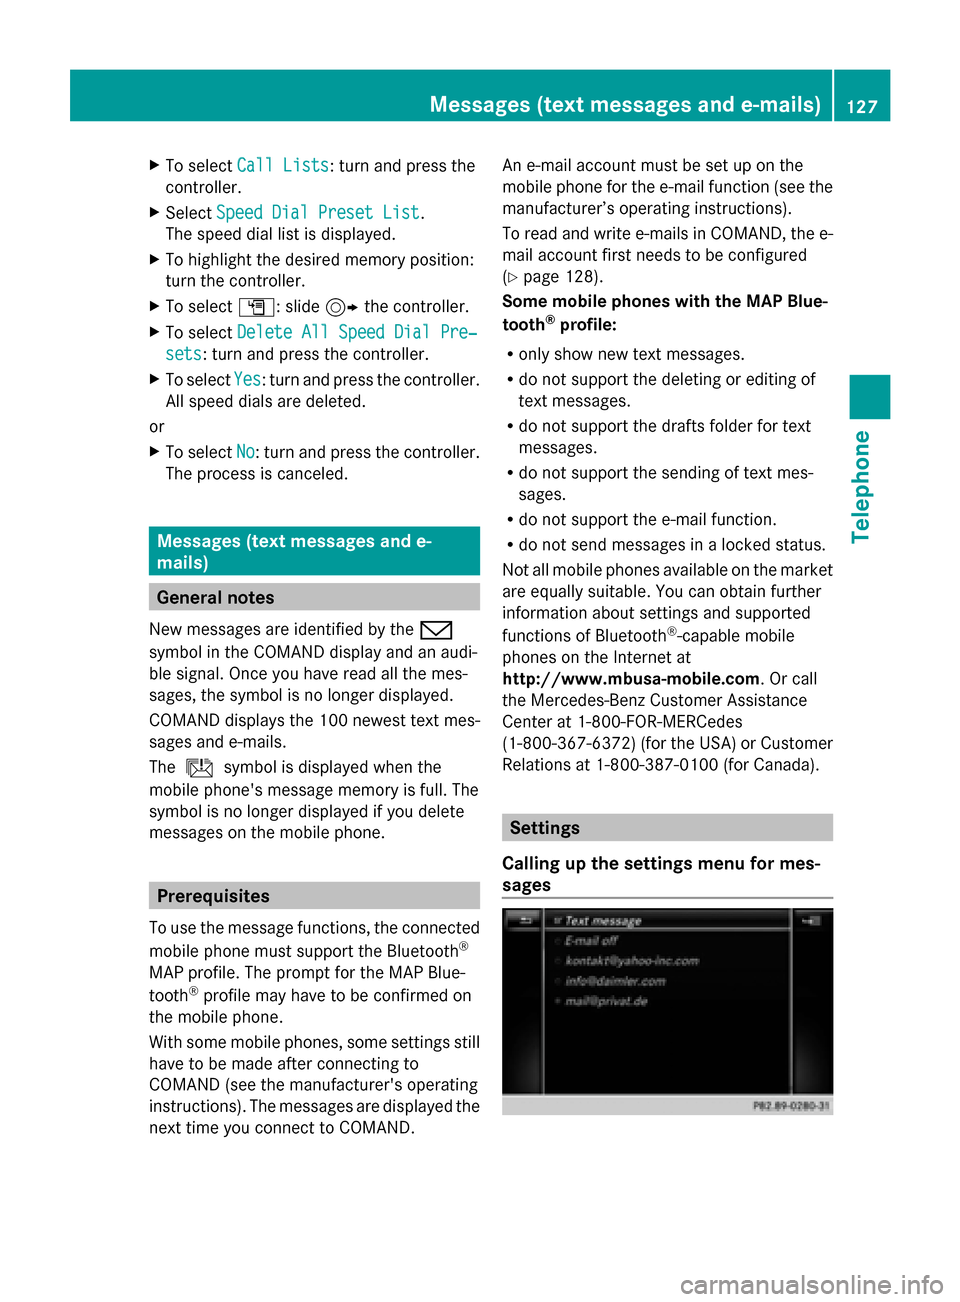
Calling up the settings menu for mes-
sages Messages (text messages and e-mails)
127Telephone Z
Page 139 of 214
X
To select Settings
Settings: slide 6the control-
ler, turn and press to confirm.
A menu appears.
X To select Connection Status
Connection Status: turn and
press the controller.
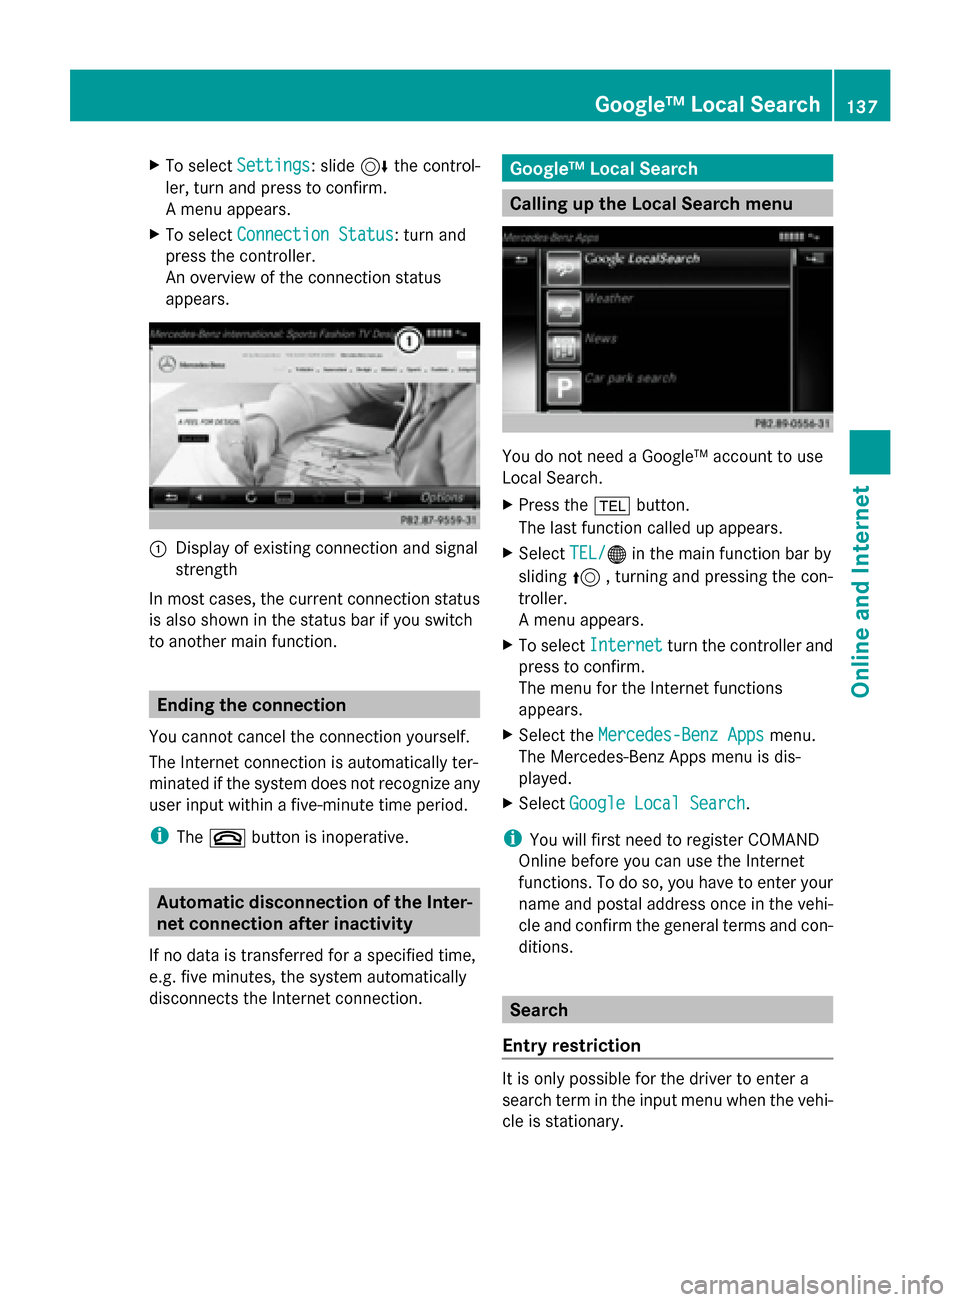
An overview of the connection status
appears. 0043
Display of existing connection and signal
strength
In most cases, the current connection status
is also shown in the status bar if you switch
to another main function. Ending the connection
You cannot cancel the connection yourself.
The Internet connection is automatically ter-
minated if the system does not recognize any
user input within a five-minute time period.
i The 0076 button is inoperative. Automatic disconnection of the Inter-
net connection after inactivity
If no data is transferred for a specified time,
e.g. five minutes, the system automatically
disconnects the Internet connection. Google™ Local Search
Calling up the Local Search menu
You do not need a Google™ account to use
Local Search.
X
Press the 002Bbutton.
The last function called up appears.
X Select TEL/ TEL/00A7 in the main function bar by
sliding 5, turning and pressing the con-
troller.
A menu appears.
X To select Internet Internet turn the controller and
press to confirm.
The menu for the Internet functions
appears.
X Select the Mercedes-Benz Apps Mercedes-Benz Apps menu.
The Mercedes-Benz Apps menu is dis-
played.
X Select Google Local Search Google Local Search.
i You will first need to register COMAND
Online before you can use the Internet
functions. To do so, you have to enter your
name and postal address once in the vehi-
cle and confirm the general terms and con-
ditions. Search
Entry restriction It is only possible for the driver to enter a
search term in the input menu when the vehi-
cle is stationary. Google™ Local Search
137Online and Internet
Page 160 of 214
These include:
R
tunnels
R parking garages
R locations inside or next to buildings
R locations in the vicinity of other structures
SIRIUS XM Satellite Radio offers more than
140 digital-quality radio channels providing
100% commercial-free music, sports, news
and entertainment.
SIRIUS XM Satellite Radio employs a fleet of
high-performance satellites to broadcast
around the clock throughout the USA and
Canada.
The satellite radio program is available for a
monthly fee. Details are available from the
SIRIUS XM Service Center and at
http://www.siriusxm.com (USA) or
http://www.siriusxm.ca (Canada).
Your new Mercedes-Benz vehicle comes with
SIRIUS XM Satellite Radio pre-installed at the
factory. This service is free for a six-month
trial period. About a month before the trial
period ends, information will be provided on
how to extend this subscription. An acoustic
signal sounds and a message is shown,
describing how the subscription can be
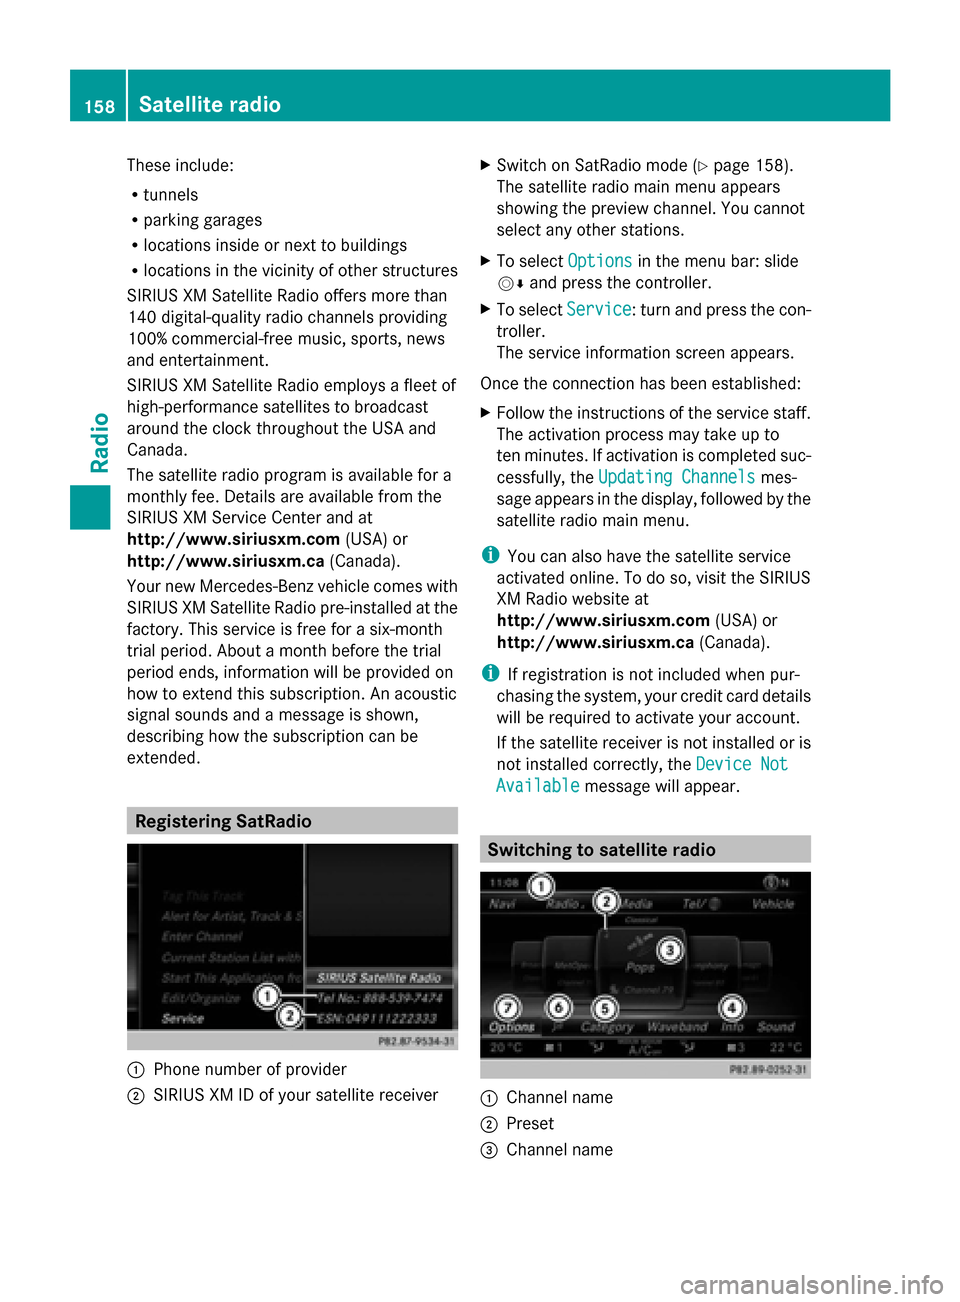
extended. Registering SatRadio
0043
Phone number of provider
0044 SIRIUS XM ID of your satellite receiver X
Switch on SatRadio mode (Y page 158).
The satellite radio main menu appears
showing the preview channel. You cannot
select any other stations.
X To select Options Optionsin the menu bar: slide
00520064 and press the controller.
X To select Service Service: turn and press the con-
troller.
The service information screen appears.
Once the connection has been established:
X Follow the instructions of the service staff.
The activation process may take up to
ten minutes. If activation is completed suc-
cessfully, the Updating Channels Updating Channels mes-
sage appears in the display, followed by the
satellite radio main menu.
i You can also have the satellite service
activated online. To do so, visit the SIRIUS
XM Radio website at
http://www.siriusxm.com (USA) or
http://www.siriusxm.ca (Canada).
i If registration is not included when pur-
chasing the system, your credit card details
will be required to activate your account.
If the satellite receiver is not installed or is
not installed correctly, the Device Not Device Not
Available
Available message will appear. Switching to satellite radio
0043
Channel name
0044 Preset
0087 Channel name 158
Satellite radioRadio