2015 MERCEDES-BENZ C-Class region
[x] Cancel search: regionPage 90 of 214
X
To switch to navigation mode: press the
00BE button.
X To show the menu: slide6the control-
ler.
X To select Traffic
Traffic: turn and press the con-
troller.
X To select Messages On Route
Messages On Route: turn and
press the controller.
The traffic report window appears. Several
traffic reports may be available for the cal-
culated route, marked for example by 1/3.
The report shows the following information:
R State/province, road and display of the
affected direction
R Section of the road to which the traffic
report applies
R Traffic icon and traffic report
X To display the next/previous traffic
report: turn the controller.
X To close the display: press the0038but-
ton.
Displaying all traffic reports X
To switch to navigation mode: press the
00BE button.
X To show the menu: slide6the control-
ler.
X To select Traffic Traffic: turn and press the con-
troller.
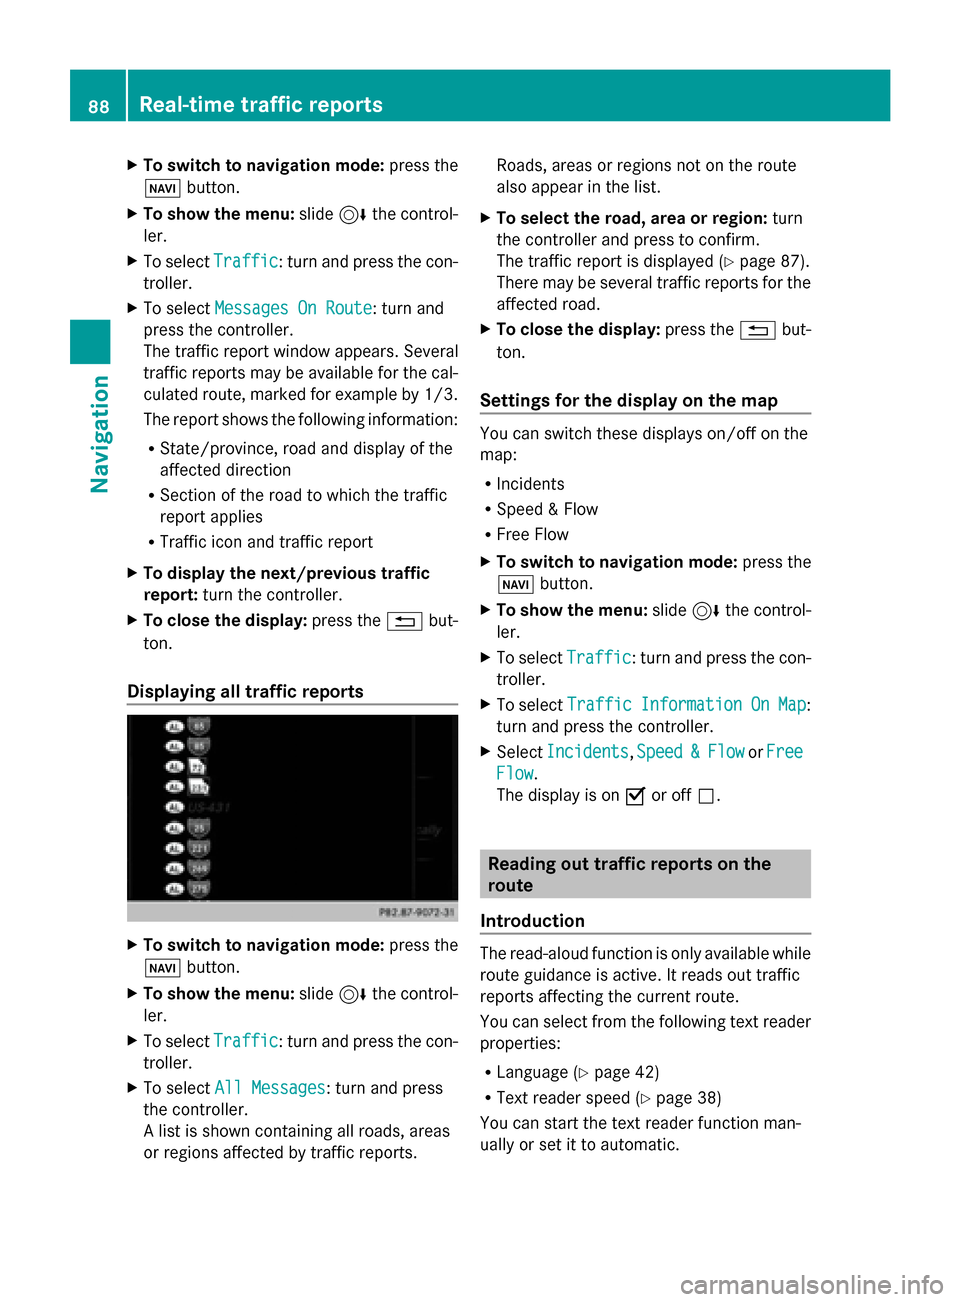
X To select All Messages
All Messages: turn and press
the controller.
A list is shown containing all roads, areas
or regions affected by traffic reports. Roads, areas or regions not on the route
also appear in the list.
X To select the road, area or region: turn
the controller and press to confirm.
The traffic report is displayed (Y page 87).
There may be several traffic reports for the
affected road.
X To close the display: press the0038but-
ton.
Settings for the display on the map You can switch these displays on/off on the
map:
R
Incidents
R Speed & Flow
R Free Flow
X To switch to navigation mode: press the
00BE button.
X To show the menu: slide6the control-
ler.
X To select Traffic Traffic: turn and press the con-
troller.
X To select Traffic
Traffic Information
Information On
OnMap
Map:
turn and press the controller.
X Select Incidents
Incidents ,Speed
Speed &
&Flow
Flow orFree
Free
Flow
Flow.
The display is on 0073or off 0053. Reading out traffic reports on the
route
Introduction The read-aloud function is only available while
route guidance is active. It reads out traffic
reports affecting the current route.
You can select from the following text reader
properties:
R Language (Y page 42)
R Text reader speed (Y page 38)
You can start the text reader function man-
ually or set it to automatic. 88
Real-time traffic reportsNavigation
Page 96 of 214
Additional functions:
R
Moving the map (Y page 64)Map display
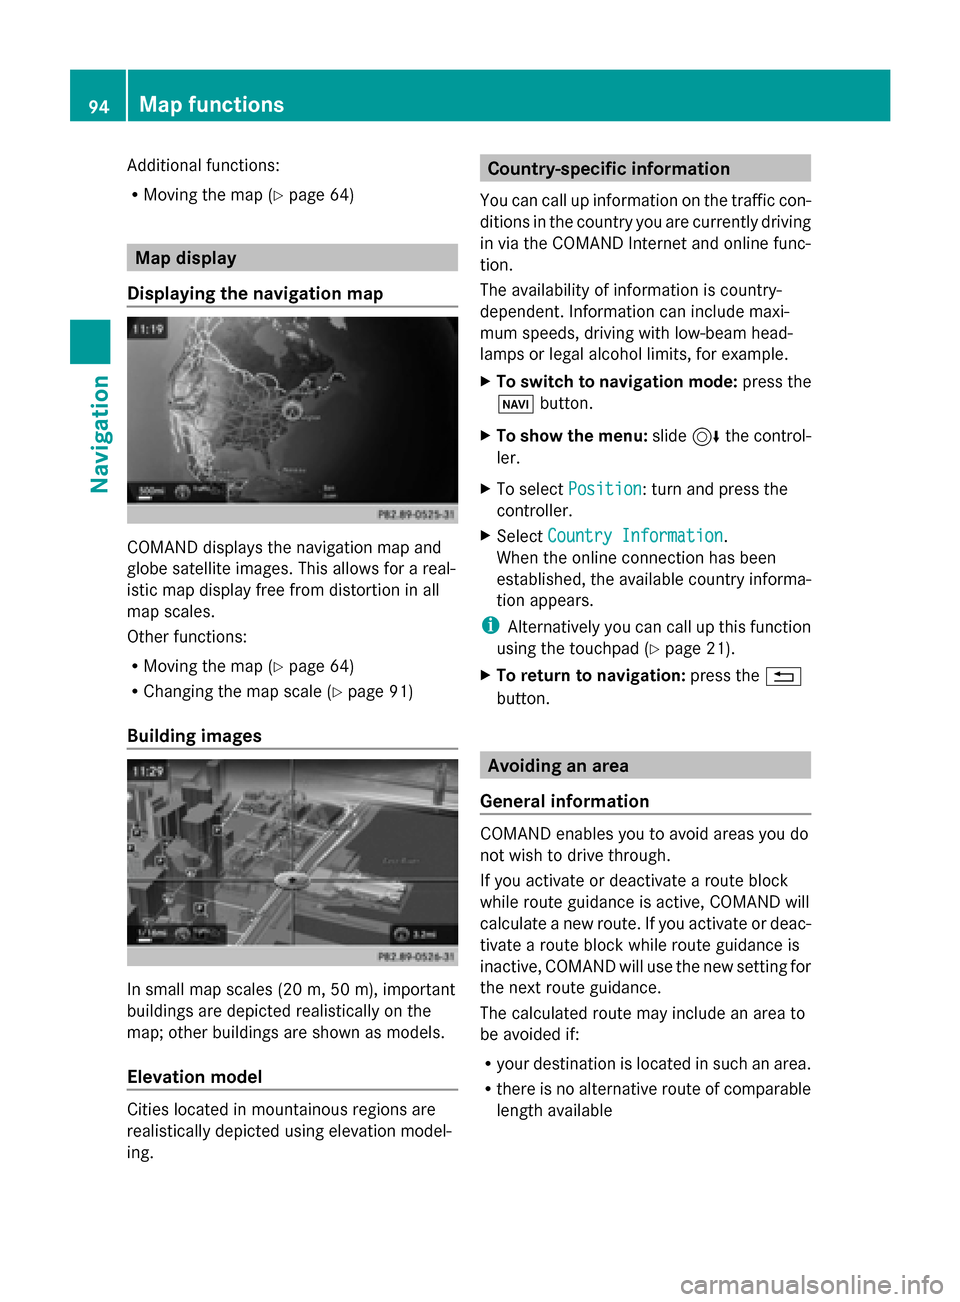
Displaying the navigation map COMAND displays the navigation map and
globe satellite images. This allows for a real-
istic map display free from distortion in all
map scales.
Other functions:
R Moving the map (Y page 64)
R Changing the map scale (Y page 91)
Building images In small map scales (20 m, 50 m), important
buildings are depicted realistically on the
map; other buildings are shown as models.
Elevation model Cities located in mountainous regions are
realistically depicted using elevation model-
ing. Country-specific information
You can call up information on the traffic con-
ditions in the country you are currently driving
in via the COMAND Internet and online func-
tion.
The availability of information is country-
dependent. Information can include maxi-
mum speeds, driving with low-beam head-
lamps or legal alcohol limits, for example.
X To switch to navigation mode: press the
00BE button.
X To show the menu: slide6the control-
ler.
X To select Position Position: turn and press the
controller.
X Select Country Information
Country Information.
When the online connection has been
established, the available country informa-
tion appears.
i Alternatively you can call up this function
using the touchpad (Y page 21).
X To return to navigation: press the0038
button. Avoiding an area
General information COMAND enables you to avoid areas you do
not wish to drive through.
If you activate or deactivate a route block
while route guidance is active, COMAND will
calculate a new route. If you activate or deac-
tivate a route block while route guidance is
inactive, COMAND will use the new setting for
the next route guidance.
The calculated route may include an area to
be avoided if:
R
your destination is located in such an area.
R there is no alternative route of comparable
length available 94
Map functionsNavigation
Page 158 of 214
Tagging music tracks
If an Apple ®
device is connected, the music
tracks and artist displayed in the radio text
can be stored. Using iTunes you have the
option of purchasing this track.
X In radio mode: slide 00520064the controller.
X Select Options Options.
X Select Tag This Track
Tag This Track.
A message appears in COMAND about stor-
ing the track information. Station Information
X In radio mode: slide 00520064the controller.
X To select Options
Options: turn and press the con-
troller.
X You can determine whether or not the
artist, track or station name are shown in
the main display area with 0073or0053 before
Show Station Information
Show Station Information. Station list
i The station list is only available in the FM/
AM waveband. It includes all FM and AM
stations that can currently be received.
X In radio mode: press the controller.
The station list appears with the stations
currently available. Storing a station
i The available stations for your region are
already saved in COMAND. There are 99
preset positions available. Storing current stations
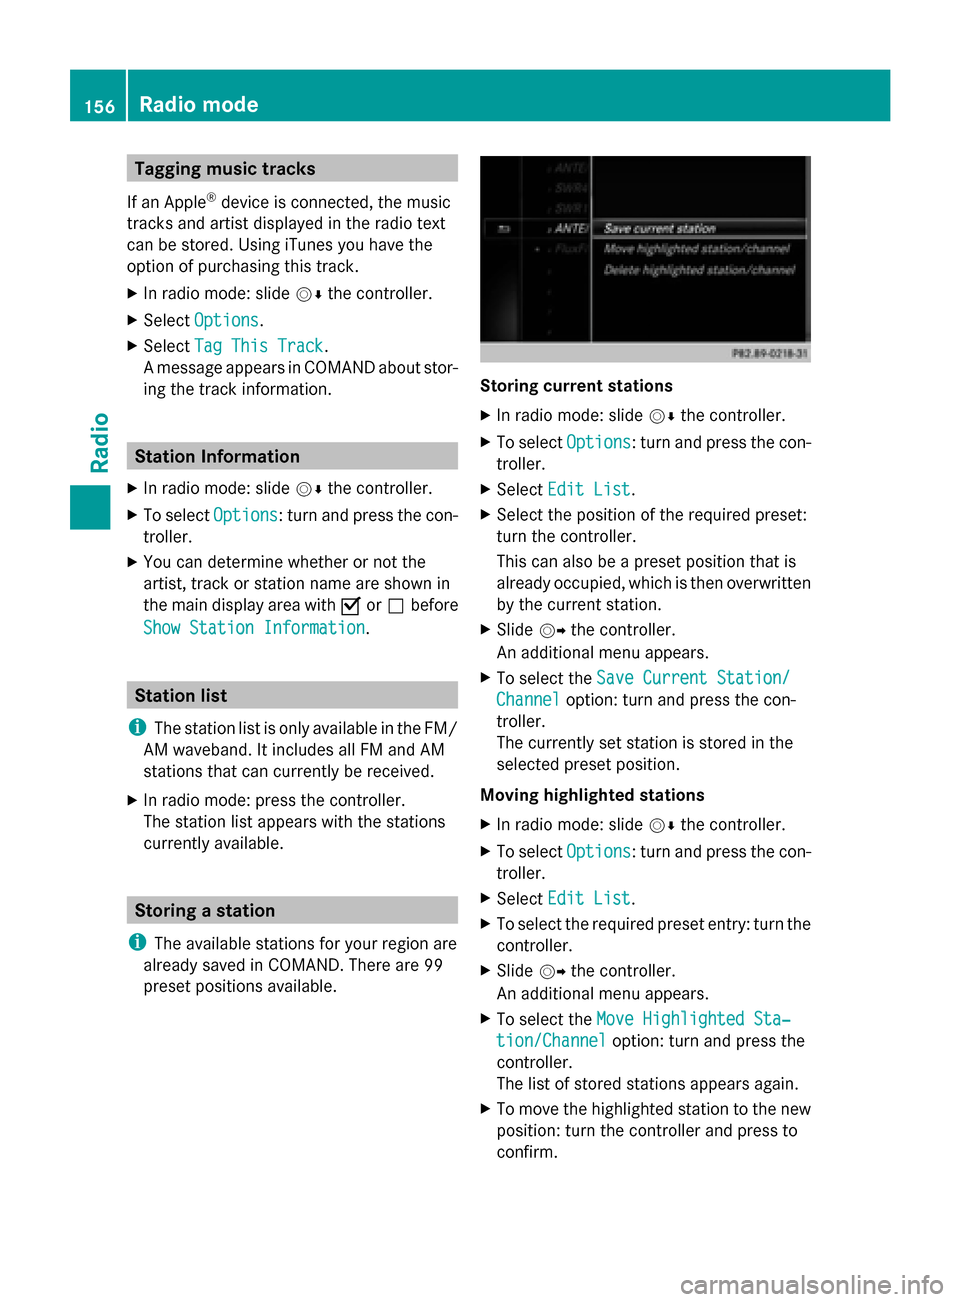
X
In radio mode: slide 00520064the controller.
X To select Options Options: turn and press the con-
troller.
X Select Edit List
Edit List.
X Select the position of the required preset:
turn the controller.
This can also be a preset position that is
already occupied, which is then overwritten
by the current station.
X Slide 00520096the controller.
An additional menu appears.
X To select the Save Current Station/ Save Current Station/
Channel Channel option: turn and press the con-
troller.
The currently set station is stored in the
selected preset position.
Moving highlighted stations
X In radio mode: slide 00520064the controller.
X To select Options Options: turn and press the con-
troller.
X Select Edit List
Edit List.
X To select the required preset entry: turn the
controller.
X Slide 00520096the controller.
An additional menu appears.
X To select the Move Highlighted Sta‐
Move Highlighted Sta‐
tion/Channel
tion/Channel option: turn and press the
controller.
The list of stored stations appears again.
X To move the highlighted station to the new
position: turn the controller and press to
confirm. 156
Radio modeRadio
Page 194 of 214

General notes
Notes on discs !
Do not affix stickers or labels to the discs.
They could peel off and damage COMAND.
Stickers can cause the disc to bend, which
can result in read errors and disc recogni-
tion problems.
! COMAND is designed to play discs that
comply with the EN 60908 standard. There-
fore, you can only use discs with a maxi-
mum thickness of 1.3 mm.
If you insert thicker discs, e.g. those that
contain data on both sides (DVD on one
side and audio data on the other), they can-
not be ejected and can damage the device.
Only use round discs with a diameter of
12 cm. Do not use discs with a diameter of
8 cm, even with an adapter.
The variety of data media, burners and burn
software means there is no guarantee that
the system will be able to play discs that you
have copied yourself.
DVD playback conditions If video DVDs do not conform to the NTSC or
PAL TV standards, they may create picture,
sound or other problems during playback.
COMAND is capable of playing back video
DVDs produced according to the following
standards:
R Region code 1 or region code 0 (no region
code)
R PAL or NTSC standard
You will generally find the relevant details
either on the DVD itself or on the DVD case.
i If you insert a video DVD with a different
region code, a message to this effect
appears.
i COMAND is set to region code 1 at the
factory. This setting can be changed at an
authorized Mercedes-Benz Center. It is also
possible to play video DVDs with a different
region code, provided that they are pro- duced in accordance with the PAL or NTSC
TV standard. The region code can be
changed up to five times.
Control options There are four control menus available in
video DVD mode.
Most DVDs have their own control menu.
The DVD's control menu is operated directly
using the controller or DVD functions.
Control menu and
function Operation
R
DVD's control
menu
Selection of title,
scene, language,
subtitles ... Operation with the
controller
R
Menu Options Options
Selection of
brightness, con-
trast, color, for-
mat Operation using the
menu bar/options/
video settings
R
Video menu
Selection of
scene, fast
forward/rewind In full-screen mode,
slide
005200C5 the con-
troller R
DVD functions
Selection of title,
scene, language,
subtitles ... In full-screen mode,
press the controller
Function restrictions
Depending on the DVD, certain functions or
actions may not function at all. The symbol
0047
appears in the display. 192
Video DVD modeMedia
Page 212 of 214
Weather
front Explanation
Stationary
front
(red and blue
line with red
semi-circles
and blue tri-
angles) The weather front moves
minimally. The weather
remains changeable in this
area.
Occlusion
(purple line
with purple
semi-circles
and trian-
gles) When the faster cold front
catches up and joins the
warm front ahead of it, an
occluded front is formed.
The weather remains
changeable and rainy
within an occlusion.
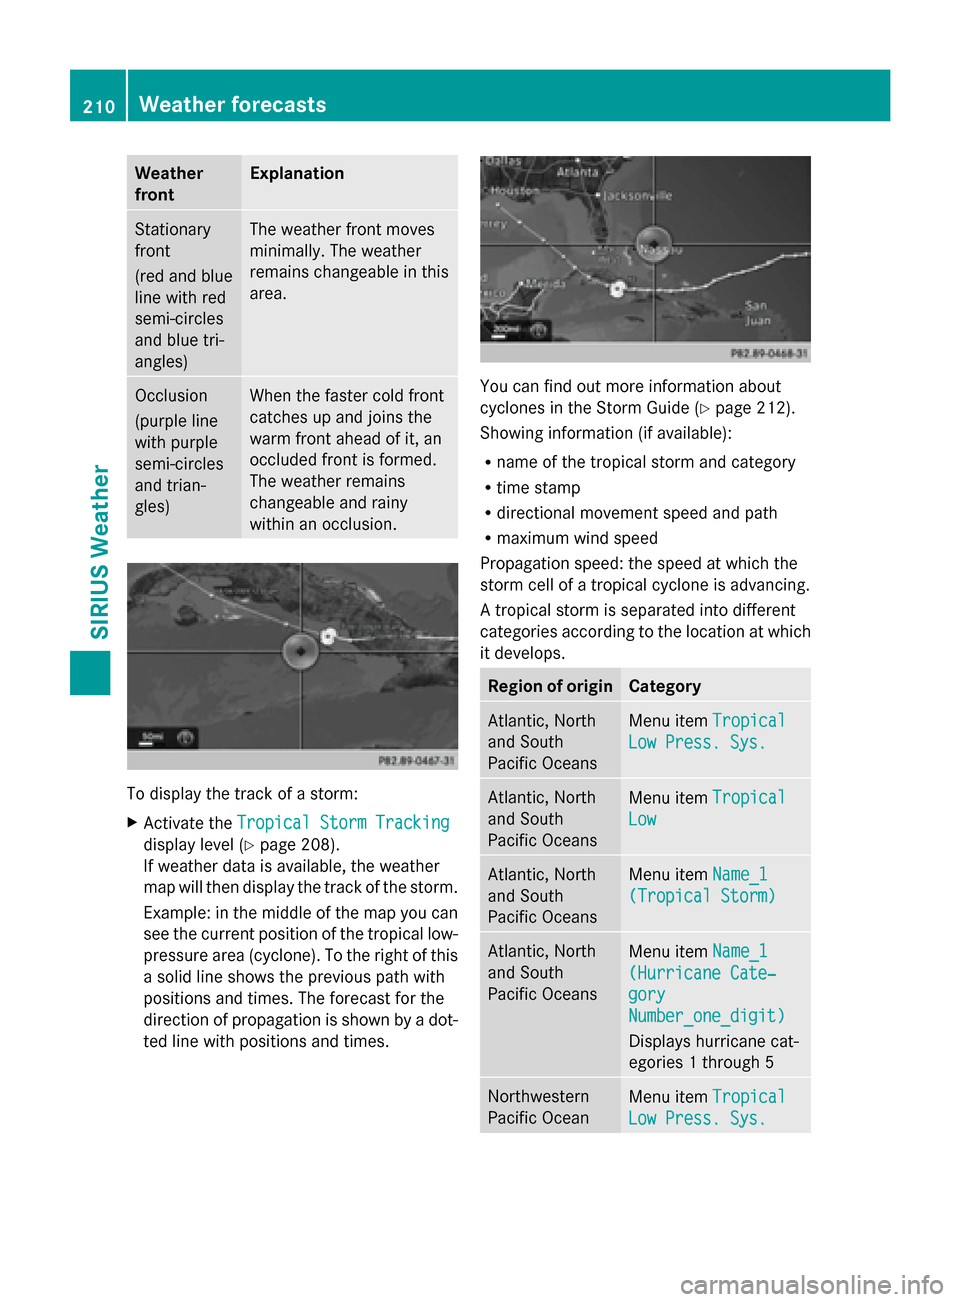
To display the track of a storm:
X
Activate the Tropical Storm Tracking Tropical Storm Tracking
display level (Y page 208).
If weather data is available, the weather
map will then display the track of the storm.
Example: in the middle of the map you can
see the current position of the tropical low-
pressure area (cyclone). To the right of this
a solid line shows the previous path with
positions and times. The forecast for the
direction of propagation is shown by a dot-
ted line with positions and times. You can find out more information about
cyclones in the Storm Guide (Y
page 212).
Showing information (if available):
R name of the tropical storm and category
R time stamp
R directional movement speed and path
R maximum wind speed
Propagation speed: the speed at which the
storm cell of a tropical cyclone is advancing.
A tropical storm is separated into different
categories according to the location at which
it develops. Region of origin Category
Atlantic, North
and South
Pacific Oceans
Menu item
Tropical Tropical
Low Press. Sys.
Low Press. Sys. Atlantic, North
and South
Pacific Oceans
Menu item
Tropical Tropical
Low
Low Atlantic, North
and South
Pacific Oceans
Menu item
Name_1 Name_1
(Tropical Storm)
(Tropical Storm) Atlantic, North
and South
Pacific Oceans
Menu item
Name_1 Name_1
(Hurricane Cate‐
(Hurricane Cate‐
gory gory
Number_one_digit) Number_one_digit)
Displays hurricane cat-
egories 1 through 5 Northwestern
Pacific Ocean
Menu item
Tropical Tropical
Low Press. Sys.
Low Press. Sys. 210
Weather forecastsSIRIUS Weather
Page 213 of 214
Region of origin Category
Northwestern
Pacific Ocean
Menu item
Name_LP10 Name_LP10
(Tropical Cyclone)
(Tropical Cyclone) Northwestern
Pacific Ocean
Menu item
Name_1
Name_1
(Typhoon) (Typhoon) Northwestern
Pacific Ocean
Menu item
Name_1
Name_1
(Super-Typhoon) (Super-Typhoon) You can also see the time stamp for the
weather data on map scales of 50 miles and
smaller.
The weather map shows wind directions and
wind speeds.
Legend (precipitation radar and storms) X
Display the menu on the weather map
(Y page 208).
X To select View
View : turn and press the control-
ler.
X Select Legend
Legend.
i The symbol for a tornadic storm is also
valid for a cyclone (mesocyclone). Precipita-
tion type Color scale
Rain Eleven shades from light (light
green) to heavy (red)
Mixed Light (light violet) to heavy
(violet)
Snow Light (light turquoise) to
heavy (turquoise) Time stamp
The time stamp shows when the weather data
was created by the weather station.
A time stamp corresponds to the time at the
vehicle's current position. The changeover
from summer time to standard time is per-
formed automatically.
X
Display the menu on the weather map
(Y page 208).
X To select View View: turn and press the control-
ler.
X Select Time Stamp
Time Stamp.
Changing to the information chart X
Display the menu on the weather map
(Y page 208).
X To select Weather Table Weather Table: turn and press
the controller.
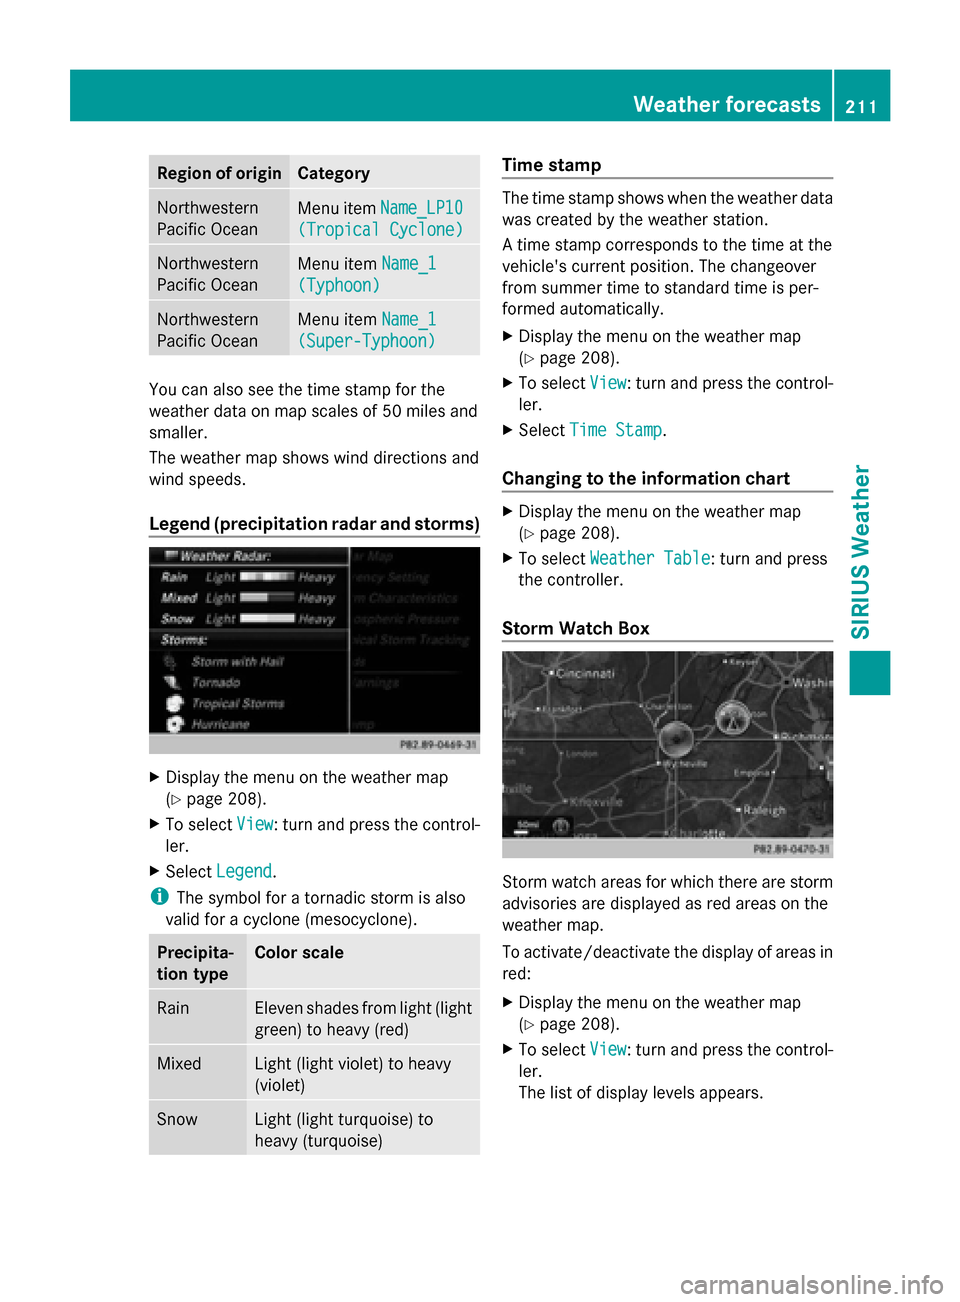
Storm Watch Box Storm watch areas for which there are storm
advisories are displayed as red areas on the
weather map.
To activate/deactivate the display of areas in
red:
X
Display the menu on the weather map
(Y page 208).
X To select View View: turn and press the control-
ler.
The list of display levels appears. Weather forecasts
211SIRIUS Weather