2012 MERCEDES-BENZ SL ROADSTER reset
[x] Cancel search: resetPage 418 of 637
Changing the category of a telephone
number data field
X Display details for an address book entry
(Y page 414).
X Select the telephone number data field.
X Select the list symbol to the right of the
entry by sliding VYthe COMAND control-
ler and press Wto confirm.
X Select Change category
Change category and pressWto
confirm.
X Select a number category, e.g. Home Home.
X Select a telephone category, e.g. Mobile
Mobile.
X If desired, select Preferred
Preferredand pressW
to confirm.
Depending on the previous status, switch
the option on Oor off ª. The phone num-
ber is displayed as the first number in the
phone book and can be dialled immedi-
ately.
X Select Save
Save and press Wto confirm.
The new category is stored.
Calling a number stored in an entry Conditions
The mobile phone must be connected via the
Bluetooth ®
interface (Y page 390).
Dialling a number
X Display details for an address book entry
(Y page 414).
X Select the phone number data field by turn-
ing cVd the COMAND controller.
X Press Wthe COMAND controller to con-
firm.
or
X Select the list symbol to the right of the
data field by sliding VYthe COMAND con-
troller.
X Press Wthe COMAND controller to con-
firm.
X Select Call Calland press Wto confirm.
The telephone makes the call. The display
switches to telephone mode. Storing a phone number as a speed dial
number X
Display details for an address book entry
(Y page 414).
X Select the phone number data field by turn-
ing cVd the COMAND controller.
X Select the list symbol to the right of the
data field by sliding VYthe COMAND con-
troller and press Wto confirm.
X Select Speed dial Speed dial and pressWto con-
firm.
You can now store the number in one of the ten speed dial presets (Y page 407).
Starting route guidance to an entry Address book entry with navigable data
This function is available as soon as you have
stored a destination in the destination mem-
ory (Y page 369).
X Search for an address book entry with the
L symbol and select it from the list
(Y page 413).
X Display details for an address book entry
(Y page 414).
X Select the address data field by turning
cVd the COMAND controller and press W
to confirm.
Route guidance begins.
or X Select the list symbol to the right of the
entry by sliding VYthe COMAND control-
ler and press Wto confirm.
X Select Navigate
Navigate and pressWto confirm.
Route guidance begins.
Address book entry without navigable
data
Route guidance can also be started for an
address book entry without the Lsymbol. If
the address data or designations do not
match the digital map, COMAND Online
prompts you to re-enter the address. Telephone
415COMAND Online Z
Page 429 of 637
Deleting call lists
X Enter the number "0002" in the telephone
basic menu.
X Press the 6button.
The call lists stored in the module are reset and will no longer appear starting with the
next phone book transfer.
The call lists of the connected mobile phone
are not deleted. Deleting the call lists of the
mobile phone (see the operating instructions
for the mobile phone).
Deleting call lists from COMAND Online
(Y page 407).
i In SIM card mode, the
Delete call Delete call
lists
lists menu item is available in COMAND
Online.
Terminating the connection between
the mobile phone and the module Automatic disconnection
Once outside the receiving range, the Blue-
tooth ®
connection between the mobile phone
and the module is automatically terminated.
Manual disconnection
X Terminate the Bluetooth ®
connection on
the mobile phone (see the operating
instructions for the mobile phone).
Re-establishing a connection
X You can re-establish the Bluetooth ®
con-
nection after disconnecting manually
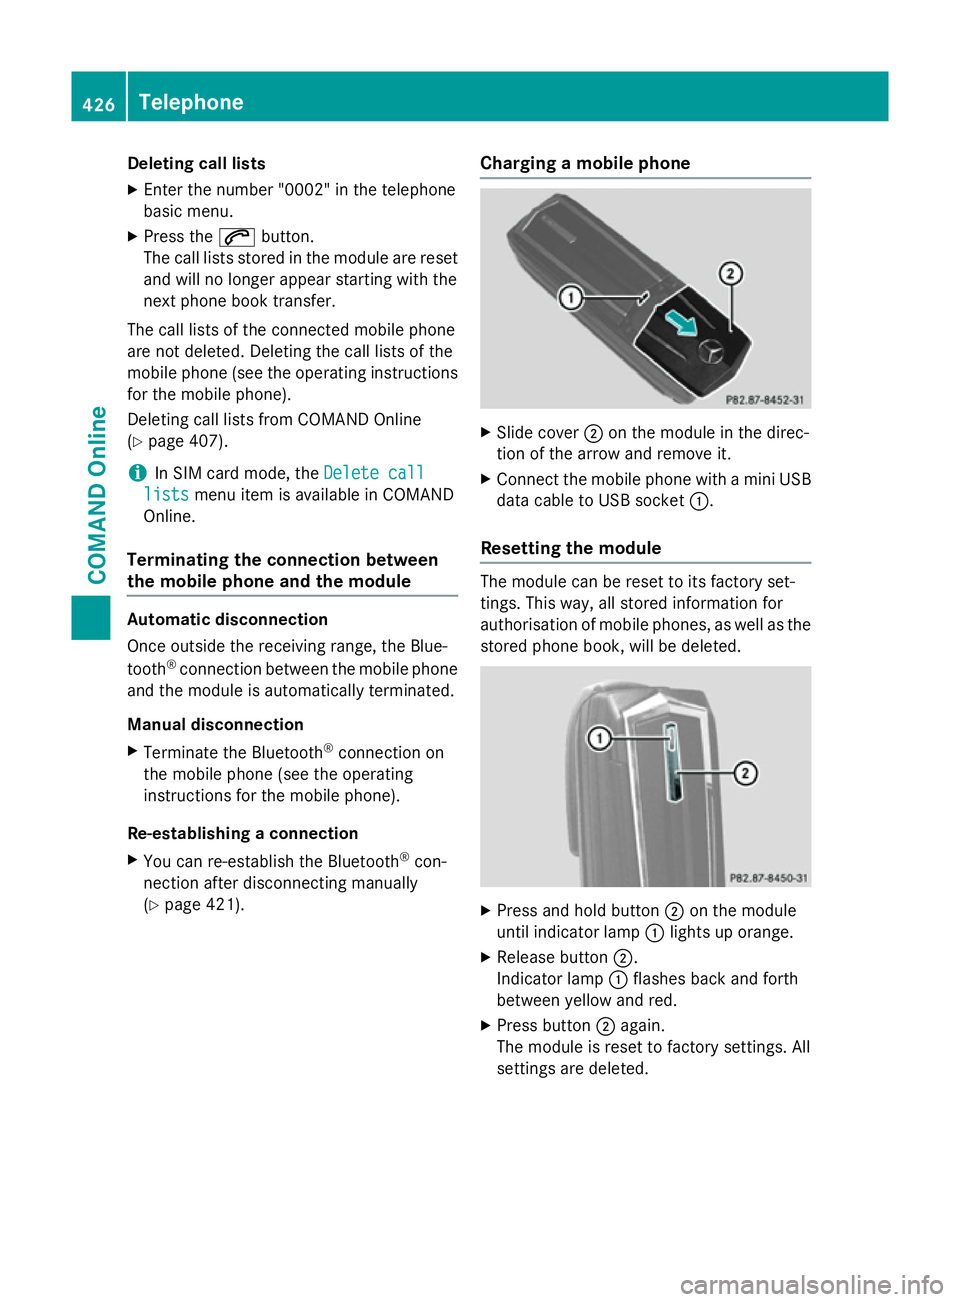
(Y page 421). Charging a mobile phone X
Slide cover ;on the module in the direc-
tion of the arrow and remove it.
X Connect the mobile phone with a mini USB
data cable to USB socket :.
Resetting the module The module can be reset to its factory set-
tings. This way, all stored information for
authorisation of mobile phones, as well as the stored phone book, will be deleted. X
Press and hold button ;on the module
until indicator lamp :lights up orange.
X Release button ;.
Indicator lamp :flashes back and forth
between yellow and red.
X Press button ;again.
The module is reset to factory settings. All
settings are deleted. 426
TelephoneCOMAND Online
Page 437 of 637
A selected/manually set mobile phone net-
work provider is only valid for the mobile
phone connected when the selection/setting is made. The mobile phone network provider
is set automatically upon reconnection.
i When you are driving your vehicle in a dif-
ferent country and using the online and
Internet functions on COMAND Online, you may incur additional costs (roaming fees).
i While initialising the mobile phone for the
Internet connection, access data which is
already on the mobile phone may be over-
written. You should therefore check the
settings on the mobile phone (see the
mobile phone operating instructions).
i Adjust the access data settings when the
vehicle is stationary. You may otherwise be
distracted from the traffic conditions,
cause an accident and injure yourself and
others.
Selecting/setting Internet access data Calling up the list of mobile phone net-
work providers
X Select the ®icon in the main function bar
by turning cVdthe COMAND controller
and press Wto confirm.
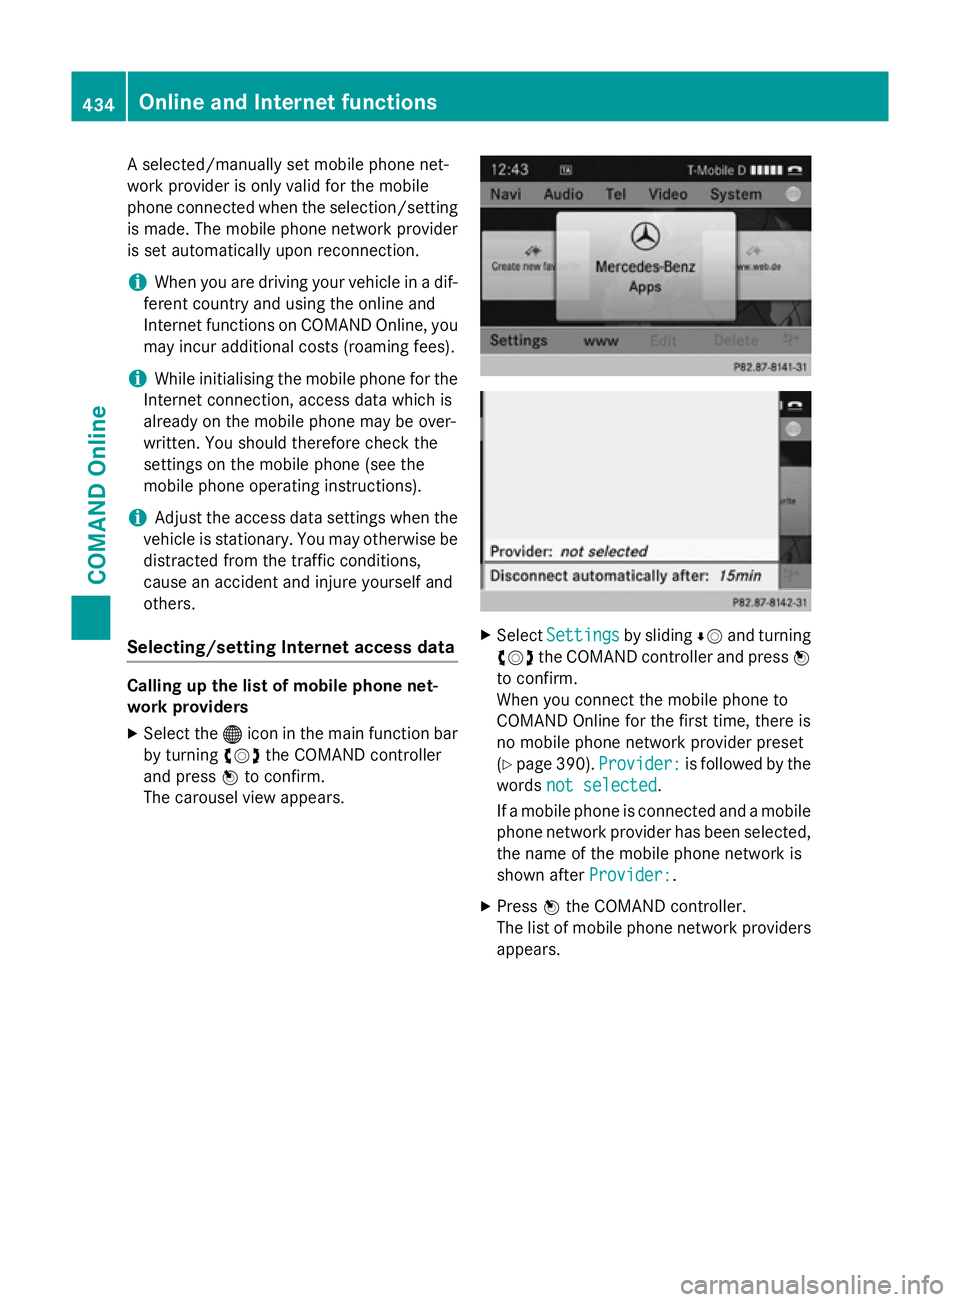
The carousel view appears. X
Select Settings
Settings by slidingÆVand turning
cVd the COMAND controller and press W
to confirm.
When you connect the mobile phone to
COMAND Online for the first time, there is
no mobile phone network provider preset
(Y page 390). Provider: Provider: is followed by the
words not selected
not selected.
If a mobile phone is connected and a mobile phone network provider has been selected,
the name of the mobile phone network is
shown after Provider: Provider:.
X Press Wthe COMAND controller.
The list of mobile phone network providers
appears. 434
Online and Internet functionsCOMAND Online
Page 439 of 637
again each time the mobile phone is con-
nected (Y
page 434). i
You must set the access data of the
mobile phone network provider who pro-
vides the SIM card and the associated data package (access settings) for the connec-
ted mobile phone. The access data remains the same if you are in a different country
(roaming). The access data of another net-
work is notselected.
There are mobile phone network providers
who offer multiple access data. This
depends on the data package used, for
example.
The mobile phone network provider only
has one access setting
X Select the mobile phone network provider
by turning cVdthe COMAND controller
and press Wto confirm.
A menu appears.
X To check preset access data: selectEdit
Edit
and confirm with W.
The list of access data appears
(Y page 437).
X Check the access data.
X If the access data is correct: press the
% reset button or the &symbol and
press Wto confirm.
You can now accept the access data of the
mobile phone network provider.
X Select Save Saveand press Wto confirm.
The list of mobile phone network providers
appears; the access data of the provider
has been accepted. X
To edit the access data: proceed as
described for manually entering the access data (Y page 437).
When you confirm the edited access data,
the list of mobile phone network providers
appears and displays the selected provider.
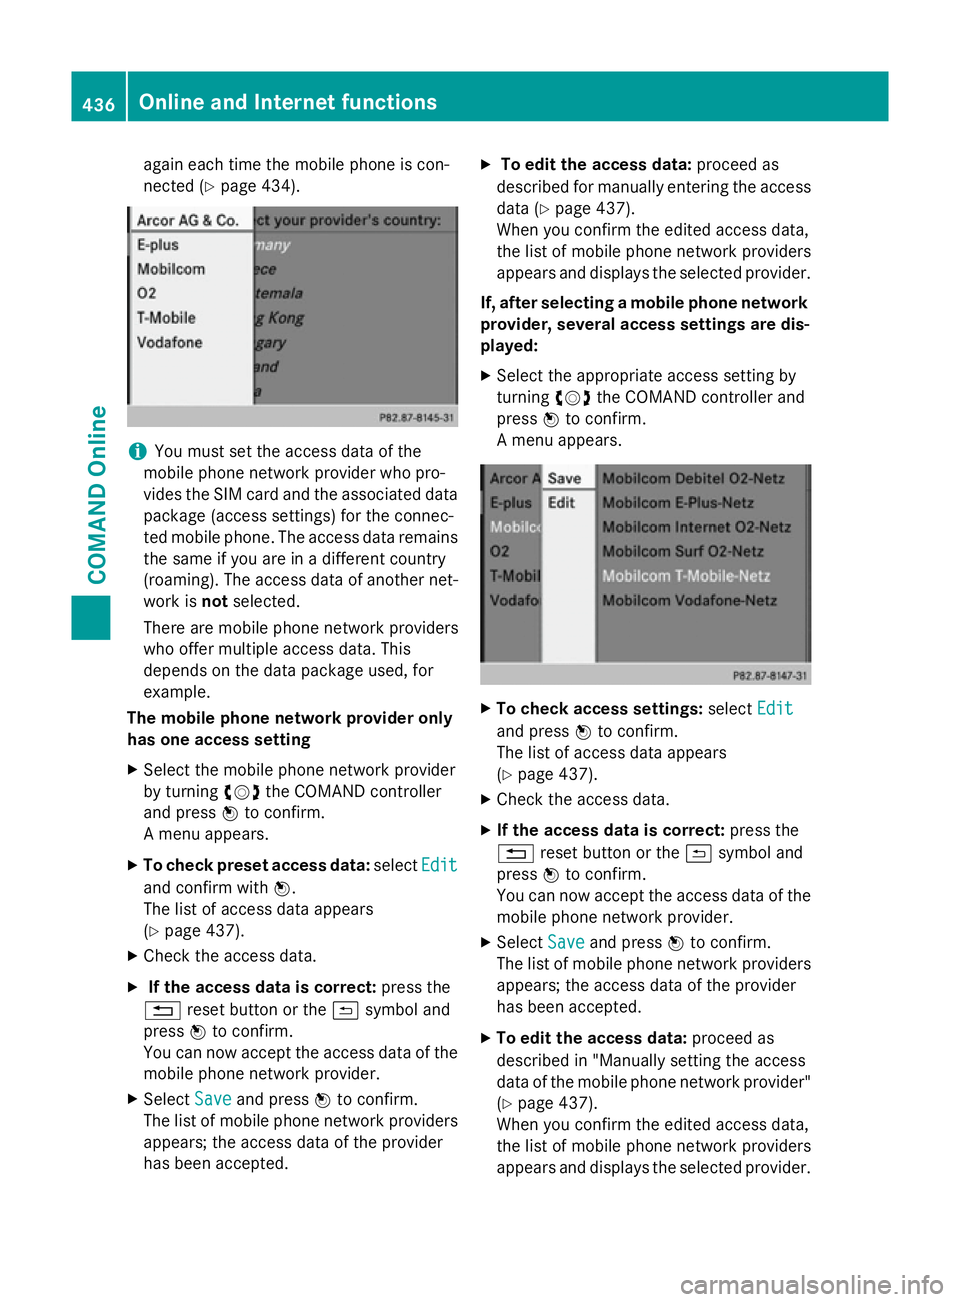
If, after selecting a mobile phone network provider, several access settings are dis-
played:
X Select the appropriate access setting by
turning cVdthe COMAND controller and
press Wto confirm.
A menu appears. X
To check access settings: selectEdit Edit
and press Wto confirm.
The list of access data appears
(Y page 437).
X Check the access data.
X If the access data is correct: press the
% reset button or the &symbol and
press Wto confirm.
You can now accept the access data of the
mobile phone network provider.
X Select Save Saveand press Wto confirm.
The list of mobile phone network providers
appears; the access data of the provider
has been accepted.
X To edit the access data: proceed as
described in "Manually setting the access
data of the mobile phone network provider" (Y page 437).
When you confirm the edited access data,
the list of mobile phone network providers
appears and displays the selected provider. 436
Online and Internet functionsCOMAND Online
Page 443 of 637
Saving access data under a new provider
name
X Select a provider from the list of mobile
phone network providers by turning cVd
the COMAND controller (Y page 435).
X Select the symbol to the right of the entry
by sliding VYthe COMAND controller and
press Wto confirm.
X Confirm Copy provider entry Copy provider entry by press-
ing W.
The access data is displayed.
X Edit the access data. A description of the
entry can be found under "Making entries"
in the "Manually setting the access data of
the mobile phone network provider" sec-
tion (Y page 437).
Deleting the access data of the mobile
phone network provider
X Select a provider from the list of mobile
phone network providers by turning cVd
the COMAND controller (Y page 435).
X Select the symbol to the right of the entry
by sliding VYthe COMAND controller and
press Wto confirm.
X Confirm Delete
Delete by pressing W.
A prompt appears asking whether you wish to delete the access data.
X Select Yes YesorNo
No and press Wto confirm.
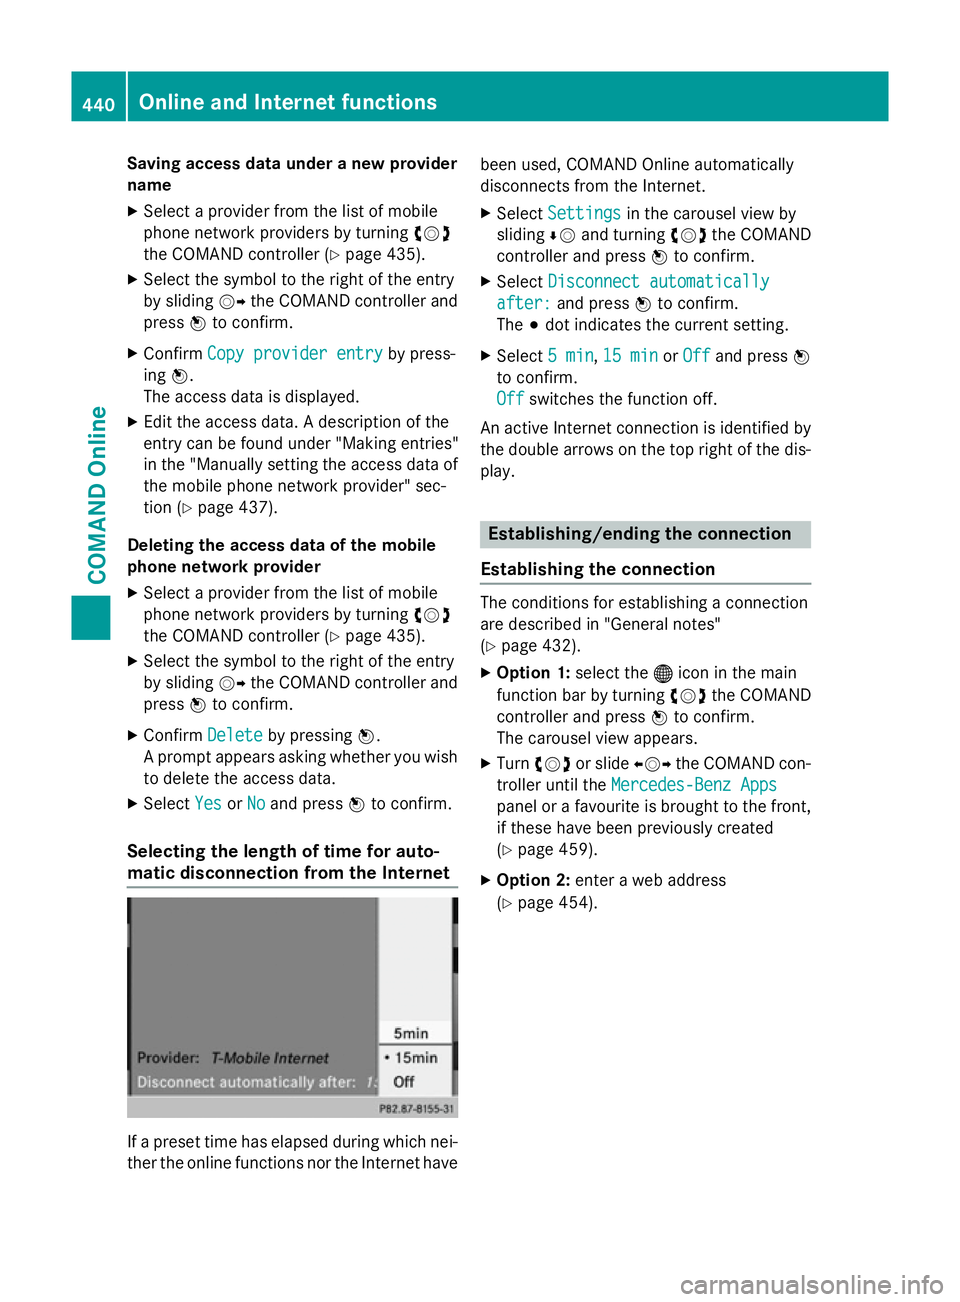
Selecting the length of time for auto-
matic disconnection from the Internet If a preset time has elapsed during which nei-
ther the online functions nor the Internet have been used, COMAND Online automatically
disconnects from the Internet.
X Select Settings
Settings in the carousel view by
sliding ÆVand turning cVdthe COMAND
controller and press Wto confirm.
X Select Disconnect automatically
Disconnect automatically
after:
after: and press Wto confirm.
The #dot indicates the current setting.
X Select 5 min
5 min,15 min
15 min orOff
Off and press W
to confirm.
Off Off switches the function off.
An active Internet connection is identified by the double arrows on the top right of the dis-
play. Establishing/ending the connection
Establishing the connection The conditions for establishing a connection
are described in "General notes"
(Y
page 432).
X Option 1: select the®icon in the main
function bar by turning cVdthe COMAND
controller and press Wto confirm.
The carousel view appears.
X Turn cVd or slide XVYthe COMAND con-
troller until the Mercedes-Benz Apps Mercedes-Benz Apps
panel or a favourite is brought to the front, if these have been previously created
(Y page 459).
X Option 2: enter a web address
(Y page 454). 440
Online and Internet functionsCOMAND Online
Page 448 of 637
tinations and routes for route guidance and
save them for further use.
Sending destinations to the server X
Call up the website for Google™ Maps on
the Internet.
X Enter a destination.
X Click "More" at the destination.
X Click on "Send".
X Click "Send to vehicle".
X Select Mercedes-Benz as the vehicle
brand.
X Enter the vehicle identification number.
X Click on "Send".
The destination is sent to the server.
i The vehicle identification number (VIN) is
preset at the factory as identification for
download. Instead of the vehicle ID, you
can also enter your e-mail address here.
The availability of the destination/route
download function is country-dependent.
In order to be able to use the download, you
first have to register COMAND Online. This
is done in the vehicle by entering your name and e-mail address once and confirming
the general terms and conditions.
Downloading destinations from the
server Proceed as follows to use destinations/
routes that have been sent to the server:
X Select the ®symbol in the main function
bar by turning cVdthe COMAND control-
ler and press Wto confirm.
The carousel view appears.
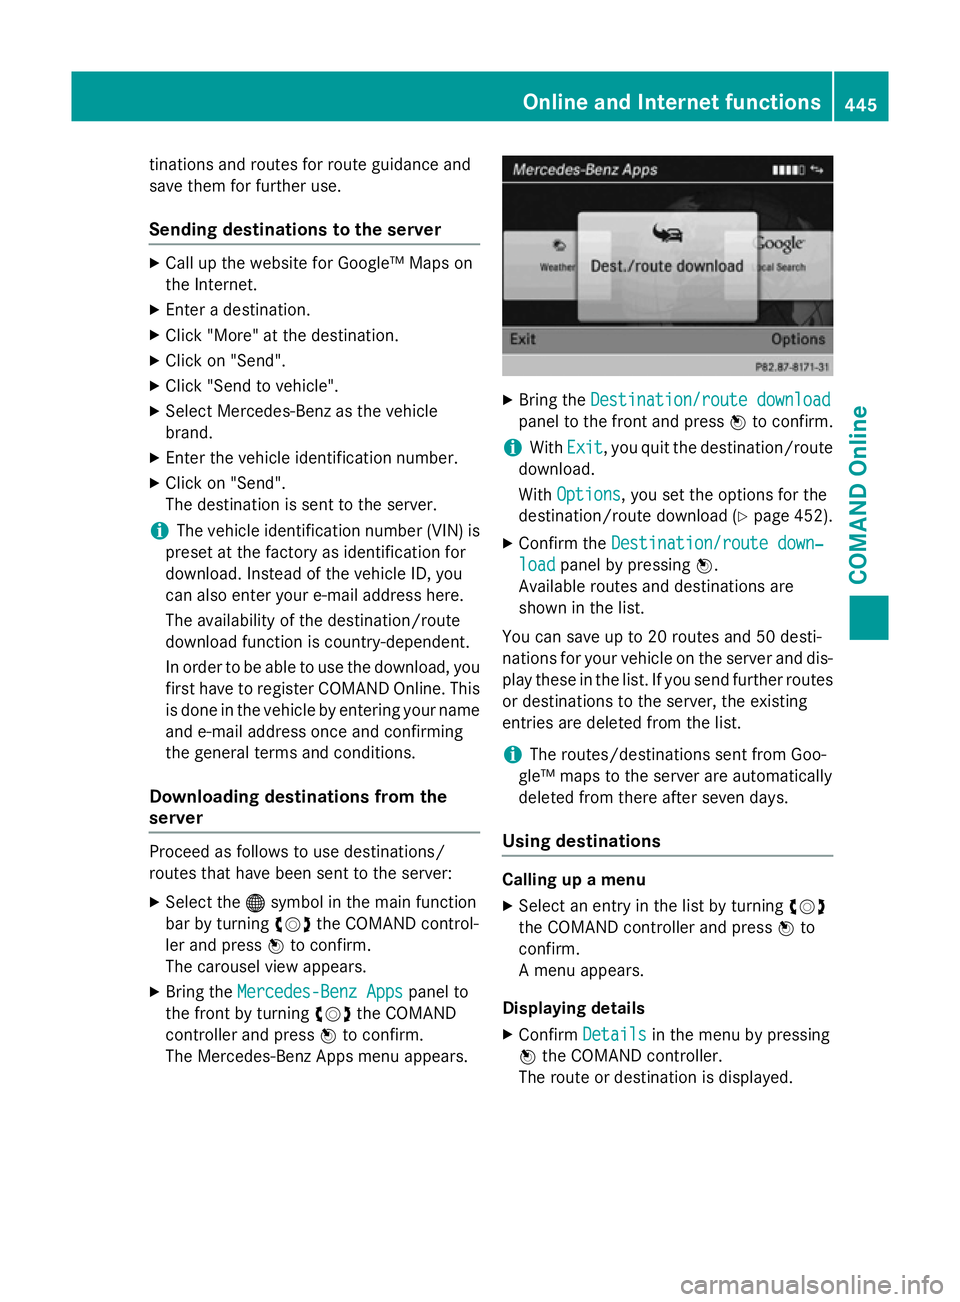
X Bring the Mercedes-Benz Apps Mercedes-Benz Apps panel to
the front by turning cVdthe COMAND
controller and press Wto confirm.
The Mercedes-Benz Apps menu appears. X
Bring the Destination/route download
Destination/route download
panel to the front and press Wto confirm.
i With
Exit
Exit, you quit the destination/route
download.
With Options Options, you set the options for the
destination/route download (Y page 452).
X Confirm the Destination/route down‐
Destination/route down‐
load
load panel by pressing W.
Available routes and destinations are
shown in the list.
You can save up to 20 routes and 50 desti-
nations for your vehicle on the server and dis- play these in the list. If you send further routesor destinations to the server, the existing
entries are deleted from the list.
i The routes/destinations sent from Goo-
gle™ maps to the server are automatically
deleted from there after seven days.
Using destinations Calling up a menu
X Select an entry in the list by turning cVd
the COMAND controller and press Wto
confirm.
A menu appears.
Displaying details
X Confirm Details Details in the menu by pressing
W the COMAND controller.
The route or destination is displayed. Online and Internet functions
445COMAND Online Z
Page 452 of 637
Switching to the weather information dis-
play in the map
X Display the menu on the weather map
(Y page 448).
X Select View Viewby turning cVdthe COMAND
controller and press Wto confirm. Weather char-
acteristic Display in the map
Hazard icons Hazard icons Shows warnings
Weather
Weather
radar radar Displays the rain radar as
a coloured area on the
map Atmospheric Atmospheric
pressure pressure Shows the weather over-
view with information
islands Temperatures Temperatures Displays the tempera-
tures
Cloud cover Cloud cover Displays the cloud cover
Winds
Winds Displays wind direction
with an arrow and wind
speed with colouring
i
The hazard icon display is preset in the
factory. This presetting can be changed in
the Options menu (Y page 451).
X Select a weather characteristic by turning
cVd the COMAND controller and press W
to confirm.
The #dot indicates which weather charac-
teristic is currently displayed on the map.
You can select one weather characteristic
at a time.
Legend
X Display the menu on the weather map
(Y page 448).
X Select View
View by turning cVdthe COMAND
controller and press Wto confirm.
X Select Legend Legend and press Wto confirm.
The legend is displayed in accordance with
the currently selected weather character-
istic. X
To switch back to the information chart:
display the menu on the weather map.
(Y page 448)
X Select Display weather
Display weather and pressWto
confirm.
Memory functions Storing a location in the memory
You can save locations that are called up fre-
quently in ten preset positions (0, 1 - 9).
X Select the location (Y page 447).
X Press and hold a number key.
When the location is saved, the number of
the selected preset comes before the name
of the place in the caption.
Selecting a location from the memory X Quick select: when the weather display
(COMAND Online) is switched on and an
entry is available, press a number key, e.g.
l.
The information chart appears and displays the weather information.
X From the weather memory: selectPosi‐
Posi‐
tion tion in the information chart by turning
cVd the COMAND controller and press W
to confirm.
X Select Presets
Presets and press Wto confirm.
X Select a preset position that has an entry by
turning cVdthe COMAND controller and
press Wto confirm.
The information chart appears and displays
the weather information. Options
Introduction You can select options for the following
Mercedes-Benz Apps on COMAND Online:
R Local Search (Y page 450)
R Weather (Y page 451)
R Destination download (Y page 452) Online and Internet functions
449COMAND Online Z
Page 453 of 637
You can reset the selected options to the
default settings (Y page 452).
Calling up the Options menu X
Select the ®symbol in the main function
bar by turning cVdthe COMAND con-
troller and press Wto confirm.
The carousel view appears.
X Bring the Mercedes-Benz Apps
Mercedes-Benz Apps panel to
the front by turning cVdthe COMAND
controller and press Wto confirm.
X Select Options
Options by sliding VÆand turning
cVd the COMAND controller and press W
to confirm.
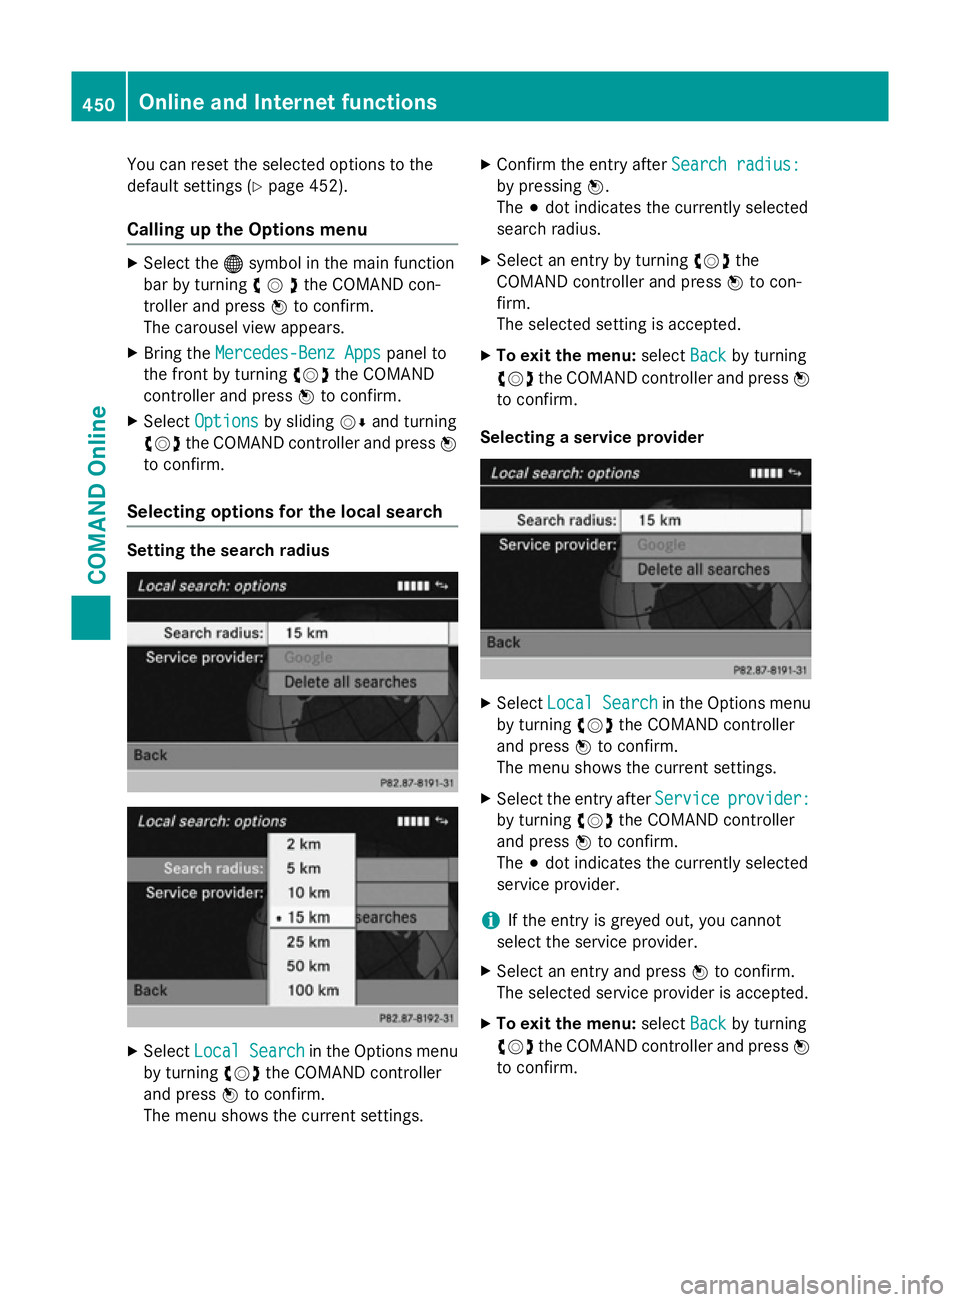
Selecting options for the local search Setting the search radius
X
Select Local Search Local Search in the Options menu
by turning cVdthe COMAND controller
and press Wto confirm.
The menu shows the current settings. X
Confirm the entry after Search radius:
Search radius:
by pressing W.
The #dot indicates the currently selected
search radius.
X Select an entry by turning cVdthe
COMAND controller and press Wto con-
firm.
The selected setting is accepted.
X To exit the menu: selectBack Backby turning
cVd the COMAND controller and press W
to confirm.
Selecting a service provider X
Select Local Search
Local Search in the Options menu
by turning cVdthe COMAND controller
and press Wto confirm.
The menu shows the current settings.
X Select the entry after Service
Service provider:
provider:
by turning cVdthe COMAND controller
and press Wto confirm.
The #dot indicates the currently selected
service provider.
i If the entry is greyed out, you cannot
select the service provider.
X Select an entry and press Wto confirm.
The selected service provider is accepted.
X To exit the menu: selectBack
Back by turning
cVd the COMAND controller and press W
to confirm. 450
Online and Internet functionsCOMAND Online