Page 89 of 274

3-7 INSTRUMENT PANEL
78J00-03E
the vehicle’s speed for approximately 60
seconds, cruise control will disengage.
Using Cruise Control on Hills
How well your cruise control will work on
hills depends upon your speed, load, and
the steepness of the hills. When going up
steep hills, you may have to step on the
accelerator pedal to maintain your vehi-
cle’s speed. When going downhill, you may
have to brake or shift to a lower gear to
limit the vehicle’s speed. Of course, apply-
ing the brakes ends cruise control. Many
drivers find this to be too much trouble and
do not use cruise control on steep hills.
Ending Cruise Control
There are three ways to end cruise control:
Step lightly on the brake pedal.
Press the cancel button on the steering
wheel.
Press the On/Off button on the steering
wheel.
Erasing Speed Memory
When the cruise control or the ignition is
turned off, the cruise control set speed
memory is erased.
HeadlampsThe exterior lamp control is located on the
turn signal/multifunction lever.
(Exterior Lamp Control):
Turn the control with this symbol on it to
operate the exterior lamps.
The exterior lamp control has the following
positions:
AUTO (Off/Automatic Headlamps):
Turn the control to this position to put the
headlamps in automatic mode. Automatic
mode will turn the exterior lamps on and off
depending upon how much light is avail-
able outside of the vehicle.
(Parking Lamps):
Turn the control to this position to turn on
the parking lamps together with the follow-
ing:
Sidemarker Lamps
Taillamps
License Plate Lamps
Instrument Panel Lights
(Headlamps):
Turning the control to this position turns on
the headlamps, together with the previ-
ously listed lamps and lights.
Headlamps on Reminder
If you open the driver’s door with the igni-
tion off and the lamps on, you will hear a
warning chime.Daytime Running Lamps (DRL)
Daytime Running Lamps (DRL) can make
it easier for others to see the front of your
vehicle during the day. DRL can be helpful
in many different driving conditions, but
they can be especially helpful in the short
periods after dawn and before sunset.
Fully functional daytime running lamps are
required on all vehicles first sold in Can-
ada.
A light sensor on top of the instrument
panel makes the DRL work, so be sure it is
not covered.
The DRL system’s automatic headlamp
control will make the low-beam headlamps
come on at a reduced brightness when the
following conditions are met:
The ignition is in RUN.
The exterior lamps control is in AUTO.
The engine is running.
When the DRL are on, only the low-beam
headlamps, at a reduced level of bright-
ness, will be on. The headlamps, taillamps,
sidemarker, and other lamps will not be on.
The instrument panel and cluster will also
not be lit.
When it is dark enough outside, the DRL
will turn off and the headlamps and parking
lamps will turn on. The other lamps that
come on with the headlamps will also
come on.
Page 90 of 274

3-8 INSTRUMENT PANEL
78J00-03E
When it is bright enough outside, the head-
lamps will go off and the DRL will come on.
As with any vehicle, you should turn on the
regular headlamp system when you need
it.
Automatic Headlamp System
When it is dark enough outside and the
exterior lamps control is in the automatic
position, the headlamps will come on auto-
matically. Refer to “Headlamps” in this sec-
tion.
Your vehicle has a light sensor located on
top of the instrument panel. Make sure it is
not covered, or the headlamps will be on
when you do not need them.
The system may also turn on the head-
lamps when driving through a parking
garage or tunnel.
Fog LampsIf your vehicle has this feature, use your
fog lamps for better visibility in foggy or
misty conditions.
808603
The button for your fog lamps is located on
the center console; to the right of the rear
wipe and rear wash switches and above
the shift lever.
Push the button to turn the fog lamps on or
off.
When using fog lamps, the parking lamps
or low-beam headlamps must be on.
A light on the button will come on when the
fog lamps are on. Fog lamps will go off
whenever you turn the high-beam head-
lamps on. When the high-beam head-
lamps are turned off, the fog lamps will
come on again.
Some localities have laws that require the
headlamps to be on along with the fog
lamps.
Instrument Panel BrightnessThis feature controls the brightness of the
instrument panel lights.
1788862
The control for this feature is located on
the instrument panel to the left of the steer-
ing column.
Turn the control to the right to brighten the
lights or to the left to dim them.Dome LampThe dome lamp switch has three positions.
(Off):
The lamp will not come on as long as the
switch is in this position.
AUTO (Auto):
The lamp will come on when a door is
opened. Refer to “Entry Lighting” in this
section.
(On):
The lamp will stay on as long as the switch
is in this position.
Entry Lighting
If the dome lamp is in the AUTO position,
the dome lamp and the cargo lamp inside
Page 91 of 274

3-9 INSTRUMENT PANEL
78J00-03E
your vehicle will come on when any door is
opened. In addition, the light will come on
when the remote keyless entry unlock but-
ton is pressed. It will stay on for 20 sec-
onds or until a door is opened. After the
door is opened the light will remain on and
stay on for 20 seconds after the doors are
closed, or until you put the key in the igni-
tion and turn the key to RUN.Map Lamps
1788863
Your vehicle may have lamps located on
the headliner above the rearview mirror.
Push on the lens in the lamp to turn them
on and off.
Cargo LampThe cargo lamp is located over the rear
compartment, and is controlled by the
dome lamp. Refer to “Dome Lamp” in this
section.Electric Power ManagementThe vehicle has Electric Power Manage-
ment (EPM) that estimates the battery’s
temperature and state of charge. It then
adjusts the voltage for best performance
and extended life of the battery.
When the battery’s state of charge is low,
the voltage is raised slightly to quickly put
the charge back in. When the state of
charge is high, the voltage is lowered
slightly to prevent overcharging. If the vehi-
cle has a voltmeter gage or voltage display
on the Driver Information Center (DIC), you
may see the voltage move up or down.
This is normal. If there is a problem, an
alert will be displayed.
The battery can be discharged at idle if the
electrical loads are very high. This is true
for all vehicles. This is because the gener-
ator (alternator) may not be spinning fast
enough at idle to produce all the power
that is needed for very high electrical
loads.
A high electrical load occurs when several
of the following loads are on: headlamps,
high beams, fog lamps, rear window defog-
ger, climate control fan at high speed,
heated seats, engine cooling fans, trailerloads, and loads plugged into accessory
power outlets.
EPM works to prevent excessive discharge
of the battery. It does this by balancing the
generator’s output and the vehicle’s electri-
cal needs. It can increase engine idle
speed to generate more power, whenever
needed. It can temporarily reduce the
power demands of some accessories.
Normally, these actions occur in steps or
levels, without being noticeable. In rare
cases at the highest levels of corrective
action, this action may be noticeable to the
driver. If so, a Driver Information Center
(DIC) message might be displayed, such
as Battery Saver Active or Service Battery
Charging System. If this message is dis-
played, it is recommended that the driver
reduce the electrical loads as much as
possible. Refer to “DIC Warnings and Mes-
sages” in this section.
Battery Run-Down ProtectionYour vehicle has a battery saver feature
designed to protect the vehicle’s battery.
When any interior lamp is left on and the
ignition is turned off, the battery rundown
protection system will automatically turn
the lamp off after 20 minutes. This will
avoid draining the battery. This vehicle also
has a retained accessory power feature. If
the radio is on, it will turn off after 10 min-
utes or if any door on the vehicle is
opened. Refer to “Retained Accessory
Page 92 of 274
” in “Starting and Operating
Your Vehicle” in the “Features and Con-
trols” section.Accessory Power Outlet(s)The accessory power outlets can be use")
3-10 INSTRUMENT PANEL
78J00-03E
Power (RAP)” in “Starting and Operating
Your Vehicle” in the “Features and Con-
trols” section.Accessory Power Outlet(s)The accessory power outlets can be used
to connect electrical equipment such as a
cellular phone or CB radio.
Your vehicle may have four accessory
power outlets. They are located on the
instrument panel below the climate con-
trols, inside the front center console stor-
age bin under the cupholders, at the rear
of the center console, and in the rear cargo
area.
To use the outlets, remove the cover.
When not in use, always cover the outlet
with the protective cap.
Certain electrical accessories may not be
compatible with the accessory power out-
lets and could result in blown vehicle or
adapter fuses. If you experience a prob-
lem, see your dealer for additional informa-
tion on the accessory power outlet.When adding electrical equipment, be sure
to follow the installation instructions
included with the equipment.
Climate ControlsAutomatic Climate Control SystemWith this system you can control the heat-
ing, cooling, and ventilation for the vehicle.
Automatic Climate Control System
1824513
CAUTION
Leaving electrical equipment on for
extended periods will drain the bat-
tery. Always turn off electrical equip-
ment when not in use and do not plug
in equipment that exceeds the maxi-
mum amperage rating.
CAUTION
Adding any electrical equipment to
your vehicle may damage it or keep
other components from working as
they should. The repairs would not be
covered by your warranty. Do not use
equipment exceeding maximum
amperage rating of 20 amperes.
Check with your dealer before adding
electrical equipment.
CAUTION
Improper use of the power outlet can
cause damage not covered by your
warranty. Do not hang any type of
accessory or accessory bracket from
the plug because the power outlets
are designed for accessory power
plugs only.
Page 93 of 274
:
When this position is selected on t")
3-11 INSTRUMENT PANEL
78J00-03E
Automatic Climate Control System with
Rear Air Conditioning and Heating Sys-
tem
1732674
Automatic Operation
AUTO (Automatic Fan):
When this position is selected on the fan
control, the system automatically adjusts
the fan speed.
Temperature Setting:
The system uses the outside temperature,
passenger compartment air temperature,
and solar load sensors to maintain the
chosen temperature setting.
AUTO (Automatic Mode):
1) Turn the fan and mode control to the
AUTO position.
2) Adjust the temperature to a comfortable
setting between 31°F (16°C) and 89°F
(31°C). Choosing the coldest or warm-
est temperature setting does not causethe system to heat or cool any faster. In
cold weather; the system starts at lower
fan speeds to avoid blowing cold air into
the vehicle until warmer air is available.
The system begins blowing air at the
floor, but can change modes automati-
cally as the vehicle warms up to main-
tain the chosen temperature setting.
The length of time needed to warm the
interior depends on the outside temper-
ature and temperature of the vehicle.
3) Wait 20 to 30 minutes for the system to
stabilize in order for the system to regu-
late automatically. Then adjust the tem-
perature as necessary to find your
comfort setting. Do not cover the solar
sensor located in the center of the
instrument panel near the windshield.
For more information on the solar sen-
sor, refer to “Sensors” later in this sec-
tion.
(AUTO RECIRCULATION):
Using the previous temperature setting,
the system automatically controls the air
inlet to supply fresh outside air or recircu-
late the interior air to cool the car faster.
The indicator light on the recirculation but-
ton lights whenever the system switches to
recirculation. Switch to outside air by
pressing the outside air button, if the vehi-
cle has a rear climate control system, or by
pressing the recirculation button. See AUX
for more information. The next time AUTO
fan or mode is selected, the air inlet resets
back to AUTO operation.Manual Operation
(Fan):
Turn the left knob to increase or decrease
the fan speed. In any setting other than off,
the fan runs continuously with the ignition
on. To turn off the air completely, turn the
fan to 0 and select the recirculation button.
Temperature Control:
Turn the center knob to increase or
decrease the temperature inside your vehi-
cle.
Use the right knob to select from the fol-
lowing modes:
There is one position between each mode
to finely adjust airflow position.
(Vent):
This mode directs air to the instrument
panel outlets.
(Bi-Level):
This mode directs approximately half of the
air to the instrument panel outlets, and
then directs the remaining air to the floor
outlets.
(Floor):
This mode directs most of the air to the
floor outlets with some air directed to the
windshield and side window outlets.
The right knob can also be used to select
the defrost and defog modes that are
described in this section.
Page 94 of 274
:
This button is on a vehicle that has the
Rear Climate Control System. Press it to
t")
3-12 INSTRUMENT PANEL
78J00-03E
The modes can also be selected by press-
ing the following buttons:
AUX (Auxiliary):
This button is on a vehicle that has the
Rear Climate Control System. Press it to
turn on the rear heating and air condition-
ing. Refer to “Rear Air Conditioning and
Heating System” in this section for more
information.
(Outside Air):
Press this button to turn on the outside air
mode. While this mode is on, outside air
circulates throughout the vehicle. An indi-
cator light in the button comes on when
this button is pressed. The outside air
mode can be used with all modes, but it
cannot be used with the recirculation
mode.
(Recirculation):
Press this button to recirculate cabin air
through the vehicle. It can be used to pre-
vent outside air and odors from entering
the vehicle or to help heat or cool the air
inside the vehicle more quickly. An indica-
tor light above the symbol comes on in this
mode. Operation in this mode during peri-
ods of high humidity and cool outside tem-
peratures can result in increased window
fogging. If window fogging is experienced,
select the defrost mode.
The recirculation mode cannot be used
with outside air, floor, defog, or defrost
modes.If your vehicle has a Rear Climate Control
System, use this button to switch between
outside air and recirculation.
(Air Conditioning):
Press this button to turn the air condition-
ing system on or off. When this button is
pressed, an indicator light on the button
comes on to let you know the air condition-
ing is activated.
On hot days, open the windows to let hot
inside air escape, then close them. This
helps to reduce the time it takes for the
vehicle to cool down. It also helps the sys-
tem to operate more efficiently.
The air conditioning system removes mois-
ture from the air, so you might notice a
small amount of water dripping underneath
the vehicle while idling or after turning off
the engine. This is normal.
(Heated Seats):
If your vehicle has heated seats, refer to
“Heated Seats” in the “Seats and Restraint
Systems” section for more information.
Defogging and Defrosting
Fog or frost on the inside of windows is a
result of high humidity (moisture) condens-
ing on the cool window glass. This can be
minimized if the climate control system is
used properly. To avoid fogging windows
on rainy and humid days at temperatures
above freezing, run the air conditioning
compressor. It is best to avoid the use of
the recirculation mode, except when maxi-mum A/C performance is needed or for
short times to avoid exterior odors.
Use the floor/defog mode to clear the win-
dows of fog or moisture and warm the pas-
sengers. Use the defrost mode to remove
fog or frost from the windshield more
quickly.
When either of these modes or the floor
mode is selected, the system runs the air
conditioning compressor and cancels recir-
culation mode to dry the air; however, the
recirculation light stays on. For best
results, clear all snow and ice from the
windshield before defrosting.
Turn the right knob to select the defog or
defrost mode.
(Floor/Defog):
This mode directs about half of the air to
the floor outlets and the remaining air to
the windshield and the side window out-
lets.
(Defrost):
This mode directs most of the air to the
windshield and the side window outlets.
Rear Window Defogger
The rear window defogger uses a warming
grid to remove fog from the rear window.
The rear window defogger only works
when the ignition is in RUN.
Page 95 of 274
:
Press this button to turn the rear window
defogger on or off. An indicator light on the
button comes on to let you know that the
rear window defogger is activa")
3-13 INSTRUMENT PANEL
78J00-03E
(Rear):
Press this button to turn the rear window
defogger on or off. An indicator light on the
button comes on to let you know that the
rear window defogger is activated.
The rear window defogger only works
when the ignition is in RUN. The rear win-
dow defogger stays on for approximately
15 minutes after the button is pressed,
unless the ignition is turned to ACC or
LOCK. If turned on again, the defogger
only runs for about five minutes before
turning off. The defogger can also be
turned off by pressing the button again or
by turning off the engine.
Outlet AdjustmentUse the louvers located on the air outlets
to change the direction of the airflow.
Operation Tips
Clear away any ice, snow, or leaves from
the air inlets at the base of the vehicle
that may block the flow of air into your
vehicle.
Do not use any non-SUZUKI approved
hood deflectors that could adversely
affect the performance of the system.
Keep the path under the front seats clear
of objects to help circulate the air inside
of your vehicle more effectively.Rear Air Conditioning and Heating
SystemIf your vehicle has this system, the rear
controls are three knobs located on the
rear of the center floor console. The sys-
tem can be controlled from the front con-
trols as well as the rear controls.
To turn the system on, press the AUX but-
ton on the front climate control system, an
indicator light will be lit. Pressing the AUX
button the first time will turn the rear sys-
tem on in a mimic mode. In this mode, the
airflow in the rear will be similar to the air-
flow direction, temperature, and fan speed
of the front controls. The rear system can
be turned off by pressing the AUX button
again or by turning the rear fan control
knob counterclockwise all the way.If the rear controls are adjusted after the
AUX button is pressed, the system will
enter a rear independent mode. Airflow in
the rear is then directed according to the
settings of the rear controls.
1732690
Fan Knob
Turn the left knob clockwise or counter-
clockwise to increase or decrease the fan
speed. Turn the knob all the way counter-
clockwise to turn the rear system off.
Temperature Knob
The middle knob on the control panel lets
you select the temperature of the air flow-
ing into the passenger area. Turn the knob
clockwise toward the red area for warmer
air. Turn the knob counterclockwise toward
the blue area for cooler air.
CAUTION
Do not use anything sharp on the
inside of the rear window. If you do,
you could cut or damage the warm-
ing grid, and the repairs would not be
covered by your warranty. Do not
attach a temporary vehicle license,
tape, a decal or anything similar to
the defogger grid.
Page 96 of 274
:
This setting directs the air through the
headliner outlets.
(B")
3-14 INSTRUMENT PANEL
78J00-03E
Mode Knob
The right knob on the control panel lets
you to choose the direction of air delivery.
(Vent):
This setting directs the air through the
headliner outlets.
(Bi-Level):
This setting directs the air through the floor
outlets, as well as the headliner outlets.
The rear system floor outlets are located
near third row seats. The flow can be
divided between vent and floor outlets
depending upon where the knob is placed
between the settings.
(Floor):
This setting directs most of the air through
the floor outlets. The rear system floor out-
lets are located near third row seats.
Passenger Compartment Air FilterOutside air is routed through a passenger
compartment air filter before entering the
vehicle. This filter removes certain parti-
cles from the air, including pollen and dust
particles. Reductions in airflow, which may
occur more quickly in dusty areas, indicate
that the filter needs to be replaced early.
The filter should be replaced as part of
routine scheduled maintenance. Refer to
“Scheduled Maintenance” in “Mainte-
nance Schedule” in the “Maintenance
Schedule” section for when to replace the
filter.
To change the passenger compartment air
filter, use the following steps:
1580378
1) Remove the push pins from the rear of
the passenger’s side air inlet panel. It is
located in the rear of the engine com-partment on the passenger side of the
vehicle.
2) Open the hood.
3) Remove the push pins from the top and
forward edge of the passenger’s side
air inlet panel.
4) Remove the air inlet panel.
5) Remove the filter from the filter housing
by pressing the release tab at the
inboard edge of the filter housing.
1394346
6) Remove the filter from the vehicle.
7) Install a new passenger compartment
air filter. For the type of filter to use refer
to “Normal Maintenance Replacement
Parts” in “Maintenance Schedule” in the
“Maintenance Schedule” section.
8) Reverse Steps 1 through 5.
 1
1 2
2 3
3 4
4 5
5 6
6 7
7 8
8 9
9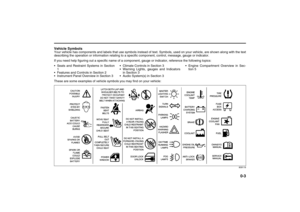 10
10 11
11 12
12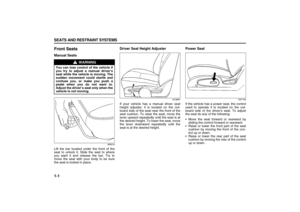 13
13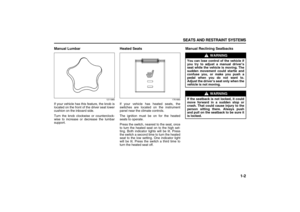 14
14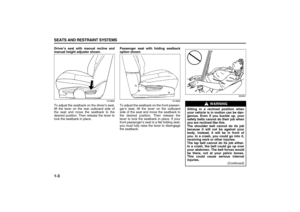 15
15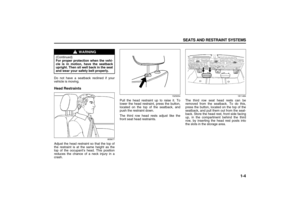 16
16 17
17 18
18 19
19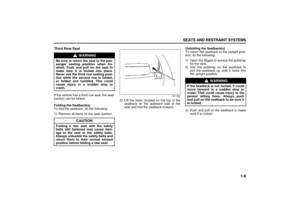 20
20 21
21 22
22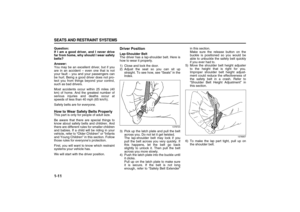 23
23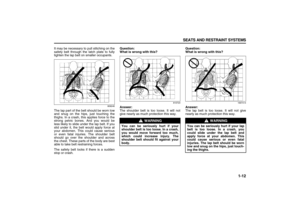 24
24 25
25 26
26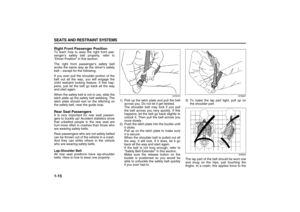 27
27 28
28 29
29 30
30 31
31 32
32 33
33 34
34 35
35 36
36 37
37 38
38 39
39 40
40 41
41 42
42 43
43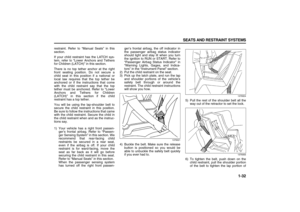 44
44 45
45 46
46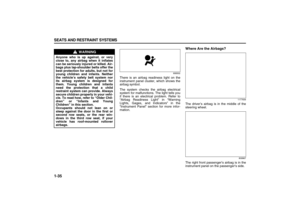 47
47 48
48 49
49 50
50 51
51 52
52 53
53 54
54 55
55 56
56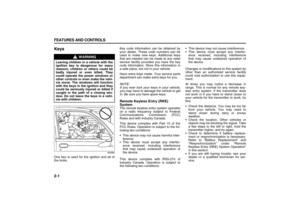 57
57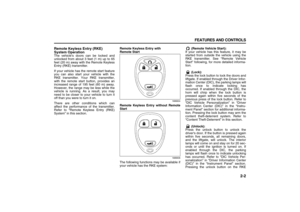 58
58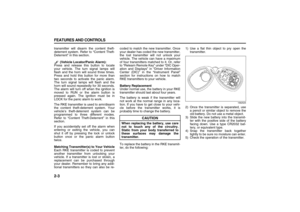 59
59 60
60 61
61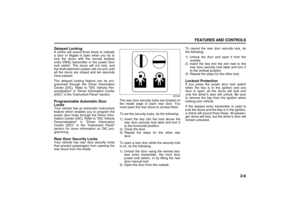 62
62 63
63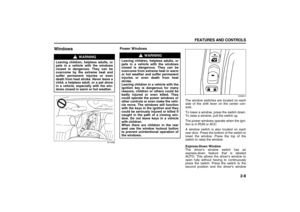 64
64 65
65 66
66 67
67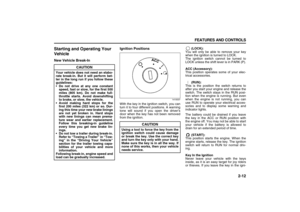 68
68 69
69 70
70 71
71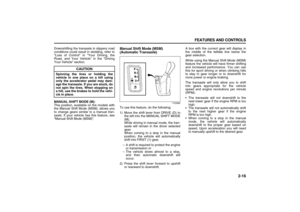 72
72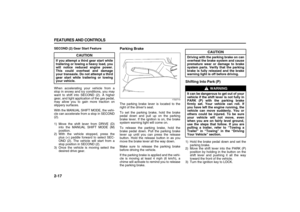 73
73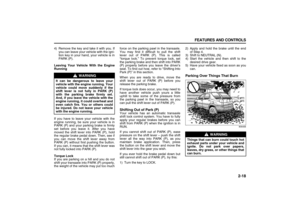 74
74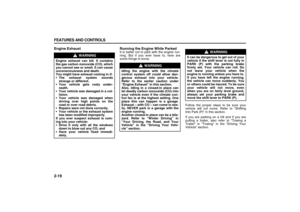 75
75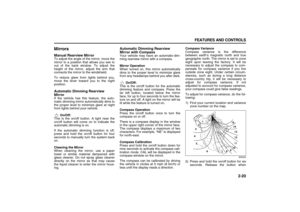 76
76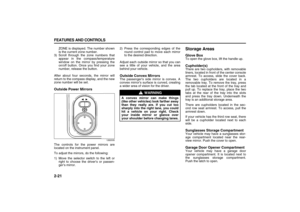 77
77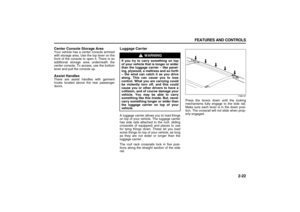 78
78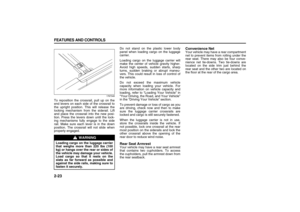 79
79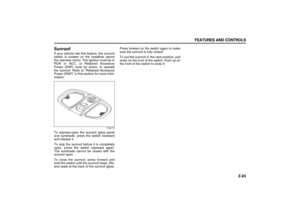 80
80 81
81 82
82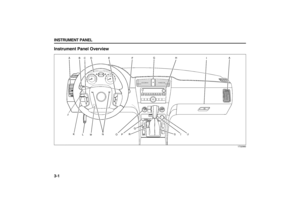 83
83 84
84 85
85 86
86 87
87 88
88 89
89 90
90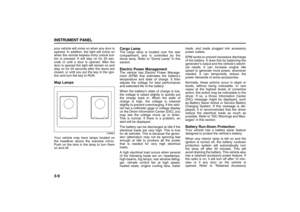 91
91 92
92 93
93 94
94 95
95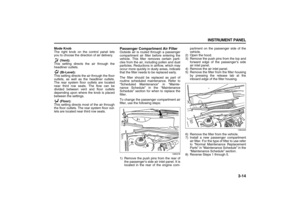 96
96 97
97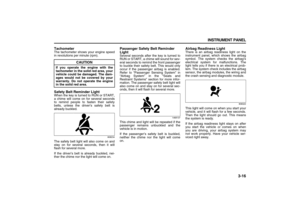 98
98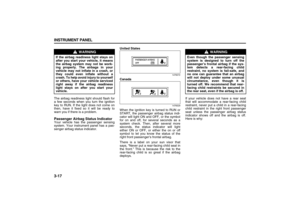 99
99 100
100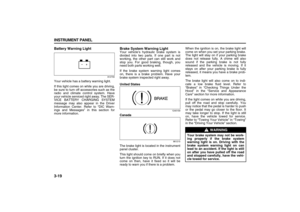 101
101 102
102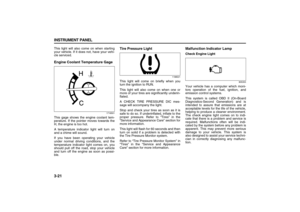 103
103 104
104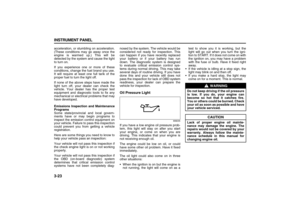 105
105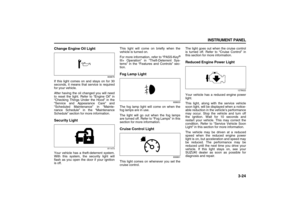 106
106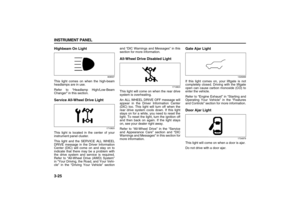 107
107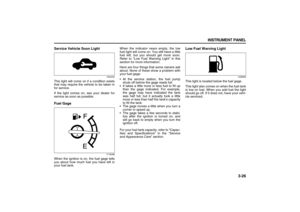 108
108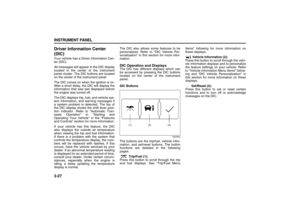 109
109 110
110 111
111 112
112 113
113 114
114 115
115 116
116 117
117 118
118 119
119 120
120 121
121 122
122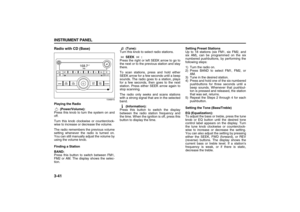 123
123 124
124 125
125 126
126 127
127 128
128 129
129 130
130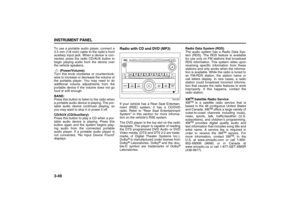 131
131 132
132 133
133 134
134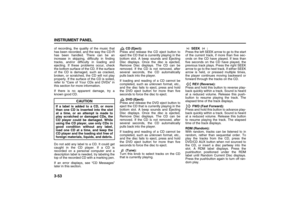 135
135 136
136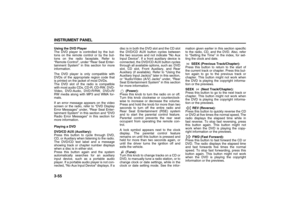 137
137 138
138 139
139 140
140 141
141 142
142 143
143 144
144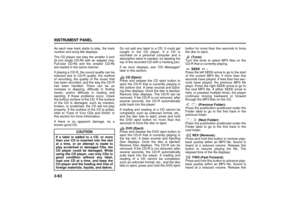 145
145 146
146 147
147 148
148 149
149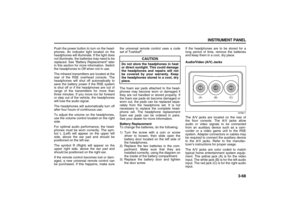 150
150 151
151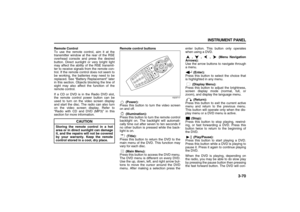 152
152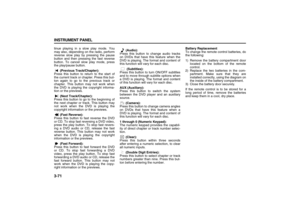 153
153 154
154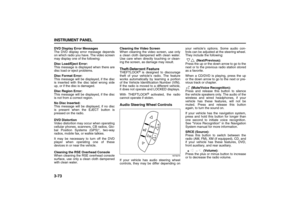 155
155 156
156 157
157 158
158 159
159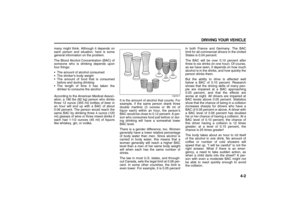 160
160 161
161 162
162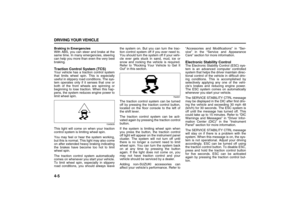 163
163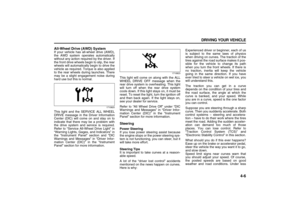 164
164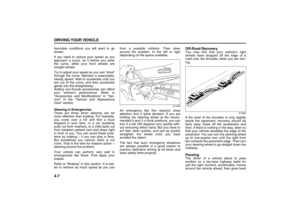 165
165 166
166 167
167 168
168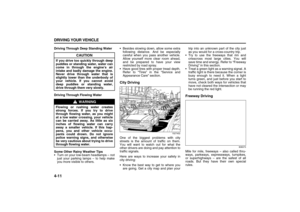 169
169 170
170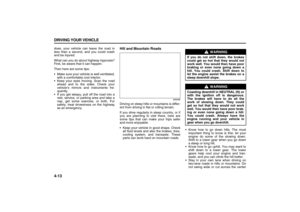 171
171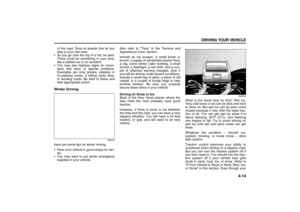 172
172 173
173 174
174 175
175 176
176 177
177 178
178 179
179 180
180 181
181 182
182 183
183 184
184 185
185 186
186 187
187 188
188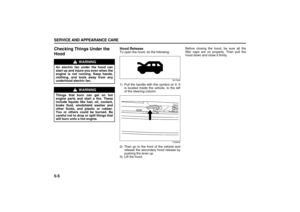 189
189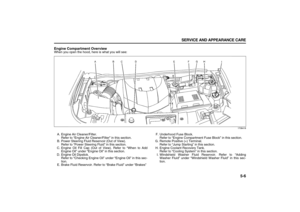 190
190 191
191 192
192 193
193 194
194 195
195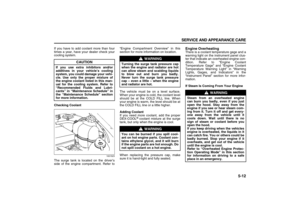 196
196 197
197 198
198 199
199 200
200 201
201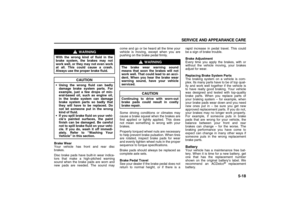 202
202 203
203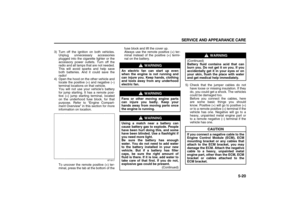 204
204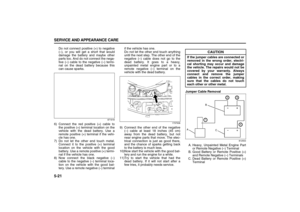 205
205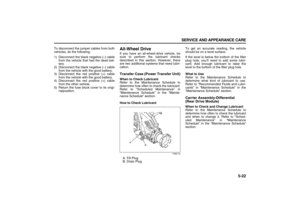 206
206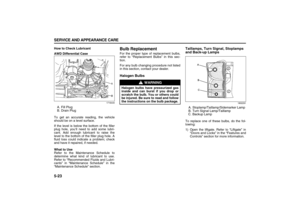 207
207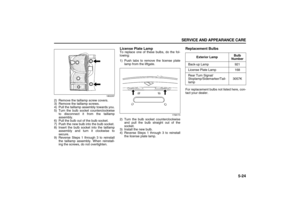 208
208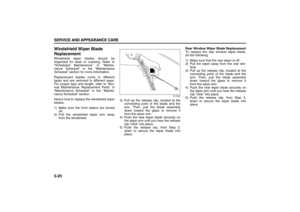 209
209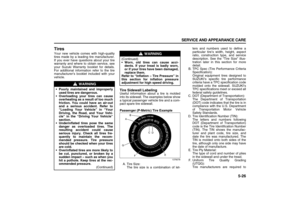 210
210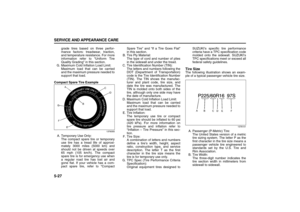 211
211 212
212 213
213 214
214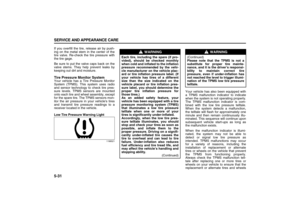 215
215 216
216 217
217 218
218 219
219 220
220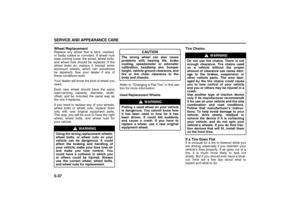 221
221 222
222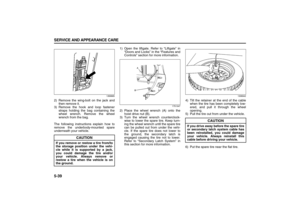 223
223 224
224 225
225 226
226 227
227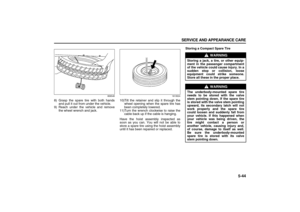 228
228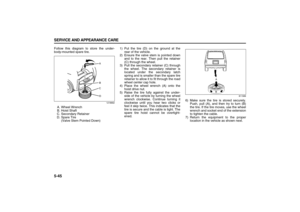 229
229 230
230 231
231 232
232 233
233 234
234 235
235 236
236 237
237 238
238 239
239 240
240 241
241 242
242 243
243 244
244 245
245 246
246 247
247 248
248 249
249 250
250 251
251 252
252 253
253 254
254 255
255 256
256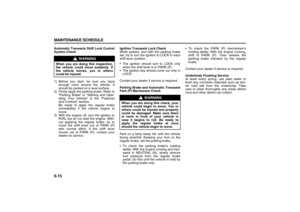 257
257 258
258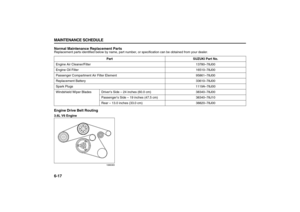 259
259 260
260 261
261 262
262 263
263 264
264 265
265 266
266 267
267 268
268 269
269 270
270 271
271 272
272 273
273