2006 MERCEDES-BENZ SPRINTER relay
[x] Cancel search: relayPage 301 of 2305

TRANSMISSION CONTROL MODULE C2 - BLACKCAV CIRCUIT FUNCTION
12 20BL/GY N2 INPUT SPEED SENSOR
13 20BK/BL SENSOR SUPPLY VOLTAGE
14 16WT 1-2/4-5 SOLENOID CONTROL
15 16YL 3-4 SOLENOID CONTROL
16 16WT/BL 2-3 SOLENOID CONTROL
17 16YL/BL TCC SOLENOID CONTROL
33 20PK SENSOR GROUND
34 20GY/BL TEMPERATURE SENSOR-P/N SWITCH
35 20BL/DG N3 INPUT SPEED SENSOR
36 16BR/GY MODULATION PRESSURE SOLENOID CONTROL
37 16BK/RD SHIFT PRESSURE SOLENOID CONTROL
38 16BK SOLENOID SUPPLY VOLTAGE
H 20DG/WT CAN C BUS (+)
L 20DG CAN C BUS (-)
WATER CYCLE VALVECAV CIRCUIT FUNCTION
1 18BR/VT WATER CYCLE VALVE CONTROL
2 18BR GROUND
WINDOW DEFOGGER-LEFT REARCAV CIRCUIT FUNCTION
1 16GY (DEFOGGER RE-
LAYS)WINDOW DEFOGGER RELAY-LEFT REAR OUTPUT
1 16GY (EXCEPT DEFOGGER
RELAYS)WINDOW DEFOGGER-LEFT REAR OUTPUT
2 16BR GROUND
WINDOW DEFOGGER-RIGHT REARCAV CIRCUIT FUNCTION
1 16GY (DEFOGGER RE-
LAYS)WINDOW DEFOGGER RELAY-RIGHT REAR OUTPUT
1 16GY (EXCEPT DEFOGGER
RELAYS)WINDOW DEFOGGER-RIGHT REAR SIGNAL
2 16BR GROUND
C
O
N
N
E
C
T
O
R
P
I
N
O
U
T
S
288
CONNECTOR PINOUTS
Page 319 of 2305

TABLE OF CONTENTS - Continued
DRIVE TEST COMPLETED SUCCESSFULLY................................28
DRIVE TEST ERROR....................................................29
INCORRECT TONE WHEEL..............................................32
LATERAL ACCELERATION SENSOR CIRCUIT...............................36
LATERAL ACCELERATION SENSOR IMPLAUSIBLE..........................36
LATERAL ACCELERATION SENSOR INTERNAL FAULT.......................39
LEFT FRONT INLET SOLENOID...........................................40
LEFT FRONT OUTLET SOLENOID.........................................40
LEFT FRONT, RIGHT REAR INLET SOLENOID..............................40
LEFT FRONT, RIGHT REAR OUTLET SOLENOID............................40
LEFT REAR INLET SOLENOID............................................40
LEFT REAR OUTLET SOLENOID..........................................40
RIGHT FRONT INLET SOLENOID..........................................40
RIGHT FRONT OUTLET SOLENOID.......................................40
RIGHT FRONT, LEFT REAR INLET SOLENOID..............................40
RIGHT FRONT, LEFT REAR OUTLET SOLENOID............................40
RIGHT REAR INLET SOLENOID...........................................40
RIGHT REAR OUTLET SOLENOID.........................................40
LEFT FRONT WHEEL SPEED SENSOR CIRCUIT............................43
LEFT REAR WHEEL SPEED SENSOR CIRCUIT..............................43
RIGHT FRONT WHEEL SPEED SENSOR CIRCUIT...........................43
RIGHT REAR WHEEL SPEED SENSOR CIRCUIT............................43
LEFT FRONT WHEEL SPEED SENSOR SIGNAL.............................46
LEFT REAR WHEEL SPEED SENSOR SIGNAL..............................46
RIGHT FRONT WHEEL SPEED SENSOR SIGNAL............................46
RIGHT REAR WHEEL SPEED SENSOR SIGNAL.............................46
WHEEL SPEED SENSOR SIGNAL ERROR..................................46
NO COMMUNICATION WITH BUS.........................................49
NO COMMUNICATION WITH ECM.........................................52
NO COMMUNICATION WITH IC...........................................54
PARAMETERIZATION ERROR............................................56
PUMP MOTOR.........................................................57
RELAY OUTPUT VOLTAGE...............................................60
SOLENOID RELAY......................................................63
STEERING ANGLE SENSOR CALIBRATION ERROR..........................65
STEERING ANGLE SENSOR GREATER THAN 720 DEGREES.................66
STEERING ANGLE SENSOR IMPLAUSIBLE CAN SIGNAL.....................68
STEERING ANGLE SENSOR IMPLAUSIBLE VALUE..........................70
STEERING ANGLE SENSOR IMPLAUSIBLE WHEEL SPEED...................72
STEERING ANGLE SENSOR INTERNAL FAULT..............................74
SYSTEM OVERVOLTAGE................................................75
SYSTEM UNDERVOLTAGE...............................................77
VERIFICATION TESTS
VERIFICATION TESTS...................................................79
8.0 COMPONENT LOCATIONS...............................................81
8.1DLC ± INDICATORS................................................81
8.2CAB ± WSS.......................................................82
ii
Page 325 of 2305

read opposite switch states.Note: The BS and
BLS are in the same switch housing.
BRAKE LAMP SWITCH (BLS):This switch pre-
pares the CAB for a possible antilock event. The
CAB uses an output state voltage from the BLS
when the brake pedal is either depressed/released.
The Fused Ignition Switch Output circuit supplies
12 volts to the BLS. A depressed brake pedal will
close the BLS circuit and the BLS Output circuit
supplies 12 volts at the CAB. When the driver
releases the brake pedal, the BLS Output circuit
voltage drops to 0 volts and the CAB senses the
brake pedal state. This tells the CAB what position
the brake pedal is currently in to make an ABS
event possible. When using the DRBIIItin Inputs/
Outputs, the BS and BLS will read opposite switch
states.Note: The BS and BLS are in the same
switch housing.
TRACTION CONTROL SYSTEM SWITCH
(TCSS):This switch signals the CAB to either turn
ON or OFF the TCS. The driver can toggle the
TCSS, which receives 12 volts from the D (+) Relay
Output circuit. Depending on the position of the
TCSS, open or closed, the CAB receives the TCSS
state voltage on the TCS Switch Sense circuit.
When 12 volts are applied to the TCS Switch Sense
circuit, the TCS is OFF. When no voltage is present,
the TCS is ON.
WHEEL SPEED SENSORS AND TONE
WHEELS:The Bosch 5.7 system uses one passive
WSS on each wheel. The sensor measures the wheel
speed by monitoring a rotating tone wheel. As the
teeth of the tone wheel move through the magnetic
field of the sensor an AC voltage and amperage is
generated. This signal frequency increases or de-
creases proportionally to the speed of the wheel.
The CAB monitors this signal to check for a sudden
change in single or multiple wheel decelerations. If
the deceleration of one or more wheels is not within
a predetermined amount, the CAB takes control for
antilock action through the HCU. Each WSS has a
magnetic inductive pick up coil (WSS) that is
mounted to a fixed component. There is an air gap
between the tone wheel and the speed sensor as-
sembly. Diagnostically, the coils of the Wheel Speed
Sensors have the same amount of resistance. When
measured across the CAB harness connector termi-
nals, the resistance should be between 1100 - 1800
ohms. Refer to service manual for WSS replacement
and air gap specifications.
Correct ABS operation is dependent on Tone
Wheel speed signal from the WSS. The vehicle
wheels and tires should all be the same size and
type to get accurate signals. In addition, all tires
should be at recommended tire pressures.3.7.5 SELF TESTS
The system software includes several self tests
that are performed every time the ignition is turned
on and the vehicle is driven. Some of the self tests
occur immediately, while others occur under normal
driving conditions while not in antilock operation.
The CAB checks continuously for a missing or
erratic WSS signals/circuits, tone wheels, solenoids,
pump motor or solenoid relay by performing several
tests such as: dynamic, static, ohmic, voltage drop,
and timed response. If any component exhibits a
fault during testing, the CAB will request to illumi-
nate the ABS and TCS warning indicators.
As an additional check of the ESP system, a road
test procedure is available on the DRBIIIt. This
test should be carried out when any ESP component
is replaced in order to ensure proper function. Since
the wheel speed sensors are required inputs to the
ESP, this test should also be performed if the wheel
speed sensors are replaced.
First, the brakes are applied with the vehicle
stationary. Then, the vehicle is driven at approxi-
mately 6 MPH. The driver has to make left and
right turns, with a minimum 90 degree steering
turning angle. If the indicator lamp goes out, every-
thing is in order. If the lamp remains illuminated,
the DRBIIItwill display the fault codes that are
causing the test to fail. The road test function is set
in the ESP control module, and can only be deacti-
vated once there are no more fault codes detected.
The Steering Angle Sensor must be initialized. A
procedure is carried out using the DRBIIItto
ensure that the module detects the exact position of
the sensor. The sensor must be calibrated any time
wheel alignment is changed, the steering column is
removed and re-installed, or the sensor is replaced.
3.8 USING THE DRBIIIT
Refer to the DRBIIItuser 's guide for instructions
and assistance with reading diagnostic trouble
codes, erasing diagnostic trouble codes and other
DRBIIItfunctions.
3.9 DRBIIITERROR MESSAGES
Under normal operation, the DRBIIItwill dis-
play one of only two error messages:
Ð User-Requested WARM Boot or User-Requested
COLD Boot.
If the DRBIIItshould display any other error
message, record the entire display and call the
STAR Center for information and assistance. This
is a sample of such an error message display:
4
GENERAL INFORMATION
Page 331 of 2305

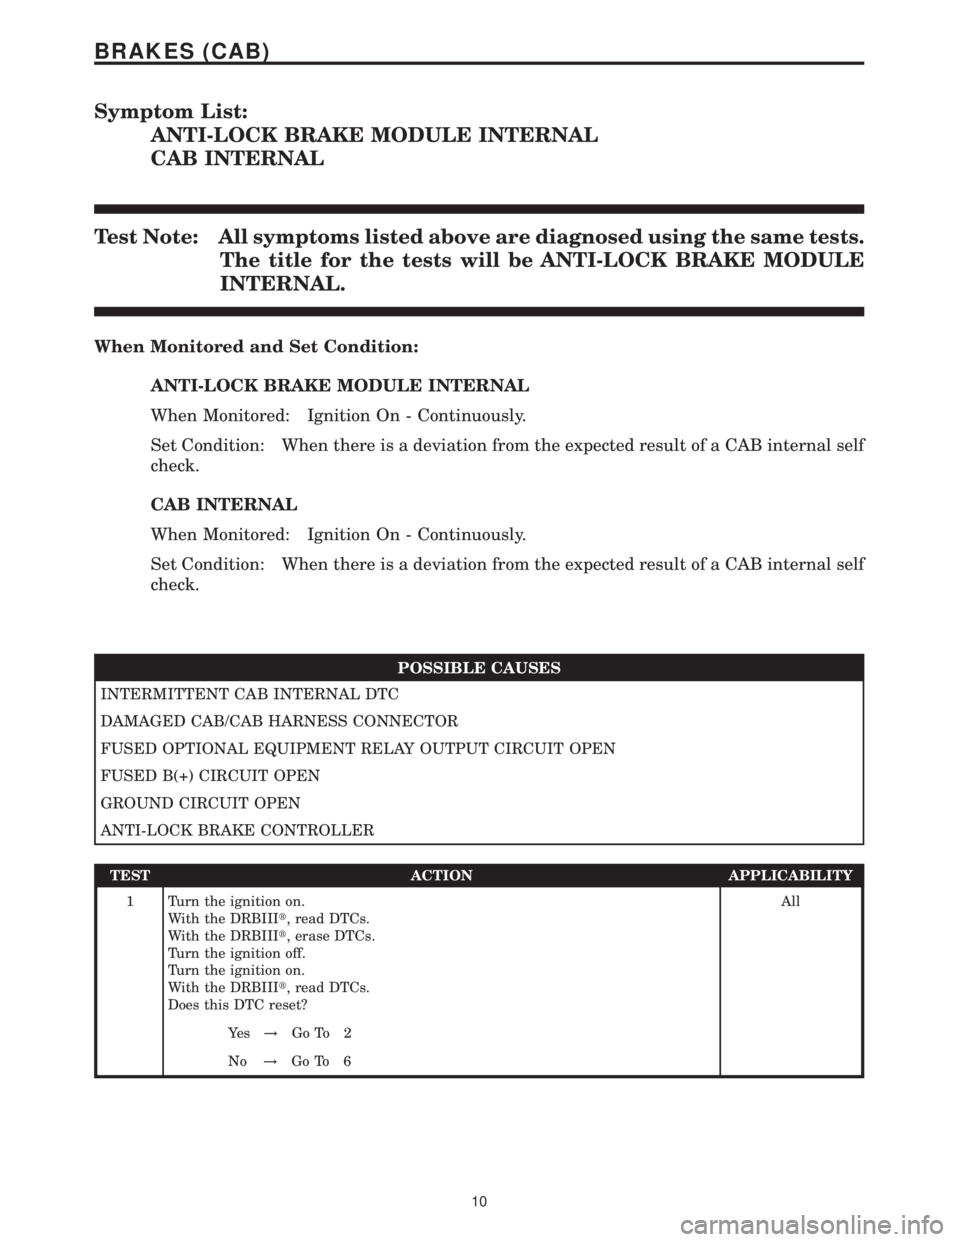
Symptom List:
ANTI-LOCK BRAKE MODULE INTERNAL
CAB INTERNAL
Test Note: All symptoms listed above are diagnosed using the same tests.
The title for the tests will be ANTI-LOCK BRAKE MODULE
INTERNAL.
When Monitored and Set Condition:
ANTI-LOCK BRAKE MODULE INTERNAL
When Monitored: Ignition On - Continuously.
Set Condition: When there is a deviation from the expected result of a CAB internal self
check.
CAB INTERNAL
When Monitored: Ignition On - Continuously.
Set Condition: When there is a deviation from the expected result of a CAB internal self
check.
POSSIBLE CAUSES
INTERMITTENT CAB INTERNAL DTC
DAMAGED CAB/CAB HARNESS CONNECTOR
FUSED OPTIONAL EQUIPMENT RELAY OUTPUT CIRCUIT OPEN
FUSED B(+) CIRCUIT OPEN
GROUND CIRCUIT OPEN
ANTI-LOCK BRAKE CONTROLLER
TEST ACTION APPLICABILITY
1 Turn the ignition on.
With the DRBIIIt, read DTCs.
With the DRBIIIt, erase DTCs.
Turn the ignition off.
Turn the ignition on.
With the DRBIIIt, read DTCs.
Does this DTC reset?All
Ye s!Go To 2
No!Go To 6
10
BRAKES (CAB)
Page 332 of 2305

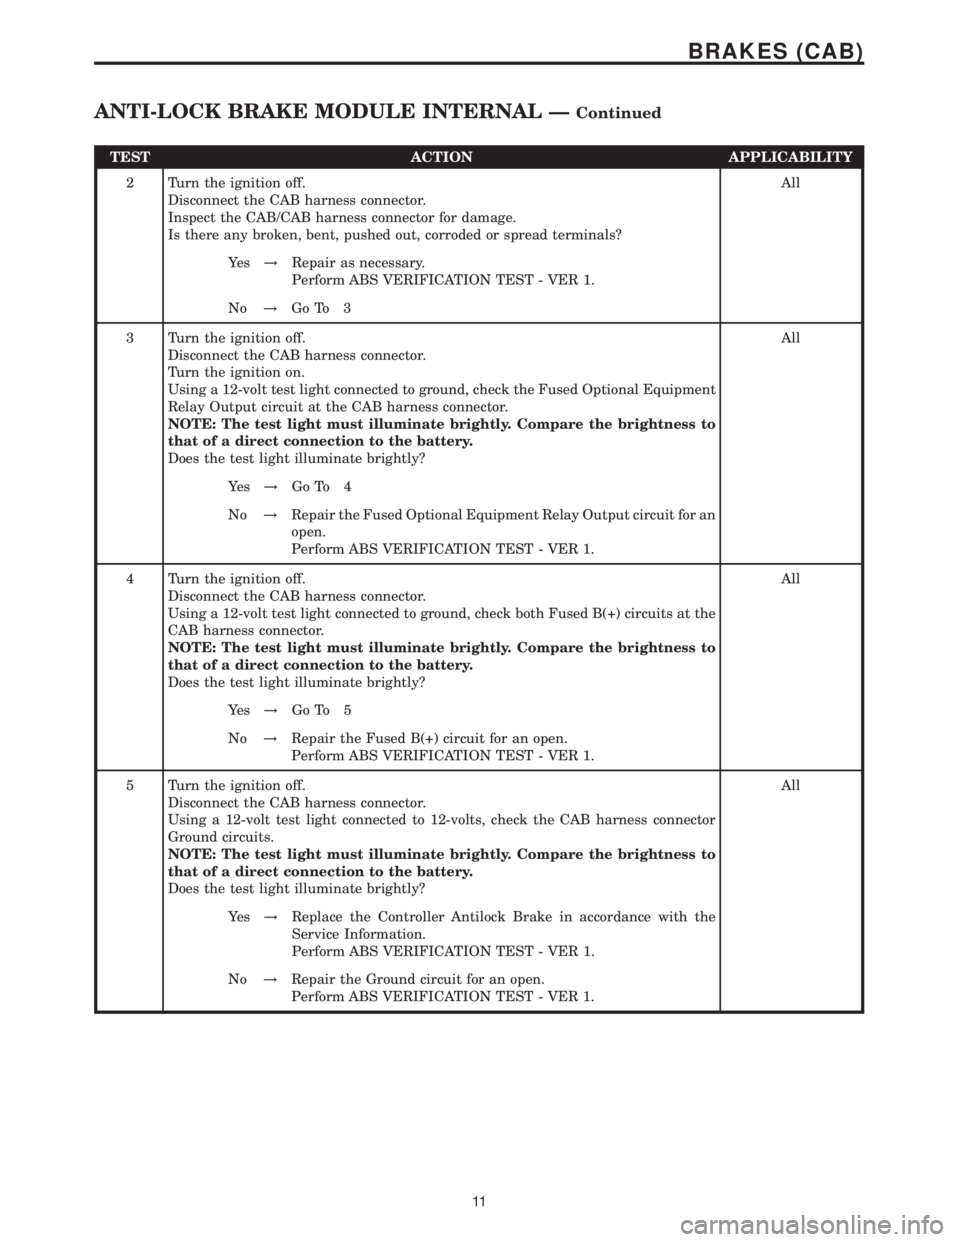
TEST ACTION APPLICABILITY
2 Turn the ignition off.
Disconnect the CAB harness connector.
Inspect the CAB/CAB harness connector for damage.
Is there any broken, bent, pushed out, corroded or spread terminals?All
Ye s!Repair as necessary.
Perform ABS VERIFICATION TEST - VER 1.
No!Go To 3
3 Turn the ignition off.
Disconnect the CAB harness connector.
Turn the ignition on.
Using a 12-volt test light connected to ground, check the Fused Optional Equipment
Relay Output circuit at the CAB harness connector.
NOTE: The test light must illuminate brightly. Compare the brightness to
that of a direct connection to the battery.
Does the test light illuminate brightly?All
Ye s!Go To 4
No!Repair the Fused Optional Equipment Relay Output circuit for an
open.
Perform ABS VERIFICATION TEST - VER 1.
4 Turn the ignition off.
Disconnect the CAB harness connector.
Using a 12-volt test light connected to ground, check both Fused B(+) circuits at the
CAB harness connector.
NOTE: The test light must illuminate brightly. Compare the brightness to
that of a direct connection to the battery.
Does the test light illuminate brightly?All
Ye s!Go To 5
No!Repair the Fused B(+) circuit for an open.
Perform ABS VERIFICATION TEST - VER 1.
5 Turn the ignition off.
Disconnect the CAB harness connector.
Using a 12-volt test light connected to 12-volts, check the CAB harness connector
Ground circuits.
NOTE: The test light must illuminate brightly. Compare the brightness to
that of a direct connection to the battery.
Does the test light illuminate brightly?All
Ye s!Replace the Controller Antilock Brake in accordance with the
Service Information.
Perform ABS VERIFICATION TEST - VER 1.
No!Repair the Ground circuit for an open.
Perform ABS VERIFICATION TEST - VER 1.
11
BRAKES (CAB)
ANTI-LOCK BRAKE MODULE INTERNAL ÐContinued
Page 342 of 2305

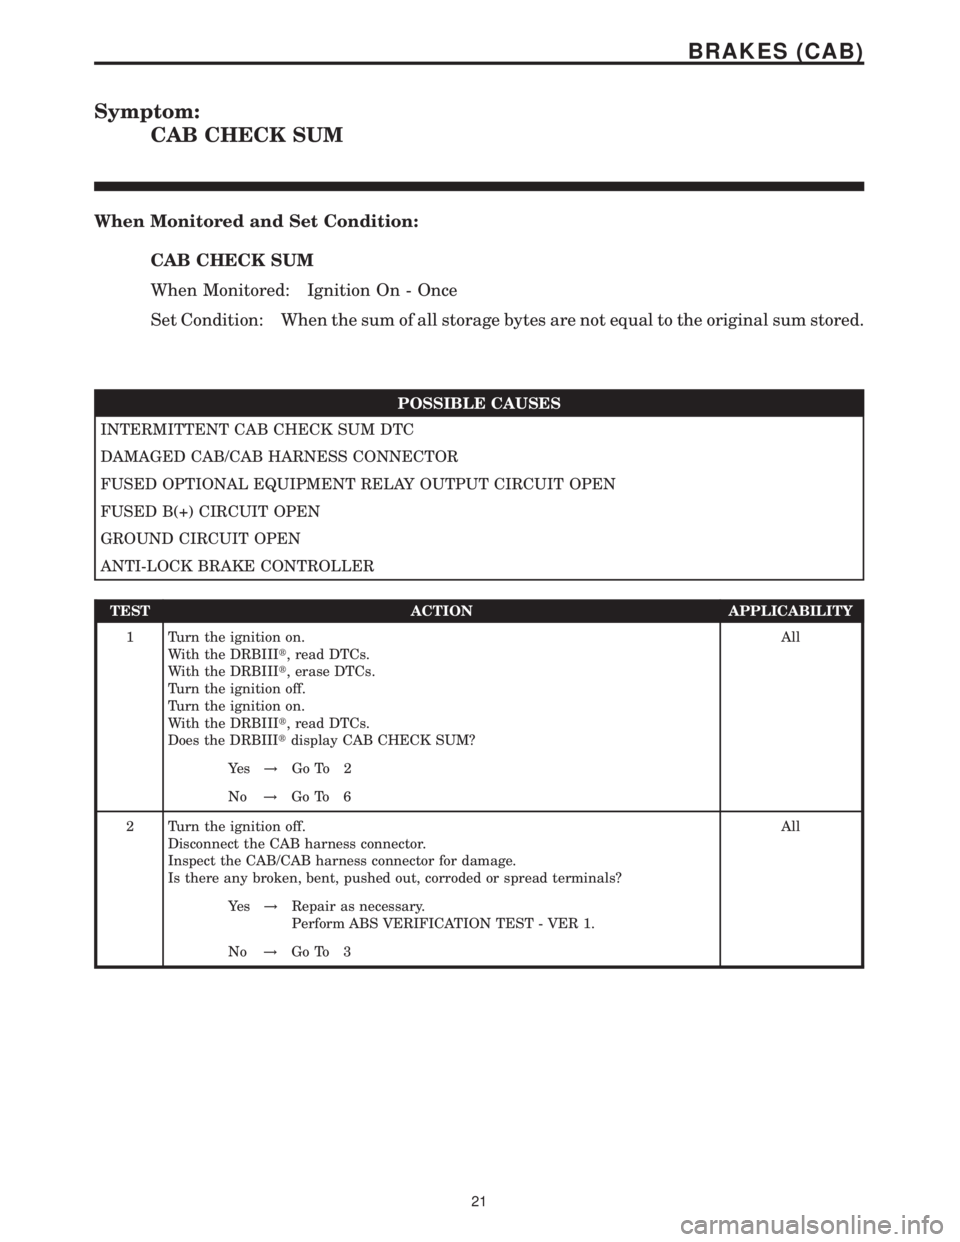
Symptom:
CAB CHECK SUM
When Monitored and Set Condition:
CAB CHECK SUM
When Monitored: Ignition On - Once
Set Condition: When the sum of all storage bytes are not equal to the original sum stored.
POSSIBLE CAUSES
INTERMITTENT CAB CHECK SUM DTC
DAMAGED CAB/CAB HARNESS CONNECTOR
FUSED OPTIONAL EQUIPMENT RELAY OUTPUT CIRCUIT OPEN
FUSED B(+) CIRCUIT OPEN
GROUND CIRCUIT OPEN
ANTI-LOCK BRAKE CONTROLLER
TEST ACTION APPLICABILITY
1 Turn the ignition on.
With the DRBIIIt, read DTCs.
With the DRBIIIt, erase DTCs.
Turn the ignition off.
Turn the ignition on.
With the DRBIIIt, read DTCs.
Does the DRBIIItdisplay CAB CHECK SUM?All
Ye s!Go To 2
No!Go To 6
2 Turn the ignition off.
Disconnect the CAB harness connector.
Inspect the CAB/CAB harness connector for damage.
Is there any broken, bent, pushed out, corroded or spread terminals?All
Ye s!Repair as necessary.
Perform ABS VERIFICATION TEST - VER 1.
No!Go To 3
21
BRAKES (CAB)
Page 343 of 2305

TEST ACTION APPLICABILITY
3 Turn the ignition off.
Disconnect the CAB harness connector.
Turn the ignition on.
Using a 12-volt test light connected to ground, check the Fused Optional Equipment
Relay Output circuit at the CAB harness connector.
NOTE: The test light must illuminate brightly. Compare the brightness to
that of a direct connection to the battery.
Does the test light illuminate brightly?All
Ye s!Go To 4
No!Repair the Fused Optional Equipment Relay Output circuit for an
open.
Perform ABS VERIFICATION TEST - VER 1.
4 Turn the ignition off.
Disconnect the CAB harness connector.
Using a 12-volt test light connected to ground, check both Fused B(+) circuits at the
CAB harness connector.
NOTE: The test light must illuminate brightly. Compare the brightness to
that of a direct connection to the battery.
Does the test light illuminate brightly?All
Ye s!Go To 5
No!Repair the Fused B(+) circuit for an open.
Perform ABS VERIFICATION TEST - VER 1.
5 Turn the ignition off.
Disconnect the CAB harness connector.
Using a 12-volt test light connected to 12-volts, check the CAB harness connector
Ground circuits.
NOTE: The test light must illuminate brightly. Compare the brightness to
that of a direct connection to the battery.
Does the test light illuminate brightly?All
Ye s!Replace the Controller Antilock Brake in accordance with the
Service Information.
Perform ABS VERIFICATION TEST - VER 1.
No!Repair the Ground circuit for an open.
Perform ABS VERIFICATION TEST - VER 1.
6 Turn the ignition off.
Visually inspect the related wiring harness.
Look for any chafed, pierced, pinched, or partially broken wires.
Look for broken, bent, pushed out, or corroded terminals.
Were any problems found?All
Ye s!Repair as necessary.
Perform ABS VERIFICATION TEST - VER 1.
No!Test Complete.
22
BRAKES (CAB)
CAB CHECK SUM ÐContinued
Page 344 of 2305

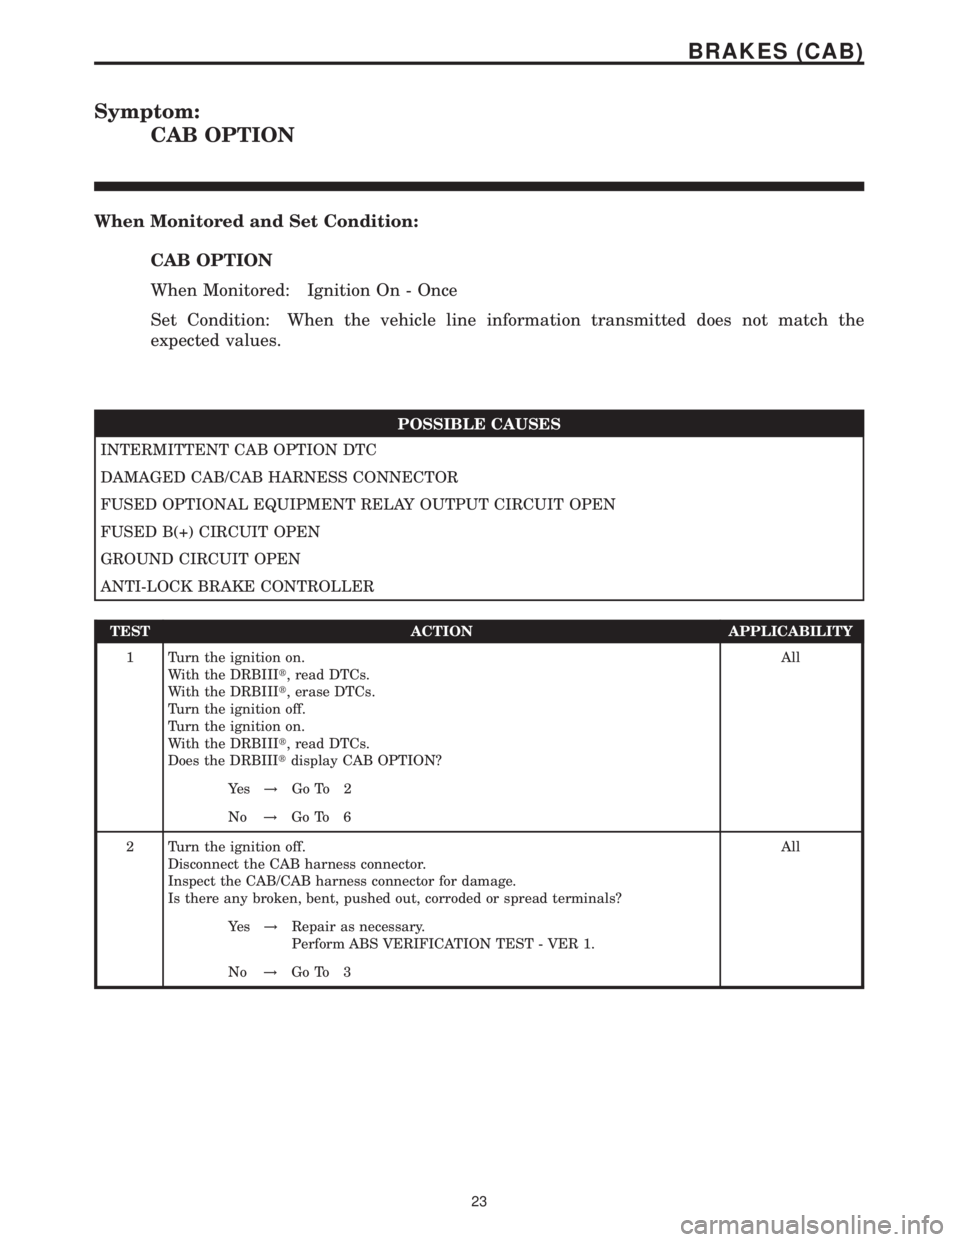
Symptom:
CAB OPTION
When Monitored and Set Condition:
CAB OPTION
When Monitored: Ignition On - Once
Set Condition: When the vehicle line information transmitted does not match the
expected values.
POSSIBLE CAUSES
INTERMITTENT CAB OPTION DTC
DAMAGED CAB/CAB HARNESS CONNECTOR
FUSED OPTIONAL EQUIPMENT RELAY OUTPUT CIRCUIT OPEN
FUSED B(+) CIRCUIT OPEN
GROUND CIRCUIT OPEN
ANTI-LOCK BRAKE CONTROLLER
TEST ACTION APPLICABILITY
1 Turn the ignition on.
With the DRBIIIt, read DTCs.
With the DRBIIIt, erase DTCs.
Turn the ignition off.
Turn the ignition on.
With the DRBIIIt, read DTCs.
Does the DRBIIItdisplay CAB OPTION?All
Ye s!Go To 2
No!Go To 6
2 Turn the ignition off.
Disconnect the CAB harness connector.
Inspect the CAB/CAB harness connector for damage.
Is there any broken, bent, pushed out, corroded or spread terminals?All
Ye s!Repair as necessary.
Perform ABS VERIFICATION TEST - VER 1.
No!Go To 3
23
BRAKES (CAB)