2006 LAND ROVER FRELANDER 2 wheel
[x] Cancel search: wheelPage 169 of 3229

Publi s hed: 11-May-2011
Jacking and Lifting - Vehicle Recovery
Des cript ion and Operat ion
Towing Points
CAUTION: The s ingle towi ng poi nts at t he front and rear of t he vehi cl e are des igned for vehicl e recovery purpos esonly and mus t NOT be used to t ow a trail er or caravan.
The front towi ng eye is acces s ibl e aft er releas ing t he 2 t oggle fast eners s ecuring the t owing eye acces s panel andremovi ng the panel.
CAUTION: Ens ure t hat during t owing, the towi ng att achment does not contact t he bumper.
The rear t owing eye i s acces si ble after rel eas i ng the 2 toggle fas teners securi ng the towing eye access panel and removingt he panel.
CAUTION: This t owing eye s hould onl y be us ed for t owing another vehi cl e or for recovery purpos es .
Towing the vehicle on four wheels
• W ARNINGS:
Ens ure t hat the remote cont rol remai ns docked whil s t the vehicle is being towed. Removi ng the remot e cont rol wi llengage t he s t eering l ock, which wi ll prevent the vehicle from s t eering correct ly.
If the engine cannot be run whi ls t t he vehi cl e i s bei ng t owed, t here wi ll be no power as si s tance for t he s teeri ng orbrakes. Thi s wil l res ult in greater effort bei ng required to st eer or sl ow t he vehi cl e, and greatl y increas ed s toppingdis t ances.
• CAUTIO NS:
The vehicle s hould onl y be t owed wit h four wheels on the ground. Towing wi th two wheel s on t he ground wi ll res ultin serious damage t o t he trans mi s si on.
The vehicle s hould onl y be t owed for a maxi mum of 80 km (50 mil es), at a maximum s peed of 80 km/h (50 mph).Towing for a great er di st ance, or at a higher s peed may res ult i n s eri ous damage t o t he t rans mis s ion.
• NOTE: The recommended recovery met hod is to rais e al l four wheel s.
Towing procedure
1. The vehi cl e s houl d be parked on firm level ground, wi th t he park brake on, and the gear s el ect or in P if an aut omati cgearbox is fit t ed.
2. Secure the towing at t achment from the recovery vehicle to the front t owing eye.
CAUTION: Leavi ng the ignit ion s wi tched on for extended peri ods wil l caus e the bat tery t o drai n.
3. Dock the remote cont rol, and s wi tch on t he igni ti on.
4. Appl y t he foot brake, and s el ect neutral.
5. W i th the foot brake s t ill appli ed, releas e the park brake.
Page 175 of 3229
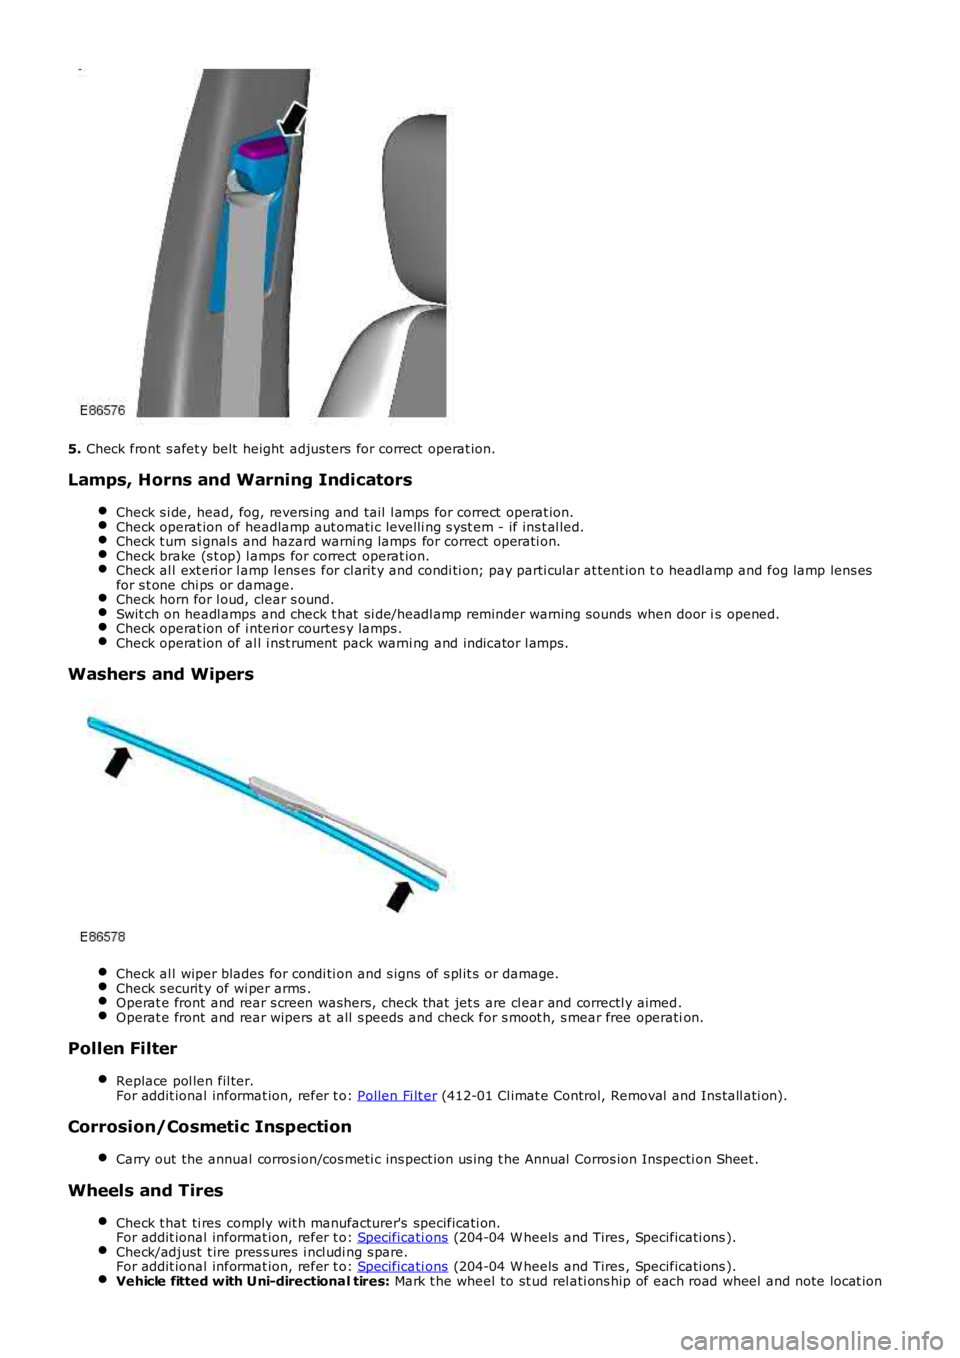
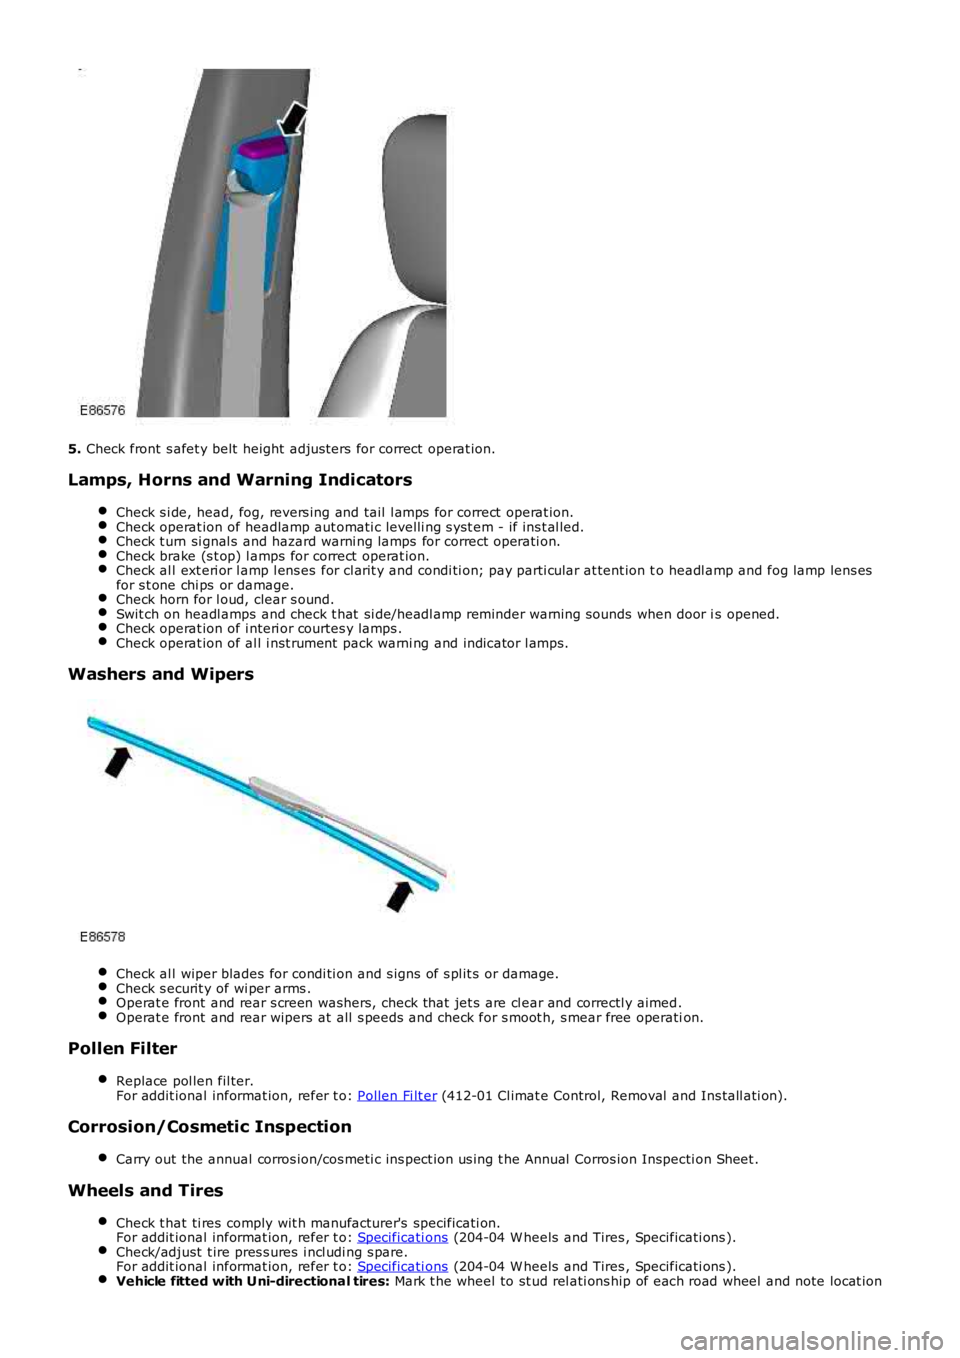
5. Check front s afet y belt height adjus ters for correct operat ion.
Lamps, Horns and Warning Indicators
Check s i de, head, fog, revers ing and tail l amps for correct operat ion.Check operat ion of headlamp aut omati c levelli ng s yst em - if ins t al led.Check t urn si gnal s and hazard warni ng lamps for correct operati on.Check brake (s t op) l amps for correct operat ion.Check al l ext eri or l amp l ens es for cl arit y and condi ti on; pay parti cular at tent ion to headl amp and fog lamp lens esfor s t one chi ps or damage.Check horn for l oud, clear s ound.Swit ch on headl amps and check t hat si de/headl amp reminder warning s ounds when door is opened.Check operat ion of i nteri or courtes y lamps .Check operat ion of al l i nst rument pack warni ng and indicator l amps.
Washers and Wipers
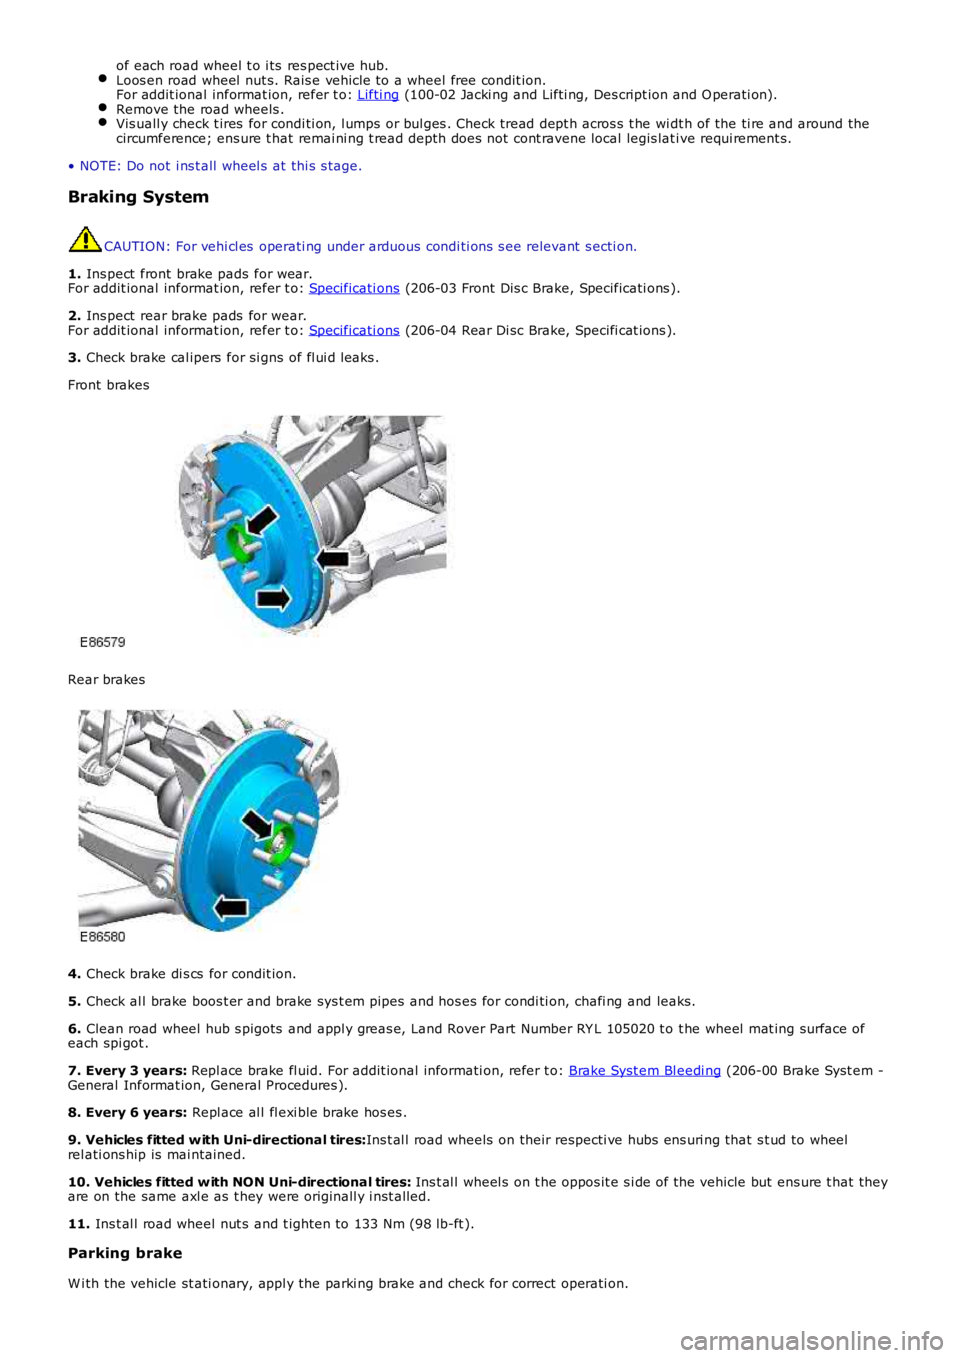
Check al l wiper blades for condi ti on and s igns of s pl it s or damage.Check s ecurit y of wi per arms .Operat e front and rear s creen washers, check that jet s are cl ear and correctl y aimed.Operat e front and rear wipers at all s peeds and check for s moot h, s mear free operation.
Pollen Filter
Replace pol len fil ter.For addit ional informat ion, refer t o: Pollen Fi lt er (412-01 Cl imat e Control, Removal and Ins tall ati on).
Corrosion/Cosmetic Inspection
Carry out the annual corros ion/cos meti c ins pect ion us ing t he Annual Corros ion Inspecti on Sheet .
Wheels and Tires
Check t hat ti res comply wit h manufacturer's specificati on.For addit ional informat ion, refer t o: Specificati ons (204-04 W heels and Tires , Specificati ons ).Check/adjust t ire pres s ures i ncl udi ng s pare.For addit ional informat ion, refer t o: Specificati ons (204-04 W heels and Tires , Specificati ons ).Vehicle fitted with Uni-directional tires: Mark t he wheel to st ud rel ati ons hip of each road wheel and note locat ion
Page 176 of 3229
of each road wheel t o i ts res pect ive hub.Loos en road wheel nut s. Rais e vehicle to a wheel free condit ion.For addit ional informat ion, refer t o: Lifti ng (100-02 Jacki ng and Lifti ng, Des cript ion and O perati on).Remove the road wheels .Vis uall y check t ires for condi ti on, l umps or bul ges . Check tread dept h acros s t he widt h of the ti re and around thecircumference; ens ure t hat remai ni ng t read depth does not cont ravene local legis lat ive requi rement s.
• NOTE: Do not i ns t all wheel s at t hi s s tage.
Braking System
CAUTION: For vehi cl es operati ng under arduous condi ti ons s ee relevant s ecti on.
1. Ins pect front brake pads for wear.For addit ional informat ion, refer t o: Specificati ons (206-03 Front Dis c Brake, Specificati ons ).
2. Ins pect rear brake pads for wear.For addit ional informat ion, refer t o: Specificati ons (206-04 Rear Di sc Brake, Specifi cat ions ).
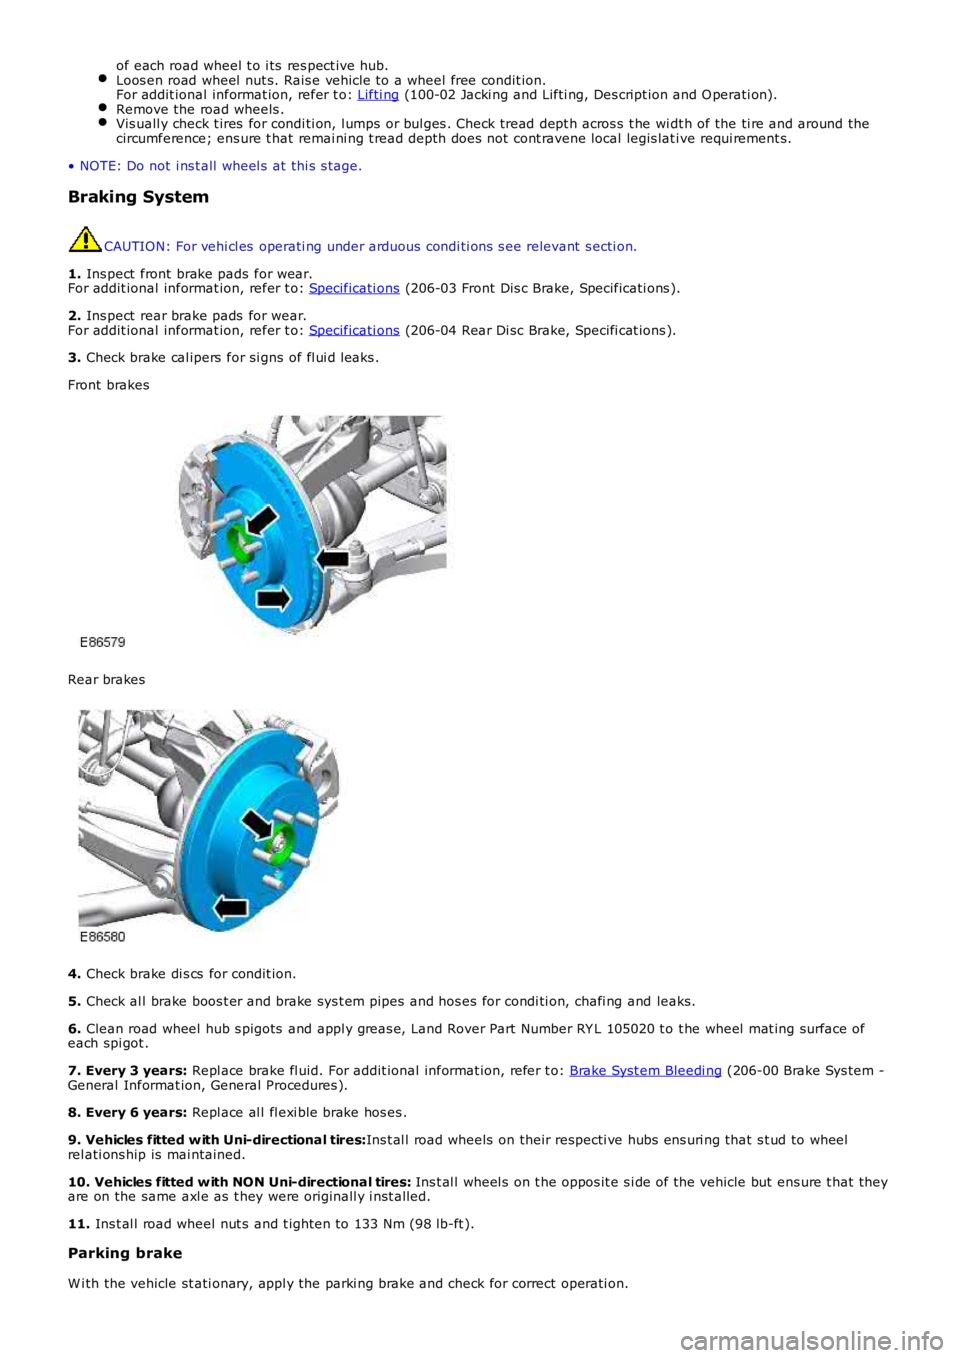
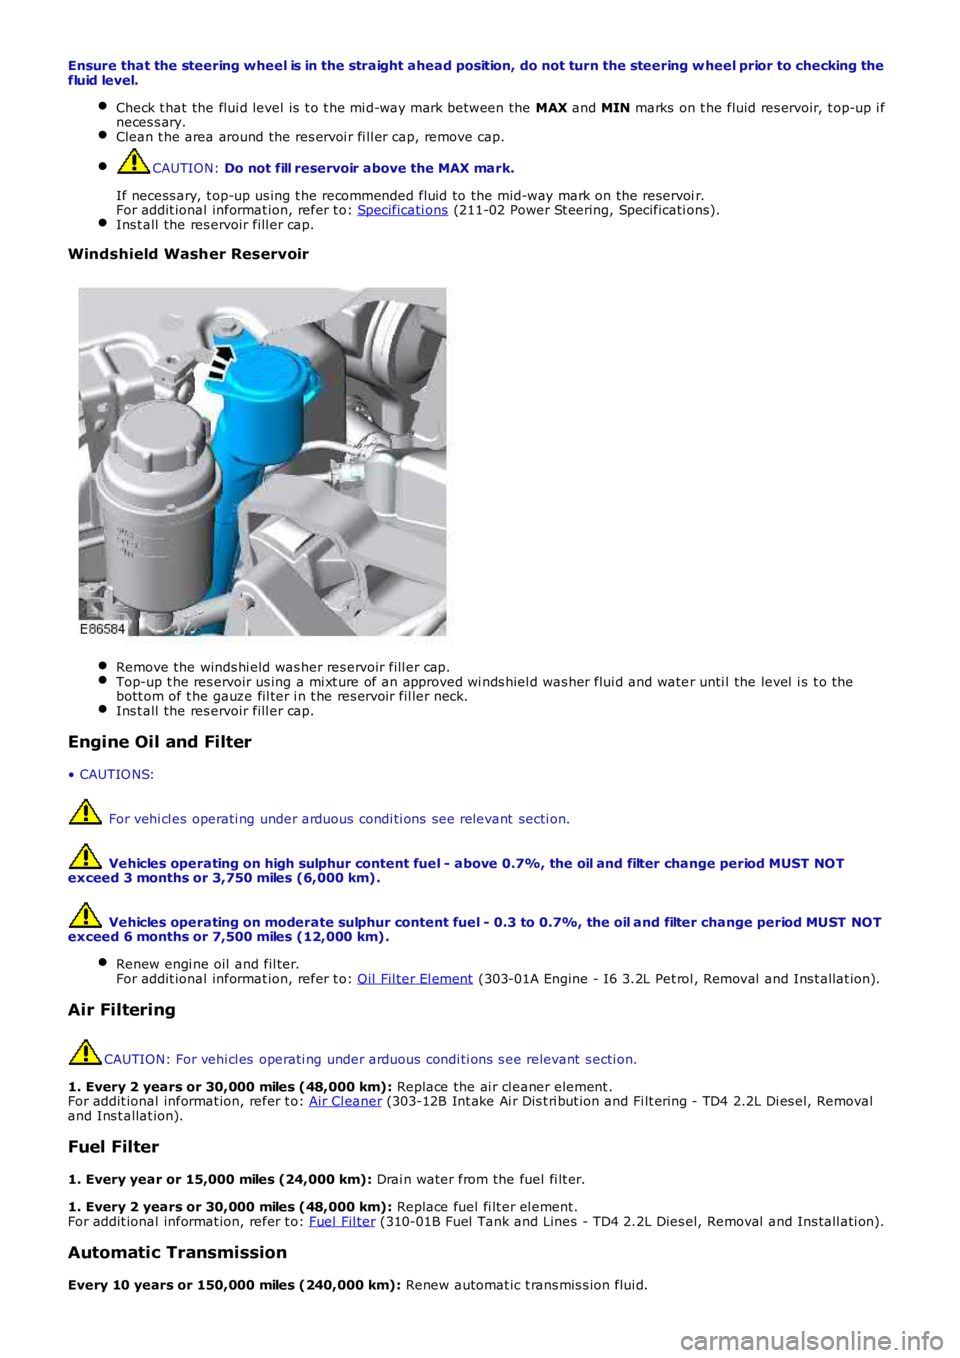
3. Check brake cal ipers for si gns of fl ui d l eaks .
Front brakes
Rear brakes
4. Check brake di s cs for condit ion.
5. Check al l brake boos t er and brake sys t em pipes and hos es for condi ti on, chafi ng and leaks.
6. Clean road wheel hub s pigots and appl y greas e, Land Rover Part Number RY L 105020 t o t he wheel mat ing surface ofeach spi got .
7. Every 3 years: Repl ace brake fl uid. For addit ional informat ion, refer t o: Brake Syst em Bleedi ng (206-00 Brake Sys tem -General Informat ion, General Procedures ).
8. Every 6 years: Repl ace al l fl exi ble brake hos es .
9. Vehicles fitted w ith Uni-directional tires:Ins t al l road wheels on their respecti ve hubs ens uri ng that s t ud to wheelrel ati ons hip is mai ntained.
10. Vehicles fitted w ith NON Uni-directional tires: Ins t al l wheel s on t he oppos it e s i de of the vehicle but ens ure t hat theyare on the same axl e as t hey were originall y i ns t alled.
11. Ins t al l road wheel nut s and t ighten to 133 Nm (98 lb-ft ).
Parking brake
W i th the vehicle st ati onary, appl y the parki ng brake and check for correct operati on.
Page 178 of 3229
Fluid levels
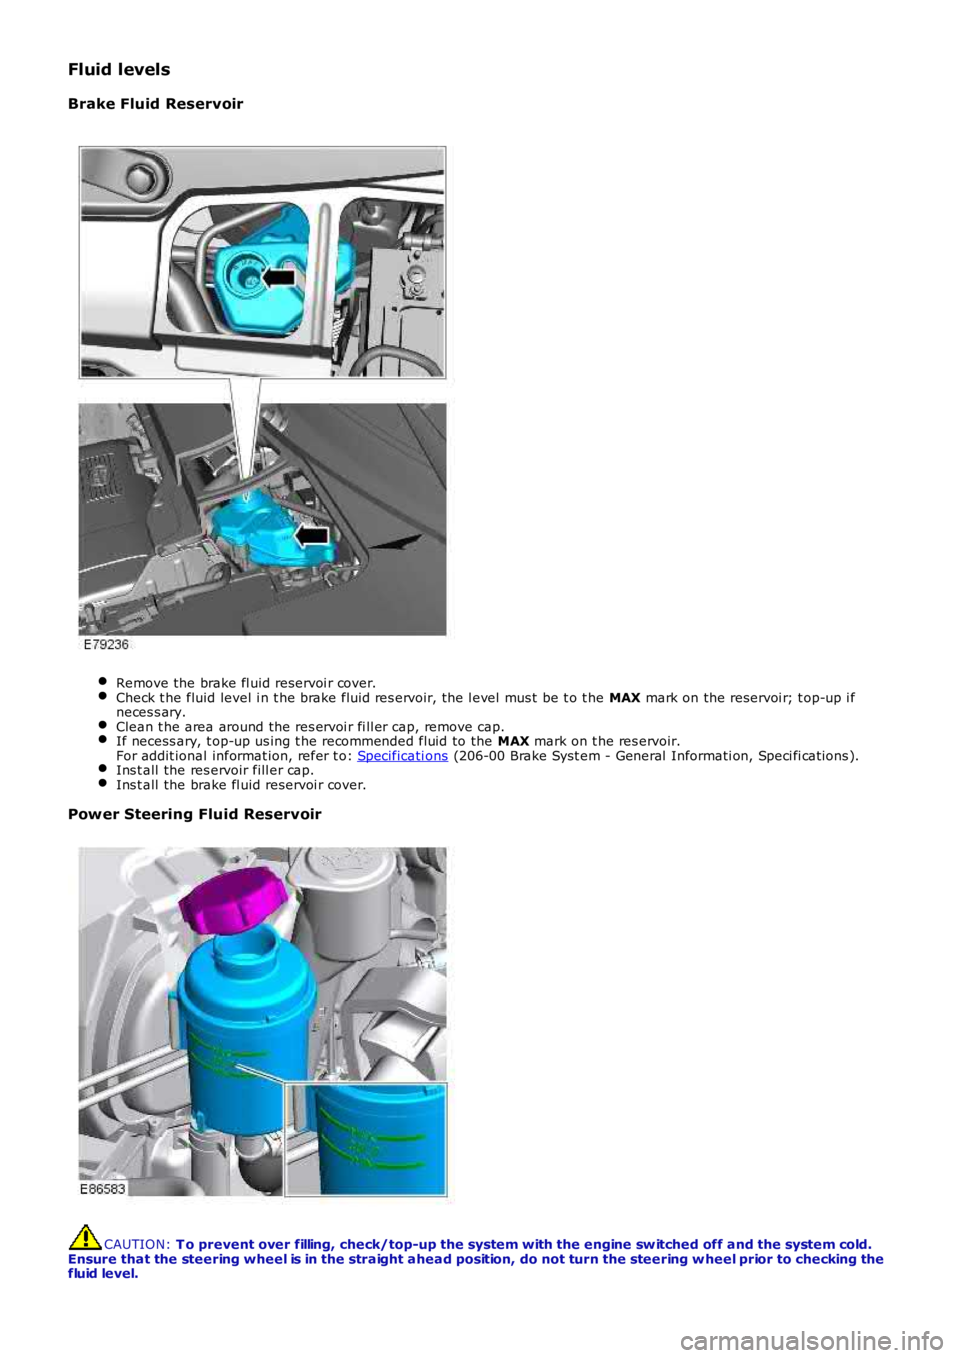
Brake Fluid Reservoir
Remove the brake fl uid reservoi r cover.Check t he fluid level i n t he brake fluid res ervoir, the l evel mus t be t o t he MAX mark on the reservoi r; t op-up i fneces s ary.Clean t he area around the res ervoi r fi ll er cap, remove cap.If necess ary, t op-up us ing t he recommended fluid to the MAX mark on t he res ervoir.For addit ional informat ion, refer t o: Specificati ons (206-00 Brake Syst em - General Informati on, Speci fi cat ions ).Ins t all the res ervoir fill er cap.Ins t all the brake fl uid reservoi r cover.
Power Steering Fluid Reservoir
CAUTION: T o prevent over filling, check/top-up the system with the engine sw itched off and the system cold.Ensure that the steering wheel is in the straight ahead position, do not turn the steering w heel prior to checking thefluid level.
Page 180 of 3229
1. Check for free play i n all s uspens ion and body mounti ng rubbers .
2. Check condit ion of s uspens ion rubber boot s and gait ers .
Fuel System
Check fuel sys tem pipes , hos es and unions for chafi ng, l eaks and corros ion.
Electrical Harnesses
Check al l el ect ri cal harnes s es for chafing.
Oil/Fluid Leaks
Check for oil/fluid leaks .
Power Steering
Check power s teering rod bal l joi nt fixi ngs , gait ers and condi ti on of bal l joi nt s and dus t covers .Check power s teering pipes , hos es and unions for chafi ng, leaks and corros ion.
Exhaust System
Check exhaust s ys tem for l eaks , securi ty and damage.
Fault Lamp(s)
If fault l amp(s ) are ill uminat ed, t est the as s oci at ed s yst em us i ng T4 and report findings .
Road Test
Carry out road t est of vehicle.For addit ional informat ion, refer t o: Road/Roller Tes ti ng (100-00 General Informati on, Des cri pt ion and Operati on).
General
Endors e Service Record.Report any unus ual features of vehi cl e condi ti on and any addi ti onal work required.
Vehicles Operating Under Arduous Conditions
Service i ntervals for vehi cles operati ng under arduous condi ti ons are det ailed bel ow.
Braking system
CAUTION: When vehicles are operating under arduous conditions, the following service items must be carriedout every 3 months or 3,750 miles (6,000 km).
Ins pect front brake pads for wear.Ins pect rear pads for wear.Check brake cal ipers for s igns of fl ui d l eaks .Check brake dis cs for condi ti on.Check al l brake boos t er and brake s ys t em pipes and hos es for condi ti on, chafi ng and leaks.Clean road wheel hub s pigot s and appl y greas e, Land Rover Part Number RY L 105020 t o t he wheel mat ing surfaceof each s pigot .
Brake Fluid Replacement
CAUTION: When vehicles are operating under arduous conditions, the following service item must be carried outevery 2 Years or 30,000 miles (48,000 km).
Replace brake fluid.
Road Wheel Speed Sensors
CAUTION: When vehicles are operating under arduous conditions, the following service item must be carried outevery 3 months or 3,750 miles (6,000 km).
Ins pect the road wheel s peed s ens or harness es for damage.
Engine Oil and Filter
CAUTION: When vehicles are operating under arduous conditions, the following service item must be carried outevery 3 months or 3,750 miles (6,000 km).
Renew engi ne oil and fil ter.
Page 186 of 3229
5.
Check front s afet y belt height adjus ters for correct operat ion.
Lamps, Horns and Warning Indicators Check s i de, head, fog, revers ing and tail l amps for correct operat ion. Check operat ion of headlamp aut omati c levelli ng s yst em - if ins t al led.
Check t urn si gnal s and hazard warni ng lamps for correct operati on.
Check brake (s t op) l amps for correct operat ion.
Check al l ext eri or l amp l ens es for cl arit y and condi ti on; pay parti cular at tent ion t
o headl amp and fog lamp lens es
for s t one chi ps or damage. Check horn for l oud, clear s ound.
Swit ch on headl amps and check t hat si de/headl amp reminder warning s ounds when door i
s opened.Check operat ion of i nteri or courtes y lamps .
Check operat ion of al l i nst rument pack warni ng and indicator l amps.
Washers and Wipers
Check al l wiper blades for condi ti on and s igns of s pl it s or damage.
Check s ecurit y of wi per arms .
Operat e front and rear s creen washers, check that jet s are cl ear and correctl y aimed
.Operat e front and rear wipers at all s peeds and check for s moot h, s mear free operati
on.Pollen Filter
Replace pol len fil ter.
For addit ional informat ion, refer t o: Pollen Fi lt er (412-01 Cl imat e Control, Removal and Ins tall ati on).
Corrosion/Cosmetic Inspection
Carry out the annual corros ion/cos meti c ins pect ion us ing t he Annual Corros ion Inspec ti on Sheet .Wheels and Tires
Check t hat ti res comply wit h manufacturer's specificati on.
For addit ional informat ion, refer t o: Specificati ons (204-04 W heels and Tires , Specificati ons ).
Check/adjust t ire pres s ures i ncl udi ng s pare.
For addit ional informat ion, refer t o: Specificati ons (204-04 W heels and Tires , Specificati ons ).
Vehicle fitted with Uni-directional tires:
Mark t he wheel to st ud rel ati ons hip of each road wheel and note locat ion
Page 187 of 3229
of each road wheel t o i ts res pect ive hub.
Loos en road wheel nut s. Rais e vehicle to a wheel free condit ion.
For addit ional informat ion, refer t o: Lifti ng (100-02 Jacki ng and Lifti ng, Des cript ion and O perati on).
Remove the road wheels .
Vis uall y check t ires for condi ti on, l umps or bul ges . Check tread dept h acros s t he wi
dt h of the ti re and around the
circumference; ens ure t hat remai ni ng t read depth does not cont ravene local legis lat i ve requi rement s.• NOTE: Do not i ns t all wheel s at t hi s s tage.
Braking System CAUTION: For vehi cl es operati ng under arduous condi ti ons s ee relevant s ecti on.
1. Ins pect front brake pads for wear.
For addit ional informat ion, refer t o: Specificati ons (206-03 Front Dis c Brake, Specificati ons ).
2. Ins pect rear brake pads for wear.
For addit ional informat ion, refer t o: Specificati ons (206-04 Rear Di sc Brake, Specifi cat ions ).
3. Check brake cal ipers for si gns of fl ui d l eaks .
Front brakes Rear brakes
4.
Check brake di s cs for condit ion.
5. Check al l brake boos t er and brake sys t em pipes and hos es for condi ti on, chafi ng and leaks.
6. Clean road wheel hub s pigots and appl y greas e, Land Rover Part Number RY L 105020 t o t he wheel mat ing surface of
each spi got .
7. Every 3 years: Repl ace brake fl uid. For addit ional informati on, refer t o: Brake Syst em Bl eedi ng (206-00 Brake Syst em -
General Informat ion, General Procedures ).
8. Every 6 years: Repl ace al l fl exi ble brake hos es .
9. Vehicles fitted w ith Uni-directional tires: Ins t al l road wheels on their respecti ve hubs ens uri ng that s t ud to wheel
rel ati ons hip is mai ntained.
10. Vehicles fitted w ith NON Uni-directional tires: Ins t al l wheel s on t he oppos it e s i de of the vehicle but ens ure t hat they
are on the same axl e as t hey were originall y i ns t alled.
11. Ins t al l road wheel nut s and t ighten to 133 Nm (98 lb-ft ).
Parking brake
W i th the vehicle st ati onary, appl y the parki ng brake and check for correct operati on .
Page 190 of 3229
Ensure that the steering wheel is in the straight ahead position, do not turn the st eering w heel prior to checking the
fluid level.
Check t hat the flui d level is t o t he mi d-way mark between the MAX and MIN marks on t he fluid res ervoir, t op-up i f
neces s ary. Clean t he area around the res ervoi r fi ll er cap, remove cap.
CAUTION:
Do not fill reservoir above the MAX mark.
If necess ary, t op-up us ing t he recommended fluid to the mid-way mark on the reservoi r.
For addit ional informat ion, refer t o: Specificati ons (211-02 Power St eering, Specificati ons).
Ins t all the res ervoir fill er cap.
Windshield Washer Reservoir
Remove the winds hi eld was her res ervoir fill er cap.
Top-up t he res ervoir us ing a mi xt ure of an approved wi nds hiel d was her flui d and wate
r unti l the level i s t o the
bott om of t he gauze fil ter i n t he res ervoir fil ler neck. Ins t all the res ervoir fill er cap.
Engine Oil and Filter
• CAUTIO NS: For vehi cl es operati ng under arduous condi ti ons see relevant secti on.
Vehicles operating on high sulphur content fuel - above 0.7%, the oil and filter cha nge period MUST NOT
exceed 3 months or 3,750 miles (6,000 km).
Vehicles operating on moderate sulphur content fuel - 0.3 to 0.7%, the oil and filte r change period MUST NOT
exceed 6 months or 7,500 miles (12,000 km).
Renew engi ne oil and fil ter.
For addit ional informat ion, refer t o: Oil Fil ter El ement (303-01A Engine - I6 3.2L Pet rol , Removal and Ins t allat ion).
Air Filtering
CAUTION: For vehi cl es operati ng under arduous condi ti ons s ee relevant s ecti on.
1. Every 2 years or 30,000 miles (48,000 km): Replace the ai r cl eaner element .
For addit ional informat ion, refer t o: Air Cl eaner (303-12B Int ake Ai r Dis t ri but ion and Fi lt ering - TD4 2.2L Di es el, Removal
and Ins t allat ion).
Fuel Filter
1. Every year or 15,000 miles (24,000 km): Drai n water from the fuel fi lt er.
1. Every 2 years or 30,000 miles (48,000 km): Replace fuel fi lt er el ement.
For addit ional informat ion, refer t o: Fuel Fil ter (310-01B Fuel Tank and Lines - TD4 2.2L Dies el, Removal and Ins tall ati on).
Automatic Transmission
Every 10 years or 150,000 miles (240,000 km): Renew automat ic t rans mis s ion flui d.