Page 247 of 3870
Fig. 146: Identifying Special Tools (2 Of 2)
Courtesy of MITSUBISHI MOTOR SALES OF AMERICA.
ON-VEHICLE SERVICE ABS SENSOR OUTPUT VOLTAGE MEASUREMENT Required Special Tool:
MB991219: Inspection Harness
1. Release the parking brake and lift up the vehicle.
2. Disconnect the ABS-ECU connector A-02, and then use special tool
MB991219 to measure the out
put volta
ge at the harness side connector.
NOTE: For vehicles with ASC, refer to WHEEL SPEED SENSOR
OUTPUT VOLTAGE MEASUREMENT
.
2004 Mitsubishi Endeavor LS
2004 BRAKES Anti-Lock Braking System (ABS) - Endeavor
Page 253 of 3870

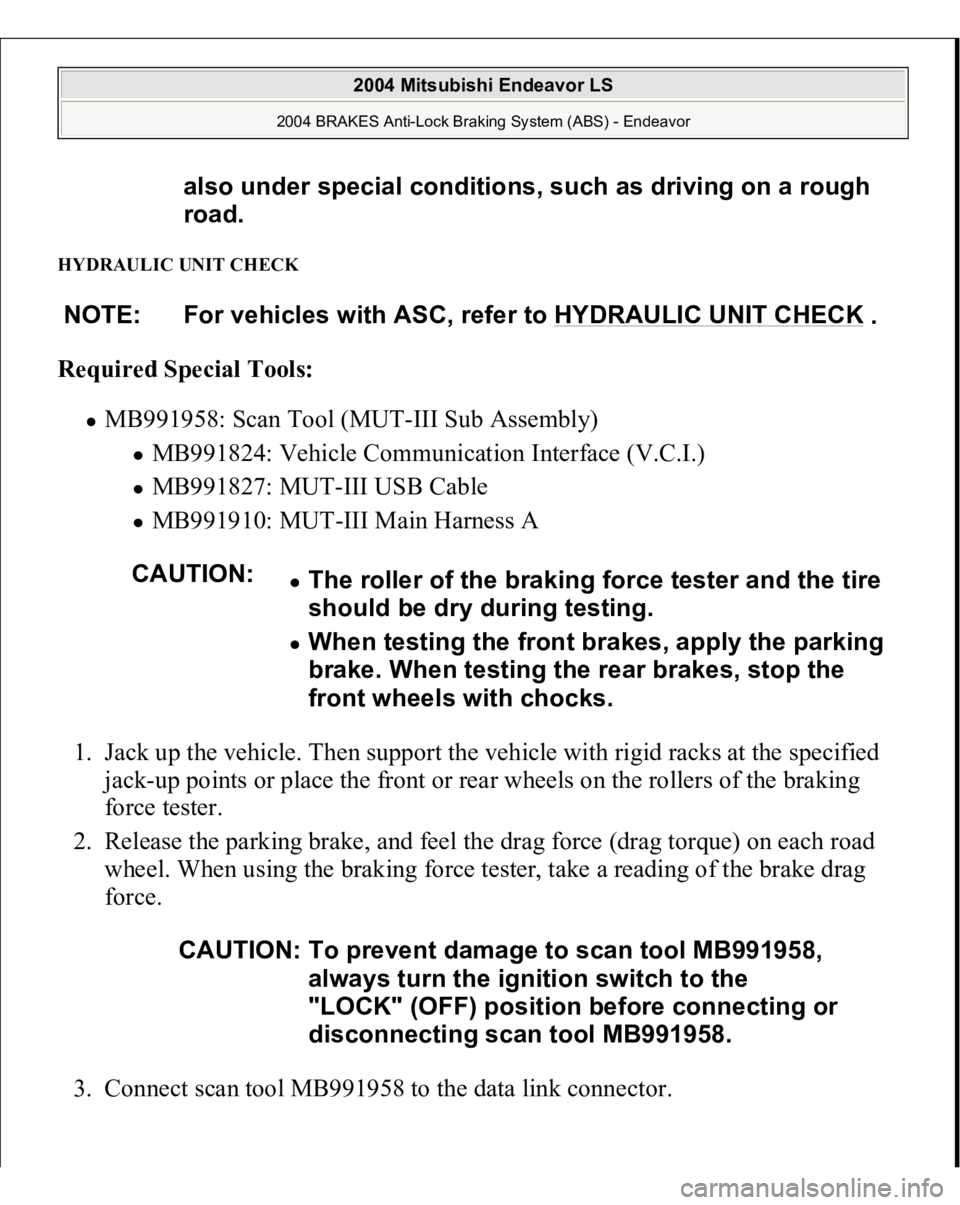
HYDRAULIC UNIT CHECK Required Special Tools:
MB991958: Scan Tool (MUT-III Sub Assembly)
MB991824: Vehicle Communication Interface (V.C.I.) MB991827: MUT-III USB Cable MB991910: MUT-III Main Harness A
1. Jack up the vehicle. Then support the vehicle with rigid racks at the specified
jack-up points or place the front or rear wheels on the rollers of the braking
force tester.
2. Release the parking brake, and feel the drag force (drag torque) on each road
wheel. When using the braking force tester, take a reading of the brake drag
force.
3. Connect scan tool MB991958 to the data link connec
tor. also under special conditions, such as driving on a rough
road.
NOTE: For vehicles with ASC, refer to HYDRAULIC UNIT CHECK
.
CAUTION:
The roller of the braking force tester and the tire
should be dry during testing. When testing the front brakes, apply the parking
brake. When testing the rear brakes, stop the
front wheels with chocks.
CAUTION: To prevent damage to scan tool MB991958,
always turn the ignition switch to the
"LOCK" (OFF) position before connecting or
disconnecting scan tool MB991958.
2004 Mitsubishi Endeavor LS
2004 BRAKES Anti-Lock Braking System (ABS) - Endeavor
Page 509 of 3870
Fig. 53: Removing Parking Roller Support
Courtesy of MITSUBISHI MOTOR SALES OF AMERICA.
54. Remove the one-way clutch inner race and low-reverse brake piston as follows:
1. Using special tools MD998338 and MD998924, compress the one-way
clutch inner race.
2. Remove the snap ring.
3. Remove the special tools.
4. Remove the one-way clutch inner race, O-ring, spring retainer, return
s
prin
g and low-reverse brake
piston.
NOTE: This illustration shows F4A5A.
2004 Mitsubishi Endeavor XLS
2004 TRANSMISSION Automatic Transaxle Overhaul - Endeavor
Page 709 of 3870
Q: Is there a leak?
YES: Check the connection for looseness, corrosion, etc. Clean and repair
as necessary. If leaking in any tube or hose section, replace the complete
tube or hose. Then go to Step 7 .
NO: Go to Step 6.
STEP 6. Check the clearance (too much) between the push rod and
primary piston.
Refer to MASTER CYLINDER ASSEMBLY AND BRAKE BOOSTER
.
Q: Is the clearance outside of specifications?
YES: Adjust the clearance. Then go to Step 7.
NO: Go to Step 7.
STEP 7. Recheck symptom.
Q: Is the symptom eliminated?
YES: The procedure is complete.
NO: Start over at Step 1 . If a new symptom surfaces, refer to the
SYMPTOM CHART
.
INSPECTION PROCEDURE 4: BRAKE DRAG DIAGNOSIS
STEP 1. Check the parking brake operating lever return.
2004 Mitsubishi Endeavor LS
2004 BRAKES Basic Brake System - Endeavor
Page 710 of 3870
Fig. 4: Checking Parking Brake Operating Lever Return
Courtesy of MITSUBISHI MOTOR SALES OF AMERICA.
Q: Is the operation faulty?
YES: Repair it. Then go to Step 9 .
NO: Go to Step 2.
STEP 2. Check the brake shoe s
prin
gs for breaka
ge.
2004 Mitsubishi Endeavor LS
2004 BRAKES Basic Brake System - Endeavor
Page 711 of 3870
Fig. 5: Checking Brake Shoe Springs For Breakage
Courtesy of MITSUBISHI MOTOR SALES OF AMERICA.
Q: Are the brake shoe springs broken?
YES: Replace the spring. Then go to Step 9 .
NO: Go to Step 3.
STEP 3. Check the amount of grease at each sliding section.
Refer to PARKING BRAKE LINING AND DRUM .
Q: Is the grease amount low?
YES: Apply grease. Then go to Step 9 .
NO: Go to Step 4.
STEP 4. Check the parking brake pull amount.
Refer to PARKING BRAKE PEDAL STROKE CHECK AND
AD
JUS
TME
.
2004 Mitsubishi Endeavor LS
2004 BRAKES Basic Brake System - Endeavor
Page 1098 of 3870

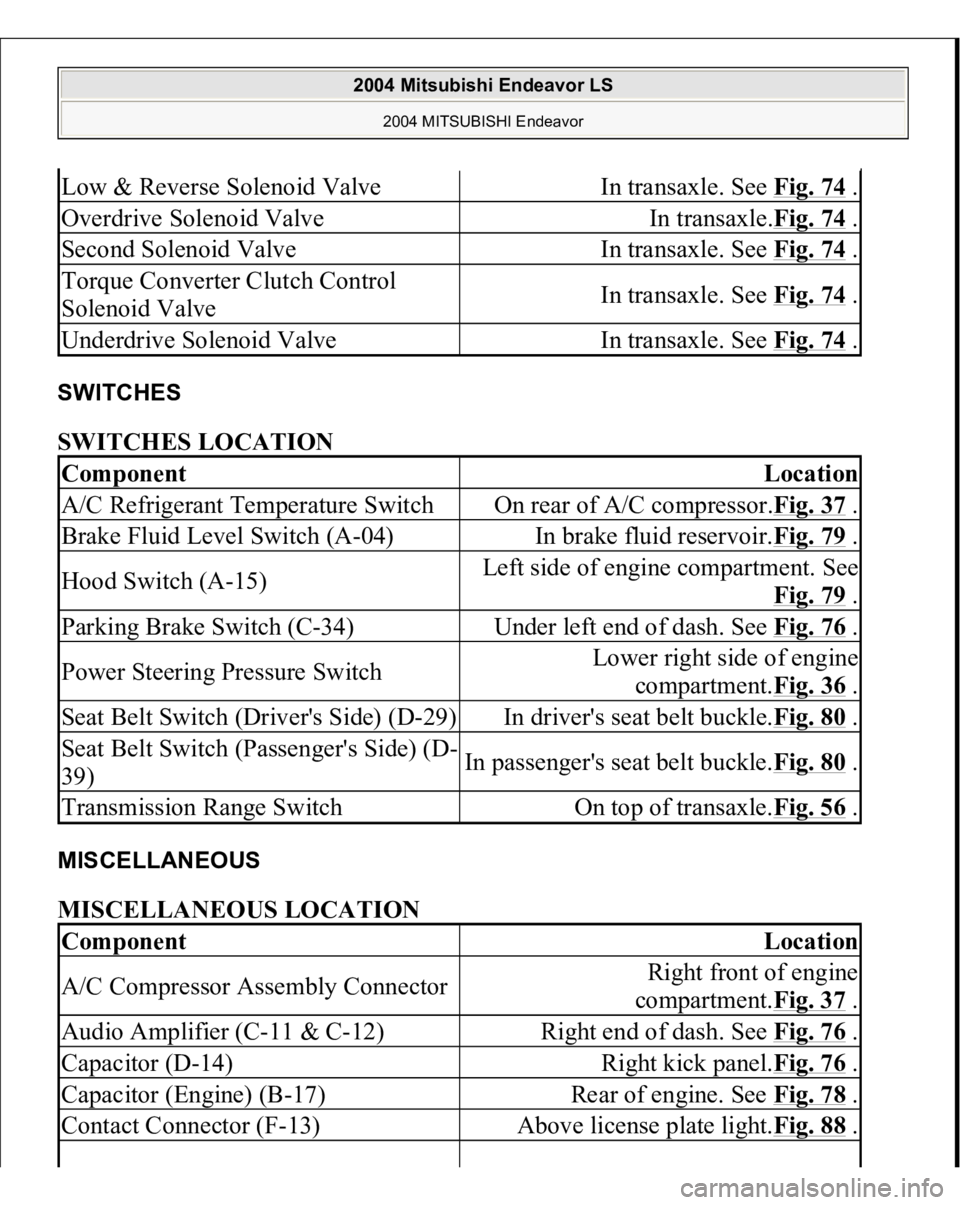
SWITCHES SWITCHES LOCATION MISCELLANEOUS MISCELLANEOUS LOCATION Low & Reverse Solenoid Valve
In transaxle. See Fig. 74
.
Overdrive Solenoid Valve
In transaxle.Fig. 74
.
Second Solenoid Valve
In transaxle. See Fig. 74
.
Torque Converter Clutch Control
Solenoid Valve
In transaxle. See Fig. 74
.
Underdrive Solenoid Valve
In transaxle. See Fig. 74
.
Component
Location
A/C Refrigerant Temperature Switch
On rear of A/C compressor.Fig. 37
.
Brake Fluid Level Switch (A-04)
In brake fluid reservoir.Fig. 79
.
Hood Switch (A-15)
Left side of engine compartment. See
Fig. 79
.
Parking Brake Switch (C-34)
Under left end of dash. See Fig. 76
.
Power Steering Pressure Switch
Lower right side of engine
compartment.Fig. 36
.
Seat Belt Switch (Driver's Side) (D-29)
In driver's seat belt buckle.Fig. 80
.
Seat Belt Switch (Passenger's Side) (D-
39)
In passenger's seat belt buckle.Fig. 80
.
Transmission Range Switch
On top of transaxle.Fig. 56
.
Component
Location
A/C Compressor Assembly Connector
Right front of engine
compartment.Fig. 37
.
Audio Amplifier (C-11 & C-12)
Right end of dash. See Fig. 76
.
Capacitor (D-14)
Right kick panel.Fig. 76
.
Capacitor (Engine) (B-17)
Rear of engine. See Fig. 78
.
Contact Connector (F-13)
Above license plate light.Fig. 88
.
2004 Mitsubishi Endeavor LS
2004 MITSUBISHI Endeavor
Page 2786 of 3870
2004 BRAKES
Parking Brakes - Endeavor
GENERAL DESCRIPTION The parking brakes are a mechanical rear wheel brake design. The foot pedal is
depressed to lock and release the parking brake for easier operation. The pedal
surface is labeled with "Push," "ON," and "OFF," and users can easily understand
the pedal release mechanism. CONSTRUCTION DIAGRA
M
2004 Mitsubishi Endeavor LS 2004 BRAKES Parking Brakes - Endeavor
2004 Mitsubishi Endeavor LS 2004 BRAKES Parking Brakes - Endeavor