Page 747 of 3870
Fig. 31: Checking Brake Pad Thickness (Rear)
Courtesy of MITSUBISHI MOTOR SALES OF AMERICA.
2. Remove the lock pin bolt. Pivot the caliper assembly and hold it with wires.
CAUTION: Do not wipe off the special grease that is on the
lock pin or allow it to contaminate the lock pin.
2004 Mitsubishi Endeavor LS
2004 BRAKES Basic Brake System - Endeavor
Page 749 of 3870
Fig. 33: Removing Lock Pin Bolt (Rear)
Courtesy of MITSUBISHI MOTOR SALES OF AMERICA.
3. Remove the following parts from caliper support.
1. Pad assembly
2. Pad and wear indicator assembly or Pad assembly
3. Shim
4. Clip
4. In order to measure the brake drag force after pad installation, measure the
rotary-sliding resistance of the hub with the pads removed (Refer to
INSPECTION
).
5. Install the pads and caliper assembly, and then check the brake drag force
(Refer to INSPECTION
).
2004 Mitsubishi Endeavor LS
2004 BRAKES Basic Brake System - Endeavor
Page 751 of 3870
Before turning the brake disc, the following conditions should be checked.
Fig. 35: Disc Brake Rotor Inspection Table
Courtesy of MITSUBISHI MOTOR SALES OF AMERICA.
BRAKE DISC THICKNESS CHECK 1. Using a micrometer, measure disc thickness at eight positions, approximately
45 degrees apart and 10 mm (0.4 inch) in from the outer edge of the disc.
FRONT BRAKE DISC
Standard value: 26.0 mm (1.02 inches)
Minimum limit: 24.4 mm (0.96 inch)
REAR BRAKE DISC
Standard value: 10.0 mm (0.39 inch)
Minimum limit: 8.4 mm (0.33 inch)
CAUTION: Disc brakes must be kept within the allowable
service values in order to maintain normal brake
operation.
2004 Mitsubishi Endeavor LS
2004 BRAKES Basic Brake System - Endeavor
Page 755 of 3870

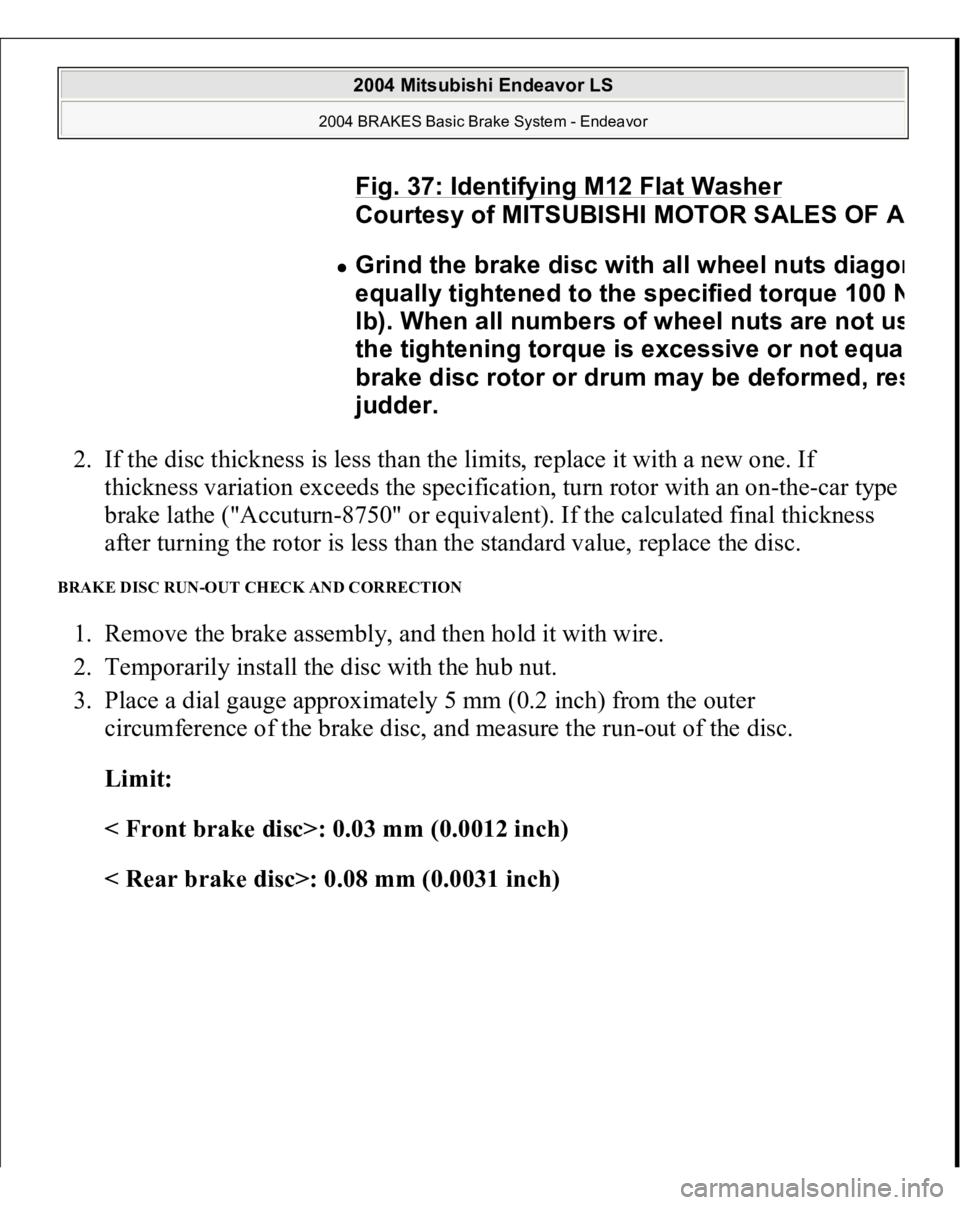
2. If the disc thickness is less than the limits, replace it with a new one. If
thickness variation exceeds the specification, turn rotor with an on-the-car type
brake lathe ("Accuturn-8750" or equivalent). If the calculated final thickness
after turning the rotor is less than the standard value, replace the disc. BRAKE DISC RUN-OUT CHECK AND CORRECTION 1. Remove the brake assembly, and then hold it with wire.
2. Temporarily install the disc with the hub nut.
3. Place a dial gauge approximately 5 mm (0.2 inch) from the outer
circumference of the brake disc, and measure the run-out of the disc.
Limit:
< Front brake disc>: 0.03 mm (0.0012 inch)
< Rear brake disc>: 0.08 mm (0.0031 inch)
Fig. 37: Identifying M12 Flat Washer
Courtes
y of MITSUBISHI MOTOR SALES OF
A
Grind the brake disc with all wheel nuts dia
gon
equall
y tightened to the specified torque 100
N
lb). When all numbers of wheel nuts are not u
s
the ti
ghtenin
g torque is excessive or not equa
brake disc rotor or drum ma
y be deformed, re
s
judder.
2004 Mitsubishi Endeavor LS
2004 BRAKES Basic Brake System - Endeavor
Page 759 of 3870
Fig. 41: Measuring End Play Brake Disc (Rear)
Courtesy of MITSUBISHI MOTOR SALES OF AMERICA.
CAUTION:
After a new brake disc is installed, alwa
ys grin
brake disc with on-the-car t
ype brake lathe. If
t
is not carried out, the brake disc run-out exce
e
specified value, resulting in judder. When the on-the-car t
ype lathe is used, first i
n
flat washer on the stud bolt in the brake disc
s
accordin
g to the fi
gure, and then install the a
d
2004 Mitsubishi Endeavor LS
2004 BRAKES Basic Brake System - Endeavor
Page 783 of 3870
DISASSEMBLY AND ASSEMBLY < REAR>Fig. 60: Exploded View Of Brake Disc (Rear)
Courtesy of MITSUBISHI MOTOR SALES OF AMERICA.
LUBRICATION POINTS
2004 Mitsubishi Endeavor LS
2004 BRAKES Basic Brake System - Endeavor
Page 786 of 3870
1. Remove the piston seal with your finger tip.
2. Clean piston surface and inner cylinder with alcohol or brake fluid DOT 3 or
DOT 4.
Fig. 63: Removing Piston Seal
Courtesy of MITSUBISHI MOTOR SALES OF AMERICA.
ASSEMBLY SERVICE POINT >>A<< REAR BRAKE PIN INSTALLATION
remove piston seal. These may damage the inner
side of the cylinder.
2004 Mitsubishi Endeavor LS
2004 BRAKES Basic Brake System - Endeavor
Page 787 of 3870
Attach a guide pin (with "g" on the bolt head) at the bleeder nipple side of the
caliper body and a lock pin (with "l" on the bolt head) at the opposite side. INSPECTION
Check the cylinder for wear, damage or rust. Check the piston surface for wear, damage or rust. Check the caliper body or sleeve for wear. Check the pad for damage or adhesion of grease, check the backing metal for
damage.
PAD WEAR CHECK 1. Measure thickness at the thinnest and most worn area of the pad.
Standard value: 10 mm (0.39 inch)
Minimum limit: 2.0 mm (0.08 inch)
WARNING:
Always replace both brake pads on each wheel
as a set (both front wheels or both rear wheels).
Failure to do so will result in uneven braking,
which may cause unreliable brake operation. If there is significant difference in the thickness
of the pads on the left and right sides, check the
sliding condition of the piston and slide pins.
2004 Mitsubishi Endeavor LS
2004 BRAKES Basic Brake System - Endeavor