Page 995 of 3870

NO: Replace the weatherstrip, then go to Step 4 .
STEP 2. Check the door window glass installation.
Q: Is the door window glass installed correctly?
YES: Go to Step 3.
NO: Reinstall the door window glass (Refer to DOOR GLASS AND REGULATOR
). Then go to Step 4 .
STEP 3. Check the clearance at the top of the door window glass.
Q: Is the clearance at the top of the door window glass correct?
YES: Go to Step 4.
NO: Adjust the door window glass. Refer to DOOR WINDOW GLASS
ADJUSTMENT
. Then go to Step 4.
STEP 4. Retest the system.
Q: Is any water leaking?
YES: Return to Step 1 .
NO: The procedure is complete.
INSPECTION PROCEDURE 2: Door Window Glass Malfunction DIAGNOSIS
STEP 1. Check the door window glass installation condition.
Q: Is the door window installed correctly?
YES: Go to Step 2.
NO: Reinstall the door window glass (Refer to DOOR GLASS AND
REGULATOR
). Then go to Step 4 .
STEP 2. Check the door sash.
Q: Is the door sash in good condition?
2004 Mitsubishi Endeavor LS
2004 BODY & ACCESSORIES Door - Endeavor
Page 996 of 3870
YES: Go to Step 3.
NO: Repair or replace door sash, then go to Step 4 .
STEP 3. Inspect the window regulator assembly.
Q: Is the window regulator assembly in good condition?
YES: Go to Step 4.
NO: Repair or replace the window regulator assembly, then go to Step 4.
STEP 4. Retest the system.
Q: Does the door window operate correctly?
YES: The procedure is complete.
NO: Return to Step 1 .
INSPECTION PROCEDURE 3: Water Leak Through Door Edge DIAGNOSIS
STEP 1. Check the weatherstrip.
Q: Is the weatherstrip in good condition?
YES: Go to Step 2.
NO: Replace the weatherstrip, then go to Step 3 .
STEP 2. Check the door fit (alignment).
Q: Is the door fit (alignment) correct?
YES: Go to Step 3.
NO: Adjust the door fit. (Refer to DOOR FIT ADJUSTMENT
). Then
go to Step 3.
STEP 3. Retest the system.
Q: Is any water leaking?
YES: Return to Ste
p 1 .
2004 Mitsubishi Endeavor LS
2004 BODY & ACCESSORIES Door - Endeavor
Page 997 of 3870
NO: The procedure is complete.
INSPECTION PROCEDURE 4: Water Leak from Door Center DIAGNOSIS
STEP 1. Check the drain hole.
Q: Is the drain hole clogged?
YES: Clean the drain hole, then go to Step 3 .
NO: Go to Step 2.
STEP 2. Check the weatherstrip.
Q: Is the weatherstrip in good condition?
YES: Go to Step 3.
NO: Repair or replace the weatherstrip, then go to Step 3.
STEP 3. Retest the system.
Q: Is any water leaking?
YES: Return to Step 1 .
NO: The procedure is complete.
INSPECTION PROCEDURE 5: Door Hard to Open DIAGNOSIS
STEP 1. Adjust the latch and striker engagement.
Refer to ON
-VEHICLE SERVICE
.
Q: Is the latch and striker engagement adjusted?
YES: Go to Step 2.
NO: Adjust the latch and striker (Refer to ON
-VEHICLE SERVICE
).
Then
go to Ste
p 4 .
2004 Mitsubishi Endeavor LS
2004 BODY & ACCESSORIES Door - Endeavor
Page 998 of 3870
STEP 2. Check for lock cable damage.
Q: Is the lock rod damaged?
YES: Repair or replace the lock cable, then go to Step 4 .
NO: Go to Step 3.
STEP 3. Check the door handle flexibility (amount of movement of handle
required to open door).
Q: Is the door handle flexibility good?
YES: Go to Step 4.
NO: Check the door outside handle and inside handle (Refer to DOOR
OUTSIDE HANDLE PLAY CHECK
and DOOR INSIDE HANDLE
PLAY CHECK
). Then go to Step 4.
STEP 4. Retest the system.
Q: Does the door open easily?
YES: The procedure is complete.
NO: Return to Step 1 .
INSPECTION PROCEDURE 6: Door Does Not Open or Close Completely DIAGNOSIS
STEP 1. Check the door hinge position.
Q: Is the door hinge correct?
YES: Go to Step 2.
NO: Adjust the door hinge (Refer to DOOR FIT ADJUSTMENT
).
Then go to Step 4 .
STEP 2. Check the door for damage.
Q: Is the door in
good condition?
2004 Mitsubishi Endeavor LS
2004 BODY & ACCESSORIES Door - Endeavor
Page 999 of 3870
YES: Go to Step 3.
NO: Repair or replace the door, then go to Step 4 .
STEP 3. Check lubrication.
Q: Are the door check and door hinge sufficiently lubricated?
YES: Go to Step 4.
NO: Apply grease, then go to Step 4.
STEP 4. Retest the system.
Q: Does the door open and close completely?
YES: The procedure is complete.
NO: Return to Step 1 .
INSPECTION PROCEDURE 7: Uneven Gap Between Body DIAGNOSIS Adjust the door fit (Refer to ON
-VEHICLE SERVICE
). Then check that the gap
has been improved.
INSPECTION PROCEDURE 8: Wind Noise Around Door DIAGNOSIS
STEP 1. Check the weatherstrip for holding condition.
Q: Is the weatherstrip holding firmly?
YES: Go to Step 2.
NO: Adjust fit of door (Refer to GLASS SLIDING MECHANISM
CHECK AND ADJUSTMENT
). Then go to Step 5 .
STEP 2. Check the weatherstrip for installation condition.
Q: Is the weatherstrip installed properly?
YES: Go to Ste
p 3.
2004 Mitsubishi Endeavor LS
2004 BODY & ACCESSORIES Door - Endeavor
Page 1000 of 3870
NO: Repair or replace the weatherstrip. Then go to Step 5 .
STEP 3. Check the clearance.
Q: Are the door glass and door weatherstrip holder installed properly?
YES: Go to Step 4.
NO: Adjust the door glass and the weatherstrip holder (Refer to GLASS SLIDING MECHANISM CHECK AND ADJUSTMENT
). Then go to
Step 5 .
STEP 4. Check the door for deformation.
Q: Is the door deformed?
YES: Repair or replace the door, then go to Step 5.
NO: Go to Step 5.
STEP 5. Retest the system.
Q: Has the wind noise been improved?
YES: Return to Step 1 .
NO: This diagnosis complete.
HOW TO LOCATE WIND NOISE 1. Attach cloth tape to every place, such as panel seams, projections, molding
seams, glass and body seams, etc. which might conceivably be the source of
wind noise.
2004 Mitsubishi Endeavor LS
2004 BODY & ACCESSORIES Door - Endeavor
Page 1082 of 3870
2004 DRIVELINE/AXL
E
Propeller Shaft - Endeavor
GENERAL DESCRIPTION For AWD vehicles, 3 way split 4-joint type propeller shaft with center bearing is
adopted, and it has the following features.
The DOJ, which is of less sliding resistance, is used for the No.3 joint. This
reduces the idling vibration. A insulator is located at the center bearing to vehicle body joint, reducing
vibration.
CONSTRUCTION DIAGRAM Fig. 1: Identifying Construction Diagram Of Propeller Shaft
Courtesy of MITSUBISHI MOTOR SALES OF AMERICA.
PROPELLER SHAFT DIAGNOSIS INTRODUCTION TO PROPELLER SHAFT DIAGNOSIS If an abnormal noise is heard from the propeller shaft while driving, some parts of
the
propeller shaft ma
y be worn or dama
ged, or some mountin
g bolts ma
y be loose.
NOTE: DOJ: Double Offset Joint
2004 Mitsubishi Endeavor LS
2004 DRIVELINE/AXLE Propeller Shaft - Endeavor
2004 Mitsubishi Endeavor LS
2004 DRIVELINE/AXLE Propeller Shaft - Endeavor
Page 1083 of 3870

PROPELLER SHAFT DIAGNOSTIC TROUBLESHOOTING STRATEGYUse these steps to plan your diagnostic strategy. If you follow them carefully, you
will be sure that you have exhausted all of the possible ways to find a propeller
shaft fault.
1. Gather information from the customer.
2. Verify that the condition described by the customer exists.
3. Find the malfunction by following the Symptom Chart.
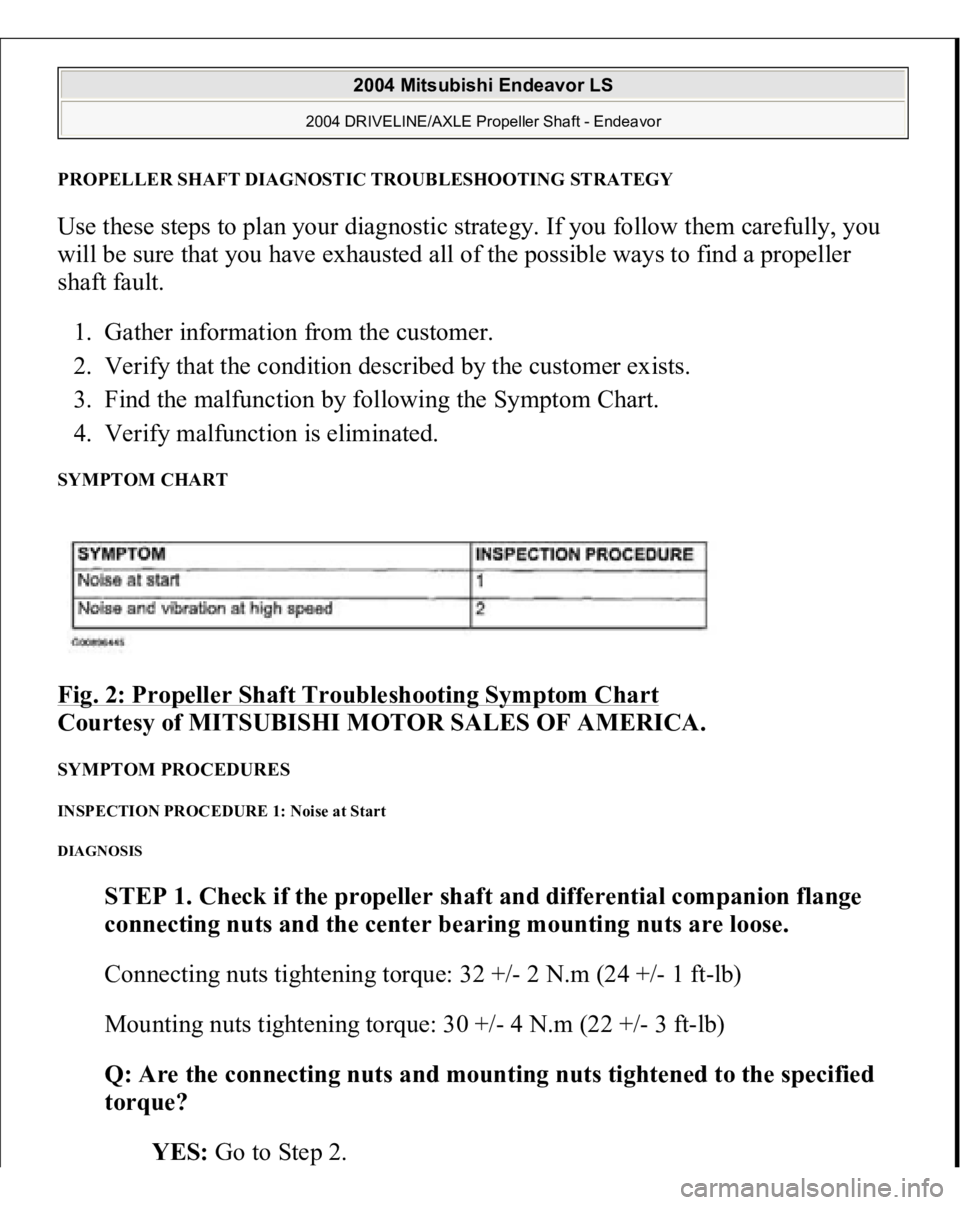
4. Verify malfunction is eliminated. SYMPTOM CHART Fig. 2: Propeller Shaft Troubleshooting Symptom Chart
Courtesy of MITSUBISHI MOTOR SALES OF AMERICA.
SYMPTOM PROCEDURES INSPECTION PROCEDURE 1: Noise at Start DIAGNOSIS
STEP 1. Check if the propeller shaft and differential companion flange
connecting nuts and the center bearing mounting nuts are loose.
Connecting nuts tightening torque: 32 +/- 2 N.m (24 +/- 1 ft-lb)
Mounting nuts tightening torque: 30 +/- 4 N.m (22 +/- 3 ft-lb)
Q: Are the connecting nuts and mounting nuts tightened to the specified
torque?
YES: Go to Ste
p 2.
2004 Mitsubishi Endeavor LS
2004 DRIVELINE/AXLE Propeller Shaft - Endeavor