Page 830 of 3870

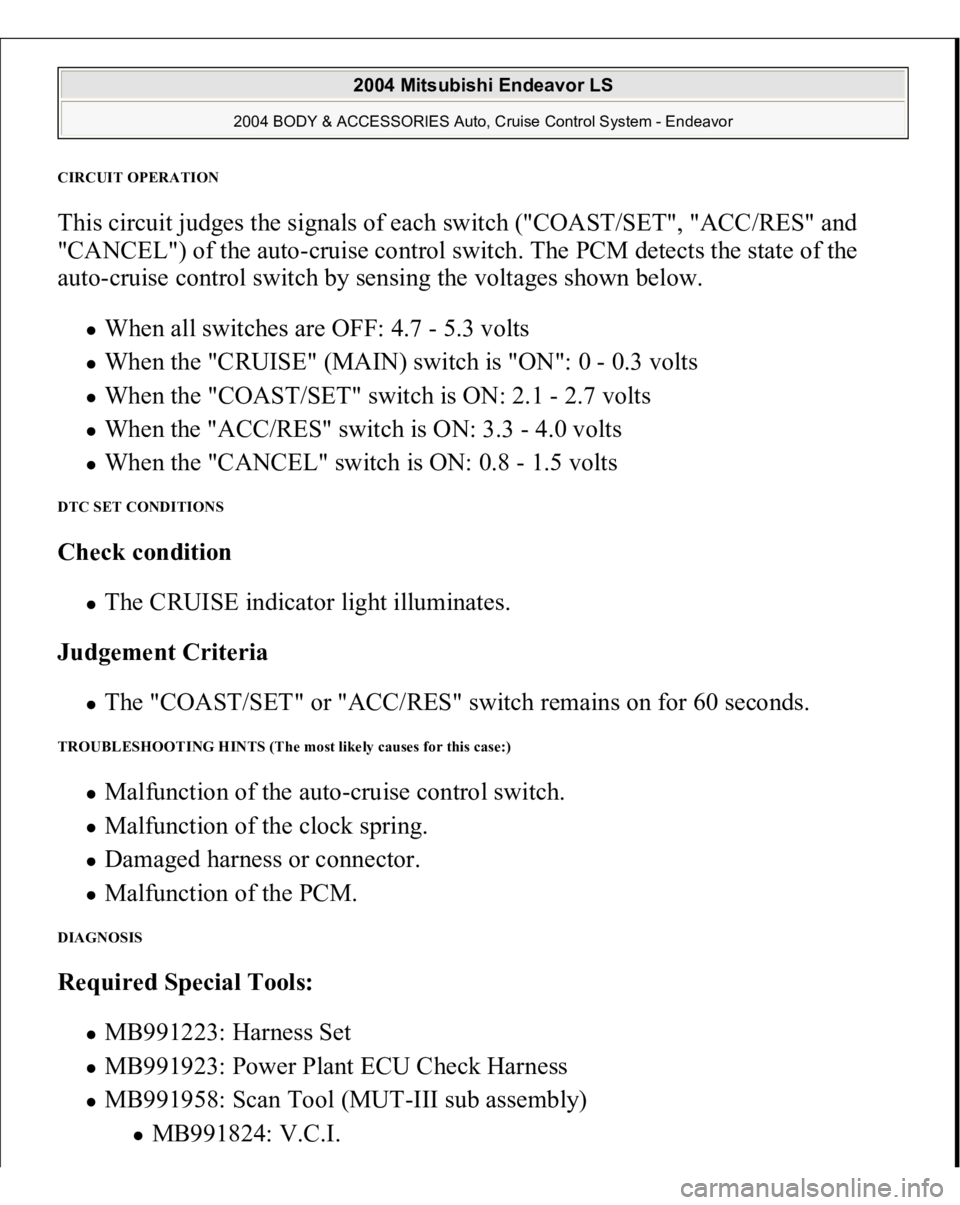
CIRCUIT OPERATION This circuit judges the signals of each switch ("COAST/SET", "ACC/RES" and
"CANCEL") of the auto-cruise control switch. The PCM detects the state of the
auto-cruise control switch by sensing the voltages shown below.
When all switches are OFF: 4.7 - 5.3 volts When the "CRUISE" (MAIN) switch is "ON": 0 - 0.3 volts When the "COAST/SET" switch is ON: 2.1 - 2.7 volts When the "ACC/RES" switch is ON: 3.3 - 4.0 volts When the "CANCEL" switch is ON: 0.8 - 1.5 volts
DTC SET CONDITIONS Check condition
The CRUISE indicator light illuminates.
Judgement Criteria The "COAST/SET" or "ACC/RES" switch remains on for 60 seconds.
TROUBLESHOOTING HINTS (The most likely causes for this case:)
Malfunction of the auto-cruise control switch. Malfunction of the clock spring. Damaged harness or connector. Malfunction of the PCM.
DIAGNOSIS Required Special Tools:
MB991223: Harness Set MB991923: Power Plant ECU Check Harness MB991958: Scan Tool (MUT-III sub assembly)
MB991824: V.C.I.
2004 Mitsubishi Endeavor LS
2004 BODY & ACCESSORIES Auto, Cruise Control System - Endeavor
Page 835 of 3870
2. Turn the ignition switch to the "ON" position.
3. Set scan tool MB991958 to data reading mode for auto-cruise control
system.
Item 03: Resume Switch.
When "ACC/RES" switch is at the "ON" position, the display on
scan tool MB991958 should be "ON". When "ACC/RES" switch is at the "OFF" position, the display
on scan tool MB991958 should be "OFF".
4. Turn the ignition switch to the "LOCK" (OFF) position.
5. Disconnect scan tool MB991958.
Q: Is the switch operating properly?
YES : Go to Step 17 .
NO : Go to Step 3.
STEP 3. Measure the power supply voltage at auto-cruise control switch
connector C-302 by backprobing.
1. Remove the air bag module (driver's side). (Refer to GROUP 52B, Air
Bag Modules and Clock Spring P.52B-567).
2. Connect the negative (-) battery cable.
3. Do not disconnect auto-cruise control switch connector C-302.
2004 Mitsubishi Endeavor LS
2004 BODY & ACCESSORIES Auto, Cruise Control System - Endeavor
Page 873 of 3870
Courtesy of MITSUBISHI MOTOR SALES OF AMERICA
.
Q: Are the connector and terminals in good condition?
YES : Install the air bag module (driver's side). (Refer to DRIVER
-SIDE
AIR BAG MODULE & CLOCKSPRING
). Then go to Step 17 .
NO : Repair or replace the faulty connector and install the air bag module
(driver's side). (Refer to DRIVER
-SIDE AIR BAG MODULE &
CLOCKSPRING
). Then go to Step 18 .
STEP 16. Check the auto-cruise control switch.
1. Remove auto-cruise control switch. Refer toAUTO
-CRUISE
CONTROL
.
2. Measure the resistance between terminal 2 and terminal 3 when each of
the "CRUISE" (MAIN), "COAST/SET", "ACC/RES" and "CANCEL"
switch is
pressed.
2004 Mitsubishi Endeavor LS
2004 BODY & ACCESSORIES Auto, Cruise Control System - Endeavor
Page 1605 of 3870
Fig. 87: Removing Crankshaft Pulley From Crankshaft
Courtesy of MITSUBISHI MOTOR SALES OF AMERICA.
<< B >> TIMING BELT REMOVAL 1. Turn the crankshaft clockwise to align each timing mark and to set the number
1 c
ylinder to com
pression to
p dead center.
CAUTION: Never turn the crankshaft counterclockwise.
2004 Mitsubishi Endeavor Limited
2004 ENGINE Engine - Endeavor
Page 1606 of 3870
Fig. 88: Turning Crankshaft Clockwise To Align Each Timing Mark And To Set Number 1 Cylinder
2004 Mitsubishi Endeavor Limited
2004 ENGINE Engine - Endeavor
Page 1607 of 3870
Courtesy of MITSUBISHI MOTOR SALES OF AMERICA
.
2. If the timing belt is to be reused, chalk an arrow on the flat side of the belt,
indicating the clockwise direction.
3. Loosen the center bolt of the tensioner pulley, then remove the timing belt.
INSTALLATION SERVICE POINTS >>A<< AUTO-TENSIONER INSTALLATION 1. If the auto-tensioner rod remains fully extended, set according to the following
procedure.
1. Place two dolly blocks in a vice as shown in the illustration, and then
place the auto-tensioner in the vice. CAUTION: Place the auto-tensioner perpendicular to the
jaws of the vice.
2004 Mitsubishi Endeavor Limited
2004 ENGINE Engine - Endeavor
Page 1615 of 3870
Fig. 95: Removing Setting Pin That Has Been Inserted Into Auto
-
Tensioner
Courtesy of MITSUBISHI MOTOR SALES OF AMERICA.
8. Turn the crankshaft clockwise twice to align the timing marks.
9. Wait for at least five minutes, then check that the auto-tensioner pushrod
extends within the standard value range.
Standard value (A): 4.8 - 6.0 mm (0.19 - 0.24 inch)
2004 Mitsubishi Endeavor Limited
2004 ENGINE Engine - Endeavor
Page 1644 of 3870

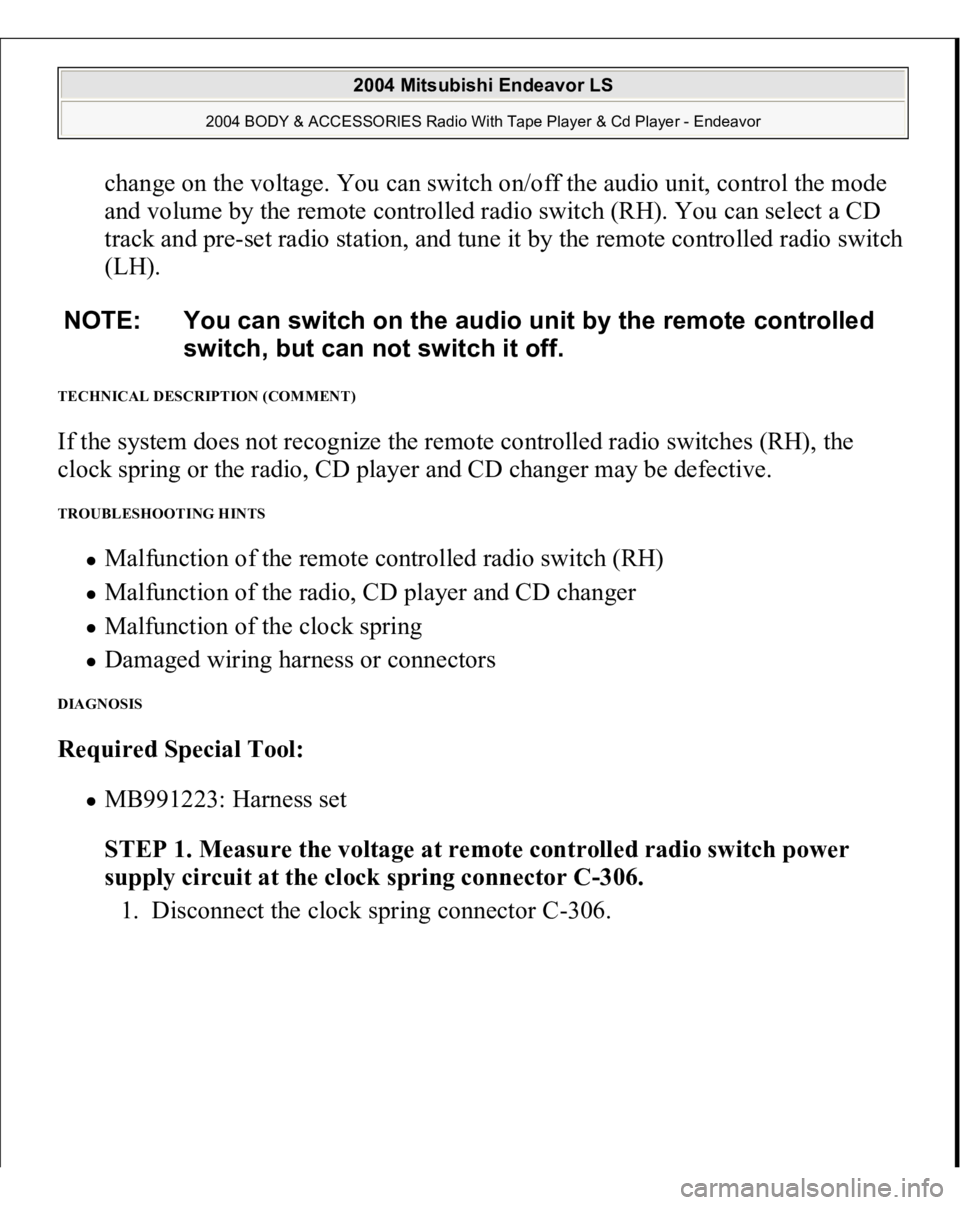
change on the voltage. You can switch on/off the audio unit, control the mode
and volume by the remote controlled radio switch (RH). You can select a CD
track and pre-set radio station, and tune it by the remote controlled radio switch
(LH).
TECHNICAL DESCRIPTION (COMMENT) If the system does not recognize the remote controlled radio switches (RH), the
clock spring or the radio, CD player and CD changer may be defective. TROUBLESHOOTING HINTS
Malfunction of the remote controlled radio switch (RH) Malfunction of the radio, CD player and CD changer Malfunction of the clock spring Damaged wiring harness or connectors
DIAGNOSIS Required Special Tool:
MB991223: Harness set
STEP 1. Measure the voltage at remote controlled radio switch power
supply circuit at the clock spring connector C-306.
1. Disconnect the clock s
prin
g connector
C-306.
NOTE: You can switch on the audio unit by the remote controlled
switch, but can not switch it off.
2004 Mitsubishi Endeavor LS
2004 BODY & ACCESSORIES Radio With Tape Player & Cd Player - Endeavor