Page 49 of 208

Adjustments
48
Head restraints Adjustment information
Head restraints can reduce the risk of
spinal injury in the event of an acci-
dent.
Adjust the head restraints so that they are
centered roughly at the level of your ears.<
Electric power seat, comfort seat
Height adjustment The head restraint automatically adjusts to
the standard height for the seat's current
forward/backward adjustment.
You can then adjust the height of the
head restraint by hand or using the
electric switch as required.<
To adjust head restraint tilt angle: adjust by
tilting the head restraint. To adjust side extensionsYou can fold the side extensions on the
head restraint forward for increased lateral
support.
Front head restraints, active*
When necessary, the system will respond
to a rear impact by automatically triggering
the active head restraints.
To ensure that the active head
restraints afford maximum protection,
and to avoid unnecessary risks to personal
safety, we request that you read and
comply with the following.
>Adjust the head restraints so that they
are centered at roughly ear height
>Do not install seat or head-restraint
covers
>Never use the head restraints as
supports for suspending objects of any
kind, such as clothes hangers. Refrain from
mounting accessories on either the seat or
the head restraint.
Manual adjustment>To raise: pull
>To lower: press the button, arrow 1, and
push down the head restraint.
To remove head restraints, refer to
page 49. Adjusting the center head restraint
If the head restraint has been
lowered, pull it back up, continuing
until the detent engages, before allowing a
passenger to ride in the rear center posi-
tion. Failure to observe this precaution can
reduce the level of occupant protection.<
Page 50 of 208

At a glanceControlsDriving tipsCommunicationsNavigationEntertainmentMobilityReference
49
Electrical adjustment*
The head restraints at the outside
seating positions extend automati-
cally whenever the system detects a
passenger on the seat.<
To prevent possible personal injury
and property damage, always ensure
that the area above the head restraints is
clear and unobstructed before extending
them upward.<
Manual head restraint removal and
installation
Removal1.Pull the head restraint upward to the
stop
2.Press the button, arrow 1, and remove
the head restraint. Installation1.Press the button, arrow 1, and slide the
head restraint into its support
2.Adjust the head restraint for your
personal comfort.
Comfort seat in rear*
Height adjustment If necessary, adjust the head restraint's
height to ensure that it is centered at
roughly the height of the passenger's ears.
The head restraints at the outside
seating positions extend automati-
cally whenever the system detects a
passenger on the seat. You can then adjust
the head restraint's height manually, if
necessary.<
To prevent possible personal injury
and property damage, always ensure
that the area above the head restraints is
clear and unobstructed before extending
them upward.< To adjust side extensionsYou can fold the side extensions on the
head restraint forward to increase lateral
support.
Page 51 of 208

Adjustments
50
Safety beltsDespite the presence of airbags, you
should always remember to fasten your
safety belt before starting off; airbags are
intended to enhance the protection
provided by the safety belts, and not to
replace them. To fastenMake sure you hear the latch plate engage
in the belt buckle.
Warning lamp: Please fasten safety
belts. Accompanied by a signal
and/or a message in the Check
Control display. Remains on until the safety
belts are fastened. To releasePress the red button in the buckle. Hold the
belt and guide it back into its reel.
The shoulder strap's anchorage point will
be in the correct position for seat occu-
pants of every build if the seat is correctly
adjusted, refer to page 45.
The two rear safety belt buckles integrated
in the rear seat are for passengers sitting
on the left and right. The belt buckle embossed with the word CENTER is
intended exclusively for use by passengers
riding in the center position.
Please remember to observe the instruc-
tions for seat adjustment found on
page 45.
If the safety belts are damaged or
stretched in an accident: have the
entire belt system, including the tensioning
mechanisms and any installed child-
restraint systems, replaced at your BMW
center. Have the belt anchorage points
inspected for damage at the same time.
Failure to observe this precaution may
prevent the safety belts from effectively
providing optimal protection when
needed.<
Rear seats
When the rear center position is not
occupied, the latch on the safety belt
can be inserted in the slot between the
seat's upholstery and the backrest.<
Heated seats*Front The system regulates the temperatures of
the seat cushion and backrest.
The temperature setting progresses one
step through its control sequence each
time you press the button.
To switch off :
Maintain pressure on the button for several
seconds.
Page 52 of 208

At a glanceControlsDriving tipsCommunicationsNavigationEntertainmentMobilityReference
51
Rear The operating concept is the same as for
the front seat heaters. Front temperature distribution It is possible to select a temperature-distri-
bution pattern providing different levels of
heating for the seat cushion and the back-
rest, for instance, to adapt for different
clothing on the legs and upper body.
1.Select "Climate" menu
2.Select and confirm your selection
3.Select "Seat temp." and confirm
4.Select "Left" or "Right" and confirm
5.Turn to adjust temperature distribution
6.Press to confirm your entry.
The system automatically selects
your individual temperature distribu-
tion settings each time you unlock the
vehicle using your personal remote-control
unit.<
Active seat ventilation* FrontThe system progresses one step through
the control sequence each time you press
the button.
To switch off:
Maintain pressure on the button for several
seconds.
Use level 3 to cool the passenger
compartment rapidly, for instance,
when heat accumulates in the vehicle while
it is parked. The system automatically
reverts to operation at level 2 after a brief
period.< RearThe operating concept is the same as that
for the front seat ventilation.
Page 53 of 208

Adjustments
52
Active seat* "Active" adjustment of the seat cushion's
contours reduces muscular tension and
fatigue to help prevent lower back pain.
To activate: press the button, the indicator
lamp comes on. MirrorAdjusting exterior mirrors 14-way adjustment
2To select mirror for adjustment
To prevent the exterior mirrors on this
vehicle from being damaged, always
fold them in by hand before entering an
automatic car wash.<
You can also adjust the mirrors manually by
pressing against the outer edges of their
lenses.
Storing the mirror positions, refer to seat,
mirror and steering wheel memory on
page 54.
The mirror on the passenger's side
features a lens with a more convex
surface than the mirror installed on the
driver's side. When estimating the distance between yourself and other traffic, bear in
mind that the objects reflected in the mirror
are closer than they appear. This means
that estimations of the distance to following
traffic should not be regarded as precise.<
Self-defrosting mirrors The mirrors are automatically heated
whenever the ignition is switched on. Interior and exterior mirrors,
automatic dimming feature*
These mirrors automatically respond to
ambient light and headlamp glare from
following vehicles by automatically
dimming through an infinitely-variable
range. There are two photocells located in
the interior rearview mirror for this purpose.
One is integrated within the mirror's lens
(arrow), while the other is located at an
offset position on the rear of the mirror
housing.
The mirrors automatically revert to their
clear, undimmed mode whenever you
place the selector lever into reverse.
For trouble-free operation, keep the
photocells clean and do not cover the
area between the interior rearview mirror
and the windshield. Do not attach any kind
of stickers on the windshield in front of the
mirror, either.<
Page 54 of 208

At a glanceControlsDriving tipsCommunicationsNavigationEntertainmentMobilityReference
53
Lighted vanity mirror
In rear 1.Press button 1. The vanity mirror folds
down
2.Pull the mirror down slightly before
proceeding to turn it or tilt it into the
desired position
3.Press the vanity mirror back up before
folding it back in.
The mirror is illuminated from the radio
mode on. Steering wheel adjustment The steering wheel can be adjusted in any
of four directions by pressing the appro-
priate end of the button.
Do not adjust the steering wheel while
the vehicle is moving. There is a risk
of accident from unexpected movement.<
Storing steering wheel positions, refer to
Seat, mirror and steering wheel memory on
page 54.
Automatic steering wheel
adjustment The steering wheel automatically moves as
high up and far forward as possible to ease
driver entry and exit before then returning
to the standard position or stored memory
setting.
This automatic feature is governed by the
door and the ignition switch. Heated steering wheel*
The steering wheel's heater operates when
the ignition is on.
Press the button to activate or deactivate
this system.
The indicator lamp within the button lights
up when the steering wheel heater is in
operation.Programming button function
You can assign specific individual
functions to the programmable
button. This feature then provides
you with quick access to this function,
allowing you to control it without undue
distraction from road and traffic conditions.
1.Select "Settings" menu
2.Confirm your selection
Page 55 of 208

Adjustments
54 3.Select "MFL." Continue to press the
controller until the desired function
appears:
>"Recirc. air"
In this mode the supply of outside air
remains blocked, refer to AUC Automatic
recirculated-air control on page 101
>"Navi info"
To repeat the most recent message from
the navigation system, refer to page 133
>"AUTO P"
To activate/deactivate Automatic Hold
refer to Automatic Hold on page 63.
You can select the displayed function using
button 1 in the steering wheel.
If you have activated the Automatic
hold feature, refer to page 63, you
can use button 1 to deactivate the system
for parking maneuvers, etc.<
Seat, mirror and steering
wheel memory You can store two and select two different
adjustment settings for the driver's seat,
exterior mirrors and steering wheel.
The adjustment of the lumbar support is not
stored in the memory. To store 1.Radio mode, or switch on ignition
2.Settings for the preferred seat, exterior
mirror and steering wheel positions
3.Press
M
EMORY button:
The indicator lamp within the button comes
on 4.Press the desired memory button, 1
or 2:
The indicator lamp goes out.
To select a stored setting
Convenience mode1.Driver's door opened after unlocking, or
power supply in position 1
2.Briefly press the desired memory
button, 1 or 2.
The system immediately cancels the
adjustment procedure when you press one
of the seat adjustment buttons or use one
of the memory buttons. Safety feature1.Driver's door closed and power supply
either in position 0 or 2
2.Press memory button 1 or 2 and main-
tain pressure until the adjustment process
has been completed.
If you press the
M
EMORY button acciden-
tally:
Press the button again; the indicator lamp
goes out.
Do not call up a position from the
memory while the vehicle is moving.
There is a risk of accident from unexpected
movement of the seat or steering wheel.<
You can have your vehicle
programmed to automatically dial in
your own individual adjustment settings for
the seat, mirrors and steering wheel when-
ever you use your personal remote control
unit to unlock the vehicle.<
When using the Key Memory feature
always make sure that the footwell
behind the driver's seat is empty and unob-
structed. If you fail to do so, any persons or
objects behind the seat could be injured or
damaged by a rearward movement of the
seat.<
Passenger-side exterior mirror tilt
function Automatic curb monitor
Page 56 of 208

At a glanceControlsDriving tipsCommunicationsNavigationEntertainmentMobilityReference
55
1.Select the driver's door mirror with the
switch
2.When you tap the selector lever to select
reverse, the door mirror on the passenger
side tilts downward. This allows the driver
to see the area immediately adjacent to the
vehicle Ð such as a curb Ð when parking,
etc.
You can deactivate this automatic feature:
Slide the mirror selection switch to the
"passenger's side" position.
Airbags 1Front airbags for driver and front
passenger
2Head airbags in front and rear
*
3Side airbags in front and rear*
4Knee airbags for driver and front
passenger
Airbags are located under the upholstery
covers on the steering wheel, in the instru-
ment panel, in the door trim panels in front
and rear
*, on the roof pillars and the sides
of the headliner.
Protective effect The front airbags protect the front passen-
gers by responding to frontal impacts in
which safety belts alone cannot provide
adequate restraint. When needed, the head
and side airbags help provide protection in
the event of side impact. The side airbags
help restrain the side of the occupant's
upper torso, and the head airbags help
support the head while also helping
provide protection against any objects
penetrating into the passenger compart-ment. The knee airbags help protect the
legs against impact against the cockpit.
The side airbags in the rear
passenger area of your vehicle may
already have been deactivated either at the
time of manufacture or by a BMW center.
You may have them activated if you desire
to do so. Please contact your BMW center
for additional information.<
For information on the proper sitting posi-
tion, refer to page 45.
The airbags do not deploy in
response to minor collisions or rear
impacts, nor do they respond to certain
kinds of vehicle rollover.<
Even when all safety guidelines are
observed, there is a small residual risk that
passengers will sustain facial, hand or arm
injuries in isolated instances. The ignition
and inflation noise may provoke a mild
temporary hearing loss in extremely sensi-
tive individuals.
 1
1 2
2 3
3 4
4 5
5 6
6 7
7 8
8 9
9 10
10 11
11 12
12 13
13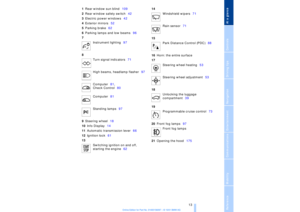 14
14 15
15 16
16 17
17 18
18 19
19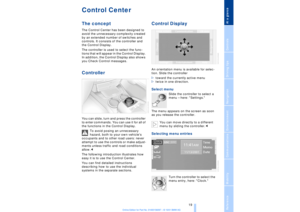 20
20 21
21 22
22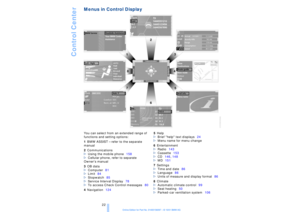 23
23 24
24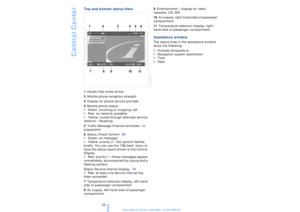 25
25 26
26 27
27 28
28 29
29 30
30 31
31 32
32 33
33 34
34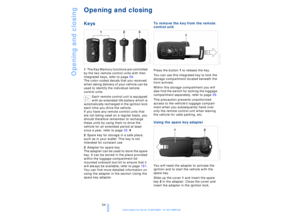 35
35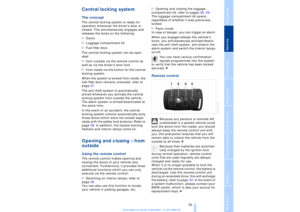 36
36 37
37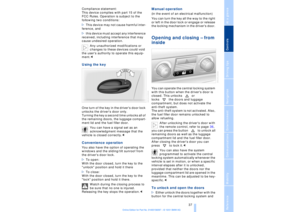 38
38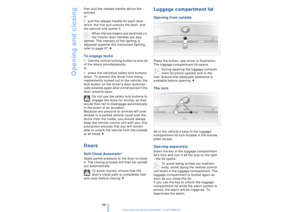 39
39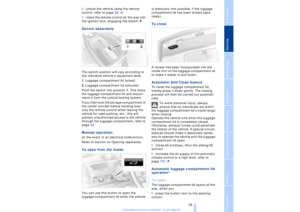 40
40 41
41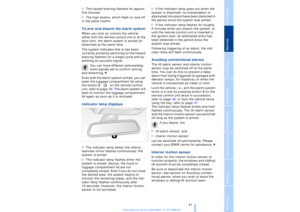 42
42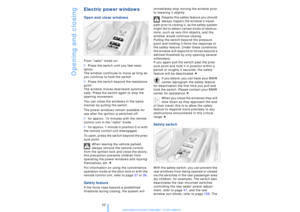 43
43 44
44 45
45 46
46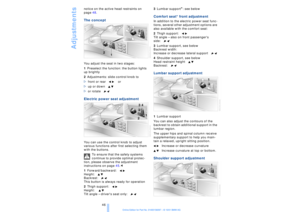 47
47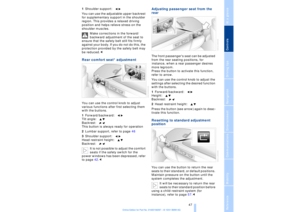 48
48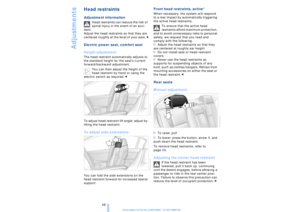 49
49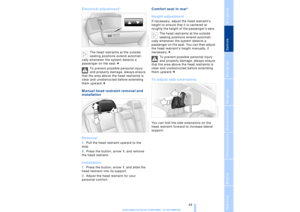 50
50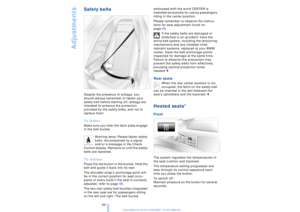 51
51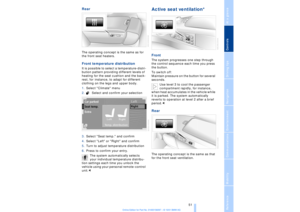 52
52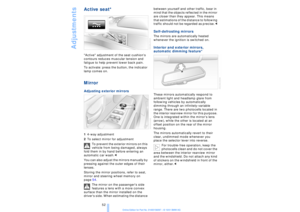 53
53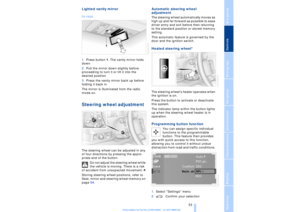 54
54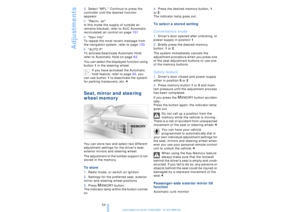 55
55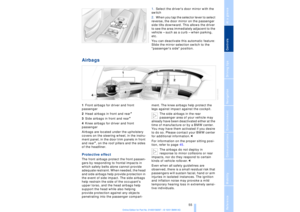 56
56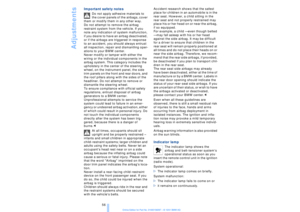 57
57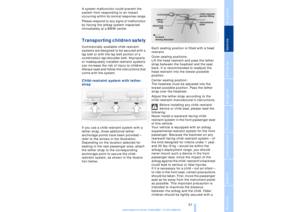 58
58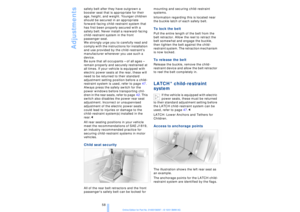 59
59 60
60 61
61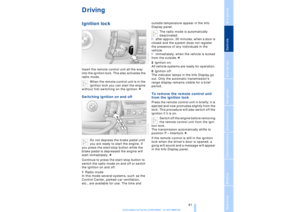 62
62 63
63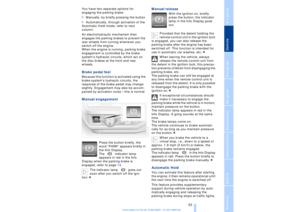 64
64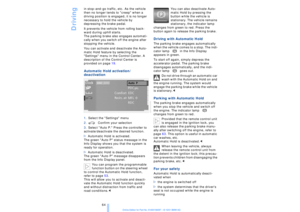 65
65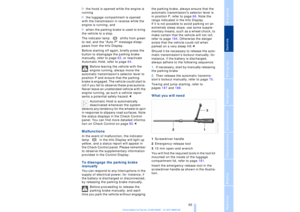 66
66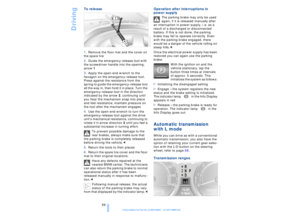 67
67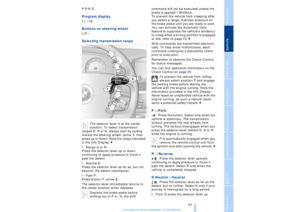 68
68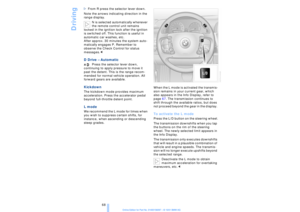 69
69 70
70 71
71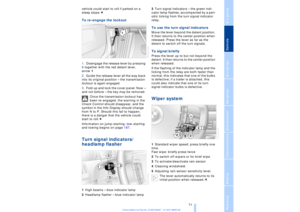 72
72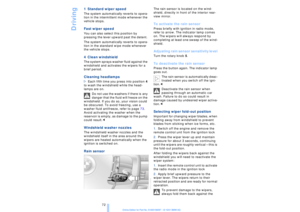 73
73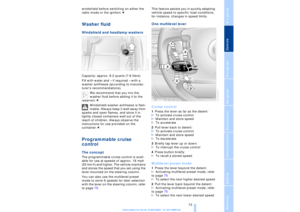 74
74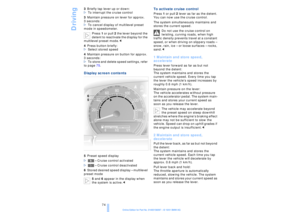 75
75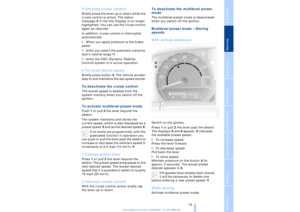 76
76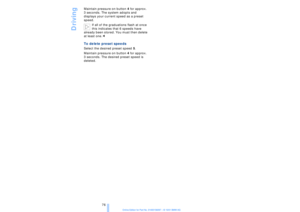 77
77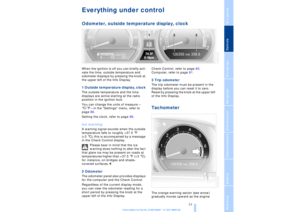 78
78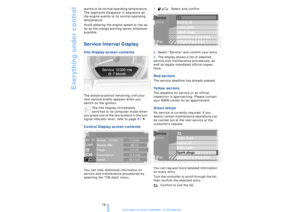 79
79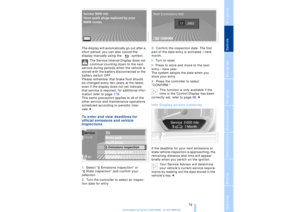 80
80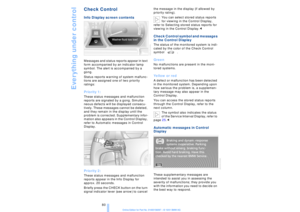 81
81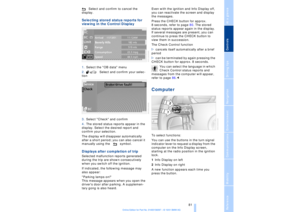 82
82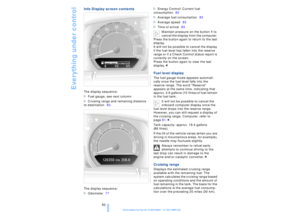 83
83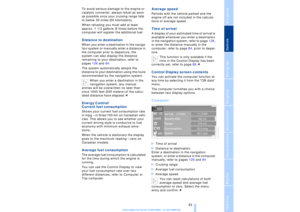 84
84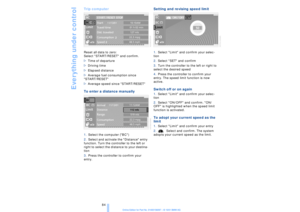 85
85 86
86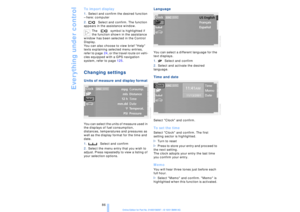 87
87 88
88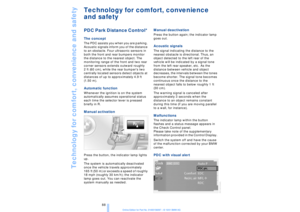 89
89 90
90 91
91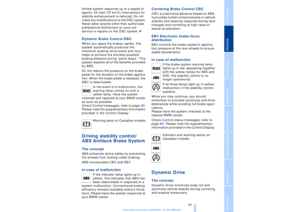 92
92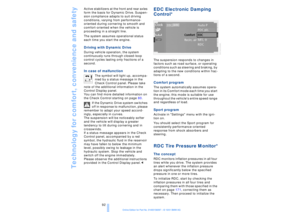 93
93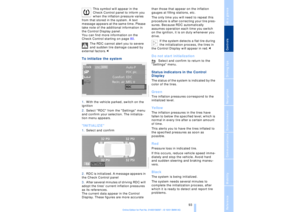 94
94 95
95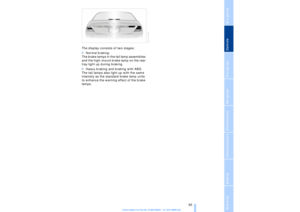 96
96 97
97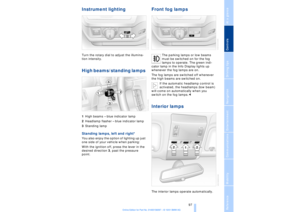 98
98 99
99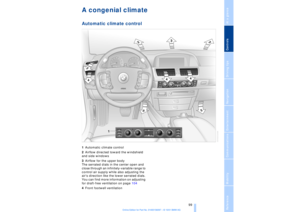 100
100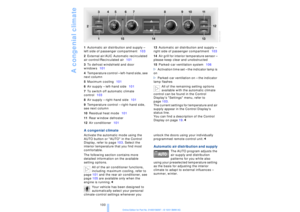 101
101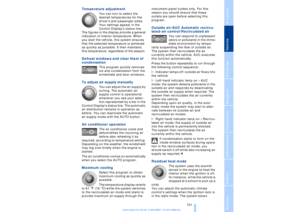 102
102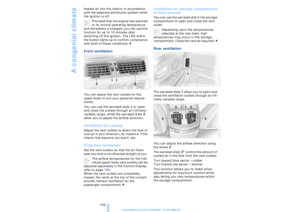 103
103 104
104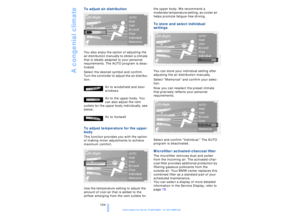 105
105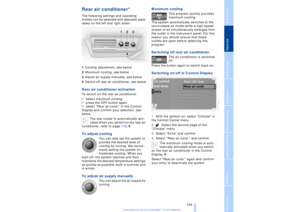 106
106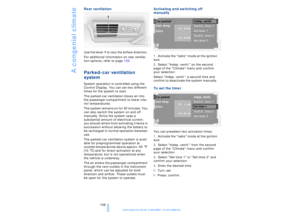 107
107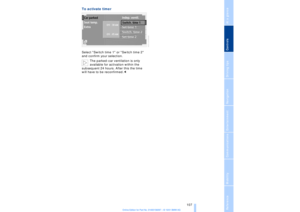 108
108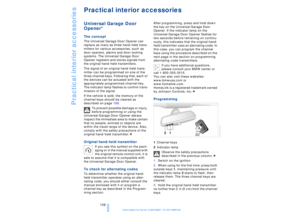 109
109 110
110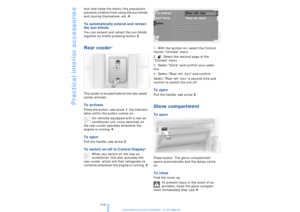 111
111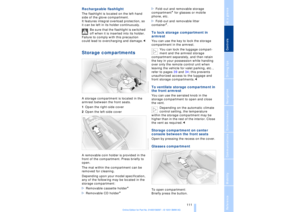 112
112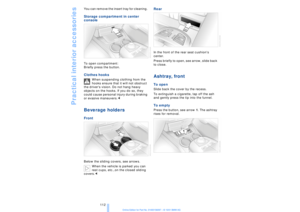 113
113 114
114 115
115 116
116 117
117 118
118 119
119 120
120 121
121 122
122 123
123 124
124 125
125 126
126 127
127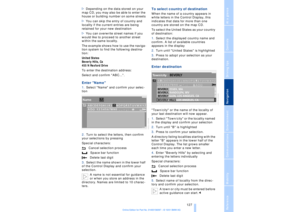 128
128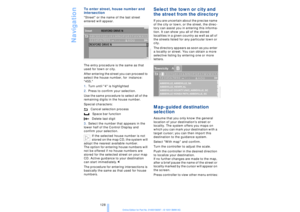 129
129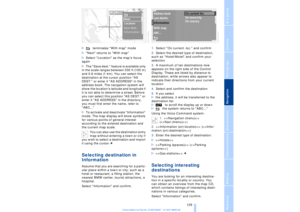 130
130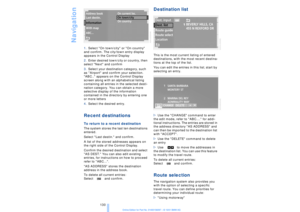 131
131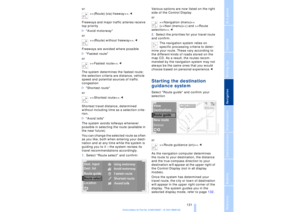 132
132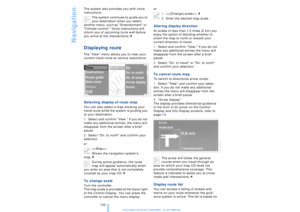 133
133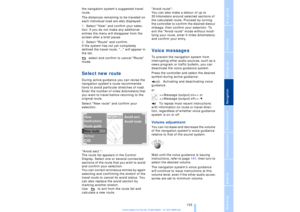 134
134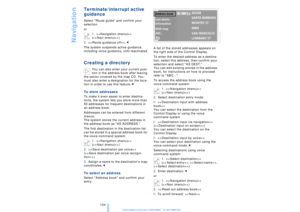 135
135 136
136 137
137 138
138 139
139 140
140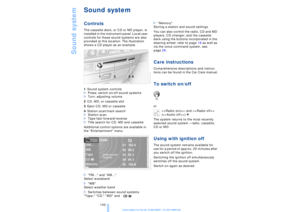 141
141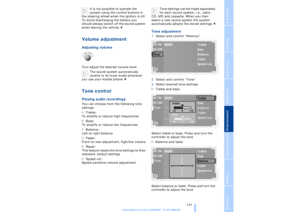 142
142 143
143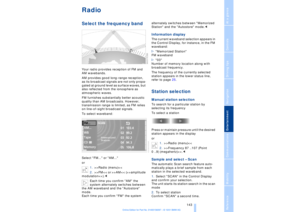 144
144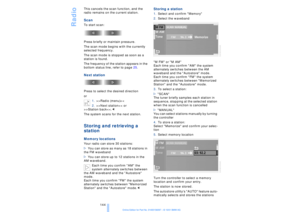 145
145 146
146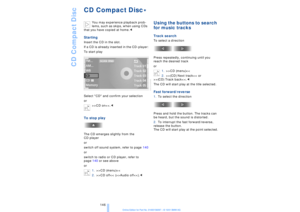 147
147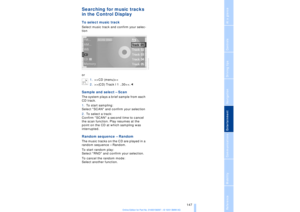 148
148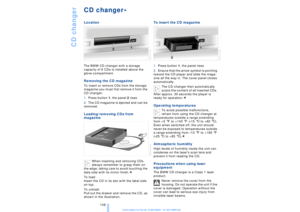 149
149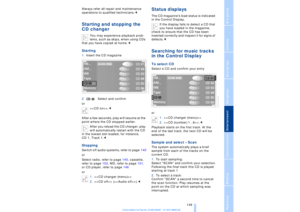 150
150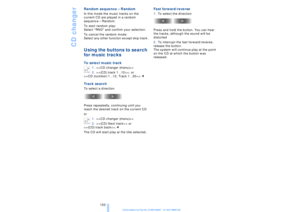 151
151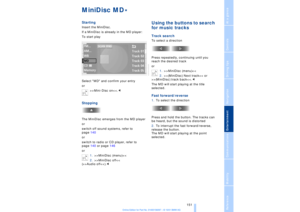 152
152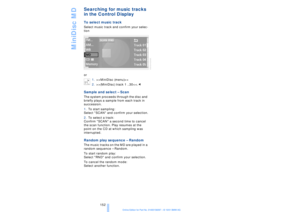 153
153 154
154 155
155 156
156 157
157 158
158 159
159 160
160 161
161 162
162 163
163 164
164 165
165 166
166 167
167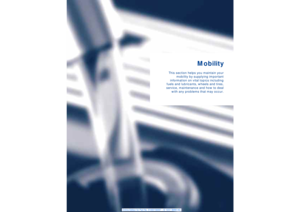 168
168 169
169 170
170 171
171 172
172 173
173 174
174 175
175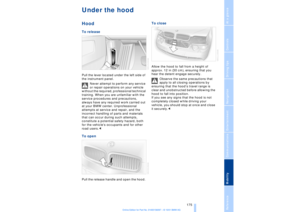 176
176 177
177 178
178 179
179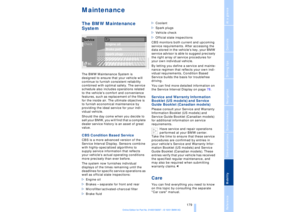 180
180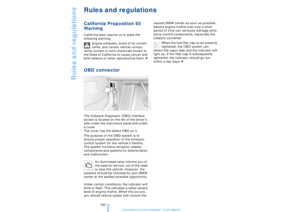 181
181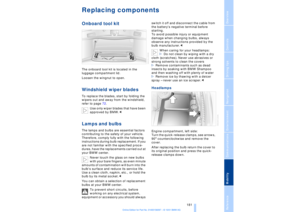 182
182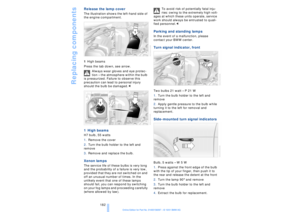 183
183 184
184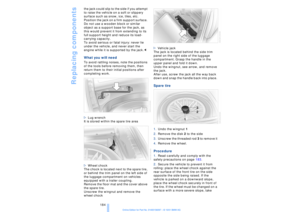 185
185 186
186 187
187 188
188 189
189 190
190 191
191 192
192 193
193 194
194 195
195 196
196 197
197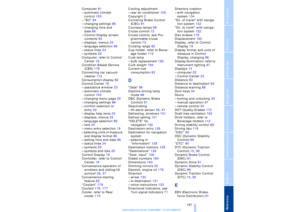 198
198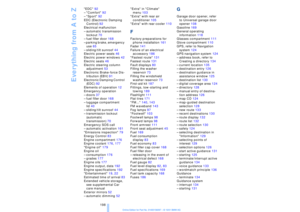 199
199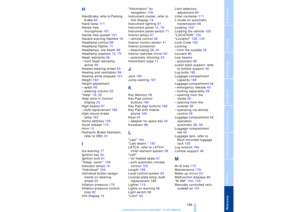 200
200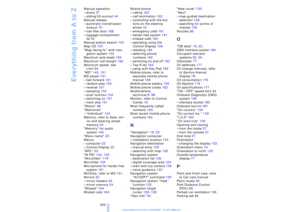 201
201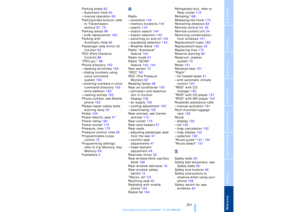 202
202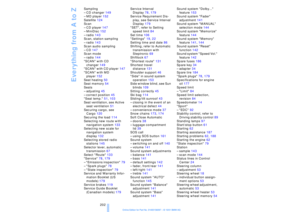 203
203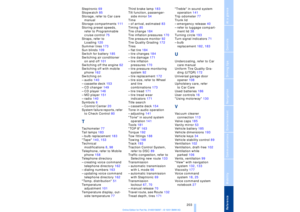 204
204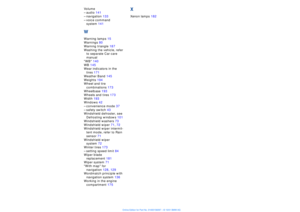 205
205 206
206 207
207