2002 BMW 745LI SEDAN check engine light
[x] Cancel search: check engine lightPage 14 of 208

At a glanceControlsDriving tipsCommunicationsNavigationEntertainmentMobilityReference
13
1
Rear window sun blind109
2
Rear window safety switch42
3
Electric power windows42
4
Exterior mirrors52
5
Parking brake62
6
Parking lamps and low beams96
7
Instrument lighting97
8
Turn signal indicators71
High beams, headlamp flasher97
Computer81,
Check Control80
Computer81
Standing lamps97
9
Steering wheel18
10
Info Display14
11
Automatic transmission lever66
12
Ignition lock61
13
Switching ignition on and off,
starting the engine62
14
Windshield wipers71
Rain sensor71
15
Park Distance Control (PDC)88
16
Horn: the entire surface
17
Steering wheel heating53
Steering wheel adjustment53
18
Unlocking the luggage
compartment39
19
Programmable cruise control73
20
Front fog lamps97
Front fog lamps
21
Opening the hood175
Page 16 of 208
At a glanceControlsDriving tipsCommunicationsNavigationEntertainmentMobilityReference
15
Indicator and warning lamps
Technology that monitors itself
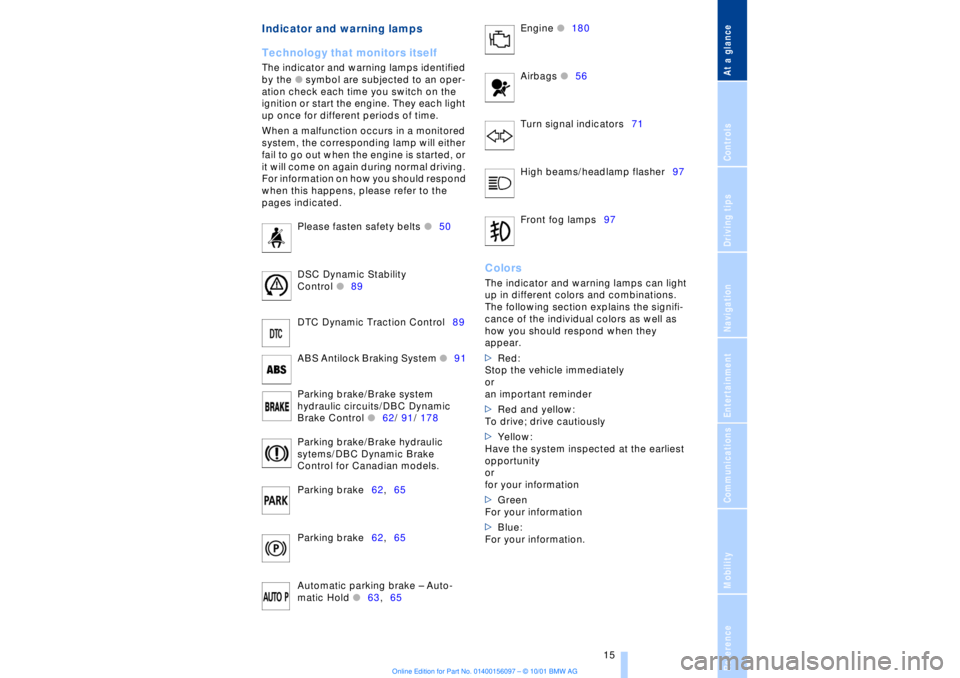
The indicator and warning lamps identified
by the
l
symbol are subjected to an oper-
ation check each time you switch on the
ignition or start the engine. They each light
up once for different periods of time.
When a malfunction occurs in a monitored
system, the corresponding lamp will either
fail to go out when the engine is started, or
it will come on again during normal driving.
For information on how you should respond
when this happens, please refer to the
pages indicated.
Please fasten safety belts
l
50
DSC Dynamic Stability
Control
l
89
DTC Dynamic Traction Control89
ABS Antilock Braking System
l
91
Parking brake/Brake system
hydraulic circuits/DBC Dynamic
Brake Control
l
62/ 91/ 178
Parking brake/Brake hydraulic
sytems/DBC Dynamic Brake
Control for Canadian models.
Parking brake62,65
Parking brake62,65
Automatic parking brake Ð Auto-
matic Hold
l
63,65 Engine
l
180
Airbags
l56
Turn signal indicators71
High beams/headlamp flasher97
Front fog lamps97
ColorsThe indicator and warning lamps can light
up in different colors and combinations.
The following section explains the signifi-
cance of the individual colors as well as
how you should respond when they
appear.
>Red:
Stop the vehicle immediately
or
an important reminder
>Red and yellow:
To drive; drive cautiously
>Yellow:
Have the system inspected at the earliest
opportunity
or
for your information
>Green
For your information
>Blue:
For your information.
Page 66 of 208
At a glanceControlsDriving tipsCommunicationsNavigationEntertainmentMobilityReference
65
>the hood is opened while the engine is
running
>the luggage compartment is opened
with the transmission in reverse while the
engine is running, and
>when the parking brake is used to bring
the vehicle to a stop.
The indicator lamp shifts from green
to red, and the "Auto P" message disap-
pears from the Info Display.
Before starting off again, briefly press the
button to disengage the parking brake
manually, refer to page 63, or reactivate
Automatic Hold, refer to page 64.
Before leaving the vehicle with the
engine running, always move the
automatic transmission's selector lever to
position P and ensure that the parking
brake is engaged. The vehicle could start to
roll if you fail to observe these precautions.
Never leave an unattended vehicle with the
engine running, as such a vehicle repre-
sents a potential safety hazard.<
Automatic Hold is automatically
deactivated whenever the system
detects any tendency for the wheels to spin
in response to slippery road surfaces. Note
the status displays in the Check Control
panel. You can find more detailed informa-
tion on Check Control on page 80.< Malfunctions In the event of malfunction, the indicator
lamp in the Info Display will light up
yellow, and a status report will appear in
the Check Control panel. Please remember
to observe the supplementary information
provided in the Control Display. To disengage the parking brake
manually You can respond to any interruptions in the
supply of electrical power, for instance, if
the battery is discharged or disconnected,
by releasing the parking brake manually.
Before proceeding to release the
parking brake manually, and each
time you park the vehicle without engaging the parking brake, always ensure that the
automatic transmission's selector lever is
in position P, refer to page 66. Note the
range indicated in the Info Display.
If it is not possible to avoid parking on an
extremely steep slope, use some supple-
mentary means, such as a wheel chock, to
make certain that the vehicle will not roll,
refer to page 184. Otherwise the danger
exists that the vehicle could roll when
parked on a very steep hill.<
Should it be necessary to release the auto-
matic transmission's lockout manually, for
instance, if the battery is discharged,
always adhere to the following sequence:
1.If necessary, start by manually releasing
the parking brake
2.Then release the automatic transmis-
sion's lockout manually, refer to page 70.
Towing and jump-starting, refer to
pages 187 and 188.
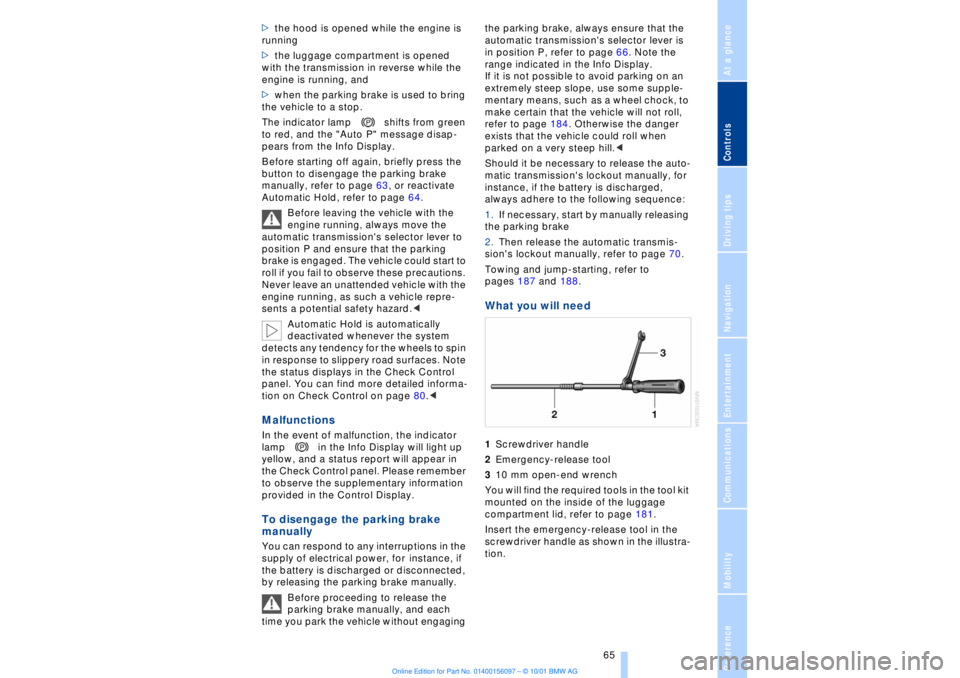
What you will need 1Screwdriver handle
2Emergency-release tool
310 mm open-end wrench
You will find the required tools in the tool kit
mounted on the inside of the luggage
compartment lid, refer to page 181.
Insert the emergency-release tool in the
screwdriver handle as shown in the illustra-
tion.
Page 83 of 208
Everything under control
82
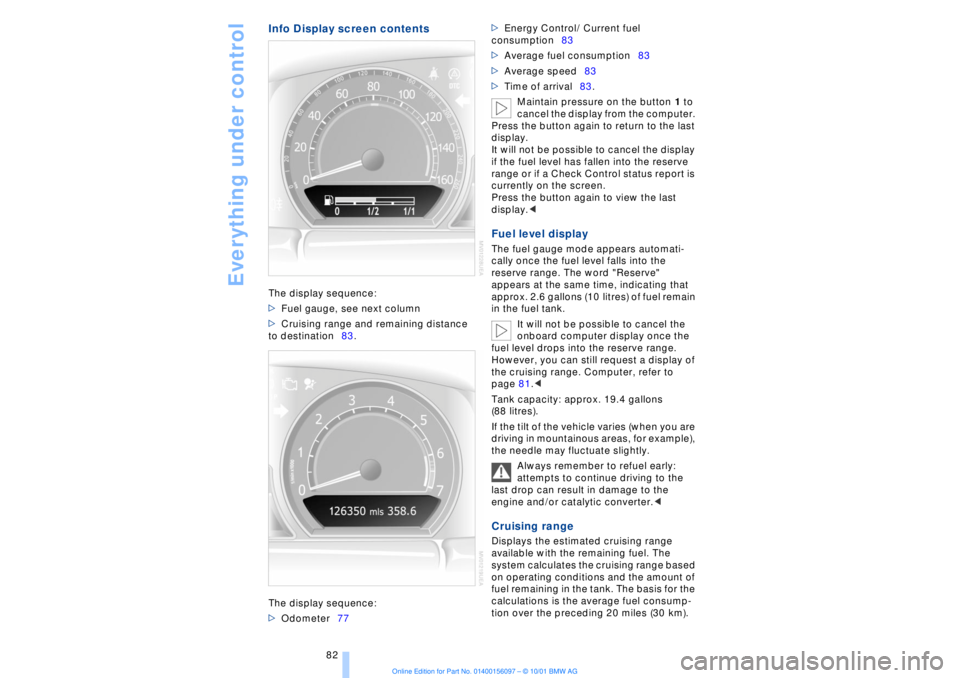
Info Display screen contentsThe display sequence:
>Fuel gauge, see next column
>Cruising range and remaining distance
to destination83.
The display sequence:
>Odometer77 >Energy Control/ Current fuel
consumption83
>Average fuel consumption83
>Average speed83
>Time of arrival83.
Maintain pressure on the button 1 to
cancel the display from the computer.
Press the button again to return to the last
display.
It will not be possible to cancel the display
if the fuel level has fallen into the reserve
range or if a Check Control status report is
currently on the screen.
Press the button again to view the last
display.<
Fuel level display The fuel gauge mode appears automati-
cally once the fuel level falls into the
reserve range. The word "Reserve"
appears at the same time, indicating that
approx. 2.6 gallons (10 litres) of fuel remain
in the fuel tank.
It will not be possible to cancel the
onboard computer display once the
fuel level drops into the reserve range.
However, you can still request a display of
the cruising range. Computer, refer to
page 81.<
Tank capacity: approx. 19.4 gallons
(88 litres).
If the tilt of the vehicle varies (when you are
driving in mountainous areas, for example),
the needle may fluctuate slightly.
Always remember to refuel early:
attempts to continue driving to the
last drop can result in damage to the
engine and/or catalytic converter.< Cruising range Displays the estimated cruising range
available with the remaining fuel. The
system calculates the cruising range based
on operating conditions and the amount of
fuel remaining in the tank. The basis for the
calculations is the average fuel consump-
tion over the preceding 20 miles (30 km).
Page 93 of 208
Technology for comfort, convenience and safety
92 Active stabilizers at the front and rear axles
form the basis for Dynamic Drive. Suspen-
sion compliance adapts to suit driving
conditions, varying from performance-
oriented during cornering to smooth and
comfort-oriented when the vehicle is
proceeding in a straight line.
The system assumes operational status
each time you start the engine.
Driving with Dynamic Drive During vehicle operation, the system
continuously runs through closed-loop
control cycles lasting only fractions of a
second. In case of malfunction
The symbol will light up, accompa-
nied by a status message in the
Check Control panel. Please take
note of the additional information in the
Control Display panel.
You can find more detailed information on
the Check Control starting on page 80.
If the Dynamic Drive system switches
off in response to malfunction, please
remember to adapt your speed accord-
ingly, especially in curves.
The suspension will be noticeably softer
and the vehicle will display a greater
tendency to tilt during cornering and in
crosswinds.
If a status message appears in the Check
Control panel, accompanied by a red
symbol, the hydraulic fluid in the reservoir
may have fallen to below the minimum
level, possibly owing to leakage in the
hydraulic system. Stop the vehicle and
switch off the engine immediately.
Please observe the additional instructions
provided in the Control Display panel.<
EDC Electronic Damping
Control*
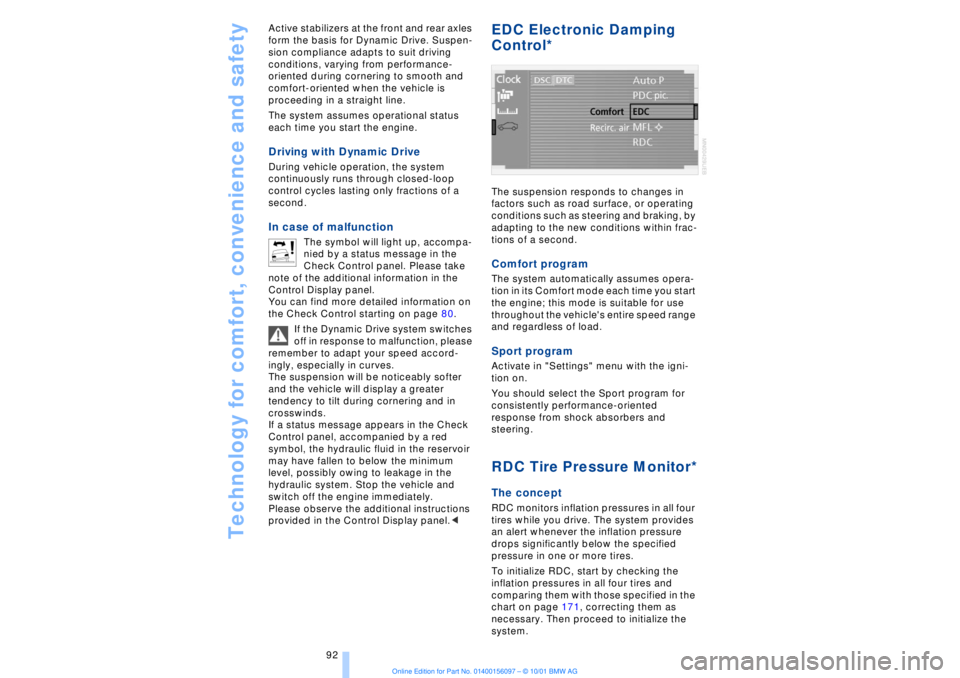
The suspension responds to changes in
factors such as road surface, or operating
conditions such as steering and braking, by
adapting to the new conditions within frac-
tions of a second.Comfort program The system automatically assumes opera-
tion in its Comfort mode each time you start
the engine; this mode is suitable for use
throughout the vehicle's entire speed range
and regardless of load. Sport programActivate in "Settings" menu with the igni-
tion on.
You should select the Sport program for
consistently performance-oriented
response from shock absorbers and
steering. RDC Tire Pressure Monitor*The conceptRDC monitors inflation pressures in all four
tires while you drive. The system provides
an alert whenever the inflation pressure
drops significantly below the specified
pressure in one or more tires.
To initialize RDC, start by checking the
inflation pressures in all four tires and
comparing them with those specified in the
chart on page 171, correcting them as
necessary. Then proceed to initialize the
system.
Page 120 of 208
At a glanceControlsDriving tipsCommunicationsNavigationEntertainmentMobilityReference
119
Brake system Braking with ABS The best way to achieve optimal response
from the ABS is to apply maximum pres-
sure to the brake pedal during emergencyÐ
panic stops. Since the vehicle maintains
steering responsiveness, you can never-
theless avoid possible obstacles with a
minimum of steering effort.
Pulsation at the brake pedal combines with
sounds from the hydraulic circuits to indi-
cate to the driver that ABS is in its active
mode.
Do not drive with your foot resting on
the brake pedal. Even light but
consistent pedal pressure can lead to high
temperatures, brake wear and possibly
even brake failure.< Disc brakes
Driving in wet conditions While driving in wet conditions and in
heavy rain, it is a good idea to apply light
pressure to the brake pedal every few
miles. Monitor traffic conditions to ensure
that this maneuver does not endanger
other road users. The heat generated in this
process helps dry the pads and rotors to
ensure that full braking efficiency will then
be available when you need it. Hills You can retain full and unimpaired braking
efficiency by downshifting to a gear in
which only minimal brake applications are
needed when descending long or steep
downhill stretches.
You can further enhance the engine's
braking effect by selecting a lower gear in
the automatic transmission's manual
mode, downshifting as far as first gear on
extremely steep stretches, refer to
page 68. This strategy helps you avoid
placing excessive loads on the brake
system.
Corrosion When the vehicle is driven only occasion-
ally, during extended periods when the
vehicle is not used at all, and in operating
conditions where brake applications are
less frequent, there is an increased
tendency for corrosion to form on rotors,
while contaminants accumulate on the
brake pads. This occurs because the
minimal pressure which must be exerted by
the pads during brake applications to clean
the rotors is not reached.
Should corrosion form on the brake rotors,
the brakes will tend to respond with a
pulsating effect that even extended appli-
cation will fail to cure.
Never allow the vehicle to coast with
the transmission in neutral Ð or with
the engine switched off; there is no engine
braking when the transmission is in neutral,
and no power-assist for brakes and
steering when the engine is not running.
Never allow floor mats, carpets or any other
objects to protrude into the area around the
accelerator and brake pedals and obstruct
their movement.< Brake pads
If the brake pad wear indicator lamp
appears in the Check Control,
accompanied by a text: please take
careful note of the additional information in
the Control Display panel.
Warning lamp for Canadian models.
The brake pads have reached their
minimum pad thickness. Have them
replaced at your BMW center as soon as
possible.
For your own safety: use only brake
pads that BMW has released for your
particular vehicle model. Because BMW
cannot assess the suitability of other brake
pads for use on your vehicle, we are unable
to assume continued responsibility for the
vehicle's operating safety if non-approved
pads are installed.<
Page 179 of 208
Under the hood
178
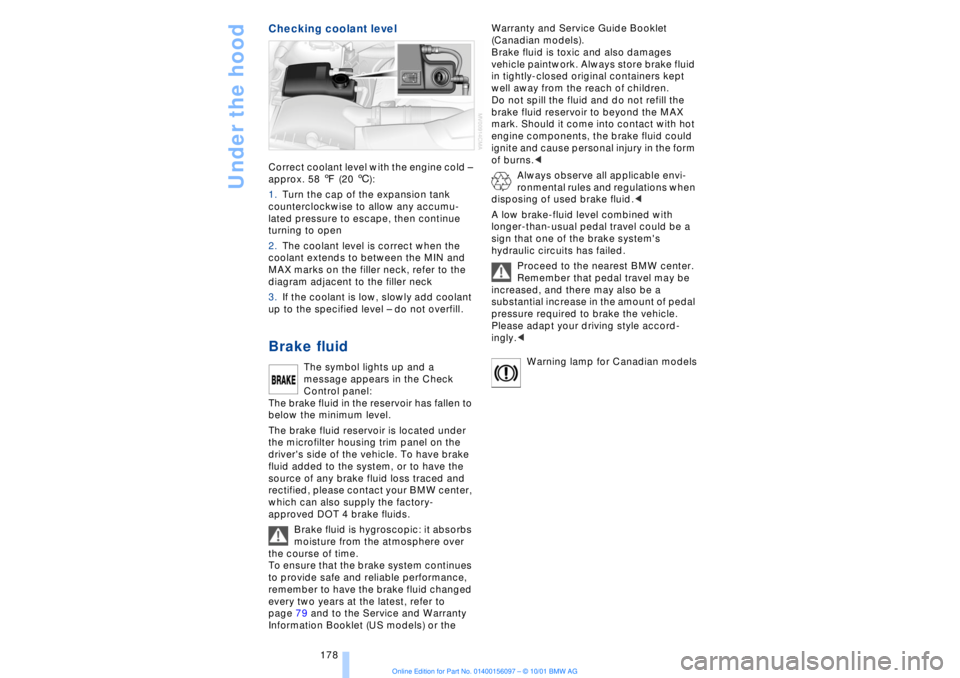
Checking coolant level Correct coolant level with the engine cold Ð
approx. 58 7 (20 6):
1.Turn the cap of the expansion tank
counterclockwise to allow any accumu-
lated pressure to escape, then continue
turning to open
2.The coolant level is correct when the
coolant extends to between the MIN and
MAX marks on the filler neck, refer to the
diagram adjacent to the filler neck
3.If the coolant is low, slowly add coolant
up to the specified level Ð do not overfill. Brake fluid
The symbol lights up and a
message appears in the Check
Control panel:
The brake fluid in the reservoir has fallen to
below the minimum level.
The brake fluid reservoir is located under
the microfilter housing trim panel on the
driver's side of the vehicle. To have brake
fluid added to the system, or to have the
source of any brake fluid loss traced and
rectified, please contact your BMW center,
which can also supply the factory-
approved DOT 4 brake fluids.
Brake fluid is hygroscopic: it absorbs
moisture from the atmosphere over
the course of time.
To ensure that the brake system continues
to provide safe and reliable performance,
remember to have the brake fluid changed
every two years at the latest, refer to
page 79 and to the Service and Warranty
Information Booklet (US models) or the Warranty and Service Guide Booklet
(Canadian models).
Brake fluid is toxic and also damages
vehicle paintwork. Always store brake fluid
in tightly-closed original containers kept
well away from the reach of children.
Do not spill the fluid and do not refill the
brake fluid reservoir to beyond the MAX
mark. Should it come into contact with hot
engine components, the brake fluid could
ignite and cause personal injury in the form
of burns.<
Always observe all applicable envi-
ronmental rules and regulations when
disposing of used brake fluid.<
A low brake-fluid level combined with
longer-than-usual pedal travel could be a
sign that one of the brake system's
hydraulic circuits has failed.
Proceed to the nearest BMW center.
Remember that pedal travel may be
increased, and there may also be a
substantial increase in the amount of pedal
pressure required to brake the vehicle.
Please adapt your driving style accord-
ingly.<
Warning lamp for Canadian models
Page 181 of 208
Rules and regulations
180
Rules and regulationsCalifornia Proposition 65
Warning California laws require us to state the
following warning:
Engine exhausts, some of its constit-
uents, and certain vehicle compo-
nents contain or emit chemicals known to
the State of California to cause cancer and
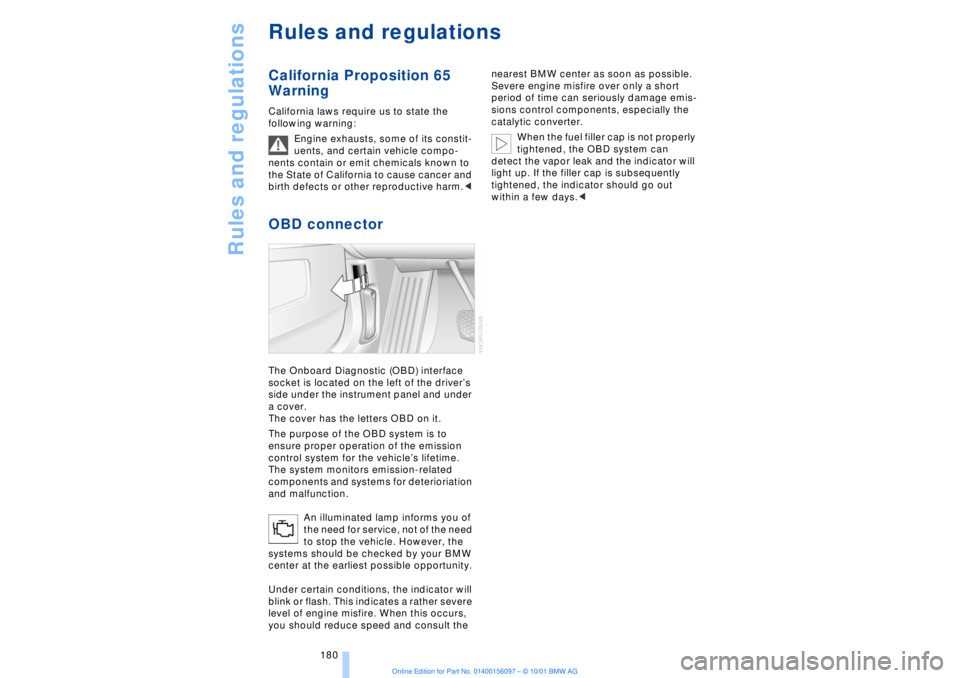
birth defects or other reproductive harm.< OBD connector The Onboard Diagnostic (OBD) interface
socket is located on the left of the driverÕs
side under the instrument panel and under
a cover.
The cover has the letters OBD on it.
The purpose of the OBD system is to
ensure proper operation of the emission
control system for the vehicleÕs lifetime.
The system monitors emission-related
components and systems for deterioriation
and malfunction.
An illuminated lamp informs you of
the need for service, not of the need
to stop the vehicle. However, the
systems should be checked by your BMW
center at the earliest possible opportunity.
Under certain conditions, the indicator will
blink or flash. This indicates a rather severe
level of engine misfire. When this occurs,
you should reduce speed and consult the nearest BMW center as soon as possible.
Severe engine misfire over only a short
period of time can seriously damage emis-
sions control components, especially the
catalytic converter.
When the fuel filler cap is not properly
tightened, the OBD system can
detect the vapor leak and the indicator will
light up. If the filler cap is subsequently
tightened, the indicator should go out
within a few days.<