Page 57 of 208

Adjustments
56
Important safety notes
Do not apply adhesive materials to
the cover panels of the airbags, cover
them or modify them in any other way.
Do not attempt to remove the airbag
restraint system from the vehicle. If you
note any indication of system malfunction,
if you desire to have an airbag deactivated,
or if the airbags are triggered in response
to an accident, you should always entrust
all inspection, repair and dismantling oper-
ations to your BMW center.
Never modify or tamper with either the
wiring or the individual components in the
airbag system. This category includes the
upholstery in the center of the steering
wheel, on the instrument panel, the side
trim panels on the front and rear doors, and
the roof pillars along with the sides of the
headliner. Do not attempt to remove or
dismantle the steering wheel.
To ensure compliance with official safety
regulations, entrust disposal of airbag
generators to a BMW center.
Unprofessional attempts to service the
system could lead to failure in an emer-
gency or undesired airbag activation, either
of which could result in personal injury. Do
not touch the individual components
directly after the system has been trig-
gered, because there is a danger of
burns.<
At all times, occupants should sit
upright and be properly restrained Ð
infants and small children in appropriate
child-restraint systems; larger children and
adults using the safety belts. Never let an
occupant's head rest near or on a side
airbag because the inflating airbag could
cause a serious or fatal injury. Please note
that the word "Airbag" imprinted on the
door trim panel indicates the airbag's loca-
tion.
Never install a rear-facing child-restraint
device on the front passenger seat. If you
do so, the child could be injured when the
airbag is triggered.
Children should always ride in the rear and
the restraint systems should be secured
with the vehicle's belts.Accident research shows that the safest
place for children in an automobile is in the
rear seat. However, a child sitting in the
rear seat and not properly restrained may
place his or her head on or near the airbag,
if so equipped.
For example, a child Ñ even though belted
Ñ may fall asleep with his or her head
against the side airbag. It may be difficult
for a driver to ensure that children in the
rear seat will remain properly positioned at
all times and do not place their heads on or
near the side airbag. Therefore, we recom-
mend that the rear side airbags, if provided,
be deactivated if you plan to transport chil-
dren in the rear seat.
The rear seat side airbags may already
have been deactivated, either at the time of
manufacture or by a BMW center. Labels in
the rear door opening should indicate the
status of your rear-seat side airbags. If you
are uncertain of their status, or wish to have
the airbags activated or deactivated,
please contact your BMW center.<
Even when all these guidelines are
observed, there is still a small residual risk
of injuries to the face, hands and arms
occurring from airbag deployment in
isolated instances. The ignition and infla-
tion noise may provoke a mild temporary
hearing loss in extremely sensitive individ-
uals.
Airbag warning information is also provided
on the sun blinds.
Indicator lamp
The indicator lamp shows the
airbag and belt-tensioner system's
operational status as soon as you
insert the remote control unit in the ignition
(radio mode).
System operational:
>The indicator lamp comes on briefly.
System malfunction:
>The indicator lamp fails to come on or
>it remains on continuously.
Page 58 of 208

At a glanceControlsDriving tipsCommunicationsNavigationEntertainmentMobilityReference
57
A system malfunction could prevent the
system from responding to an impact
occurring within its normal response range.
Please respond to any signs of malfunction
by having the airbag system inspected
immediately at a BMW center. Transporting children safely Commercially-available child-restraint
systems are designed to be secured with a
lap belt or with the lap belt portion of a
combination lap/shoulder belt. Improperly
or inadequately installed restraint systems
can increase the risk of injury to children.
Always read and follow the instructions that
come with the system. Child-restraint system with tether
strap If you use a child-restraint system with a
tether strap, three additional tether
anchorage points have been provided Ð
refer to the arrows in the illustration.
Depending on the location selected for
seating in the rear passenger area, attach
the tether strap to the corresponding
anchorage point to secure the child-
restraint system, as shown in the illustra-
tion below. Each seating position is fitted with a head
restraint.
Outer seating positions:
Lift the head restraint and pass the tether
strap between the headrest and the seat
back. It is recommended to readjust the
head restraint into the lowest possible
position.
Center seating position:
The headrest must be adjusted into the
lowest possible position. Pass the tether
strap over the headrest.
Adjust the tether strap according to the
child-restraint manufacturer's instructions.
Before installing any child-restraint
device or child seat, please read the
following:
Never install a rearward-facing child-
restraint system in the front passenger seat
of this vehicle.
Your vehicle is equipped with an airbag
supplemental restraint system for the front
passenger. Because the backrest on any
rearward-facing child-restraint system Ð of
the kind designed for infants under 1 year
and 20 Ibs./9 kg Ð would be within the
airbag's deployment range, you should
never mount such a device in the front
passenger seat, since the impact of the
airbag against the child-restraint's backrest
could lead to serious or fatal injuries.
If it is necessary for a child Ð not an infant Ð
to ride in the front seat, certain precautions
should be taken. First, move the passenger
seat as far away from the instrument panel
as possible. This important precaution is
intended to maximize the distance
between the airbag and the child. Older
children should be tightly secured with a
Page 59 of 208

Adjustments
58 safety belt after they have outgrown a
booster seat that is appropriate for their
age, height, and weight. Younger children
should be secured in an appropriate
forward-facing child-restraint system that
has first been properly secured with a
safety belt. Never install a rearward-facing
child-restraint system in the front
passenger seat.
We strongly urge you to carefully read and
comply with the instructions for installation
and use provided by the child-restraint's
manufacturer whenever you use such a
device.
Be sure that all occupants Ð of all ages Ð
remain properly and securely restrained at
all times. If your vehicle is equipped with
electric power seats at the rear, these will
need to be returned to their standard
adjustment setting position before a child-
restraint system is used, refer to page 47.
Always press the safety switch for the
power windows before transporting chil-
dren in the rear seats, refer to page 42. This
switch also disables the power rear seat
adjustment. Incorrect or unsupervised
adjustment of the electric power seats
could lead to injuries or damage to the
child-restraint system(s) installed in the
rear.<
All rear seating positions in your vehicle
meet the recommendations of SAE J1819,
an industry recommended practice for
securing child-restraint systems in motor
vehicles.
Child seat security All of the rear belt retractors and the front
passenger's safety belt can be locked for mounting and securing child-restraint
systems.
Information regarding this is located near
the buckle latch of each safety belt.
To lock the belt Pull the entire length of the belt from the
belt retractor. Allow the reel to retract the
belt somewhat and engage the buckle,
then tighten the belt against the child-
restraint system. The retraction mechanism
is now locked. To release the belt Release the buckle, remove the child-
restraint device and allow the belt retractor
to reel the belt completely in. LATCH child-restraint
system
If the vehicle is equipped with electric
power seats, these must be returned
to their standard adjustment setting before
the LATCH child-restraint system can be
used, refer to page 47.<
LATCH: Lower Anchors and Tethers for
Children.
Access to anchorage points The illustration shows the left rear seat as
an example.
The anchorage points for the LATCH child-
restraint system are identified by the flags.
*
Page 60 of 208

At a glanceControlsDriving tipsCommunicationsNavigationEntertainmentMobilityReference
59
You can obtain an installation guide
for mounting LATCH child-restraint
systems at your BMW center. The guide,
although not necessary for installation of a
LATCH child-restraint system, will facilitate
the installation and also help protect the
vehicle's seating surfaces. Always observe
all instructions for installation and use
provided by the child-restraint's manufac-
turer.<
Engage the buckle on the center belt and
then pull the belt away from the child-
restraint's anchorage point.
Firmly press the installation guide into the
gap between the upholstery on seat and
backrest, continuing until the two funnel-
shaped guides snap into place in the
LATCH support braces in the seat.
Pull the installation guides to remove.
Child-safety locks Slide down the safety levers on the rear
doors:
The door can now be opened from the
outside only.
Car Memory, Key Memory How the system functions Doubtless you have often reflected on how
great it would be if you could configure
your vehicle's various adjustment settings
to meet your own personal requirements. In
developing your vehicle, BMW has incor-
porated a number of options for personal
adjustment which you can set in the
Control Center. You can also have these
programmed at your BMW center.
The available configuration settings fall into
two categories, according to whether their
primary orientation is the vehicle Ð (Car
Memory) Ð or the individual Ð (Key Memory).
You can have up to four different basic
settings adjusted for four different persons.
The only requirement is that each person
uses his or her own remote control.
When your vehicle is unlocked with the
remote control, the vehicle recognizes the
individual user by means of a data
exchange with the key, and makes adjust-
ments accordingly.
Color-coded decals are provided to help
you distinguish the individual remote
control units with their different settings. What the system can do Please contact your BMW center for more
information on the range of options avail-
able with Car Memory and Key Memory.
You will see this symbol throughout
the Owner's Manual. It is to remind
you at appropriate places of the settings
that are available to you.<
Page 61 of 208
Adjustments
60
Examples of Car Memory functions>Various confirmation signals when the
vehicle's locks are engaged/released
>Activate/deactivate "Follow me home"
lamps function
>Activate/deactivate daytime driving
lamps, e. g., on Canadian models Examples of Key Memory functions >Automatic adjustment of electric power
driver's seat
>Engagement of vehicle locks when the
vehicle is set in motion
>When unlocking, the system disengages
the driver's door lock first before
proceeding to disengage the remaining
vehicle locks.
Page 62 of 208

At a glanceControlsDriving tipsCommunicationsNavigationEntertainmentMobilityReference
61
DrivingIgnition lockInsert the remote control unit all the way
into the ignition lock. This also activates the
radio mode.
When the remote control unit is in the
ignition lock you can start the engine
without first switching on the ignition.
Do not depress the brake pedal until
you are ready to start the engine. If
you press the start/stop button while the
brake pedal is depressed the engine will
start immediately .<
Continue to press the start /stop button to
switch the radio mode on and off or switch
the ignition on and off.
1Radio mode
In this mode several systems, such as the
Control Center, parked-car ventilation,
etc., are available for use. The time and outside temperature appear in the Info
Display panel.
The radio mode is automatically
deactivated:
>after approx. 30 minutes, when a door is
closed and the system does not register
the presence of any individuals in the
vehicle
>immediately, when the vehicle is locked
from the outside.<
2Ignition on:
All vehicle systems are ready for operation.
0Ignition off:
The indicator lamps in the Info Display go
out. Only the automatic transmission's
range display remains visible for a brief
period.
To remove the remote control unit
from the ignition lock Press the remote control unit in briefly; it is
ejected and now protrudes slightly from the
lock. This procedure will also switch off the
ignition if it is on.
Switch off the engine before removing
the remote control unit from the igni-
tion lock.
The transmission automatically shifts to
position P Ð Interlock.<
If the remote control is still in the ignition
lock when the driver's door is opened, a
gong will sound and a message will appear
in the Info Display panel.
Page 63 of 208

Driving
62
Starting the engine
Do not allow the engine to run in
enclosed spaces. The exhaust gases
contain carbon monoxide, an odorless and
colorless, but highly toxic gas. Breathing
the exhaust gases poses an extreme health
risk, and can lead to unconsciousness and
death.
Never leave the vehicle parked with the
engine running, as it would then pose a
potential safety hazard.<
1.Insert the remote control unit all the way
into the ignition lock
2.Depress the brake pedal
3.Maintain pressure on the brake pedal
and briefly press the start / stop button.
You can release the brake pedal as soon as
the engine starts.
Your BMW is equipped with the
convenience starting feature. After
depressing the brake pedal, all you need to
do is briefly press the start / stop button.
The system responds by automatically
engaging the starter and allowing it to run
until the engine starts, after which it then
disengages automatically.
The automatic starting mode will not
operate or will be canceled if the battery
voltage is low. It is then possible to start the
engine using electrical power from an
outside source, refer to page 187.
The engine starts immediately in response
to pressure on the button at speeds of
roughly 3 mph (5 km/h) and above. It is not
necessary to depress the brake pedal.<
Do not allow the engine to warm up by
leaving it running while the vehicle remains stationary. Instead, begin to drive immedi-
ately at a moderate engine speed.
Under the following conditions you should
press the accelerator pedal halfway down
when starting:
>If the engine fails to start on the first
attempt, for instance, if it is very hot or cold
>During cold starts at high altitudes, of
roughly 3,300 ft (1000 m) and above, and in
extreme cold, at temperatures of approxi-
mately +5 7 (Ð15 6) and below.
Refrain from starting the vehicle
repeatedly at brief intervals, and
avoid an excessive number of starting
attempts if the vehicle fails to start;
repeated activation of the starter over an
extended period would allow unburned or
only partially combusted fuel to enter the
catalytic converter, where it can cause
overheating and damage to the unit.<
Switching off engineWith the vehicle stationary, briefly press the
start / stop button. This also activates the
radio mode.
Should exceptional circumstances
render it necessary for you to switch
off the engine while the vehicle is moving,
maintain pressure on the start / stop button
for approx. 1 second.
If you maintain pressure on the start / stop
button for longer than two seconds while
switching off the ignition, the remote
control unit will be ejected.<
Always remove the remote control
unit from the ignition lock before
leaving the vehicle.< Parking brake The concept Your BMW is equipped with an electro-
mechanical parking brake.
The parking brake is primarily intended to
prevent the vehicle from rolling while
parked.
Page 64 of 208

At a glanceControlsDriving tipsCommunicationsNavigationEntertainmentMobilityReference
63
You have two separate options for
engaging the parking brake:
>Manually, by briefly pressing the button
>Automatically, through activation of the
Automatic Hold mode, refer to next
column.
An electrohydraulic mechanism then
engages the parking brakes to prevent the
rear wheels from turning whenever you
switch off the engine.
When the engine is running, parking brake
engagement is controlled by the brake
system's hydraulic circuits, which act on
the disc brakes at the front and rear
wheels. Brake pedal feel Because this function is activated using the
brake system's hydraulic circuits, the
response of the brake pedal may change
slightly. Engagement may also be accom-
panied by activation noise Ð this is normal. Manual engagement
Press the button briefly, the
word "PARK" appears briefly in
the Info Display.
The indicator lamp
appears in red in the Info
Display when the parking brake is
engaged, refer to page 14.
The indicator lamp goes out
soon after you switch off the igni-
tion.<
Manual release
With the ignition on, briefly
press the button: the indicator
lamp in the Info Display goes
out.
Provided that the detent holding the
remote control unit in the ignition lock
is engaged, you can also release the
parking brake after the engine has been
switched off. This function is intended for
use in automatic car washes, etc.<
When leaving the vehicle, always
release the remote control unit from
the detent in the ignition lock; this precau-
tion prevents children from disengaging the
parking brake, etc.
The parking brake can still be engaged at
any time when the remote control unit is
released from the detent. It is only possible
to disengage the parking brake with the
ignition on.<
If exceptional circumstances should
make it necessary to engage the
parking brake while the vehicle is in motion,
maintain pressure on the button.
The indicator lamp appears in red in the
Info Display. A gong sounds at the same
time.
The brake lamps come on.
The vehicle continues to brake automati-
cally for as long as you maintain pressure
on the button.<
When you brake the vehicle to a
virtual stop, i.e., down to a speed of
approx. 1.9 mph (3 km/h) or below, the
parking brake remains engaged.
The indicator lamp in the Info Display
appears in red. Press the button briefly to
disengage the parking brake manually.<
Automatic Hold You can activate this feature after starting
the engine; it then remains operational until
the next time the engine is switched off.
This feature provides supplementary
support during vehicle operation by auto-
matically engaging and releasing the
parking brake during stops at traffic lights,
 1
1 2
2 3
3 4
4 5
5 6
6 7
7 8
8 9
9 10
10 11
11 12
12 13
13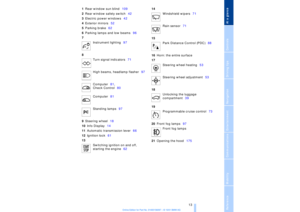 14
14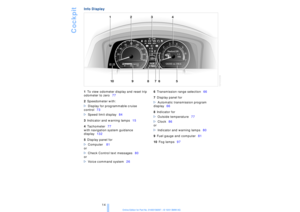 15
15 16
16 17
17 18
18 19
19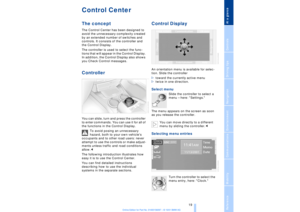 20
20 21
21 22
22 23
23 24
24 25
25 26
26 27
27 28
28 29
29 30
30 31
31 32
32 33
33 34
34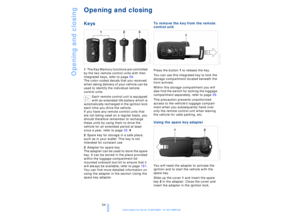 35
35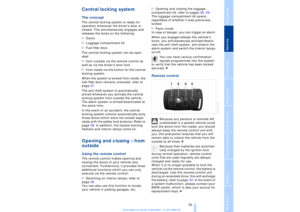 36
36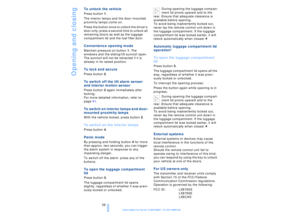 37
37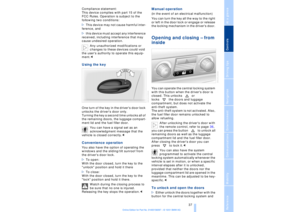 38
38 39
39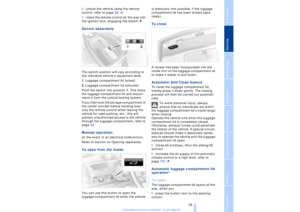 40
40 41
41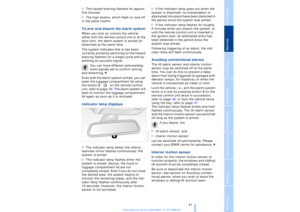 42
42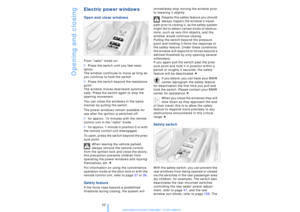 43
43 44
44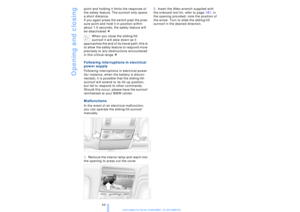 45
45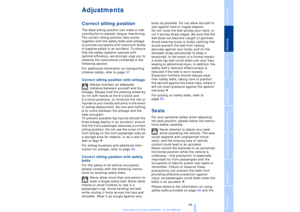 46
46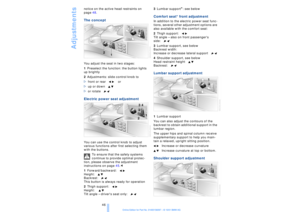 47
47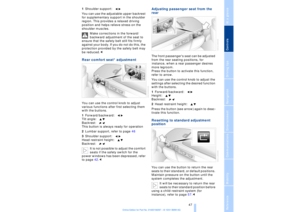 48
48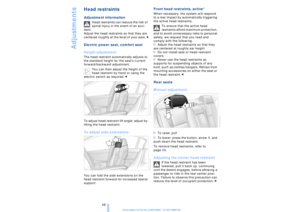 49
49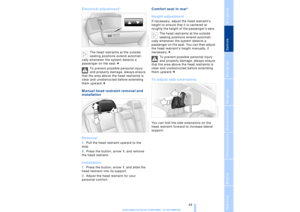 50
50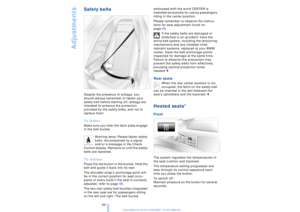 51
51 52
52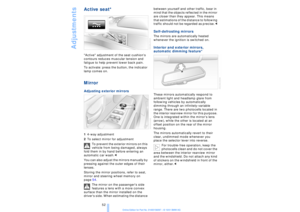 53
53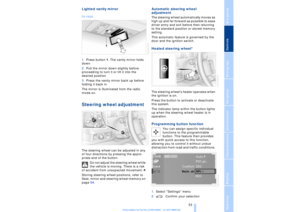 54
54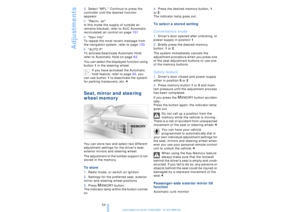 55
55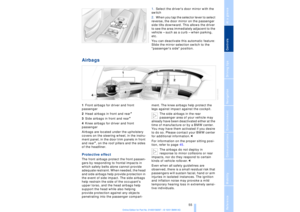 56
56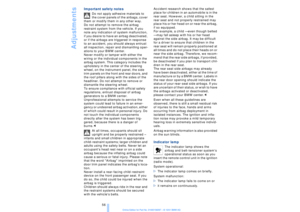 57
57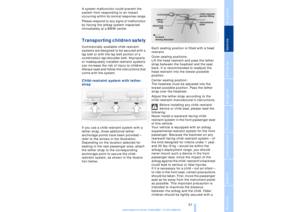 58
58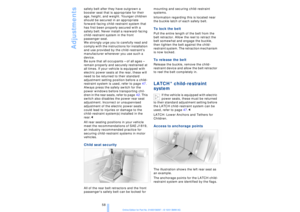 59
59 60
60 61
61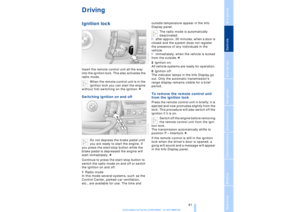 62
62 63
63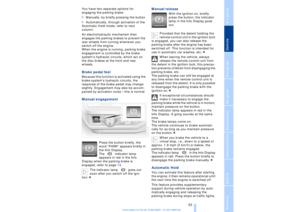 64
64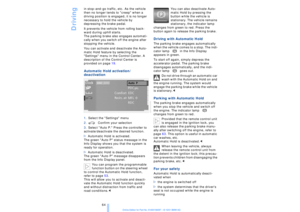 65
65 66
66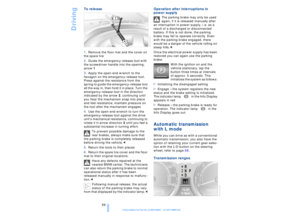 67
67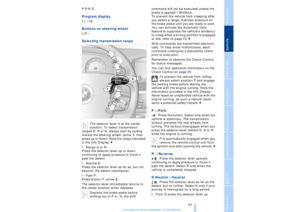 68
68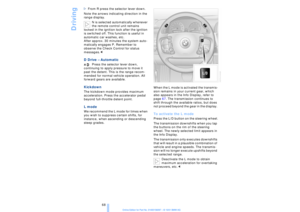 69
69 70
70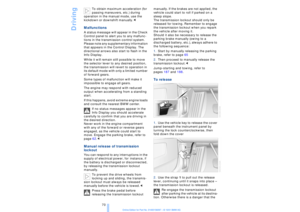 71
71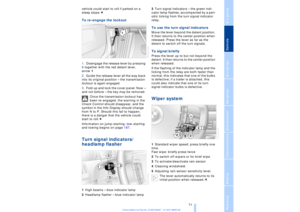 72
72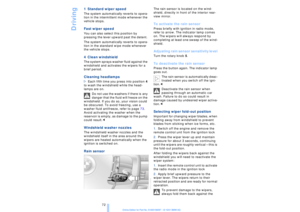 73
73 74
74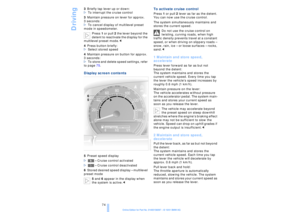 75
75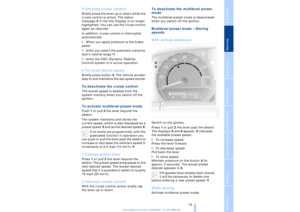 76
76 77
77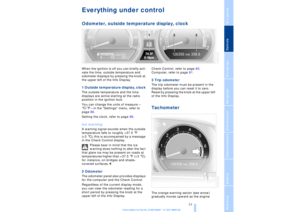 78
78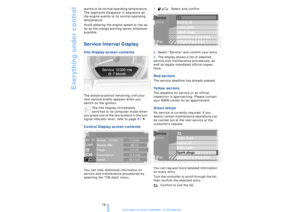 79
79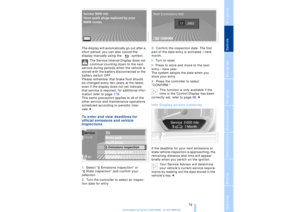 80
80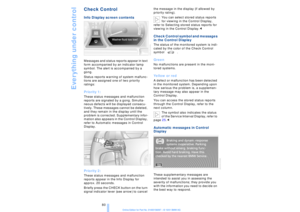 81
81 82
82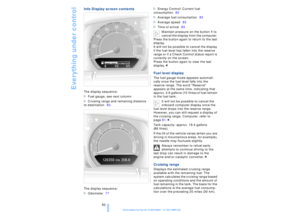 83
83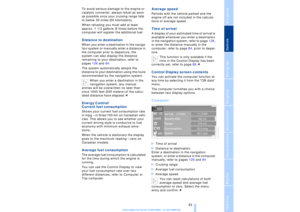 84
84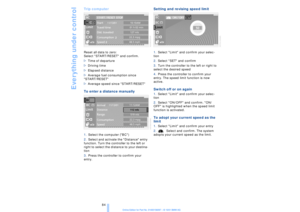 85
85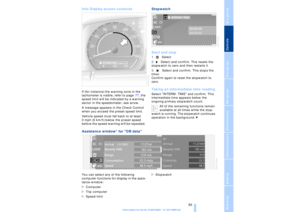 86
86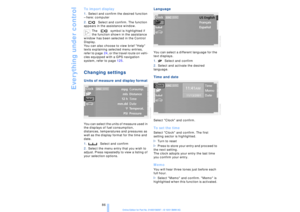 87
87 88
88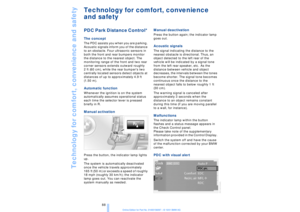 89
89 90
90 91
91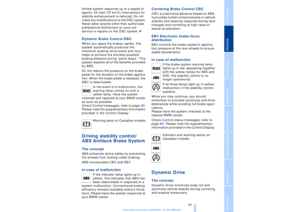 92
92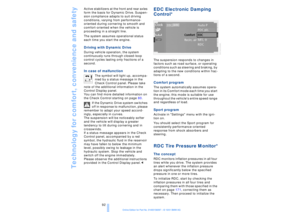 93
93 94
94 95
95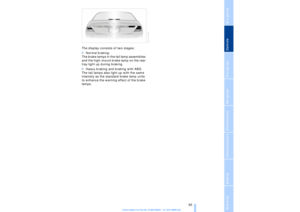 96
96 97
97 98
98 99
99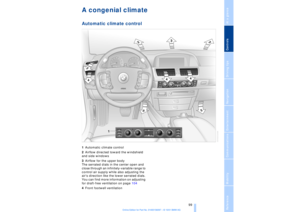 100
100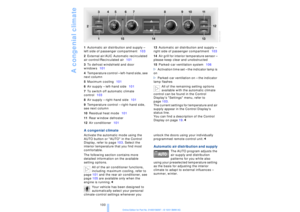 101
101 102
102 103
103 104
104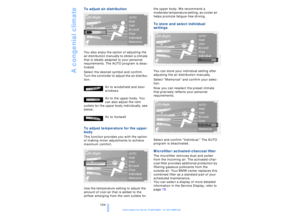 105
105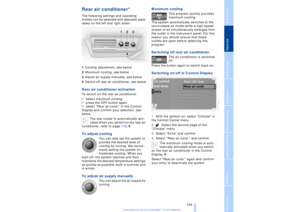 106
106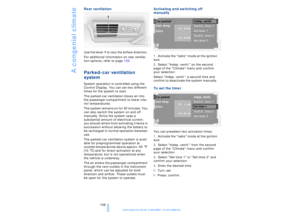 107
107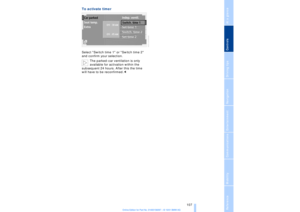 108
108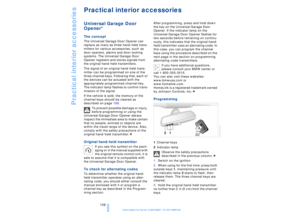 109
109 110
110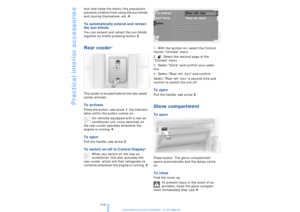 111
111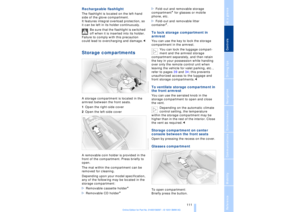 112
112 113
113 114
114 115
115 116
116 117
117 118
118 119
119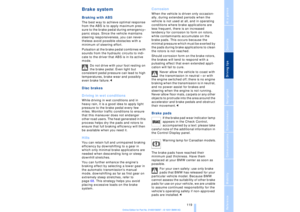 120
120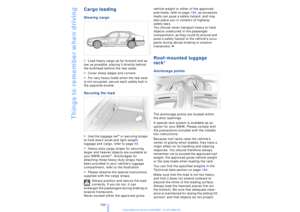 121
121 122
122 123
123 124
124 125
125 126
126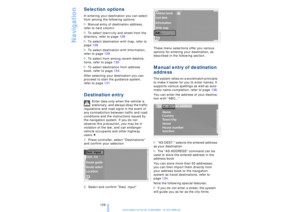 127
127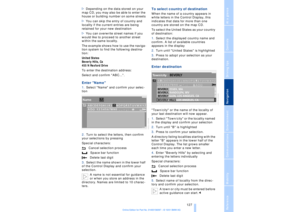 128
128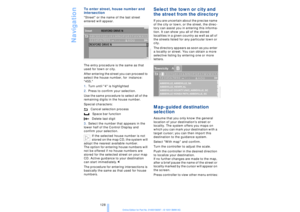 129
129 130
130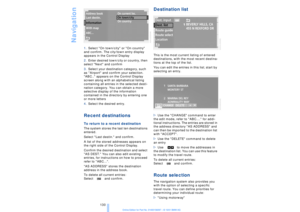 131
131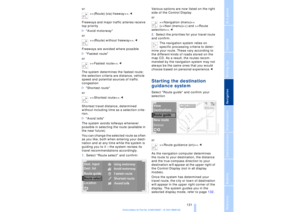 132
132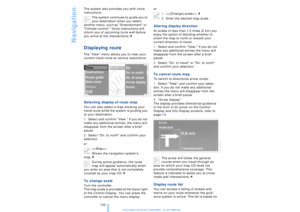 133
133 134
134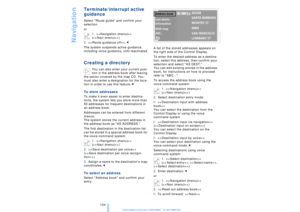 135
135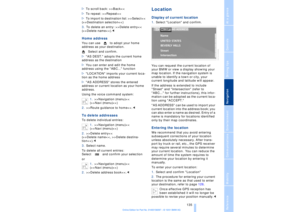 136
136 137
137 138
138 139
139 140
140 141
141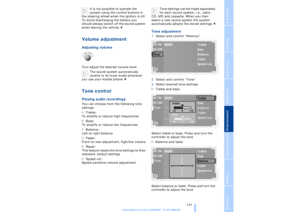 142
142 143
143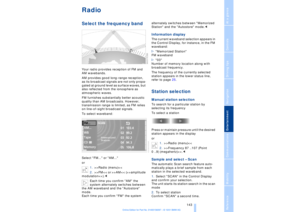 144
144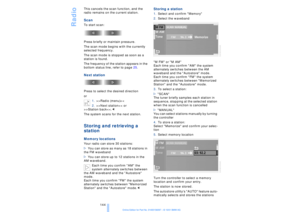 145
145 146
146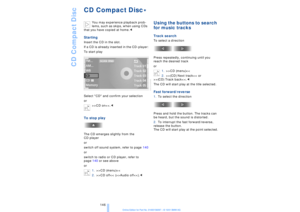 147
147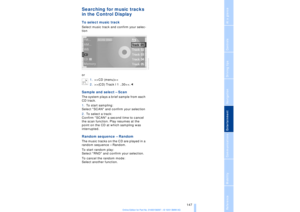 148
148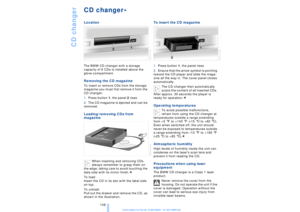 149
149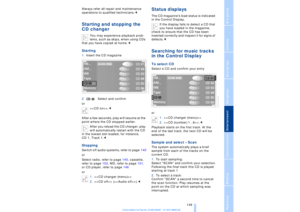 150
150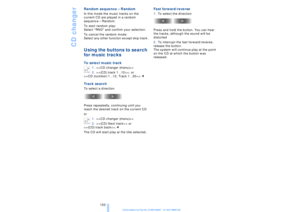 151
151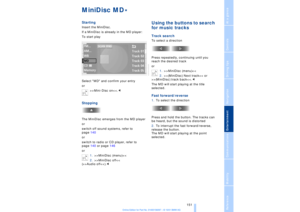 152
152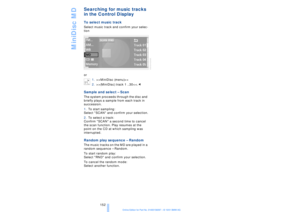 153
153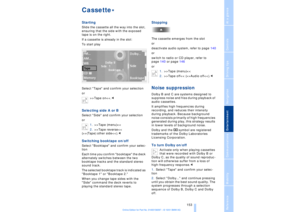 154
154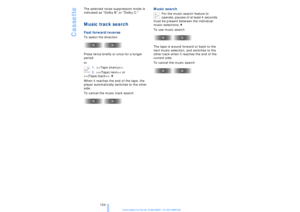 155
155 156
156 157
157 158
158 159
159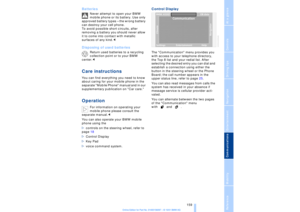 160
160 161
161 162
162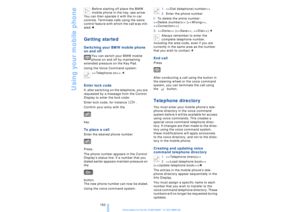 163
163 164
164 165
165 166
166 167
167 168
168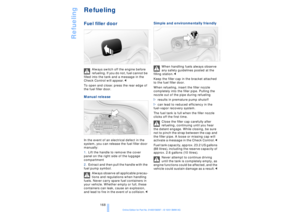 169
169 170
170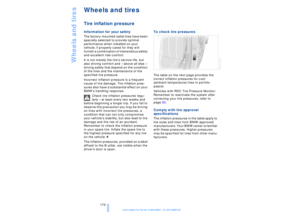 171
171 172
172 173
173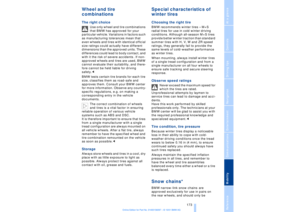 174
174 175
175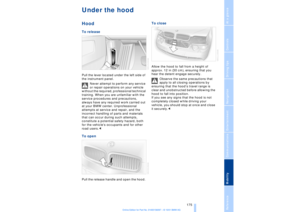 176
176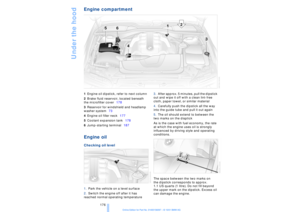 177
177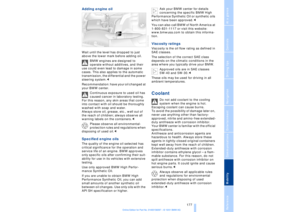 178
178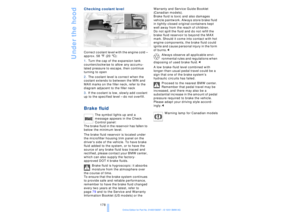 179
179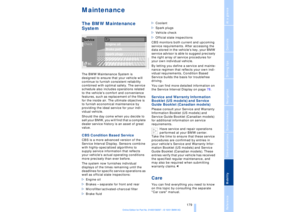 180
180 181
181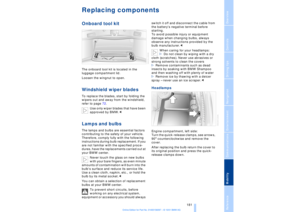 182
182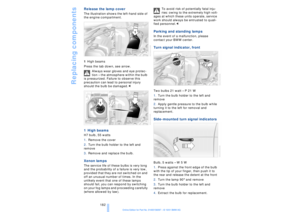 183
183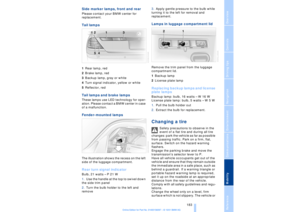 184
184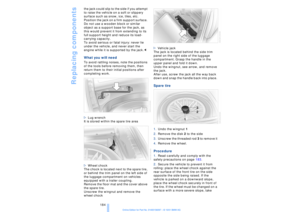 185
185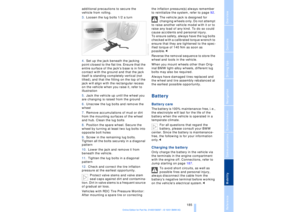 186
186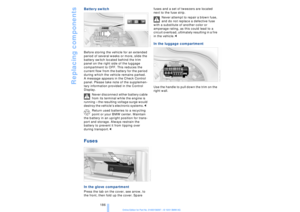 187
187 188
188 189
189 190
190 191
191 192
192 193
193 194
194 195
195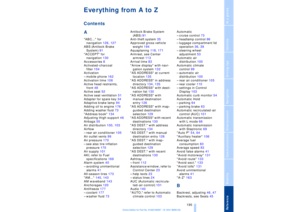 196
196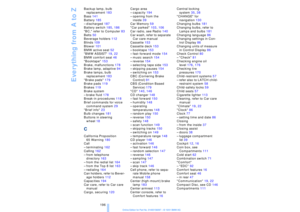 197
197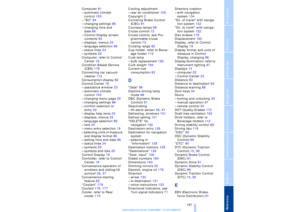 198
198 199
199 200
200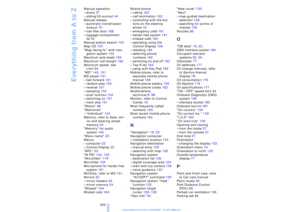 201
201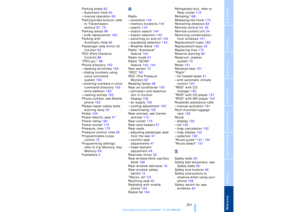 202
202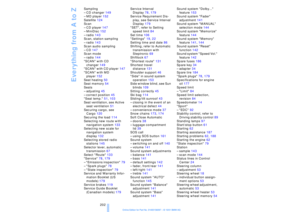 203
203 204
204 205
205 206
206 207
207