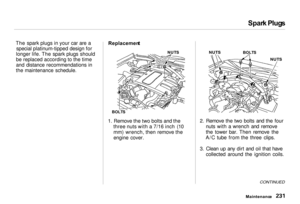
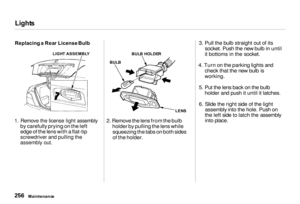
Page 65 of 330
Control
s Nea r th e Steerin g Whee l
The two levers on the steering column contain controls for driving
features you use most often. The left
lever controls the turn signals,
headlights, and high beams. The
right lever controls the windshield
washers and wipers.
The switch for the hazard warning lights is on the dashboard to the
right of the steering column.
The controls under the left air vent are for the cruise control, instrument
panel brightness and the VSA
System.
The switches for the rear window defogger and fog lights are under
the audio system.
The steering wheel adjustment switch on the side of the steering
column allows you to tilt and
telescope the steering wheel.
Instrument s an d Control s WINDSHIEL
D
WIPERS/WASHER S
HAZAR
D WARNIN G
LIGHT S
HEADLIGHTS
/
TUR N SIGNAL S
VEHICL
E
STABILIT Y
ASSIS T SYSTE M
OF F SWITC H
CRUIS E
CONTRO L
REAR WINDO W
DEFOGGE R
FO
G
LIGHT S
HOR
N
INSTRUMEN
T
PANE L
BRIGHTNES S
STEERIN G WHEE L
ADJUSTMENT S
Page 66 of 330
Control
s Nea r th e Steerin g Whee l
Headlight s
The rotating switch on the left lever controls the lights. Turning this switch to the position turns on
the parking lights, taillights, side
marker lights, and rear license plate
lights. Turning the switch to the position turns on the
headlights. If you leave the lights on with the
ignition switch in ACCESSORY (I)
or LOCK (0), you will hear a
reminder chime when you open the driver's door.
On cars with automatic lighting
When the light switch is in either of these positions, the Lights On
indicator comes on as a reminder.
This light remains on if you leave the light switch on and turn the ignitionswitch to ACCESSORY (I) or LOCK
(0).
To change between low beams andhigh beams, pull the turn signal lever
until you hear a click, then let go.
The blue high beam indicator will light (see page 57).
CONTINUED
Instrument s an d Control s
Page 67 of 330

Control
s Nea r th e Steerin g Whee l
To flash the high beams, pull the turn signal lever back lightly, then
release it. The high beams will comeon and go off.
The high beams will stay on for as long as you hold the lever back, nomatter what position the headlightswitch is in. Automati
c Lightin g
On U.S. models
The Automatic Lighting feature turns on the headlights, all otherexterior lights, and the instrument
panel lights when it senses low ambient light.
To turn on automatic lighting, turn the light switch to AUTO at any time.
The lights will come on automatically when the outside light level becomes
low (at dusk, for example). The Lights On indicator comes on as a
reminder. The lights and indicator
will turn off automatically when the system senses high ambient light.
The lights will remain on when you turn off the ignition switch. They willturn off automatically when you open
the driver's door. To turn them onagain, either turn the ignition switch
to ON (II) or turn the light switch to Even with the automatic lighting
feature turned on, we recommend that you turn on the lights manually
when driving at night or in a dense
fog, or when you enter dark areas, such as long tunnels or parking
structures.
Instrument s an d Control s AUT
O POSITIO N
Page 68 of 330
Control
s Nea r th e Steerin g Whee l
Do not leave the light switch in
AUTO if you will not be driving the car for an extended period (a week
or more). You should also turn off
the lights if you plan to leave the engine idling or the engine off for a
long time. This will prevent the
battery from discharging.
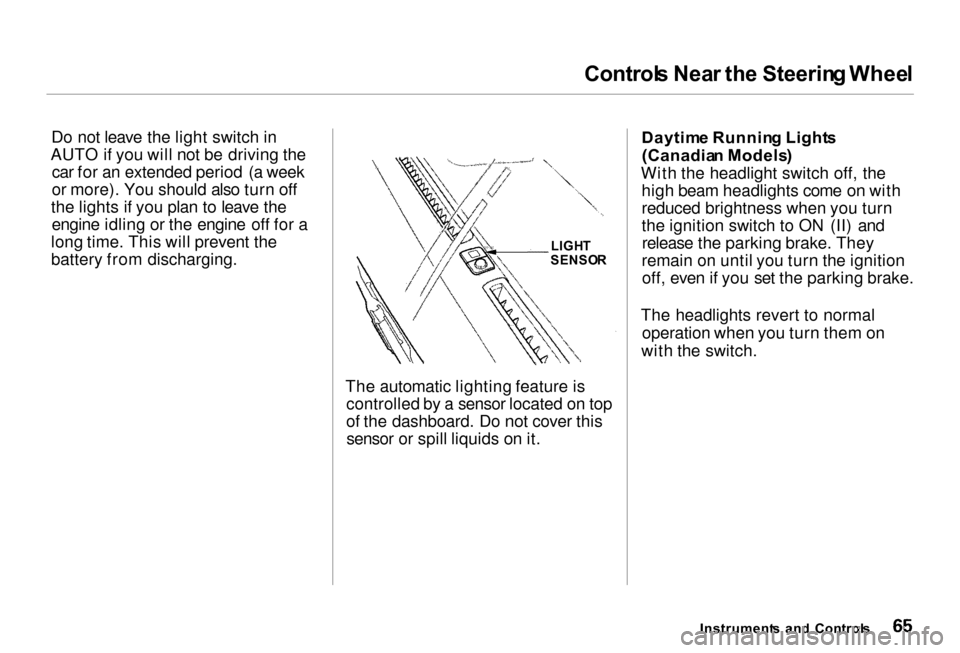
The automatic lighting feature iscontrolled by a sensor located on top
of the dashboard. Do not cover thissensor or spill liquids on it. Daytim
e Runnin g Light s
(Canadia n Models )
With the headlight switch off, the high beam headlights come on with
reduced brightness when you turn
the ignition switch to ON (II) andrelease the parking brake. They
remain on until you turn the ignition off, even if you set the parking brake.
The headlights revert to normal operation when you turn them on
with the switch.
Instrument s an d Control s
LIGH
T
SENSO R
Page 69 of 330
Control
s Nea r th e Steerin g Whee l
Instrumen t Pane l Brightnes s
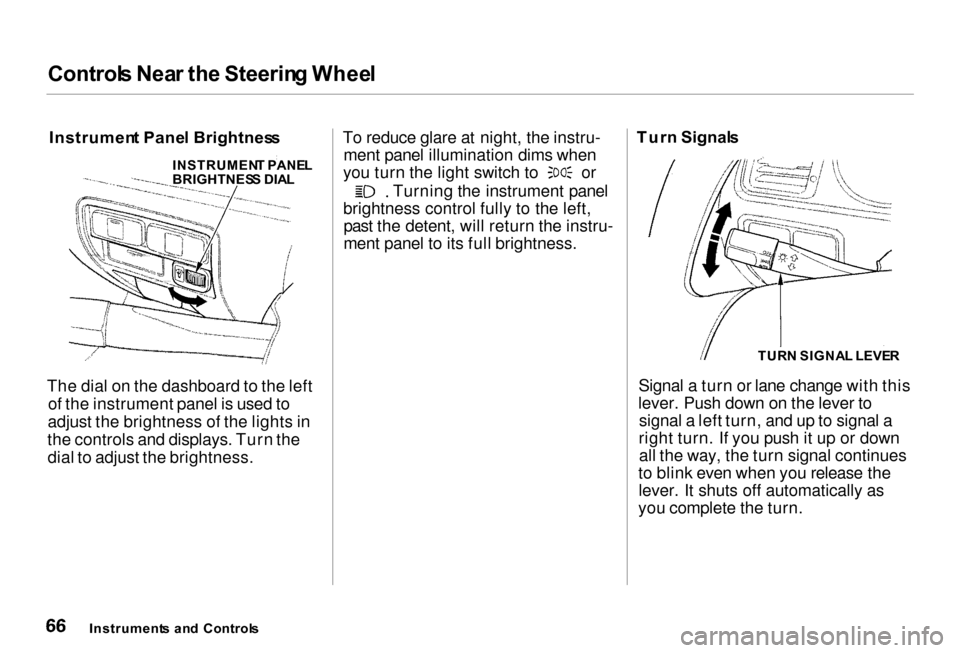
The dial on the dashboard to the left of the instrument panel is used to
adjust the brightness of the lights in
the controls and displays. Turn the dial to adjust the brightness. To reduce glare at night, the instru-
ment panel illumination dims when you turn the light switch to or
Turning the instrument panel
brightness control fully to the left, past the detent, will return the instru-
ment panel to its full brightness. Tur
n Signal s
Signal a turn or lane change with this
lever. Push down on the lever to signal a left turn, and up to signal a
right turn. If you push it up or down all the way, the turn signal continues
to blink even when you release the lever. It shuts off automatically as
you complete the turn.
Instrument s an d Control s TUR
N SIGNA L LEVE R
INSTRUMEN
T PANE L
BRIGHTNES S DIA L
Page 70 of 330
Control
s Nea r th e Steerin g Whee l
To signal a lane change, push lightly on the turn signal lever in the proper
direction and hold it. The lever will
return to the center position as soon
as you release it.
Fo
g Light s
Turn the fog lights on and off by pressing the button. The indicator in
the button lights to show the fog
lights are on. You can use the fog lights only when
the headlights are on low beam.
They will go off when you turn the headlights off or onto high beam.
On cars with automatic lighting
With the light switch in the AUTO position, you can also use the fog
lights when the headlights turn onautomatically. They will go off when
the headlights turn off.
Instrument s an d Control s
Car
s wit h navigatio n syste m
Page 71 of 330
Control
s Nea r th e Steerin g Whee l
Windshiel d Wiper s
The right lever controls the wind- shield wipers and washers. The
rotary switch at the end of the lever
has three positions: INT: intermittent
: low speed
: high speed
In intermittent, the wipers operate
every few seconds. The sweep
interval will change slightly with
speed; getting shorter as you drive
faster. In low speed and high speed, the wipers run continuously. You can vary how often the wipers
sweep the windshield by turning the
INT TIME ring next to the rotary
switch.
If you turn the INT TIME ring to the shortest delay, the wipers will
change from intermittent to low speed operation when vehicle speed
exceeds 12 mph (20 km/h).
Instrument s an d Control s
Page 72 of 330
Control
s Nea r th e Steerin g Whee l
To operate the wipers in mist mode, push the control lever down. The
wipers run at high speed until you release the lever. This gives you aquick way to clear the windshield.
Wiper Arms Winter Position
The windshield wiper arms have two
parked positions: Winter andSummer. In the winter position, the
arms sit slightly above the edge of
the hood. This reduces the possibili-
ty of damage to the wiper arms or
windshield wiper motor by a build-up of snow and ice.
Adjust the wiper arms to the winter position by grasping either arm near
the pivot. Pull on the arm, parallel to the windshield, until it locks in the
higher position. Push the arm in the other direction to return the wipers
to the summer position. A heavy build-up of snow or ice on
the wiper arms will cause them toautomatically park in the winter
position.
Instrument s an d Control s
WIPE
R ARM S