Page 193 of 330

Vehicl
e Stabilit y Assis t (VSA ) Syste m
VSA System Indicator
The VSA system indicator (see page 56 ) comes on and stays on when
there is a problem with the VSA
system.
If the VSA indicator comes on while
driving, pull to the side of the road
when it is safe and turn off the engine. Reset the system by
restarting the engine, and watch the
VSA system indicator. If the indicator remains on, or comes back
on while driving, have the VSA
system inspected by your Acura
dealer.
If the indicator does not come on
when the ignition switch is turned ON (II), there may be a problem
with the VSA system. Have your dealer inspect your car as soon as
possible.
Without VSA, your car will have normal braking and cornering ability,
but it will not have VSA traction andstability enhancement. VS
A Of f Switc h
This switch is under the left vent. Press it to turn the Vehicle Stability
Assist system on and off.
When VSA is off, the VSA Activation Indicator light comes on as a
reminder. Pressing the switch again
turns the system back on.
Drivin g
VS
A SYSTE M INDICATO R
Page 194 of 330
Vehicl
e Stabilit y Assis t (VSA ) Syste m
VSA is turned on every time you start the engine, even if you turned it
off the last time you drove the car. VS
A an d Tir e Size s
Driving with varying tire or wheel sizes may cause the VSA to
malfunction. When replacing tires,
make sure they are of the same size and type as your original tires (see
page 245).
Deactivate the VSA system if you
need to drive with the compact spare
tire installed (see page 270).If you install winter tires, make sure
they are the same size as those that
were originally supplied with your car. Exercise the same cautionduring winter driving as you would if
your car was not equipped with VSA.
Driving
Page 195 of 330

Drivin
g in Ba d Weathe r
Rain, fog, and snow conditions re-
quire a different driving technique
because of reduced traction and
visibility. Keep your car well- maintained and exercise greater
caution when you need to drive in
bad weather. The cruise control should not be used in these condi-
tions. Drivin
g Techniqu e — Always drive
slower than you would in dry
weather. It takes your car longer to react, even in conditions that mayseem just barely damp. Apply
smooth, even pressure to all the
controls. Abrupt steering wheel
movements or sudden, hard appli-
cation of the brakes can cause loss of
control in wet weather. Be extra cautious for the first few miles (kilometers) of driving while you
adjust to the change in driving conditions. This is especially true in
snow. A person can forget somesnow-driving techniques during the
summer months. Practice is needed
to relearn those skills. Exercise extra caution when driving
in rain after a long dry spell. After
months of dry weather, the first
rains bring oil to the surface of the
roadway, making it slippery.
Drivin g
Page 196 of 330

Drivin
g in Ba d Weathe r
Visibilit y — Being able to see
clearly in all directions and being
visible to other drivers are important in all weather conditions. This is
more difficult in bad weather. To be seen more clearly during daylight
hours, turn on your headlights.
Inspect your windshield wipers and
washers frequently. Keep the wind- shield washer reservoir full of the
proper fluid. Have the windshield
wiper blades replaced if they start to streak the windshield or leave parts
unwiped. Use the defroster and air conditioning to keep the windows
from fogging up on the inside (see
pages 126 and 131). Tractio
n — Check your tires
frequently for wear and proper pressure. Both are important in
preventing "hydroplaning" (loss of
traction on a wet surface). In the
winter, mount snow tires on all four
wheels for the best handling.
Watch road conditions carefully, they can change from moment to
moment. Wet leaves can be as slip-
pery as ice. "Clear" roads can have
patches of ice. Driving conditions can be very hazardous when the
outside temperature is near freezing.
The road surface can become covered with areas of water puddles
mixed with areas of ice, so your
traction can change without warning.
Be careful when downshifting. If
traction is low, you can lock up the drive wheels for a moment and cause
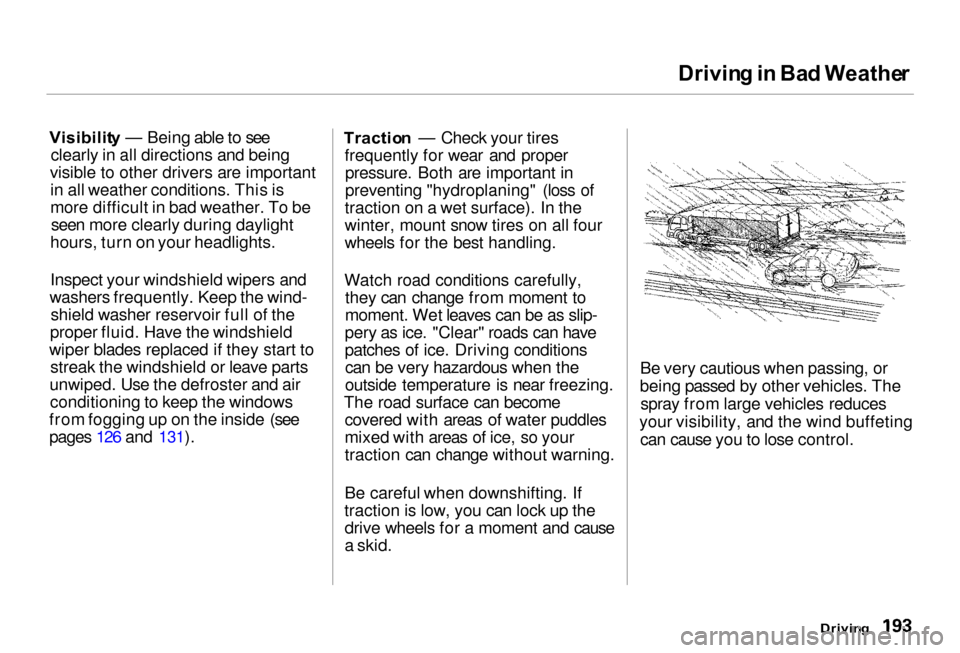
a skid. Be very cautious when passing, or
being passed by other vehicles. The spray from large vehicles reduces
your visibility, and the wind buffeting can cause you to lose control.
Driving
Page 197 of 330
Towin
g a Traile r
Your Acura has been designed primarily to carry passengers and
their cargo. You can use it to tow a
trailer if you carefully observe the
load limits, use the proper equipment, and follow the guidelines in this
section.
Loa
d Limit s Tota
l Traile r Weight : The total
weight of the trailer and everything loaded in it must not
exceed 2,000 Ibs (900 kg). Towing
a load that is too heavy canseriously affect your car's
handling and performance. It can also damage the engine and
drivetrain. Tongu
e Load : The weight that
the tongue of a fully-loaded trailer
puts on the hitch should be approximately 10 percent of the
trailer weight. Too little tongue
load can make the trailer unstable and cause it to sway. Too much
tongue load reduces front-tire
traction and steering control.
To achieve a proper tongue load, start by loading 60 percent of the
load toward the front of the trailer and 40 percent toward the rear, then
readjust the load as needed.
Drivin g
Page 198 of 330
Towin
g a Traile r
Gros
s Vehicl e Weigh t Ratin g
(GVWR) :
The total weight of the vehicle, all occupants, all cargo, and the
tongue load must not exceed:
4,830 Ibs (2,190 kg)
Gros s Axl e Weigh t Ratin g
(GAWR) :
The total weight of the vehicle, all occupants, all cargo, and the
tongue load must not exceed:
2,570 Ibs (1,165 kg)
on the front axle
2,260 Ibs (1,025 kg)
on the rear axle
Checkin
g Load s
The best way to confirm that vehicle and trailer weights are within limits
is to have them checked at a public
scale.
Using a suitable scale or a special
tongue load gauge, check the tongue
load the first time you set up a
towing combination (a fully-loaded
vehicle and trailer), then recheck the tongue load whenever the conditions
change.
Driving
Exceeding load limits or
improperly loading your vehicle
and trailer can cause a crash in
which you can be seriously
injured or killed.
Check the loading of your
vehicle and trailer carefully before starting to drive.
Page 199 of 330

Towin
g a Traile r
Towin g Equipmen t an d
Accessorie s
Towing can require a variety of equipment, depending on the size of
your trailer, how it will be used, and
how much load you are towing.
Discuss your needs with your trailersales or rental agency, and follow the
guidelines in the rest of this section.
Also make sure that all equipment is properly installed and that it meets
federal, state, province, and localregulations.
Hitches
Any hitch used on your vehicle must be properly bolted to the underbody.
Safety Chain
Always use a safety chain. Make sure that it is secured to both the
trailer and hitch, and that it crosses
under the tongue so it can catch the
trailer if it becomes unhitched. Leave enough slack to allow the
trailer to turn corners easily, but do
not let the chain drag on the ground.
Trailer Brakes
Acura recommends that any trailer having a total weight of 1,000 Ibs (450 kg) or more be equipped with
its own electric or surge-type brakes.
If you choose electric brakes, be sure they are electronically actuated.
Do not attempt to tap into your
vehicle's hydraulic system. No matter how successful it may seem,any attempt to attach trailer brakes
to your vehicle's hydraulic system
will lower braking effectiveness and create a potential hazard.
Drivin g
Page 200 of 330
Towin
g a Traile r
Trailer Lights
Your vehicle has a trailer lighting connector located in the trunk by the
left taillight. To use the connector, undo the fastener on the left side of
the trunk lining. Refer to the drawing in this page for the wiring
color code and purpose of each pin.
If you use a converter, you can get
the connector and pins that mate
with the connector in your vehicle
from your Acura dealer.
Since lighting and wiring vary with
trailer type and brand, you should also have a qualified technician
install a suitable connector between
the vehicle and the trailer.
CONTINUED
Drivin g
GROUN
D
(BLACK )
BACK-U
P LIGH T
(GREEN/BLACK )
LEF
T TUR N SIGNA L
(PINK/BLUE )
RIGH T TUR N SIGNA L
(GREEN/YELLOW )
BRAK
E LIGH T
(GREEN/WHITE )
TAILLIGH
T
(RED/BLACK )