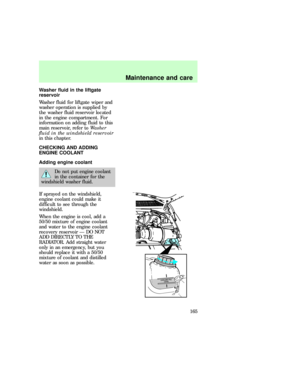
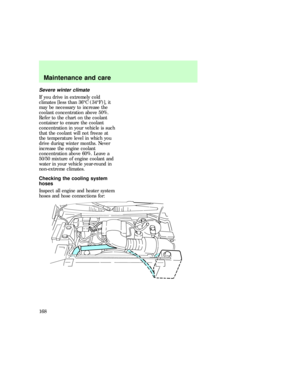
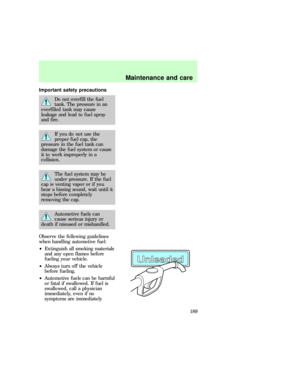
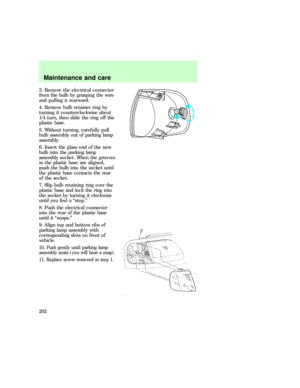
Page 65 of 224
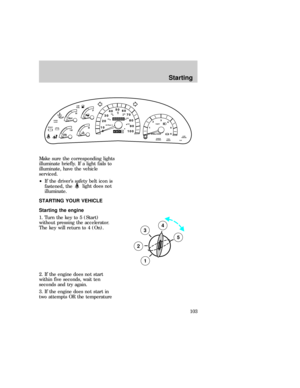
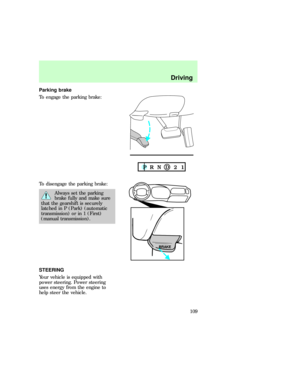
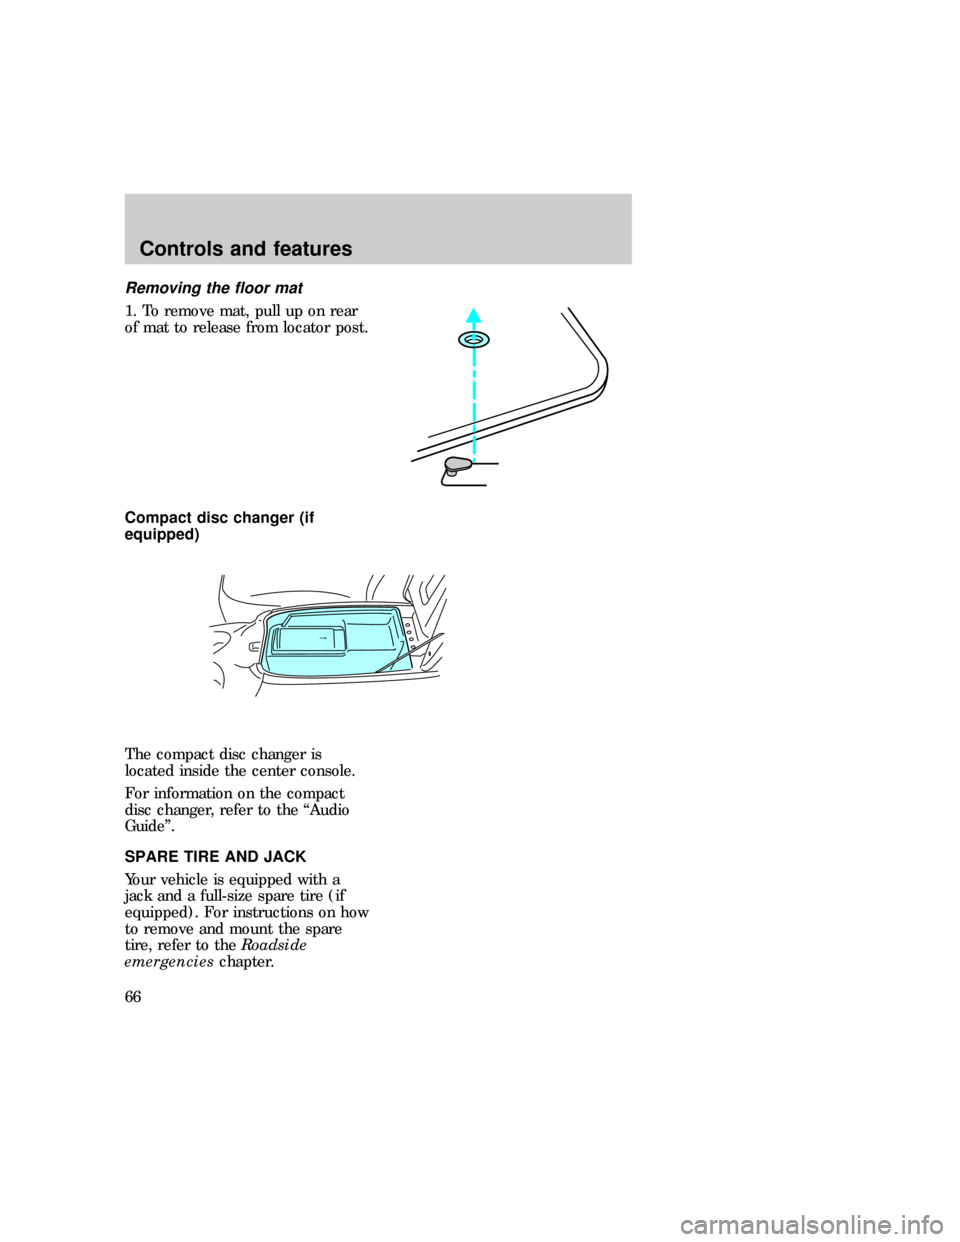
Removing the floor mat
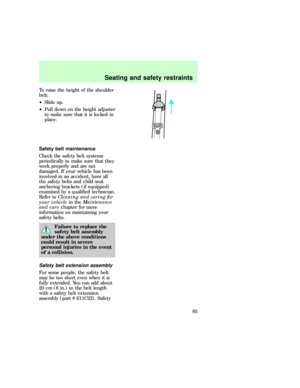
1. To remove mat, pull up on rear
of mat to release from locator post.
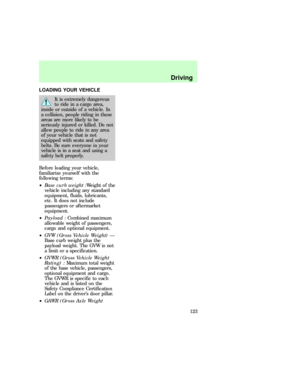
Compact disc changer (if
equipped)
The compact disc changer is
located inside the center console.
For information on the compact
disc changer, refer to the ªAudio
Guideº.
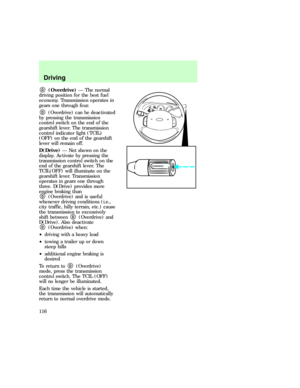
SPARE TIRE AND JACK
Your vehicle is equipped with a
jack and a full-size spare tire (if
equipped). For instructions on how
to remove and mount the spare
tire, refer to theRoadside
emergencieschapter.
OPEN
exd_cd_changer
exd_spare_tire_jack
exd_title_anti-theft
Controls and features
66
Page 66 of 224

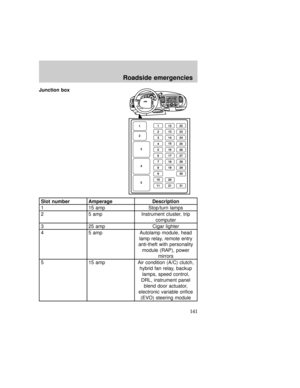
ANTI-THEFT SYSTEM
Passive anti-theft system
Your ignition key has a unique
imbedded transponder which
engages engine electronics and
allows the vehicle to be started.
Without the use of your special
ignition key, the vehicle will not
start.
During each vehicle start, the
coded key is read by the anti-theft
system. If the key's ID code
matches the code in the anti-theft
system, the vehicle is enabled to
start.
Your vehicle is equipped with two
electronically coded keys.
Additional spare keys can be
purchased through your dealer or
selected retailers. Be sure to
purchase coded keys with the Ford
logo to ensure proper functionality.
If both supplied keys are lost or
stolen, the vehicle and any other
keys must be reinitialized by the
dealer.
A theft indicator in the instrument
cluster provides operating status of
the anti-theft system. For more
information on this indicator and
its function, refer toWarning and
indicator lightsin the
Instrumentationchapter.
Programming spare keys
Use one of the two electronically
coded keys supplied with your
vehicle to program additional keys:
THEFT
com_anti-theft_passive.01
exd_passive_anti_theft
exd_programming_key
Controls and features
67
Page 67 of 224
²Insert a coded key into the
ignition and turn to the On
position.
²Wait until the THEFT light in
the instrument cluster
illuminates and then turns off.
²Within 15 seconds, insert a new
key into the ignition and turn
the ignition to On or Start. The
vehicle does not have to be
started to program the key.
If the key has been coded properly,
the theft indicator will illuminate
for two seconds. The newly coded
key can then be used to start the
vehicle. This process may be
repeated to code up to 16 keys.
If the key has not been coded
properly, the theft indicator will
flash and the vehicle cannot be
started. There are several possible
explanations:
²The new key was not inserted
within 15 seconds.
²All 16 key codes have already
been stored.
²The key does not have an
electronic code.
REMOTE ENTRY SYSTEM (IF
EQUIPPED)
The remote entry system allows
you to lock or unlock all vehicle
doors without a key.
exd_title_remote_entry
com_remote_unlocking.01
Controls and features
68
Page 68 of 224
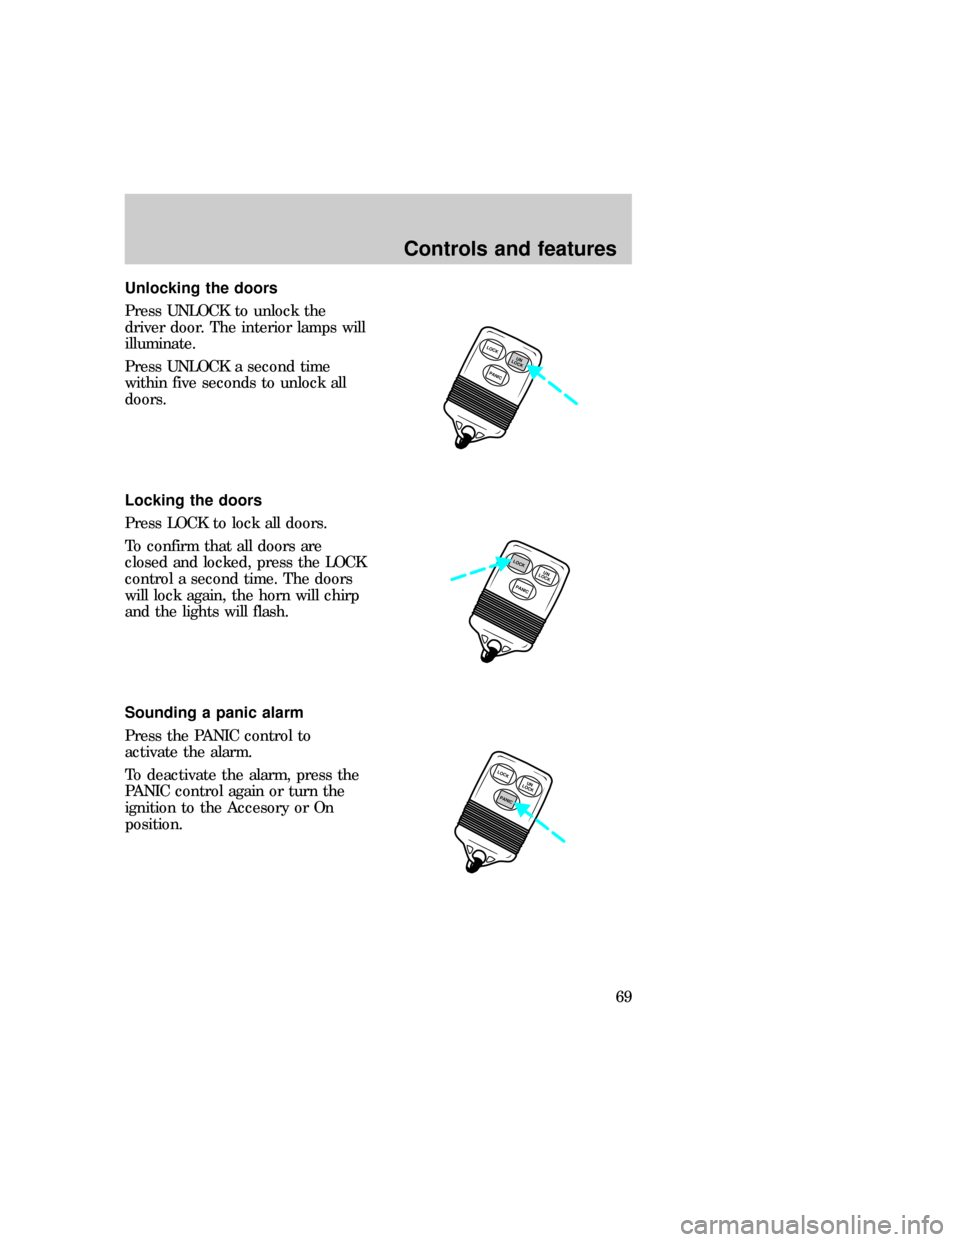
Unlocking the doors
Press UNLOCK to unlock the
driver door. The interior lamps will
illuminate.
Press UNLOCK a second time
within five seconds to unlock all
doors.
Locking the doors
Press LOCK to lock all doors.
To confirm that all doors are
closed and locked, press the LOCK
control a second time. The doors
will lock again, the horn will chirp
and the lights will flash.
Sounding a panic alarm
Press the PANIC control to
activate the alarm.
To deactivate the alarm, press the
PANIC control again or turn the
ignition to the Accesory or On
position.
LOCK
PANICUN
LOCK
PANICUN
LOCKLOCK
LOCK
PANICUN
LOCK
exd_locking_doors
exd_remote_panic
com_remote_batteries.01
Controls and features
69
Page 69 of 224
Replacing the batteries
The transmitter is powered by two
coin type three-volt lithium
batteries. A decrease in operating
range can be caused by:
²battery failure
²weather conditions
²structures around the vehicle
To replace the batteries:
1. Twist a thin coin between the
two halves of the transmitter. DO
NOT TAKE THE FRONT PART OF
THE TRANSMITTER APART.
2. Place the positive (+) side of
new batteries down.
3. Snap the two halves back
together.
Replacing lost transmitters
Take all your vehicle's transmitters
to your dealer for reprogramming
if:
²a transmitter is lost or
²you want to purchase additional
transmitters (up to four may be
programmed).
Additional information about
remote entry and anti-theft
systems
This device complies with Part 15
of the FCC rules. Operation is
subject to the two following
conditions: (1) The device may not
LOCK
PANICUN
LOCK
com_remote_transmitters.01
exd_anti-theft_additional
Controls and features
70
Page 70 of 224
cause harmful interference, and
(2) This device must accept any
interference received, including
interference that may cause
undesired operation.
Replacement batteries for the
remote entry transmitters may be
purchased at pharmacies, watch
stores or at authorized dealers.
If a transmitter is lost, a new one
may be programmed by your
dealer. Take the remaining
transmitters with you so that they
may be reprogrammed.
The system will work with up to
four transmitters. Your vehicle
comes equipped with two
transmitters; additional
transmitters can be ordered from
your dealer. It will be necessary to
have all transmitters programmed
to the remote entry system by the
dealer at the same time.
Controls and features
71
Page 71 of 224
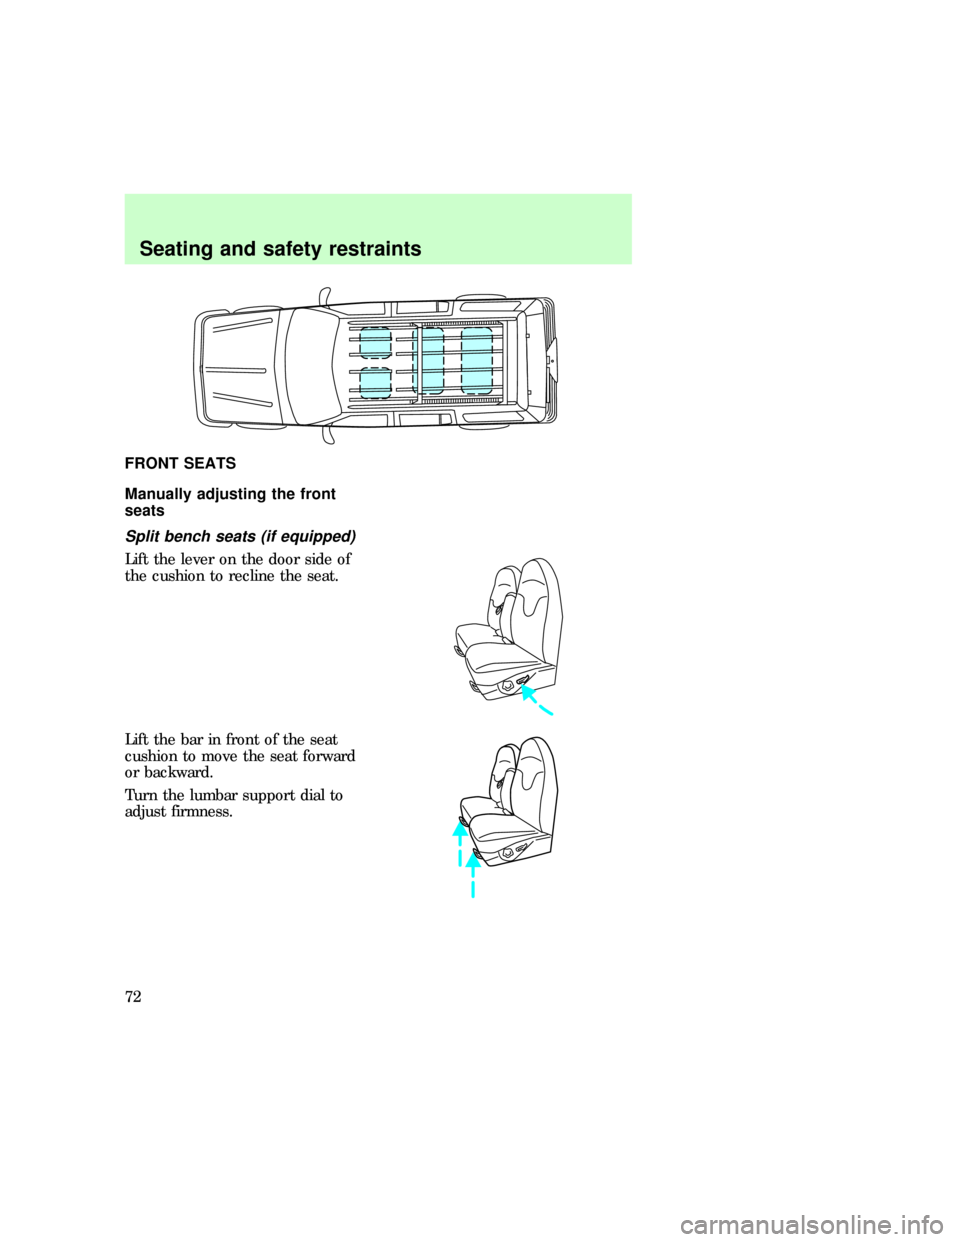
FRONT SEATS
Manually adjusting the front
seats
Split bench seats (if equipped)
Lift the lever on the door side of
the cushion to recline the seat.
Lift the bar in front of the seat
cushion to move the seat forward
or backward.
Turn the lumbar support dial to
adjust firmness.
exd_manual_seat_adjust_title
exd_split_bench_seats
exd_armrest_adjust
Seating and safety restraints
72
Page 72 of 224
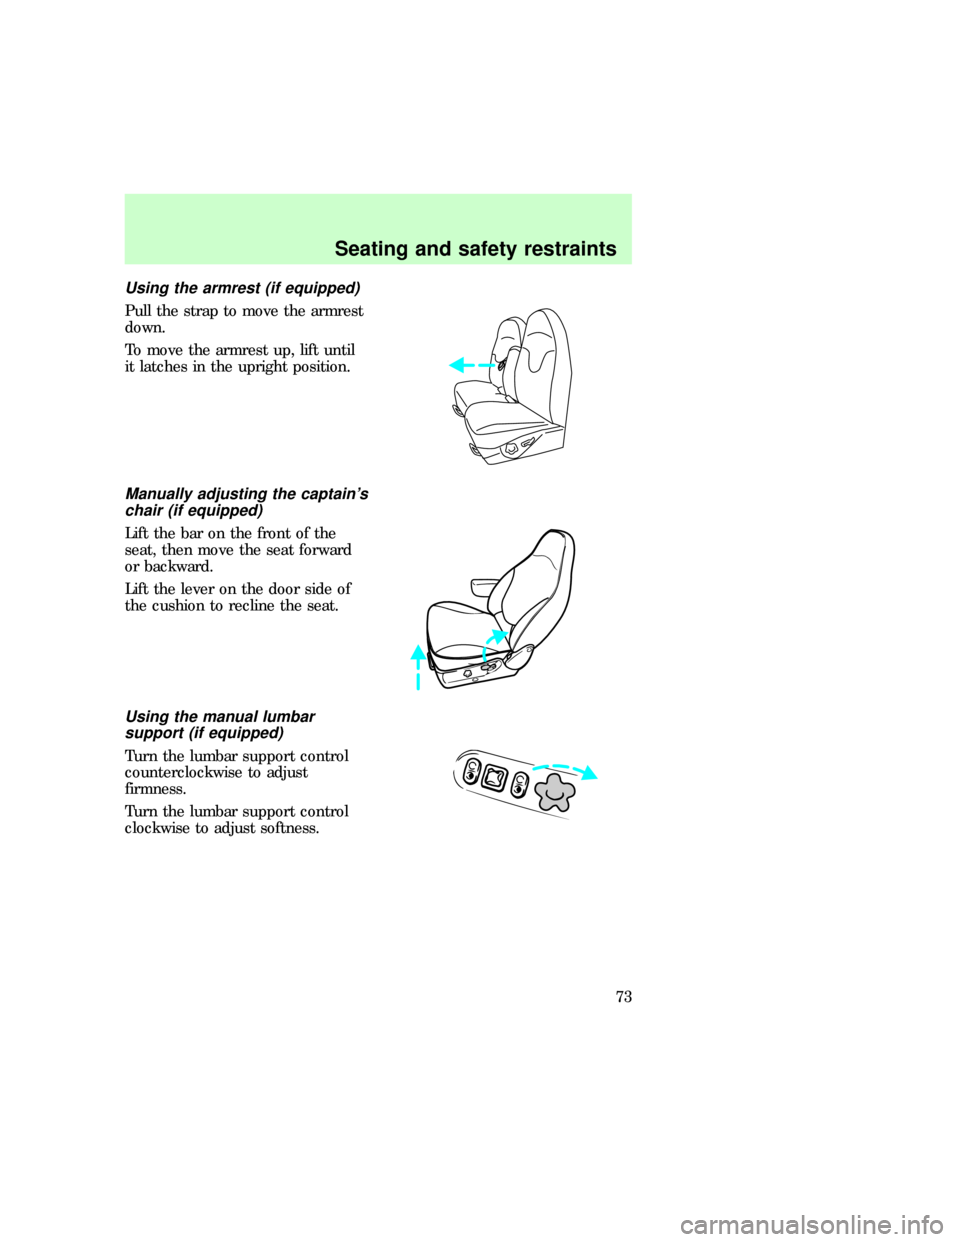
Using the armrest (if equipped)
Pull the strap to move the armrest
down.
To move the armrest up, lift until
it latches in the upright position.
Manually adjusting the captain's
chair (if equipped)
Lift the bar on the front of the
seat, then move the seat forward
or backward.
Lift the lever on the door side of
the cushion to recline the seat.
Using the manual lumbar
support (if equipped)
Turn the lumbar support control
counterclockwise to adjust
firmness.
Turn the lumbar support control
clockwise to adjust softness.
exd_capt_chair_manual
exd_lumbar_power_adjust
exd_power_seat_adjust_titleSeating and safety restraints
73