Page 49 of 224
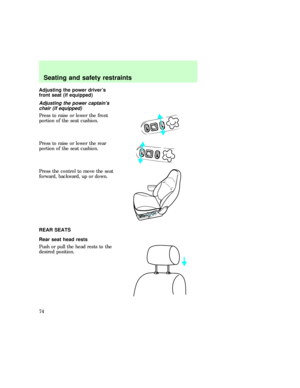
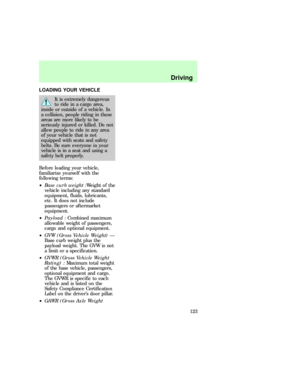
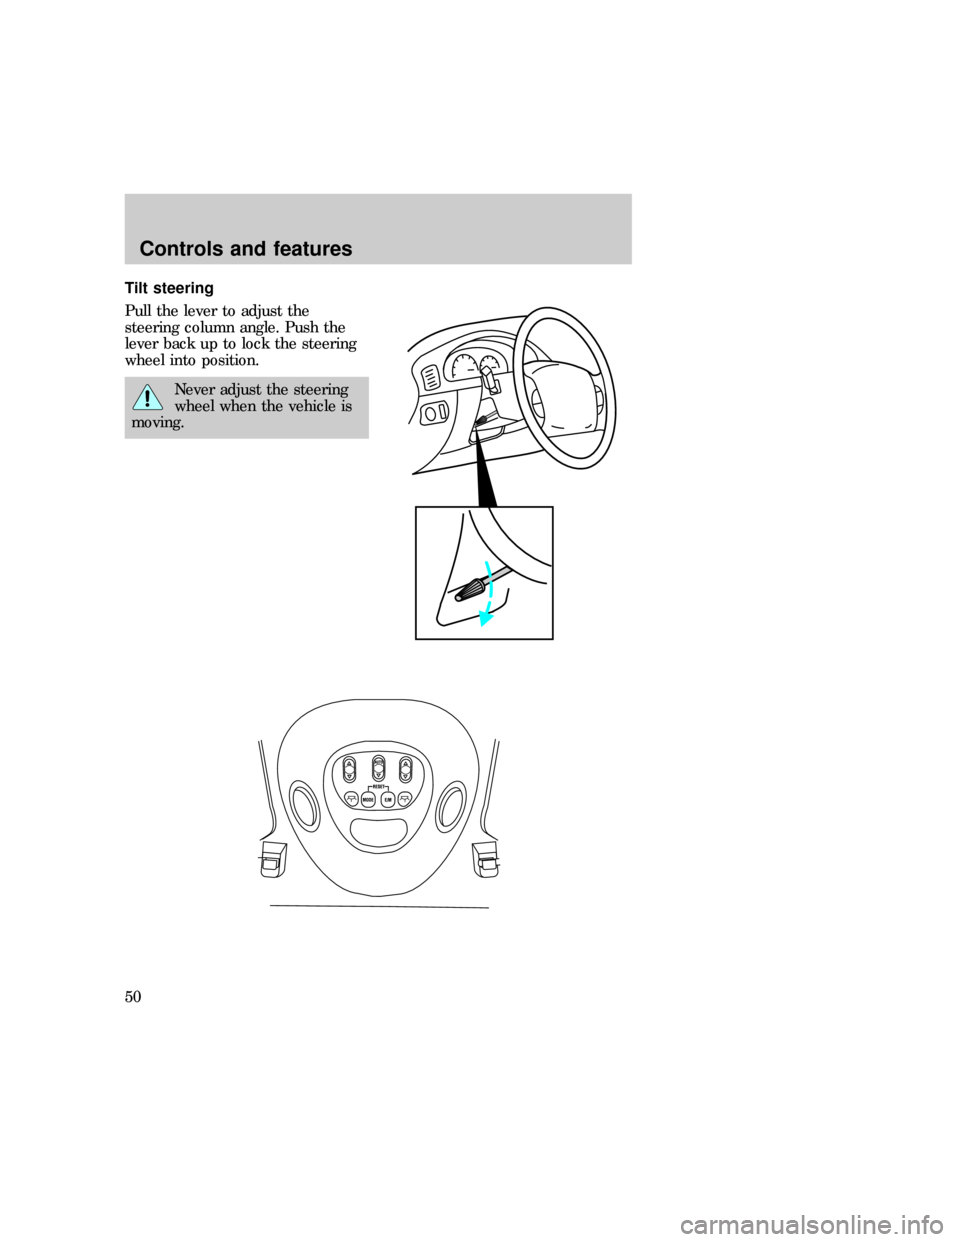
Tilt steering
Pull the lever to adjust the
steering column angle. Push the
lever back up to lock the steering
wheel into position.
Never adjust the steering
wheel when the vehicle is
moving.
exd_title_overhead
Controls and features
50
Page 50 of 224
The front overhead console and
overhead controls provide a variety
of available features including:
²compass display
²trip computer
²overhead lamps
²storage compartment
²garage door opener stowage
²moon roof control
²auxiliary A/C controls
²power quarter window switches
The appearance of your vehicle's
overhead console will vary
according to your option package.
Compass display (if equipped)
The compass reading may be
affected when you drive near large
buildings, bridges, power lines and
powerful broadcast antenna.
Magnetic or metallic objects placed
in or on the vehicle may also affect
compass accuracy. Adjustments
may be made to the zone and
calibration of the compass.
WARMPANEL FLOOR COOL
REAR
OFF
HI
MODE E/M
VENT VENT
km TO EMPTY
exd_compass_temp_display
exd_zone_compass_adjust
Controls and features
51
Page 51 of 224
Compass zone adjustment
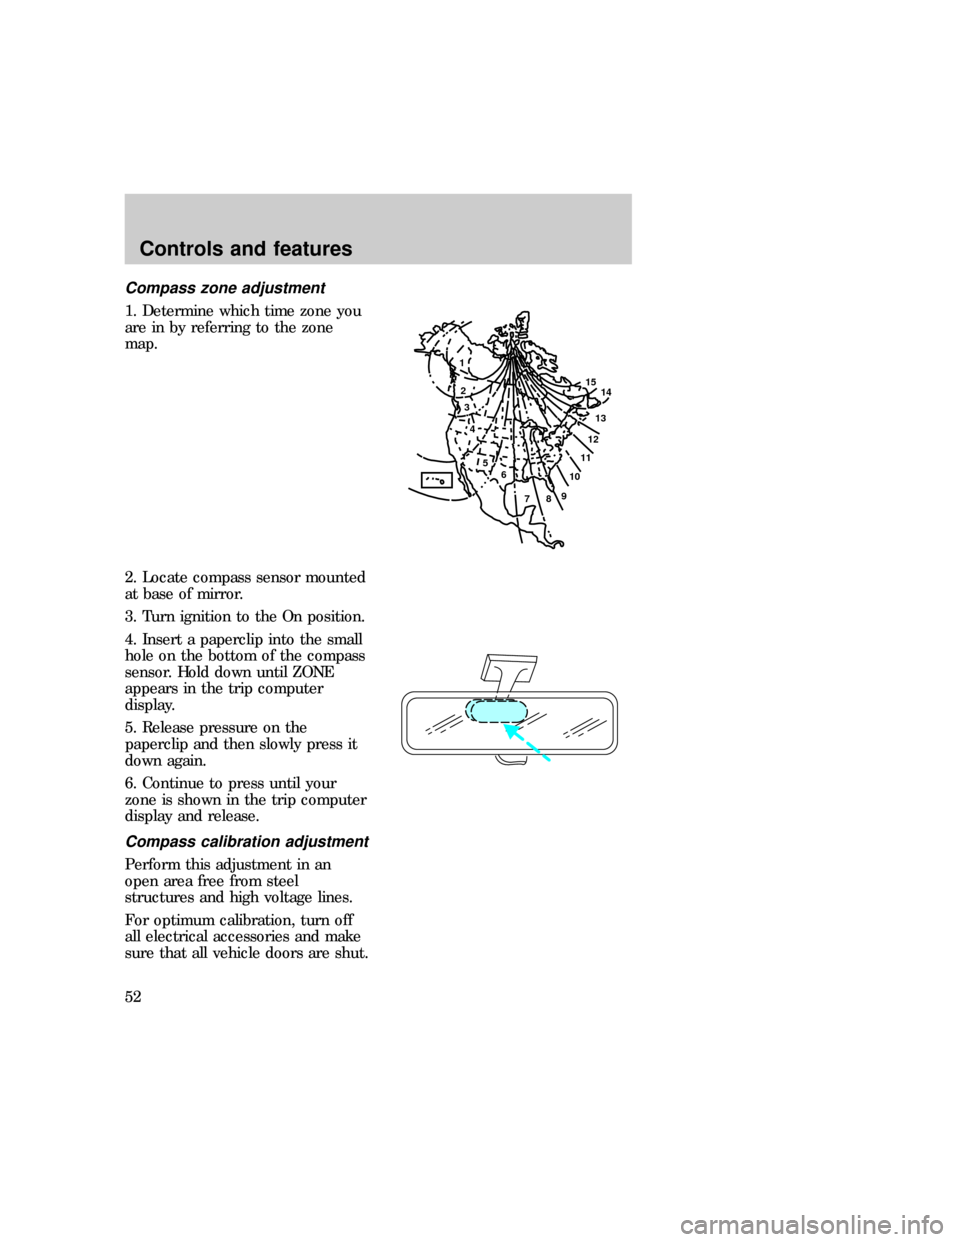
1. Determine which time zone you
are in by referring to the zone
map.
2. Locate compass sensor mounted
at base of mirror.
3. Turn ignition to the On position.
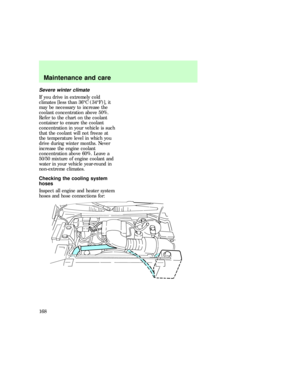
4. Insert a paperclip into the small
hole on the bottom of the compass
sensor. Hold down until ZONE
appears in the trip computer
display.
5. Release pressure on the
paperclip and then slowly press it
down again.
6. Continue to press until your
zone is shown in the trip computer
display and release.
Compass calibration adjustment
Perform this adjustment in an
open area free from steel
structures and high voltage lines.
For optimum calibration, turn off
all electrical accessories and make
sure that all vehicle doors are shut.
1
2
3
4
5
6
7891011121314 15
exd_claibration_adjust_compass
Controls and features
52
Page 52 of 224
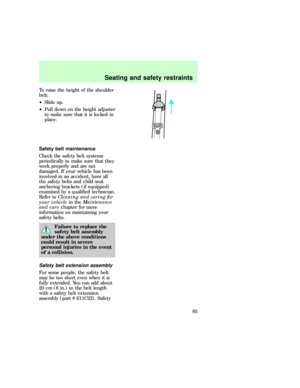
1. Start the vehicle.
2. Locate compass sensor mounted
at base of mirror.
3. Insert a paperclip into the small
hole on the bottom of the compass
sensor. Hold down until ZONE
appears in the trip computer
display Continue to hold down
until ZONE disappears and CAL is
displayed.
4. Press and hold the MODE
control until CAL appears in the
display (approximately eight
seconds) and release.
5. Drive the vehicle slowly (less
than 5 km/h [3 mph] in circles until
CAL indicator turns off (4±5
complete circles).
6. The compass is now calibrated.
Trip computer (if equipped)
This component displays a variety
of system displays. The appearance
of the component in the overhead
console may vary according to
your vehicle's equipment package.
For more information on the
operation and functions of the trip
computer, refer toTrip computer
in theInstrumentationchapter.
exd_message_center
exd_lamps_overhead_title
Controls and features
53
Page 53 of 224
Overhead lamps
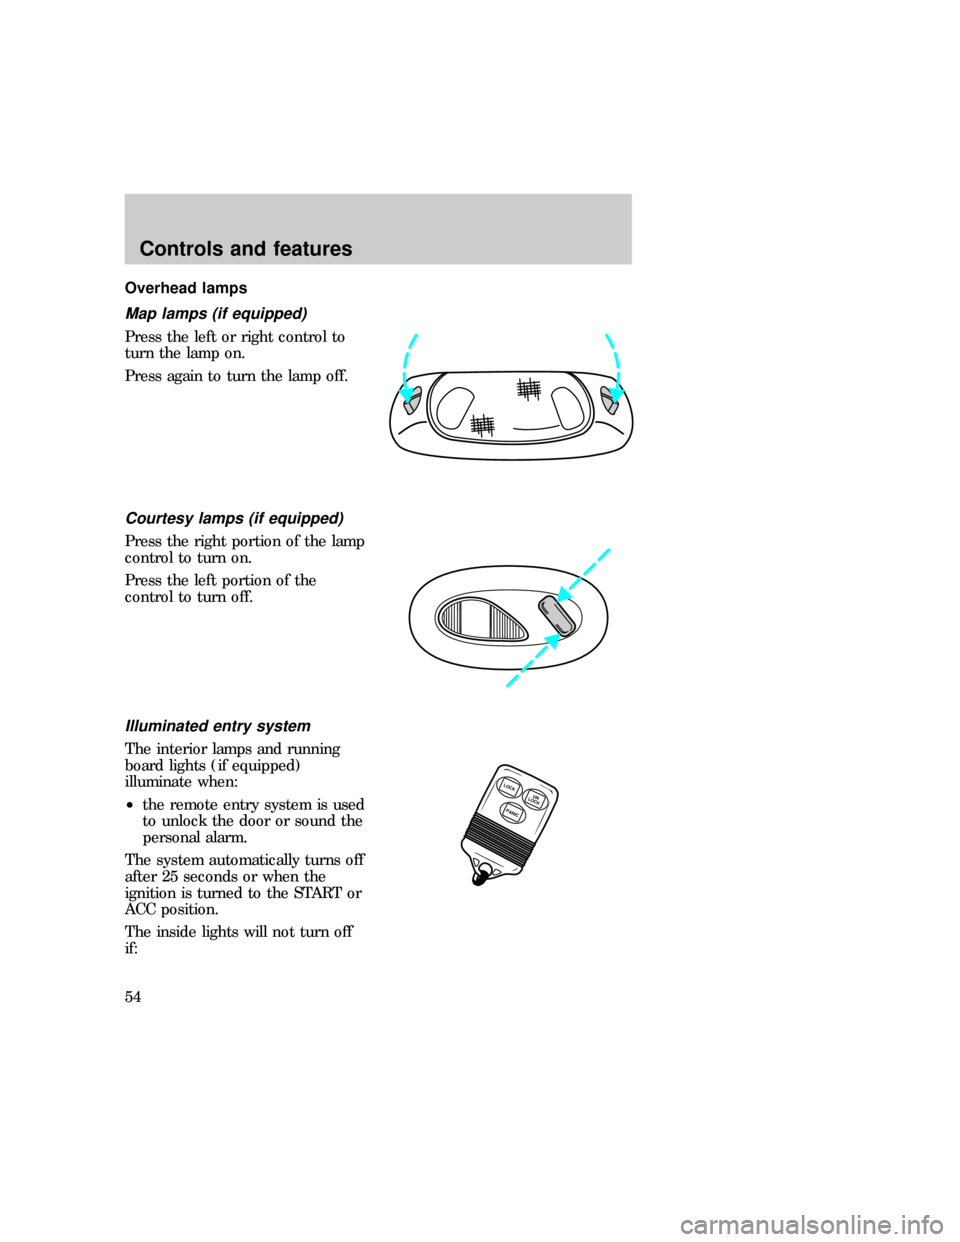
Map lamps (if equipped)
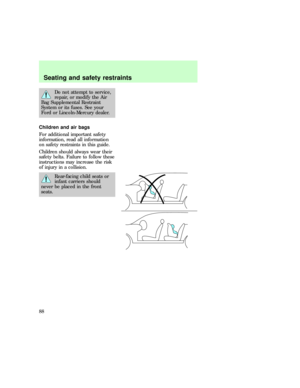
Press the left or right control to
turn the lamp on.
Press again to turn the lamp off.
Courtesy lamps (if equipped)
Press the right portion of the lamp
control to turn on.
Press the left portion of the
control to turn off.
Illuminated entry system
The interior lamps and running
board lights (if equipped)
illuminate when:
²the remote entry system is used
to unlock the door or sound the
personal alarm.
The system automatically turns off
after 25 seconds or when the
ignition is turned to the START or
ACC position.
The inside lights will not turn off
if:
LOCK
PANICUN
LOCK
exd_map_lamps exd_courtesy_lamps
uno_illuminated_entry
Controls and features
54
Page 54 of 224
²they have been turned on with
the dimmer control or
²any door is open.
Forward storage bin (if
equipped)
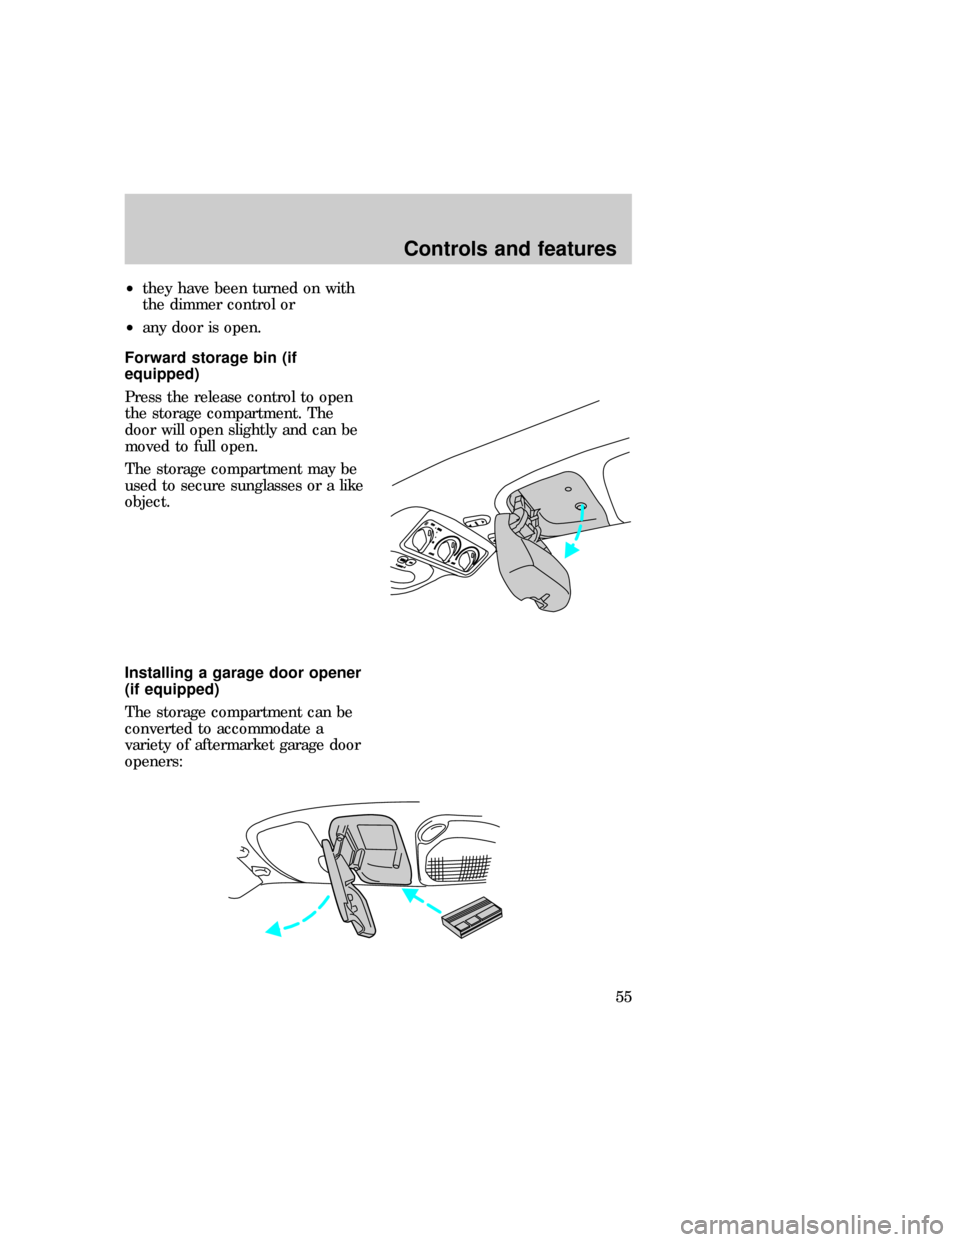
Press the release control to open
the storage compartment. The
door will open slightly and can be
moved to full open.
The storage compartment may be
used to secure sunglasses or a like
object.
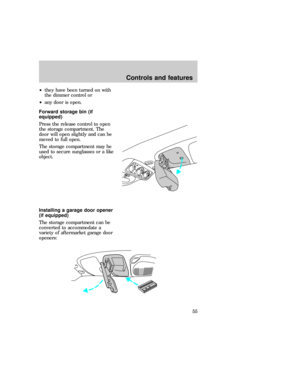
Installing a garage door opener
(if equipped)
The storage compartment can be
converted to accommodate a
variety of aftermarket garage door
openers:
exd_storage_overhead
exd_garage_door_opener
Controls and features
55
Page 55 of 224
²Place Velcroyhook onto back
side of aftermarket transmitter
opposite of actuator control.
²Place transmitter into storage
compartment, control down.
²Place the provided height
adaptors onto the back of the
storage bin door as needed.
²Press the storage compartment
door to activate the transmitter.
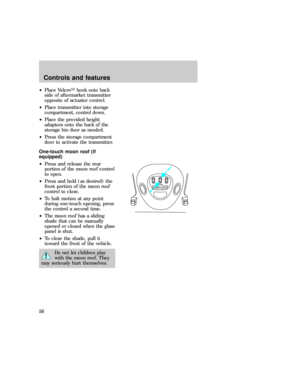
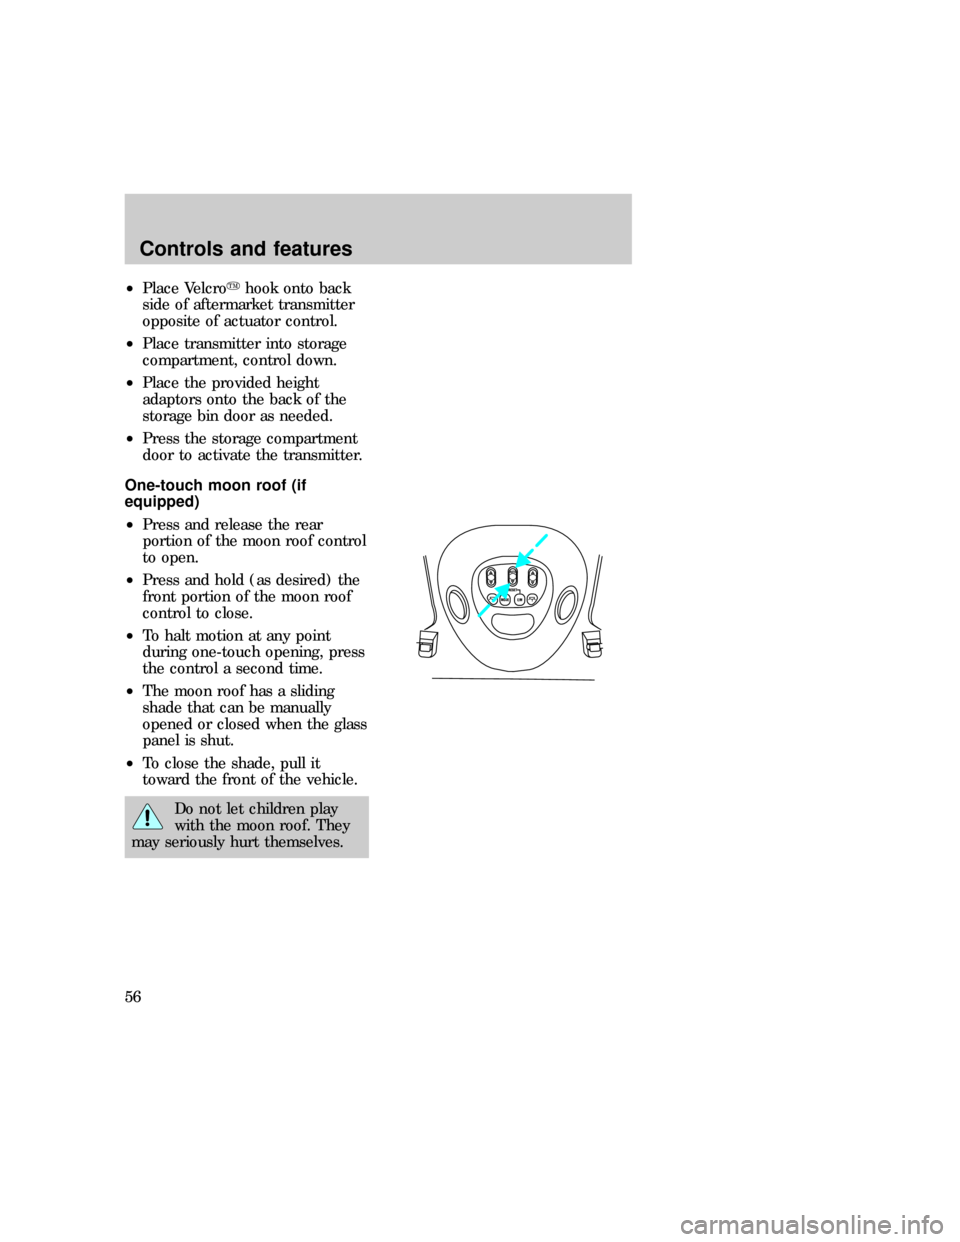
One-touch moon roof (if
equipped)
²Press and release the rear
portion of the moon roof control
to open.
²Press and hold (as desired) the
front portion of the moon roof
control to close.
²To halt motion at any point
during one-touch opening, press
the control a second time.
²The moon roof has a sliding
shade that can be manually
opened or closed when the glass
panel is shut.
²To close the shade, pull it
toward the front of the vehicle.
Do not let children play
with the moon roof. They
may seriously hurt themselves.
exd_moonroof
exd_power_quarter_window
Controls and features
56
Page 56 of 224
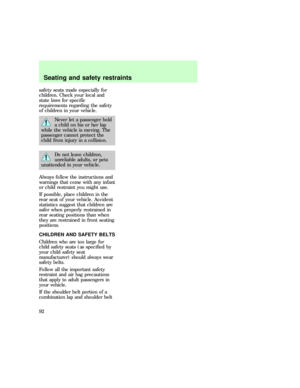
Power quarter rear windows (if
equipped)
Press the
portion of the VENT
control to open the power rear
quarter windows.
Press the
portion of the VENT
control to close the power rear
quarter windows.
RESET
VENTVENT
MODE E/M
exd_title_door-mount
Controls and features
57