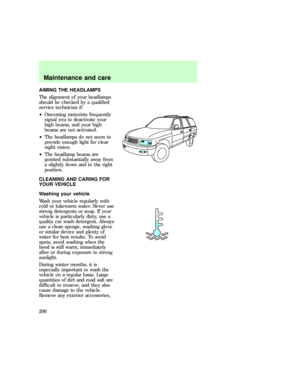
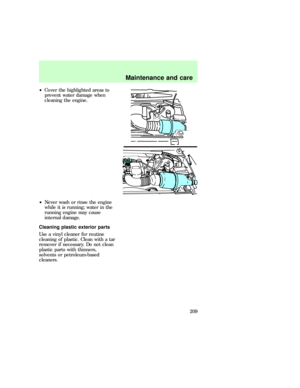
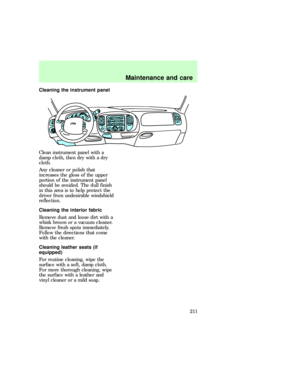
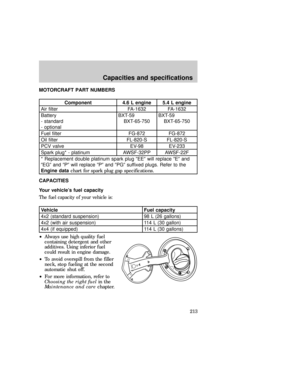
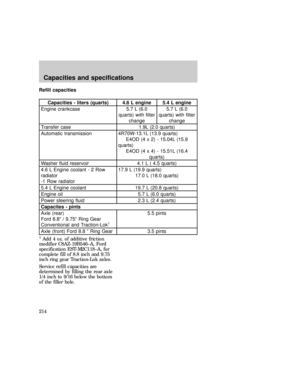
Page 57 of 224
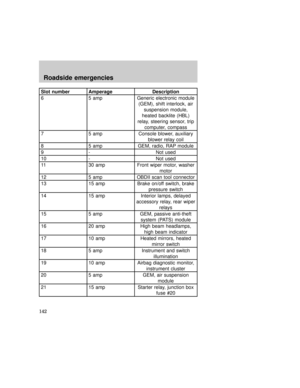
Power windows
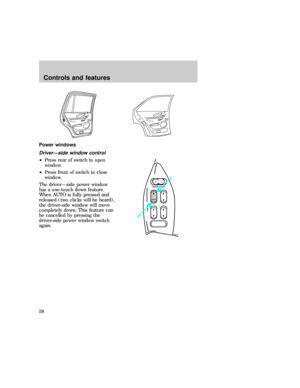
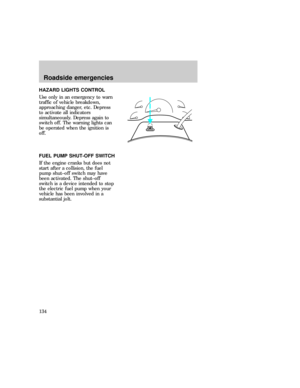
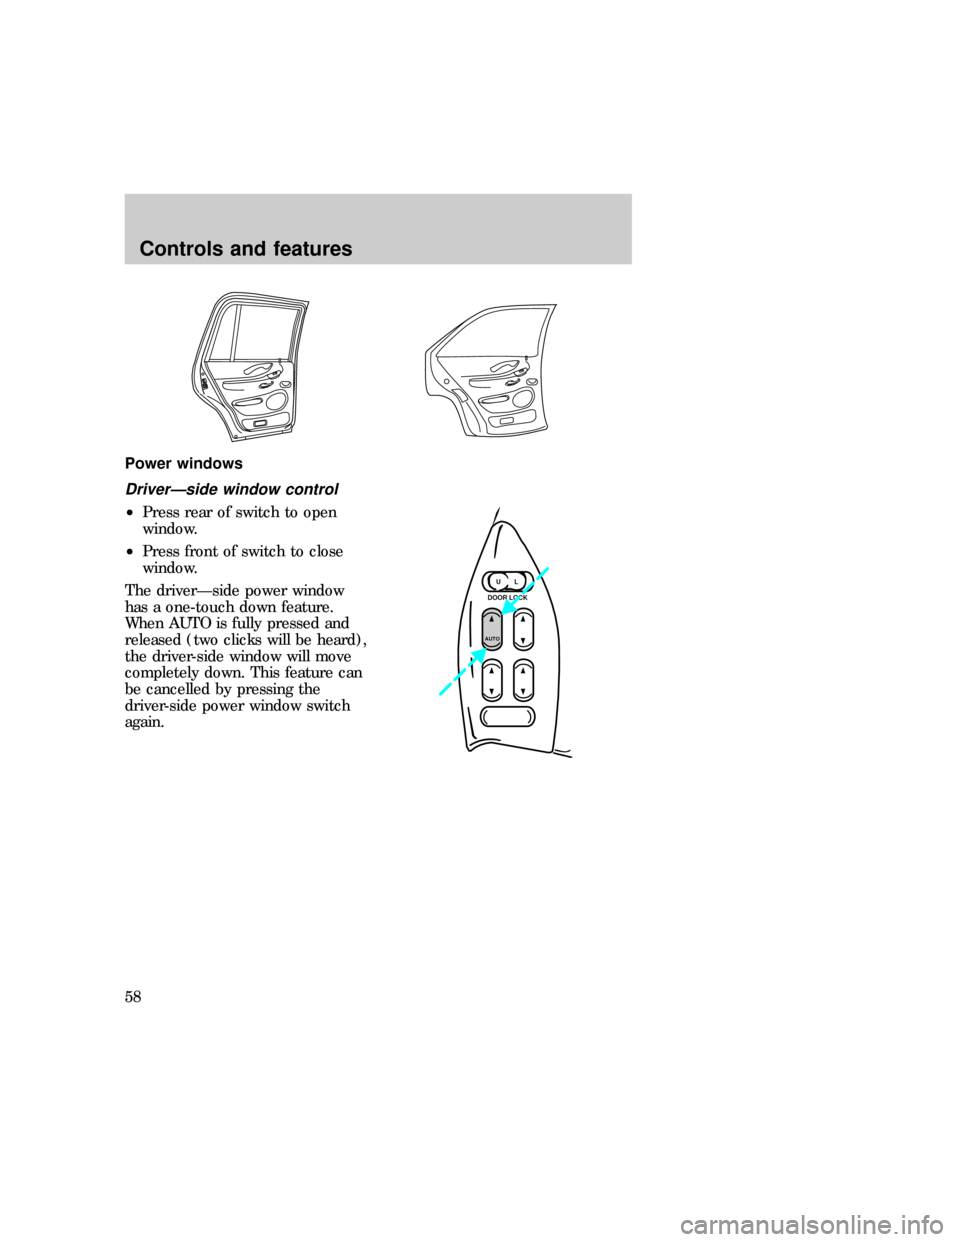
DriverÐside window control
²Press rear of switch to open
window.
²Press front of switch to close
window.
The driverÐside power window
has a one-touch down feature.
When AUTO is fully pressed and
released (two clicks will be heard),
the driver-side window will move
completely down. This feature can
be cancelled by pressing the
driver-side power window switch
again.
UL
DOOR LOCK
AUTO
exd_driver_windows
exd_passenger_window_controls
Controls and features
58
Page 58 of 224
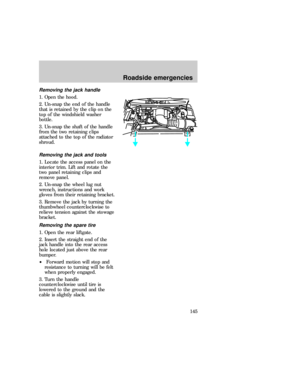
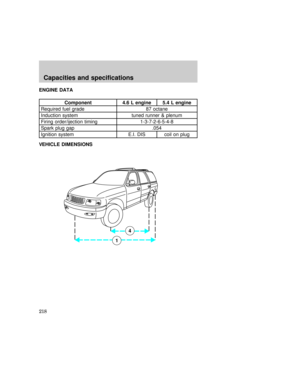
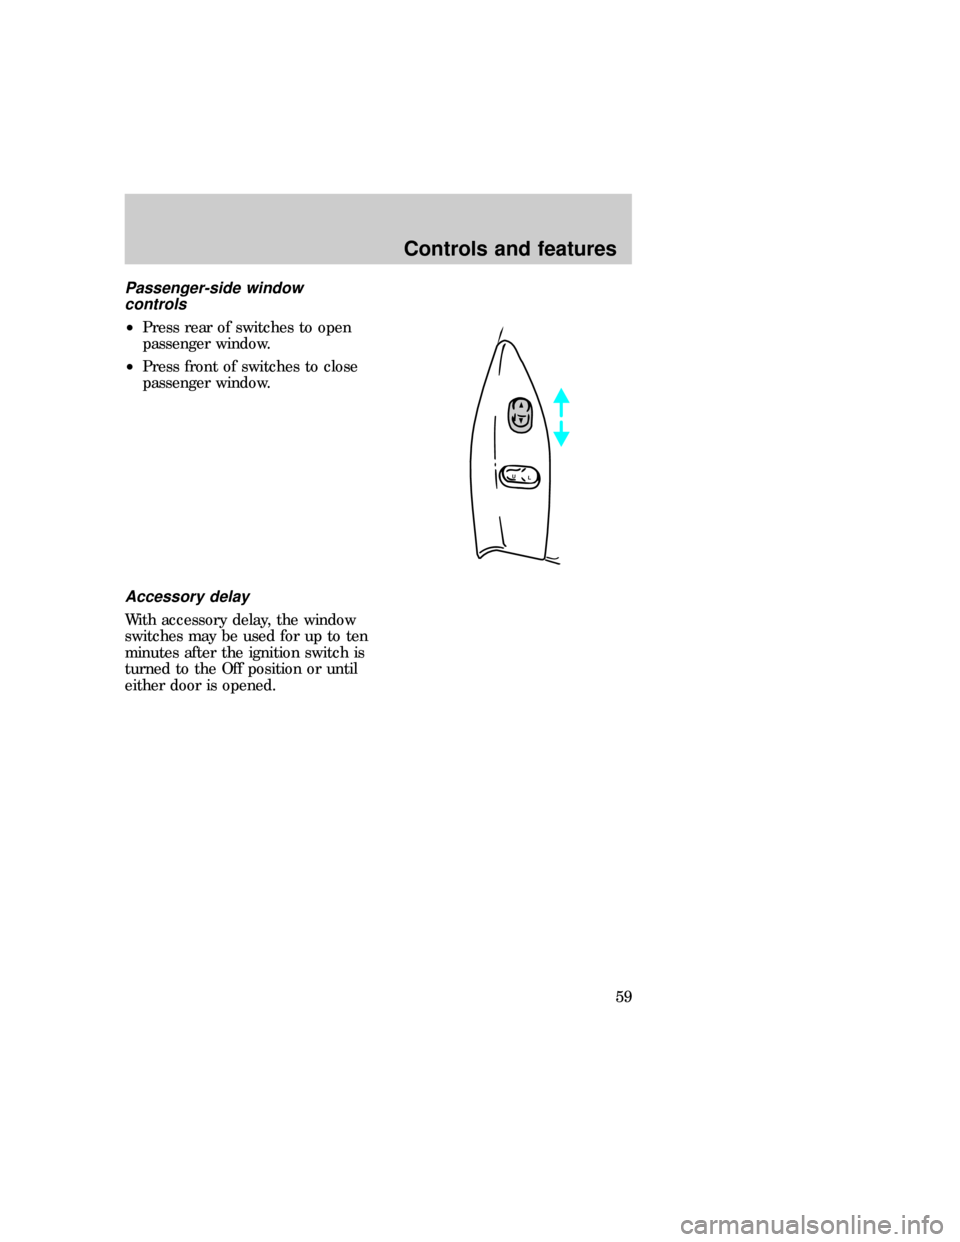
Passenger-side window
controls
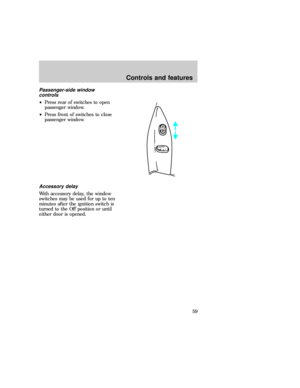
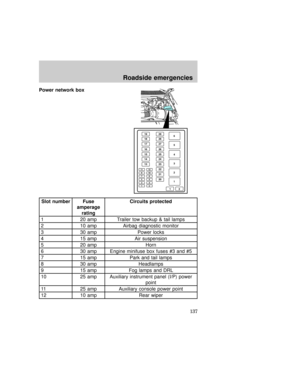
²Press rear of switches to open
passenger window.
²Press front of switches to close
passenger window.
Accessory delay
With accessory delay, the window
switches may be used for up to ten
minutes after the ignition switch is
turned to the Off position or until
either door is opened.
L
U
exd_acc_delay
exd_door_locks_power
Controls and features
59
Page 59 of 224
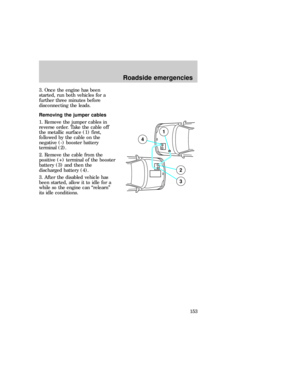
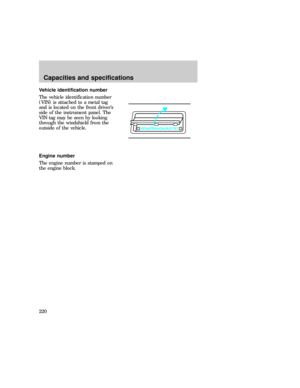
Power door locks
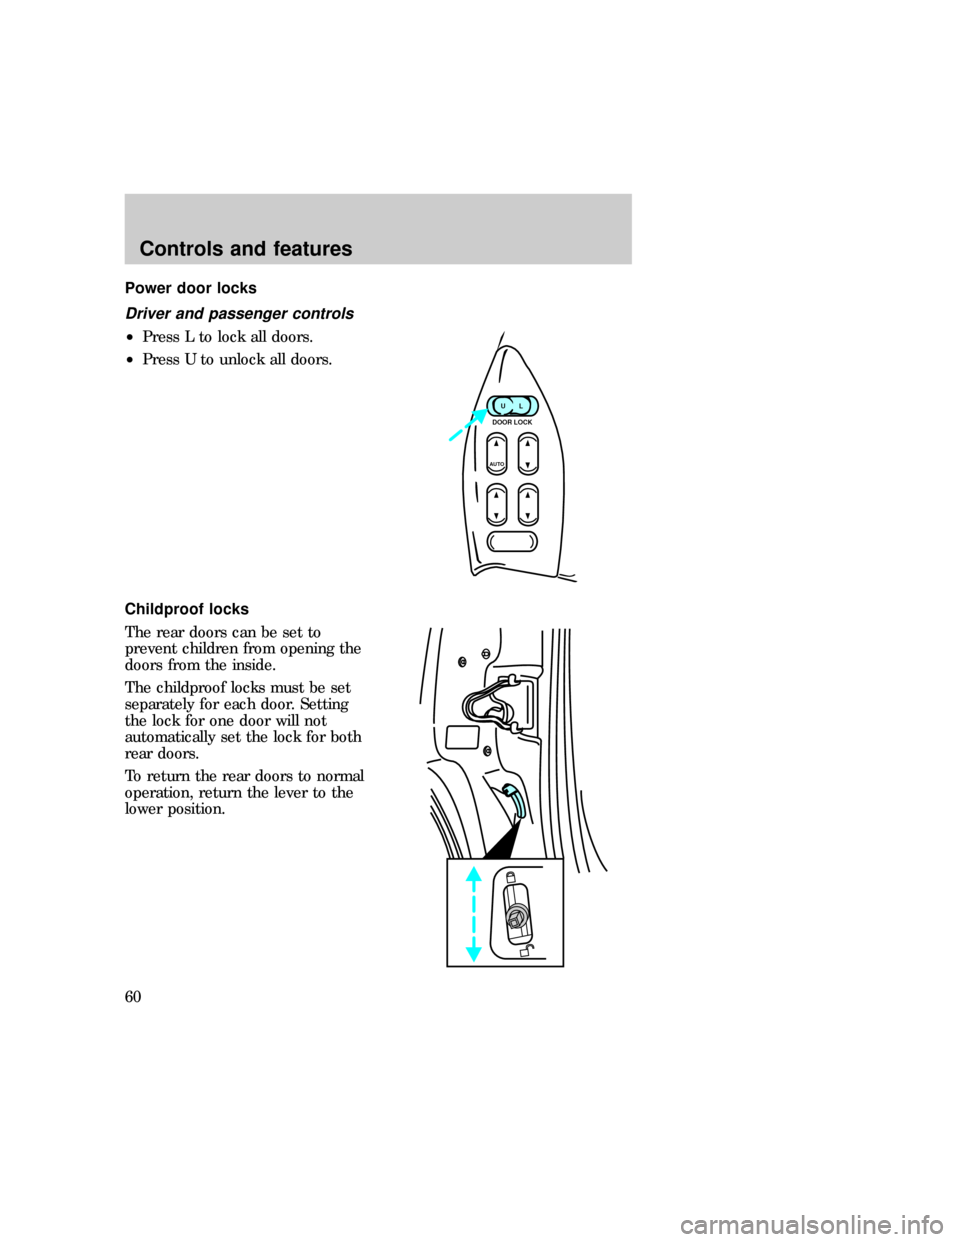
Driver and passenger controls
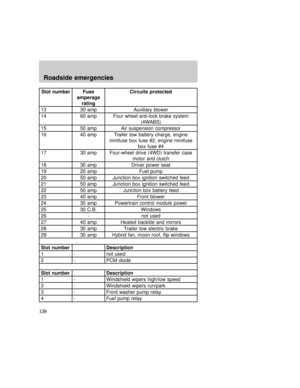
²Press L to lock all doors.
²Press U to unlock all doors.
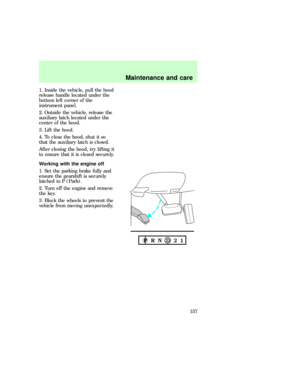
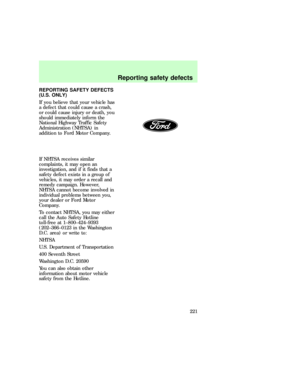
Childproof locks
The rear doors can be set to
prevent children from opening the
doors from the inside.
The childproof locks must be set
separately for each door. Setting
the lock for one door will not
automatically set the lock for both
rear doors.
To return the rear doors to normal
operation, return the lever to the
lower position.
UL
DOOR LOCK
AUTO
exd_driver_controls exd_childproof_locks
exd_mirrors_power
Controls and features
60
Page 60 of 224

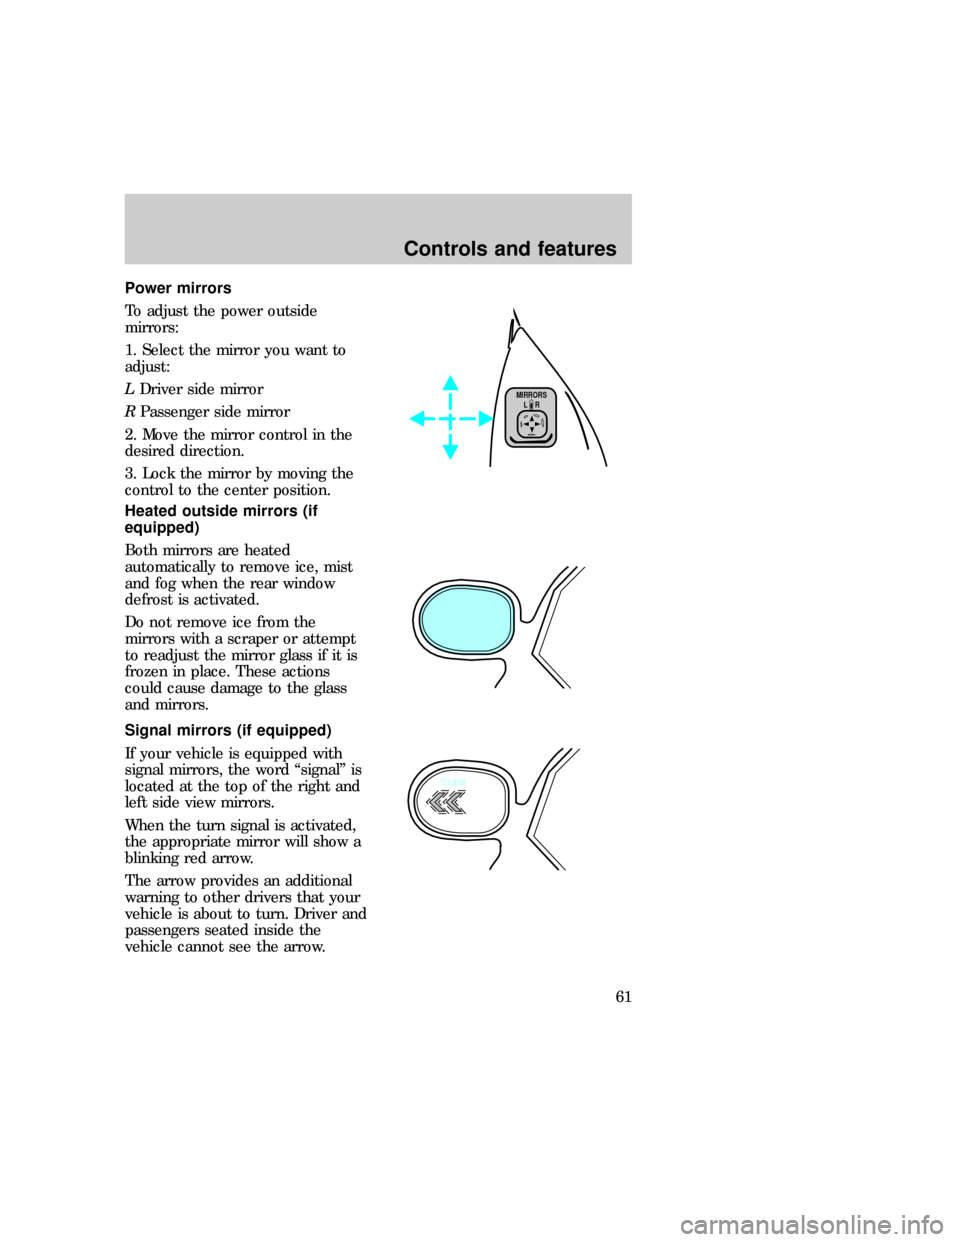
Power mirrors
To adjust the power outside
mirrors:
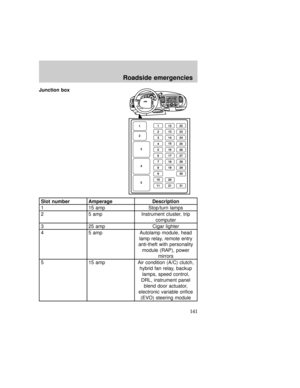
1. Select the mirror you want to
adjust:
LDriver side mirror
RPassenger side mirror
2. Move the mirror control in the
desired direction.
3. Lock the mirror by moving the
control to the center position.
Heated outside mirrors (if
equipped)
Both mirrors are heated
automatically to remove ice, mist
and fog when the rear window
defrost is activated.
Do not remove ice from the
mirrors with a scraper or attempt
to readjust the mirror glass if it is
frozen in place. These actions
could cause damage to the glass
and mirrors.
Signal mirrors (if equipped)
If your vehicle is equipped with
signal mirrors, the word ªsignalº is
located at the top of the right and
left side view mirrors.
When the turn signal is activated,
the appropriate mirror will show a
blinking red arrow.
The arrow provides an additional
warning to other drivers that your
vehicle is about to turn. Driver and
passengers seated inside the
vehicle cannot see the arrow.
L MIRRORS
R
Signal
exd_heated_mirrors
exd_signal_mirrors
exd_liftgate_controls
Controls and features
61
Page 61 of 224
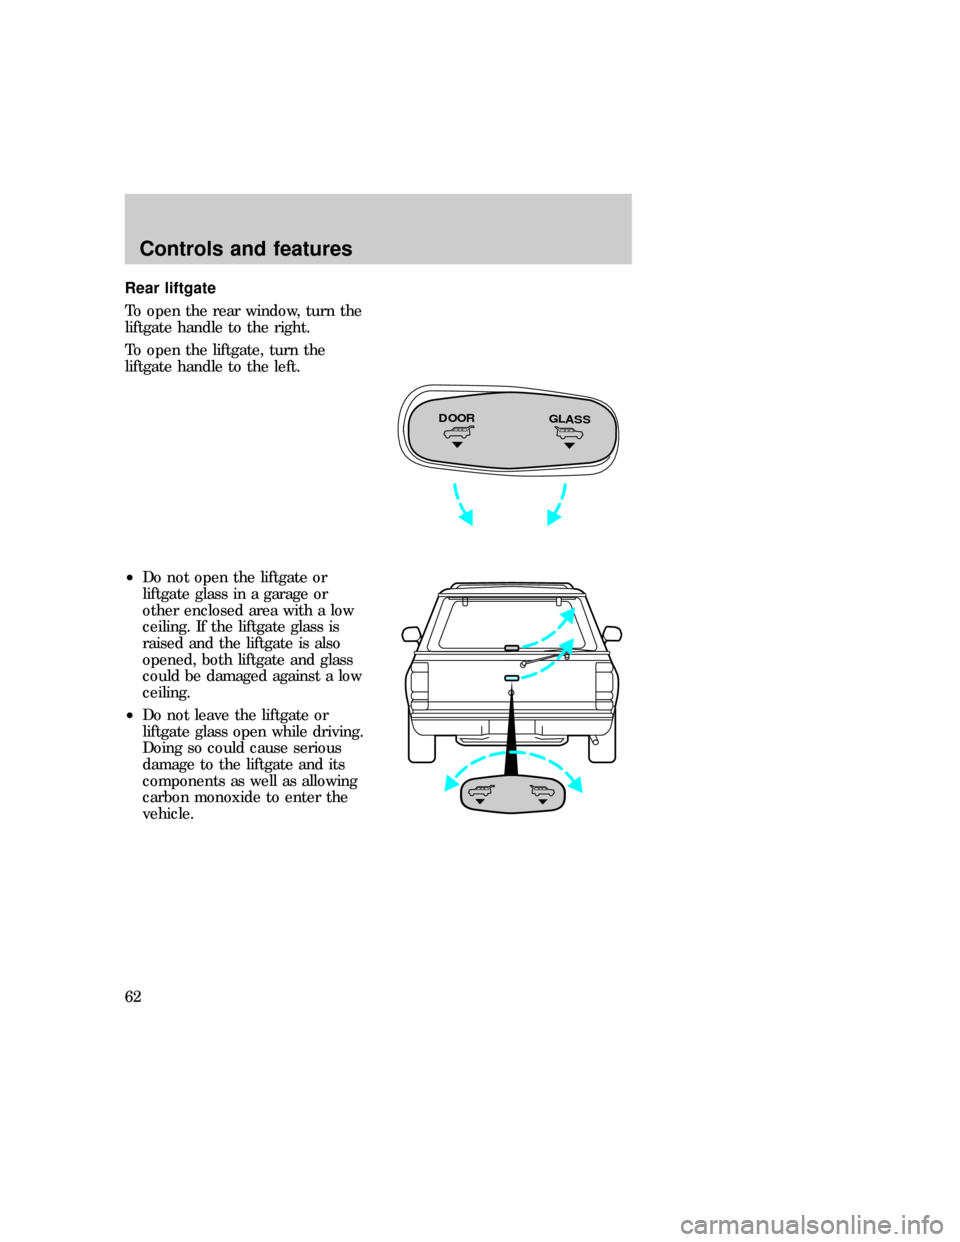
Rear liftgate
To open the rear window, turn the
liftgate handle to the right.
To open the liftgate, turn the
liftgate handle to the left.
²Do not open the liftgate or
liftgate glass in a garage or
other enclosed area with a low
ceiling. If the liftgate glass is
raised and the liftgate is also
opened, both liftgate and glass
could be damaged against a low
ceiling.
²Do not leave the liftgate or
liftgate glass open while driving.
Doing so could cause serious
damage to the liftgate and its
components as well as allowing
carbon monoxide to enter the
vehicle.
DOORGLASS
exd_title_console
Controls and features
62
Page 62 of 224
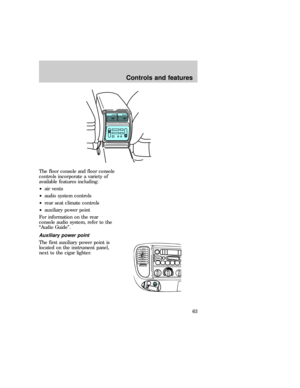
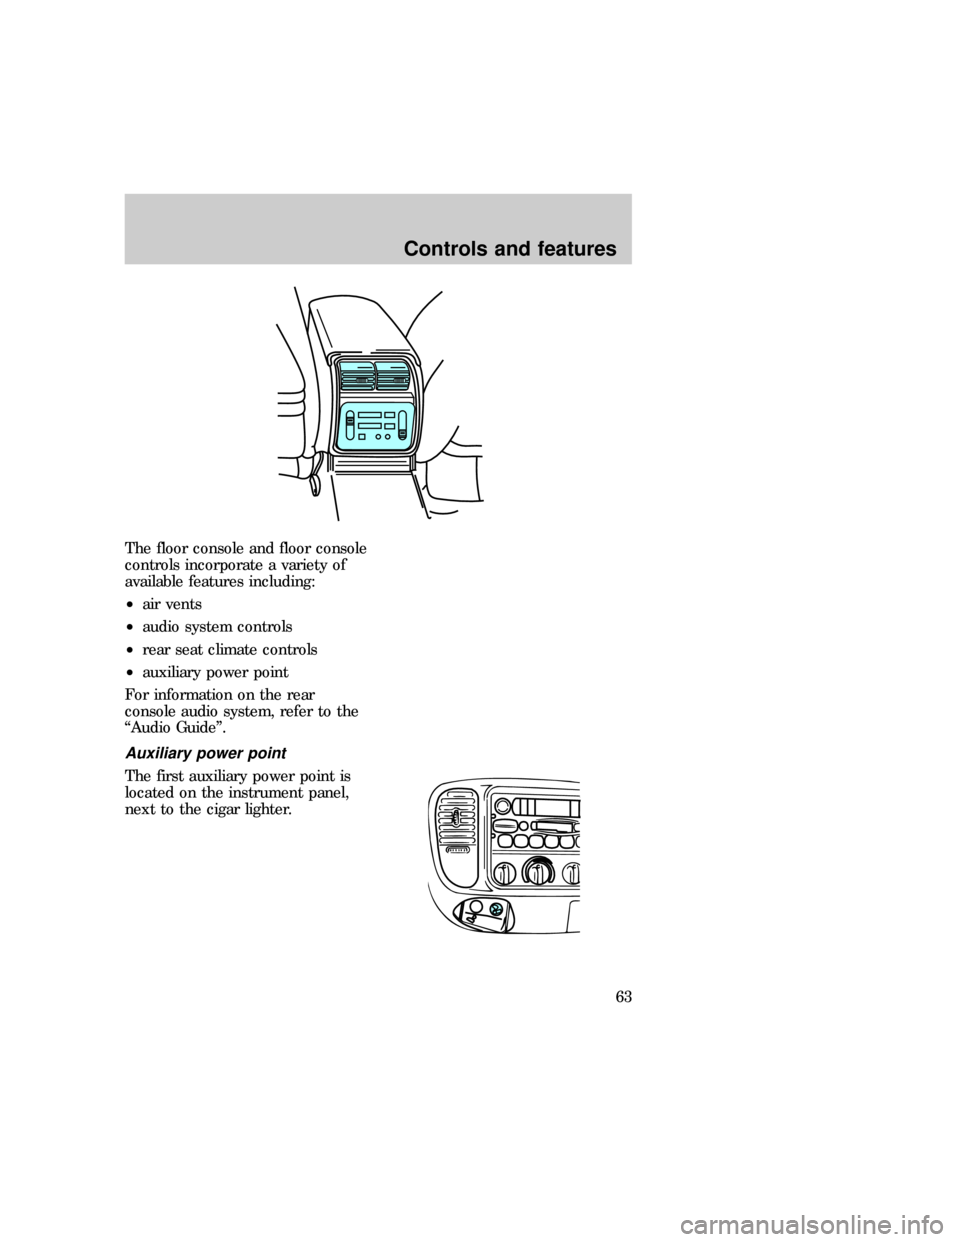
The floor console and floor console
controls incorporate a variety of
available features including:
²air vents
²audio system controls
²rear seat climate controls
²auxiliary power point
For information on the rear
console audio system, refer to the
ªAudio Guideº.
Auxiliary power point
The first auxiliary power point is
located on the instrument panel,
next to the cigar lighter.
exd_rear_console
exd_aux_power_point
Controls and features
63
Page 63 of 224
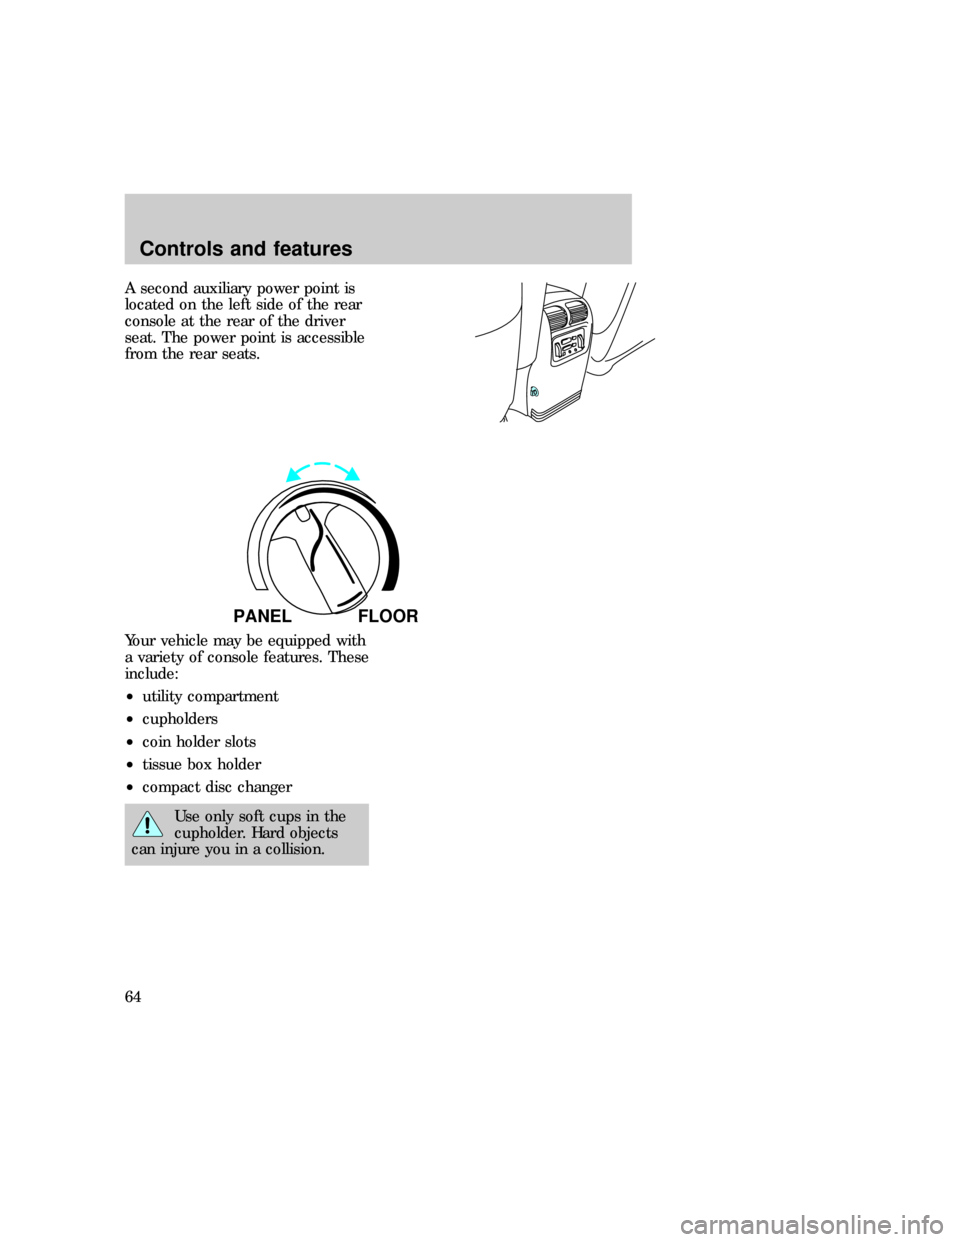
A second auxiliary power point is
located on the left side of the rear
console at the rear of the driver
seat. The power point is accessible
from the rear seats.
Your vehicle may be equipped with
a variety of console features. These
include:
²utility compartment
²cupholders
²coin holder slots
²tissue box holder
²compact disc changer
Use only soft cups in the
cupholder. Hard objects
can injure you in a collision.
PANEL FLOOR
exd_title_floor-mount
exd_center_console_title
exd_tissue_box_replace
Controls and features
64
Page 64 of 224
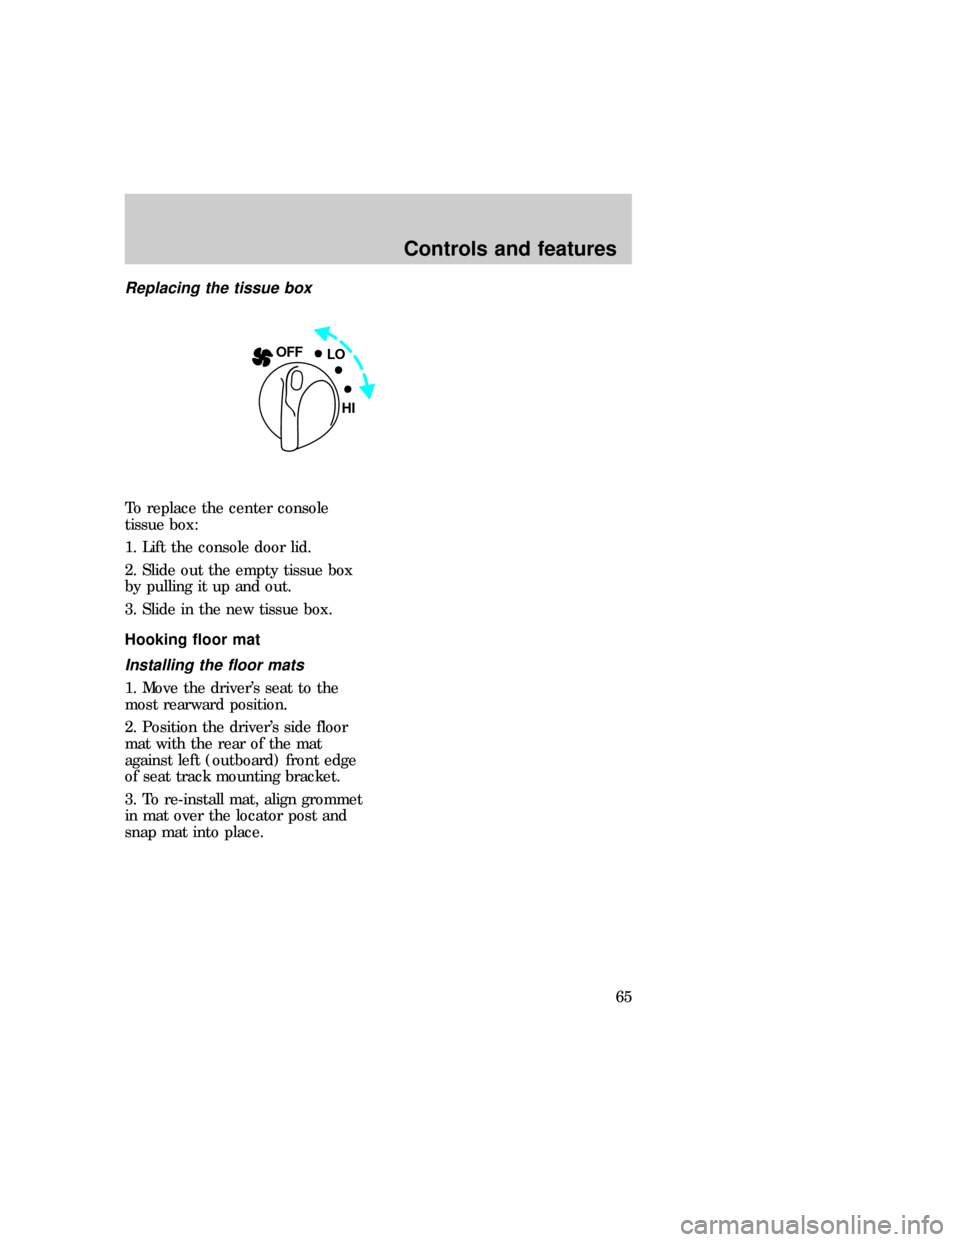
Replacing the tissue box
To replace the center console
tissue box:
1. Lift the console door lid.
2. Slide out the empty tissue box
by pulling it up and out.
3. Slide in the new tissue box.
Hooking floor mat
Installing the floor mats
1. Move the driver's seat to the
most rearward position.
2. Position the driver's side floor
mat with the rear of the mat
against left (outboard) front edge
of seat track mounting bracket.
3. To re-install mat, align grommet
in mat over the locator post and
snap mat into place.
LO OFF
HI
exd_hoking_floor_mat
Controls and features
65