Page 129 of 224

²Weigh your vehicle as you
customarily operate the vehicle
without cargo.
²Subtract the total weight of
passengers, driver and
aftermarket equipment and the
obtained weight (in the step
above) from the GCWR to
determine the trailer weight
your vehicloe can tow.
Trailer weight range
The trailer weight range is the
specified range by weight that the
trailer must fall within. The range
is between zero and the maximum
trailer weight rating found in this
chapter.
Using trailer brakes
Use electric brakes or manual,
automatic or surge type hydraulic
brakes that meet Federal and local
regulations. Install and adjust
brakes according to the
manufacturer's instructions.
Do not connect a trailer's
hydraulic brake system
directly to your vehicle's brake
system. Your vehicle may not
have enough braking power and
your chances of having a
collision greatly increase.
Using safety chains
Always connect the trailer's safety
chains to the vehicle. To connect
the chains, cross the chains under
the trailer tongue and attach to the
exd_weight_range
exd_brakes_trailer
exd_safety_chains
Driving
130
Page 130 of 224

vehicle frame or hook retainers
(not the bumper). Make sure there
is enough slack to allow the vehicle
to turn corners.
For more information, refer to
ªFord Recreational Vehicle and
Trailer Towing Guideº available
from your Ford dealer.
Using trailer lamps
See your local trailer retailer or
rental agency for proper
instructions and equipment for
hooking up trailer lamps.
Do not hook the trailer lights
directly into the vehicle's wiring
system. If the trailer lamps are not
connected properly, the warning
lights in the instrument cluster
may not work properly.
Using a hitch
Do not use hitches that:
²clamp onto the vehicle bumper
²attach to the axle.
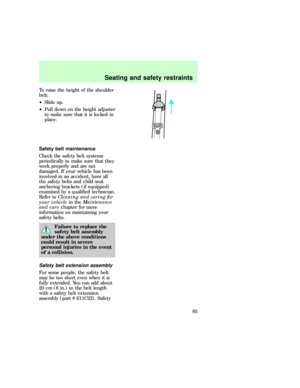
Distribute the load so that only 10
to 15% of the total weight of the
trailer is on the tongue. Tie down
the load so that it does not shift
and change the weight on the
hitch. Follow the towing
instructions of a reputable rental
agency.
Using a load-equalizing hitch
Follow the hitch manufactures
guidelines for the installation and
specific use of a load equalizing
hitch on this vehicle. In no cases
exd_lamps_trailer
exd_hitch_using
exd_load_equalizing_hitch
Driving
131
Page 131 of 224

should the vehicle weight ratings
per axle or combination truck and
trailer exceed the weight ratings
listed on the Safety Compliance
Certification label located on the
driver's side door.
When connecting a trailer hitch:
1. Turn off the air suspension
switch.
2. Connect the trailer.
3. Turn the air suspension back on.
Adjusting an equalizing
hitch so the rear bumper
of the vehicle is lower or higher
than it was unloaded will defeat
the function of the load
equalizing hitch and may cause
unpredictable handling.
Driving while towing a trailer
Speed control (if equipped) may
not work properly while towing on
long, steep grades.
Driving with an automatic
transmission:
²use D, 1 or 2 rather than
Dwhile towing up or down
steep hills
²anticipate stops and brake
gradually.
Towing behind another vehicle
Your vehicle can not be flat towed
with all wheels on the ground.
No neutral tow kit is available for
your vehicle.
exd_driving_trailer
exd_towing_another_vehicle
exd_servicing_while_towing
Driving
132
Page 132 of 224
Servicing while towing
If you tow a trailer for long
distances, your vehicle requires
more frequent service than a
vehicle not used for towing. Refer
to the ªService GuideºSevere
Duty Schedulefor more
information on maintenance
intervals.
Using a step bumper
The rear bumper is equipped with
an intregal hitch and requires only
a ball with a 1 inch shank
diameter. The bumper has a 1814
kg (4000 lb) trailer weight and 181
kg (400 lb) tongue weight
capability.
Use a frame mounted weight
distributing hitch for trailers over
1814 kg (4000 lb).
FUEL CONSUMPTION
Fuel economy can be improved by
avoiding:
²lack of regular, scheduled
maintenance
²excessive speed
²rapid acceleration
exd_step_bumper
com_fuel_consumption.01
Driving
133
Page 133 of 224
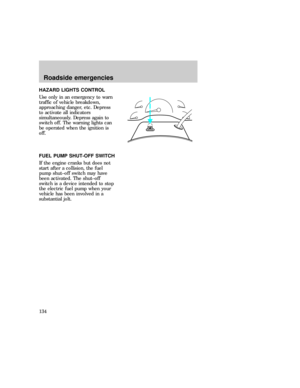
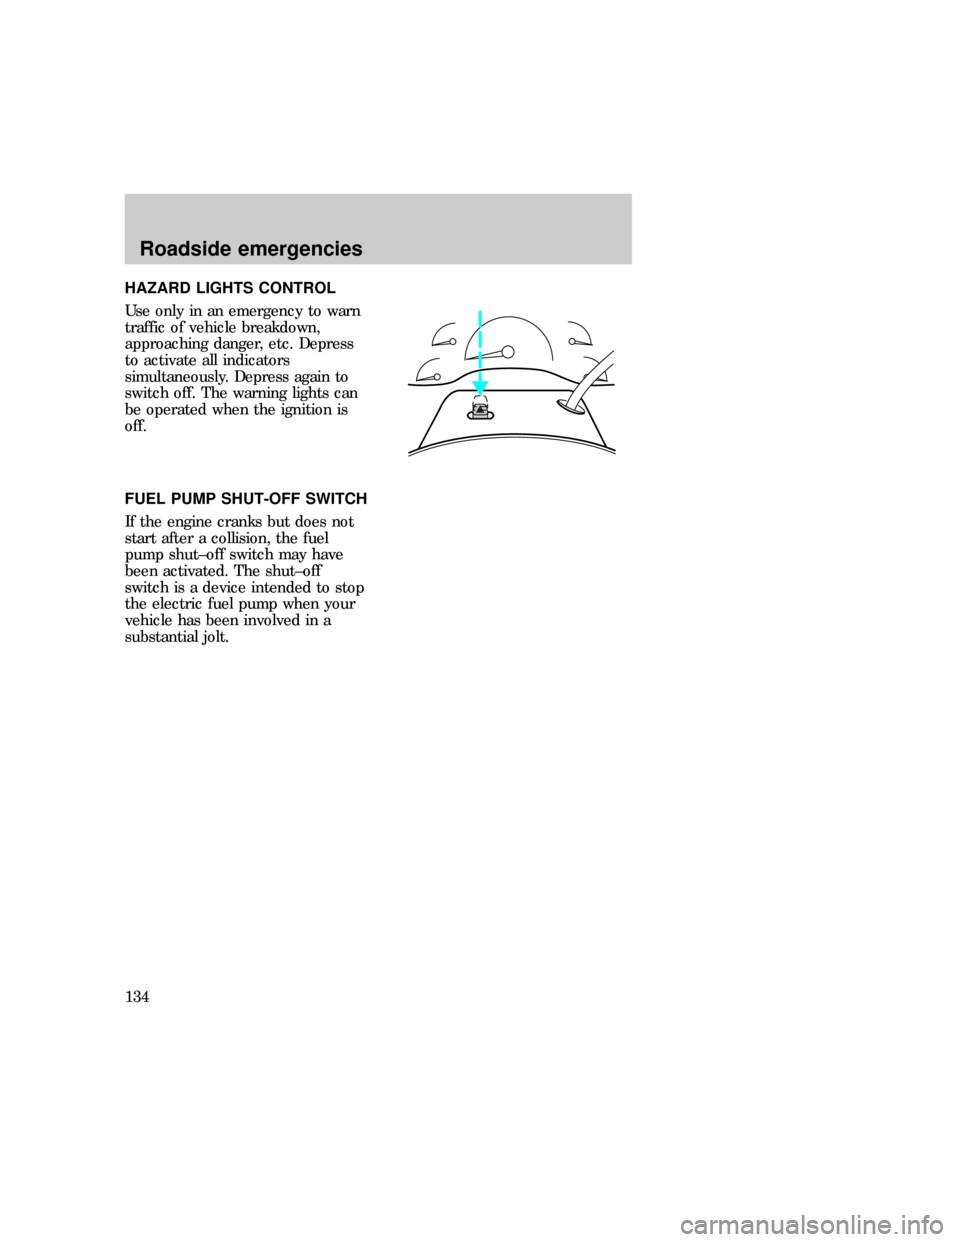
HAZARD LIGHTS CONTROL
Use only in an emergency to warn
traffic of vehicle breakdown,
approaching danger, etc. Depress
to activate all indicators
simultaneously. Depress again to
switch off. The warning lights can
be operated when the ignition is
off.
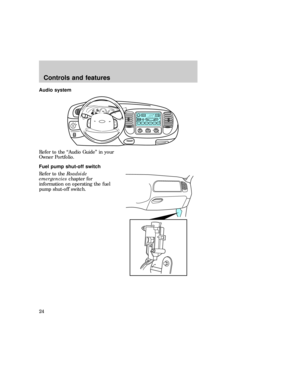
FUEL PUMP SHUT-OFF SWITCH
If the engine cranks but does not
start after a collision, the fuel
pump shut±off switch may have
been activated. The shut±off
switch is a device intended to stop
the electric fuel pump when your
vehicle has been involved in a
substantial jolt.com_hazard_switch.01
exd_fuel_shut-off
Roadside emergencies
134
Page 134 of 224
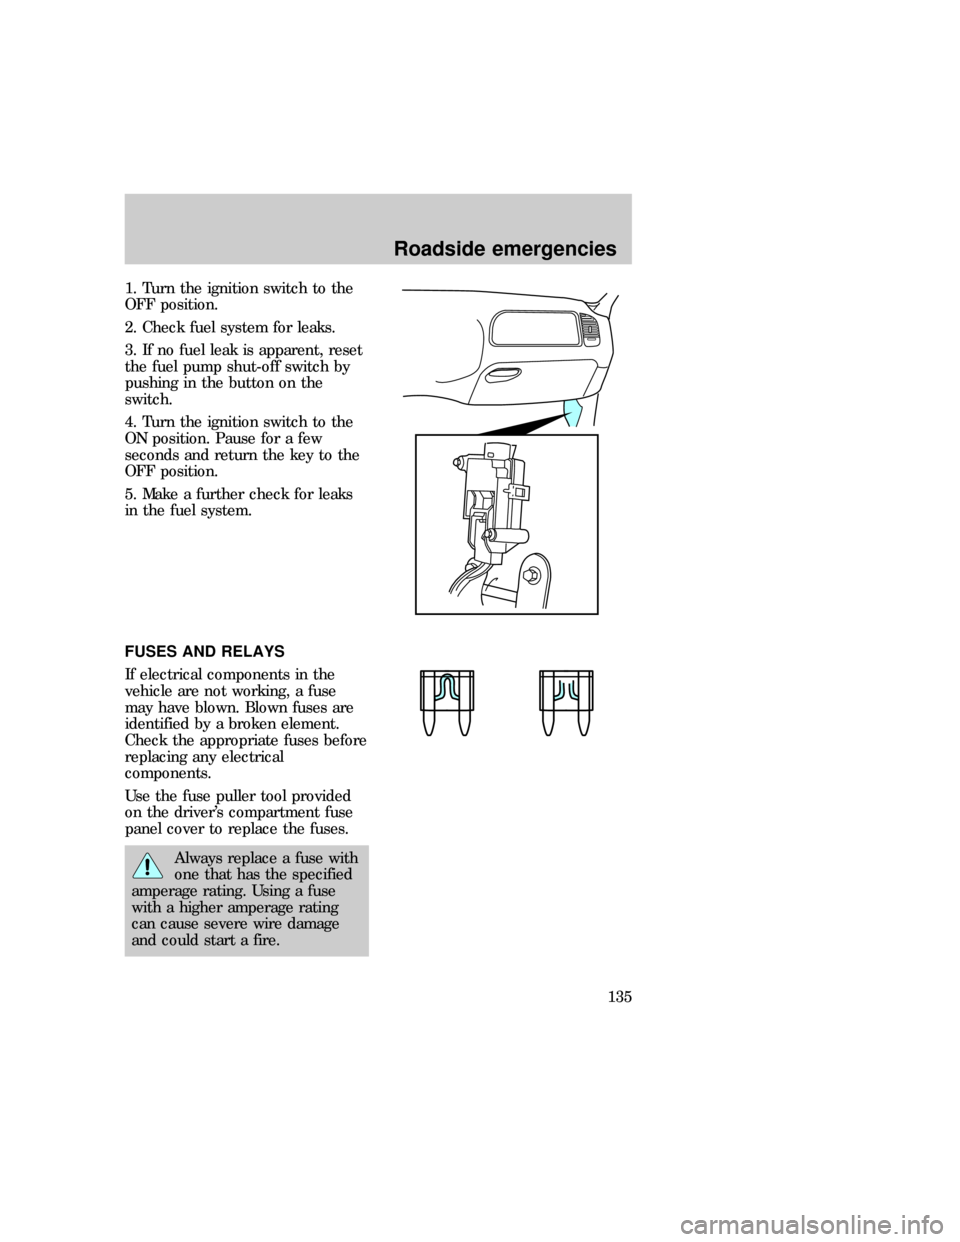
1. Turn the ignition switch to the
OFF position.
2. Check fuel system for leaks.
3. If no fuel leak is apparent, reset
the fuel pump shut-off switch by
pushing in the button on the
switch.
4. Turn the ignition switch to the
ON position. Pause for a few
seconds and return the key to the
OFF position.
5. Make a further check for leaks
in the fuel system.
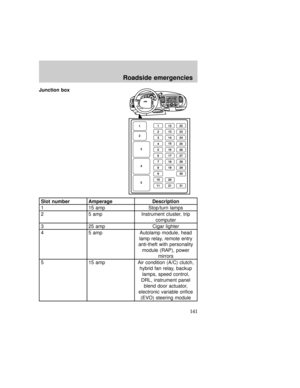
FUSES AND RELAYS
If electrical components in the
vehicle are not working, a fuse
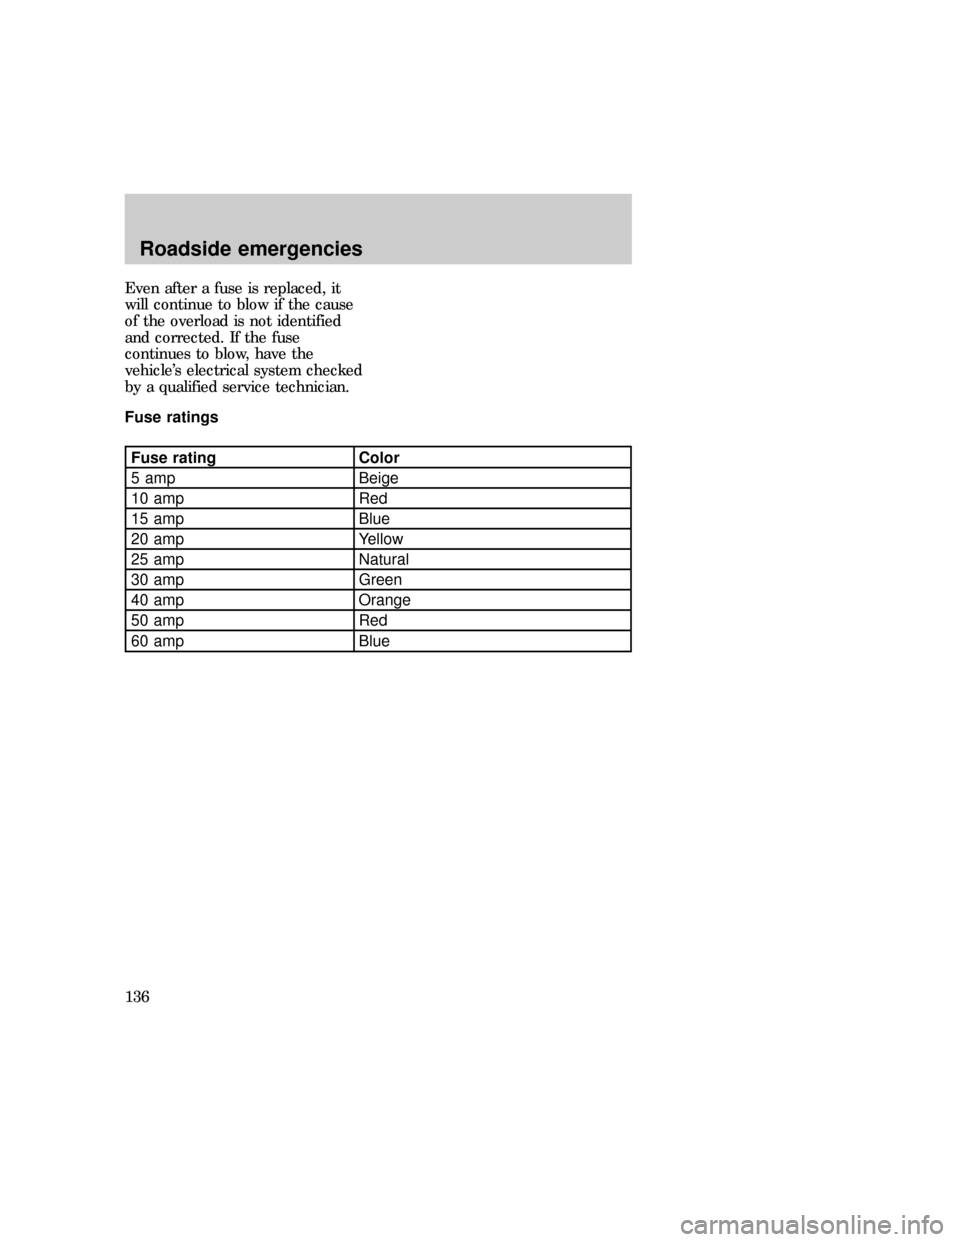
may have blown. Blown fuses are
identified by a broken element.
Check the appropriate fuses before
replacing any electrical
components.
Use the fuse puller tool provided
on the driver's compartment fuse
panel cover to replace the fuses.
Always replace a fuse with
one that has the specified
amperage rating. Using a fuse
with a higher amperage rating
can cause severe wire damage
and could start a fire.
exd_fuses_data
Roadside emergencies
135
Page 135 of 224
Even after a fuse is replaced, it
will continue to blow if the cause
of the overload is not identified
and corrected. If the fuse
continues to blow, have the
vehicle's electrical system checked
by a qualified service technician.
Fuse ratings
Fuse rating Color
5 amp Beige
10 amp Red
15 amp Blue
20 amp Yellow
25 amp Natural
30 amp Green
40 amp Orange
50 amp Red
60 amp Blue
exd_ratings_fuses
Roadside emergencies
136
Page 136 of 224
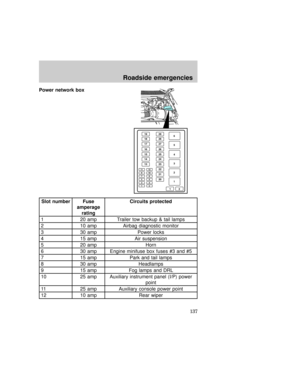
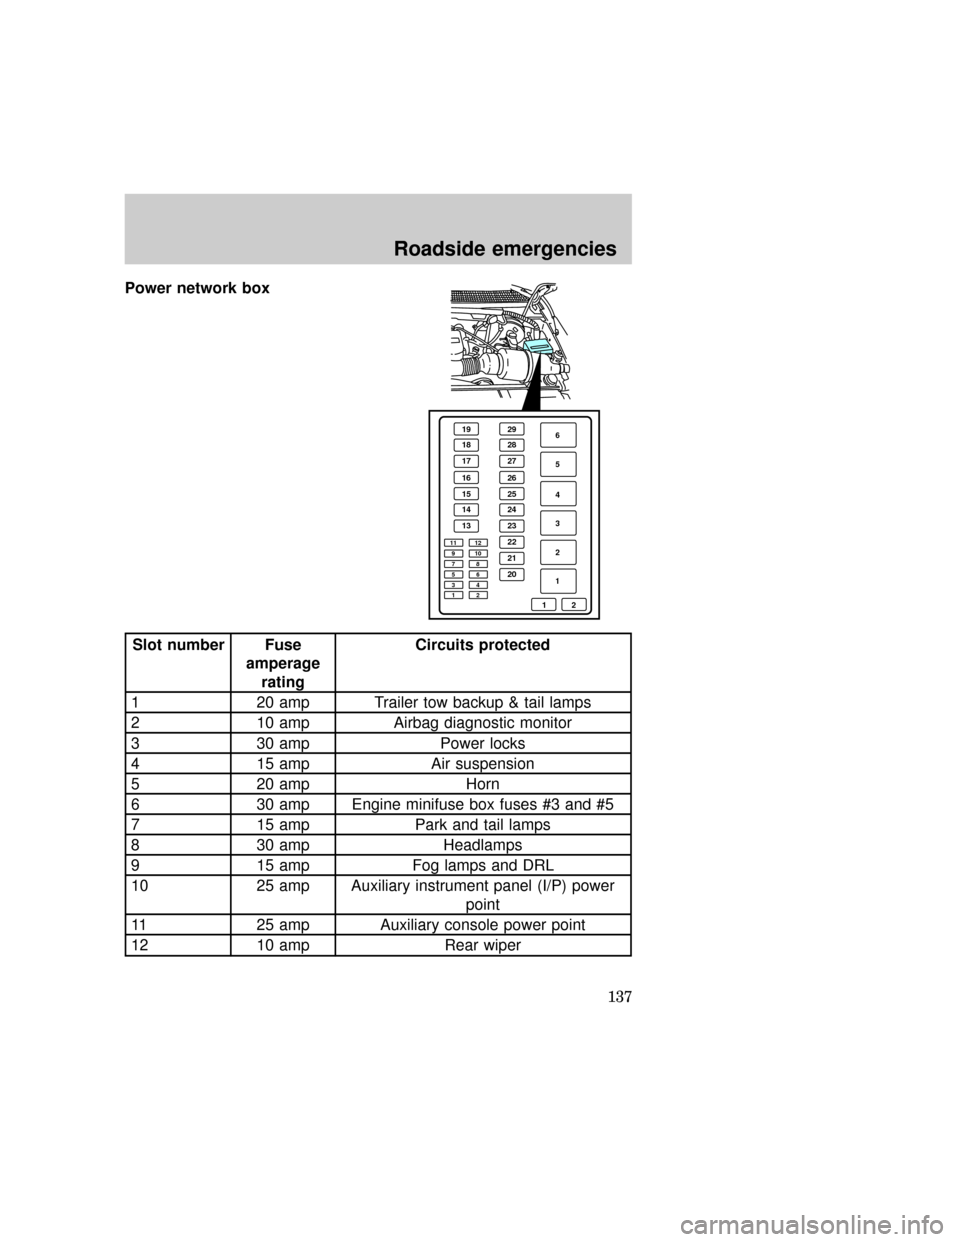
Power network box
Slot number Fuse
amperage
ratingCircuits protected
1 20 amp Trailer tow backup & tail lamps
2 10 amp Airbag diagnostic monitor
3 30 amp Power locks
4 15 amp Air suspension
5 20 amp Horn
6 30 amp Engine minifuse box fuses #3 and #5
7 15 amp Park and tail lamps
8 30 amp Headlamps
9 15 amp Fog lamps and DRL
10 25 amp Auxiliary instrument panel (I/P) power
point
11 25 amp Auxiliary console power point
12 10 amp Rear wiper
29
6
5
4
3
2
1 28
27
26
25
24
2319
18
17
16
15
14
13
22
21
20
12
1197531
12108642
exd_power_network_box
Roadside emergencies
137