1997 CHEVROLET CORVETTE radio
[x] Cancel search: radioPage 54 of 356
Downloaded from www.Manualslib.com manuals search engine Power Door Locks
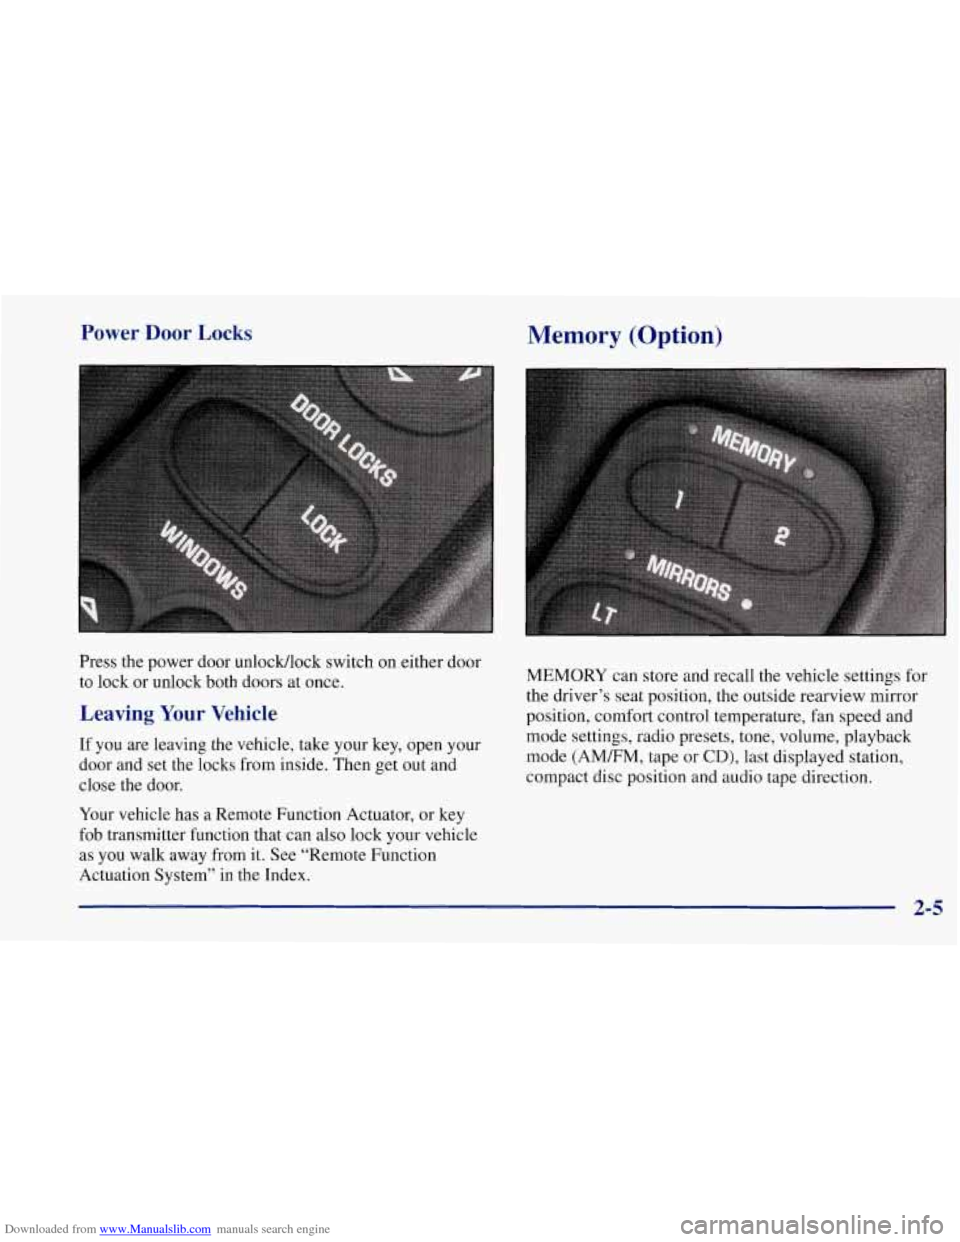
Press the power door unlocMlock switch on either door
to lock or unlock both doors at once.
Leaving Your Vehicle
If you are leaving the vehicle, take your key, open your
door and set the locks from inside. Then get out and
close the door.
Your vehicle has a Remote Function Actuator, or key
fob transmitter function that can also lock your vehicle
as you walk away from it. See “Remote Function
Actuation System” in the Index.
Memory (Option)
MEMORY can store and recall the vehicle settings for
the driver’s seat position, the outside rearview mirror
position, comfort control temperature, fan speed and
mode settings, radio presets, tone, volume, playback
mode
(AMEM, tape or CD), last displayed station,
compact disc position and audio tape direction.
Page 56 of 356
Downloaded from www.Manualslib.com manuals search engine Your RFA system operates on a radio frequency subject
to Federal Communications Commission (FCC) Rules
and with Industry Canada.
This device complies with Part 15 of the FCC Rules.
Operation is subject to the following two conditions:
(1) this device may not cause harmful interference, and
(2) this device must accept any interference received,
including interference that may cause undesired
operation.
This device complies with RSS-210 of Industry Canada.
Operation is subject to the following two conditions:
(1) this device may not cause interference, and (2)
this device must accept any interference received,
including interference that may cause undesired
operation of the device.
If you ever notice
a decrease in the key fob transmitter
range, try doing one of the following:
0 Check to determine if battery replacement is
necessary. See the instructions that follow.
Check the distance. You may be too far from your
vehicle. You may need to stand closer during rainy
or snowy weather.
0
0
0
0
Check the location. Other vehicles or objects may be
blocking the signal. Take a few steps to the left or
right, hold the transmitter higher, and try again.
Check to make sure that an electronic device such as
a cellular phone, lap top computer or garage door
opener is not causing interference.
Try to resynchronize the transmitter by pressing and
holding the LOCK and UNLOCK buttons for seven
seconds when standing next to the vehicle.
If you’re still having trouble, see your Chevrolet
dealer or a qualified technician for service.
Changes or modifications to this system by other than an
authorized service facility could void authorization to
use this equipment.
2-7
Page 70 of 356
Downloaded from www.Manualslib.com manuals search engine START Starts the engine. When the engine starts,
release the key. The ignition switch will return to
ON
for normal driving.
When the engine is not running, ACC and
ON allow you
to operate your electrical accessories, such as the radio.
A warning tone will sound if you open the driver’s
door when the ignition is in
OFF or ACC and the key
is in the ignition.
I A CAUTION:
Removing the key from the ignition switch will
lock the steering column and result in a loss of
ability to steer the vehicle. This could cause a
collision.
If you need to turn the engine off while
the vehicle is moving, turn the key to ACC.
NOTICE:
If your key seems stuck in OFF and you can’t
turn
it, be sure you are using the correct key; if
so, is it all the way in? If it is, then turn the
steering wheel left and right while you turn the
key hard. But turn the key only with your hand.
Using a tool to force it could break the key or the
ignition switch.
If none of this works, then your
vehicle needs service.
Retained Accessory Power (RAP)
With RAP, your power windows and the audio system
will continue to work for up to
15 minutes after the
ignition key is turned to
OFT and neither door is opened.
If a door is opened, the audio system and power
windows will shut off.
2-21
Page 101 of 356
Downloaded from www.Manualslib.com manuals search engine Interior Lamps
Instrument Panel Brightness Control
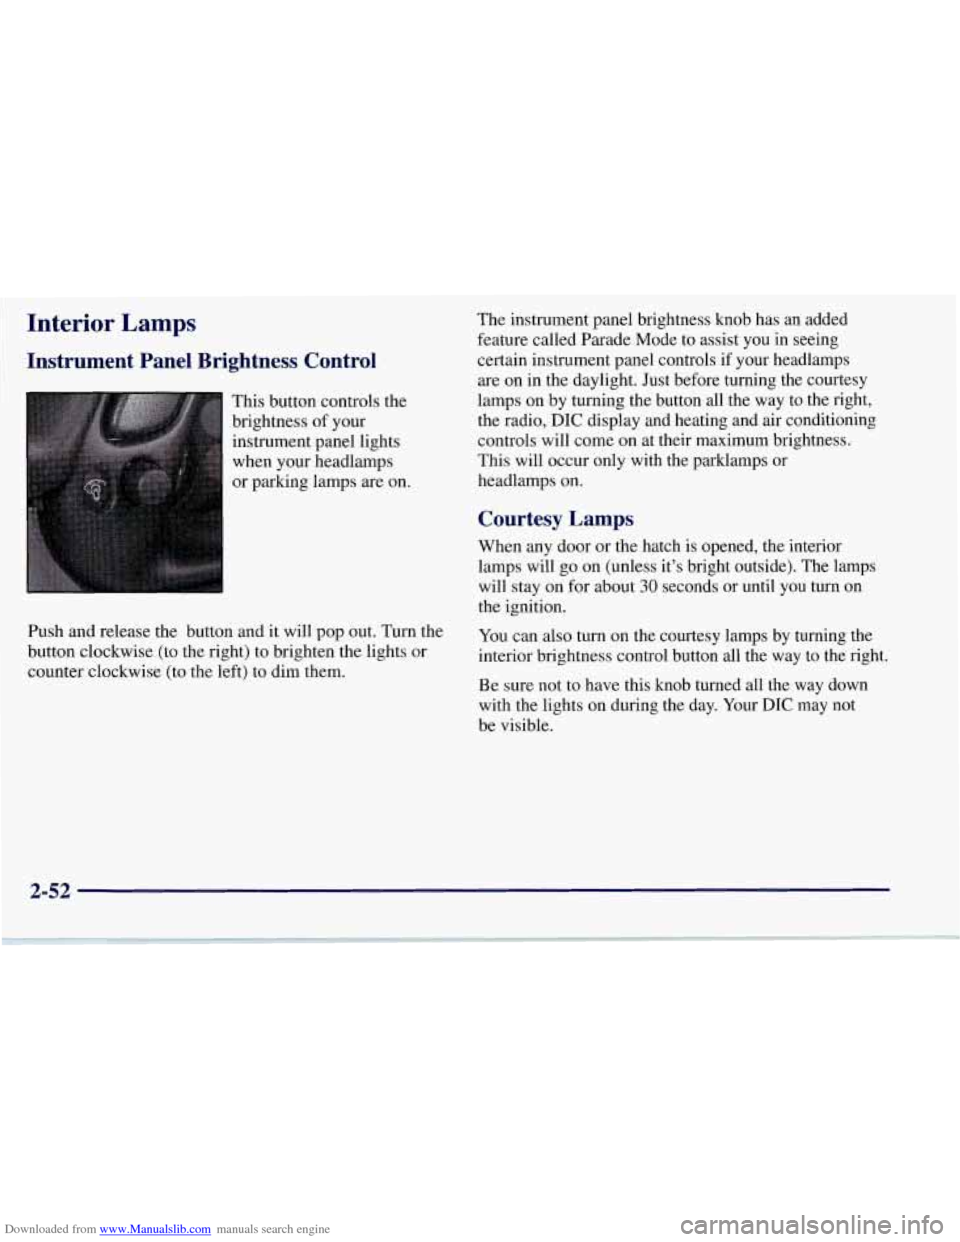
This button controls the
brightness of your
instrument panel lights
when your headlamps
or parking lamps are on.
Push and release the button and it will pop out. Turn the
button clockwise (to the right) to brighten the lights or
counter clockwise (to the left) to dim them. The
instrument panel brightness knob has an added
feature called Parade Mode to assist you in seeing
certain instrument panel controls if your headlamps
are on in the daylight. Just before turning the courtesy
lamps on by turning the button all the way to the right,
the radio,
DIC display and heating and air conditioning
controls will come on at their maximum brightness..
This will occur only with the parklamps or
headlamps on.
Courtesy Lamps
When any door or the hatch is opened, the interior
lamps will go on (unless it’s bright outside). The lamps
will stay on for about
30 seconds or until you turn on
the ignition.
You can also turn on the courtesy lamps by turning the
interior brightness control button all the way to the right.
Be sure not to have this knob turned all the way down
with the lights on during the day. Your
DIC may not
be visible.
2-52
Page 107 of 356
Downloaded from www.Manualslib.com manuals search engine To use the lighter, push it in all the way and let go.
~ When it’s ready, it will pop back by itself.
NOTICE:
Don’t hold a cigarette lighter in with your hand
while it is heating.
If you do, it won’t be able to
back away from the heating element when it’s
ready. That can make it overheat, damaging the
lighter and the heating element.
Sun Visors
To block out glare, you can swing down the visors. You
can also swing them to the side.
Visor Vanity Mirror
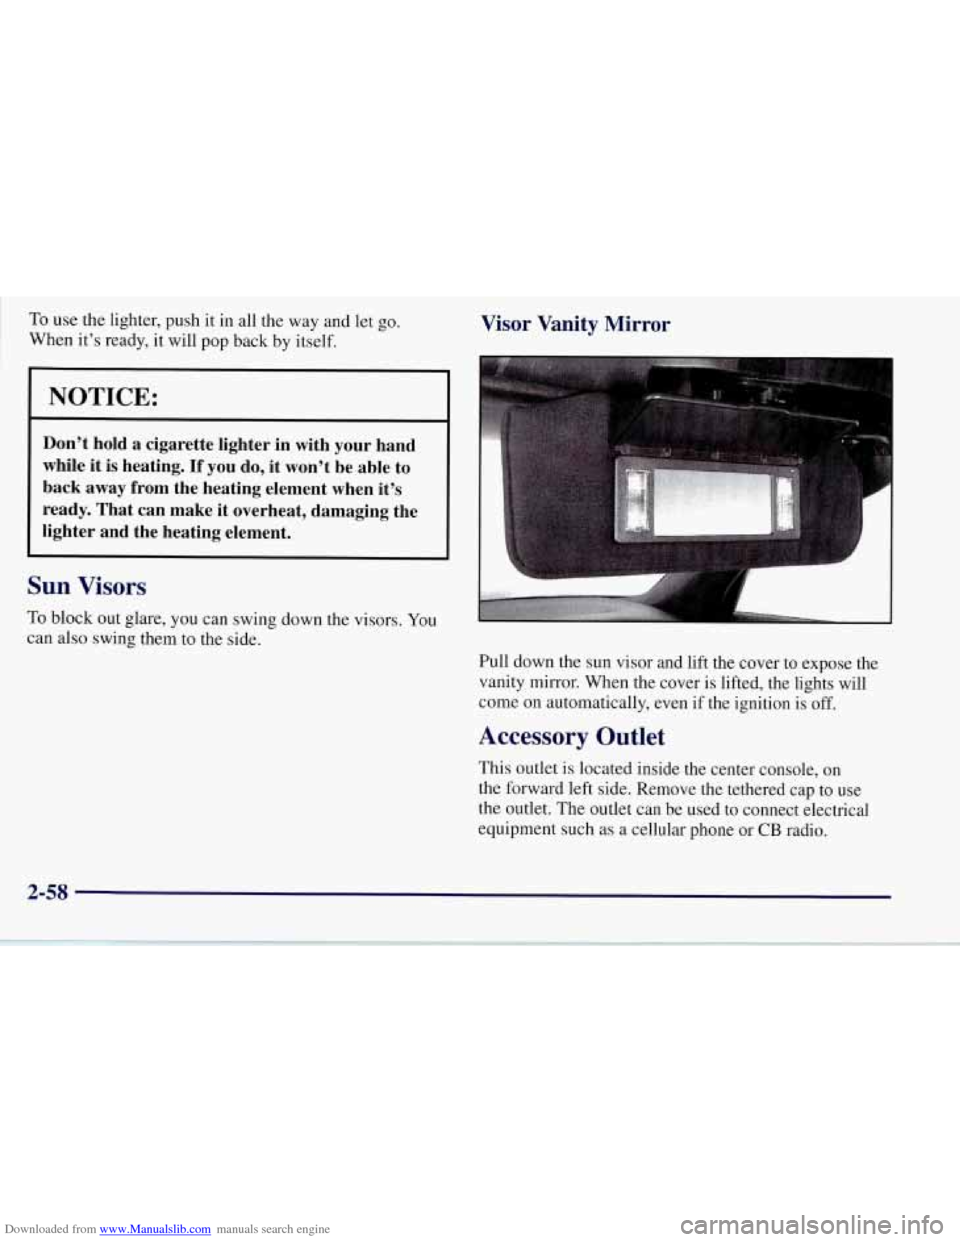
Pull down the sun visor and lift the cover to expose the
vanity
mirror. When the cover is lifted, the lights will
come on automatically, even if the ignition is
off.
Accessory Outlet
This outlet is located inside the center console, on
the forward left side. Remove the tethered cap to use
the outlet. The outlet can be used to connect electrical
equipment such as a cellular phone or
CB radio.
2-58
Page 141 of 356
Downloaded from www.Manualslib.com manuals search engine REDUCED ENGINE POWER: You will hear chimes
continuously when this message is displayed. To
acknowledge that you have read the message and to
remove it from the display, press RESET. The
message will reappear every
15 seconds until this
condition changes.
If the Driver Information Center displays the
REDUCED ENGINE POWER message and the
CHECK ENGINE light comes on, a noticeable
reduction in the vehicle’s performance may occur. If the
REDUCED ENGINE POWER message is displayed but
there is no reduction
in performance, proceed to your
destination. The performance may be reduced the next
time the vehicle is driven.
The vehicle may be driven at a reduced speed while the
REDUCED ENGINE POWER message is displayed,
but acceleration and speed may be reduced. Anytime the
CHECK ENGINE light stays on, the vehicle should be
taken to an authorized Chevrolet dealer as soon as
possible for diagnosis and repair.
Also, refer to “Malfunction Indicator Lamp” (Check
Engine Light) in the Index. If the REDUCED ENGINE
POWER message is displayed in combination with the
COOLANT OVER TEMP message, see “Engine
Overheating” in the Index.
SERVICE VEHICLE SOON: If this message appears
on the DIC, there may be an electrical or another system
problem with your Corvette. Have your vehicle checked
by your dealer if this message keeps appearing.
CHARGE SYSTEM FAULT Press RESET to
acknowledge that you have read the message and to
remove it from the display. The message will reappear
every
10 minutes until this condition changes. You will
hear two chimes when this message is displayed.
If this message comes
on while you are driving, you
may have a problem with the electrical charging system.
It could indicate that you have a loose or broken drive
belt or another electrical problem. Have it checked
right away. Driving while this light is
on could drain
your battery.
If you must drive a short distance with the message on,
be certain to turn off your accessories, such as the radio
and air conditioner.
TRACTION SYS ACTIVE: When your traction
control system is limiting wheel spin, the TRACTION
SYS ACTIVE message will be displayed. Slippery road
conditions may exist if this message is displayed,
so
adjust your driving accordingly. The message will stay
on for a few seconds after the traction control system
stops limiting wheel spin.
2-92
Page 148 of 356

Downloaded from www.Manualslib.com manuals search engine e Section 3 Comfort Controls and Audio Systems
In this section, you’ll find out how to operate the comfort control and audio systems offered with your Corvette. Be
sure to read about the particular systems supplied with your vehicle.
3-2
3-2
3-5
3-1 1
3-12
3-12
3-13
3-13
3-14 Comfort Controls
Manual Comfort
Controls
Automatic Electronic Dual Climate
Control System (Option)
Air Conditioning
Heating
Defogging and Defrosting
Audio Systems
Setting the Clock for All Systems
AM-FM Stereo with Cassette Tape Player
Automatic Tone Control and 3-18
3-18
3
-22
3 -26
3 -28
3-28
3-29
3-30
3-30 CD
Adapter Kits
AM-FM Stereo with Compact Disc Player
and Automatic Tone Control (Option)
Trunk Mounted CD Changer (Option)
Theft-Deterrent Feature
Understanding Radio Reception
Tips About Your Audio System
Care of Your Cassette Tape Player
Care of Your Compact Discs
Integrated Windshield and Rear
Window Antennas
3-1
Page 161 of 356
Downloaded from www.Manualslib.com manuals search engine AM-FM Stereo with Cassette Tape Player and Automatic Tone Control
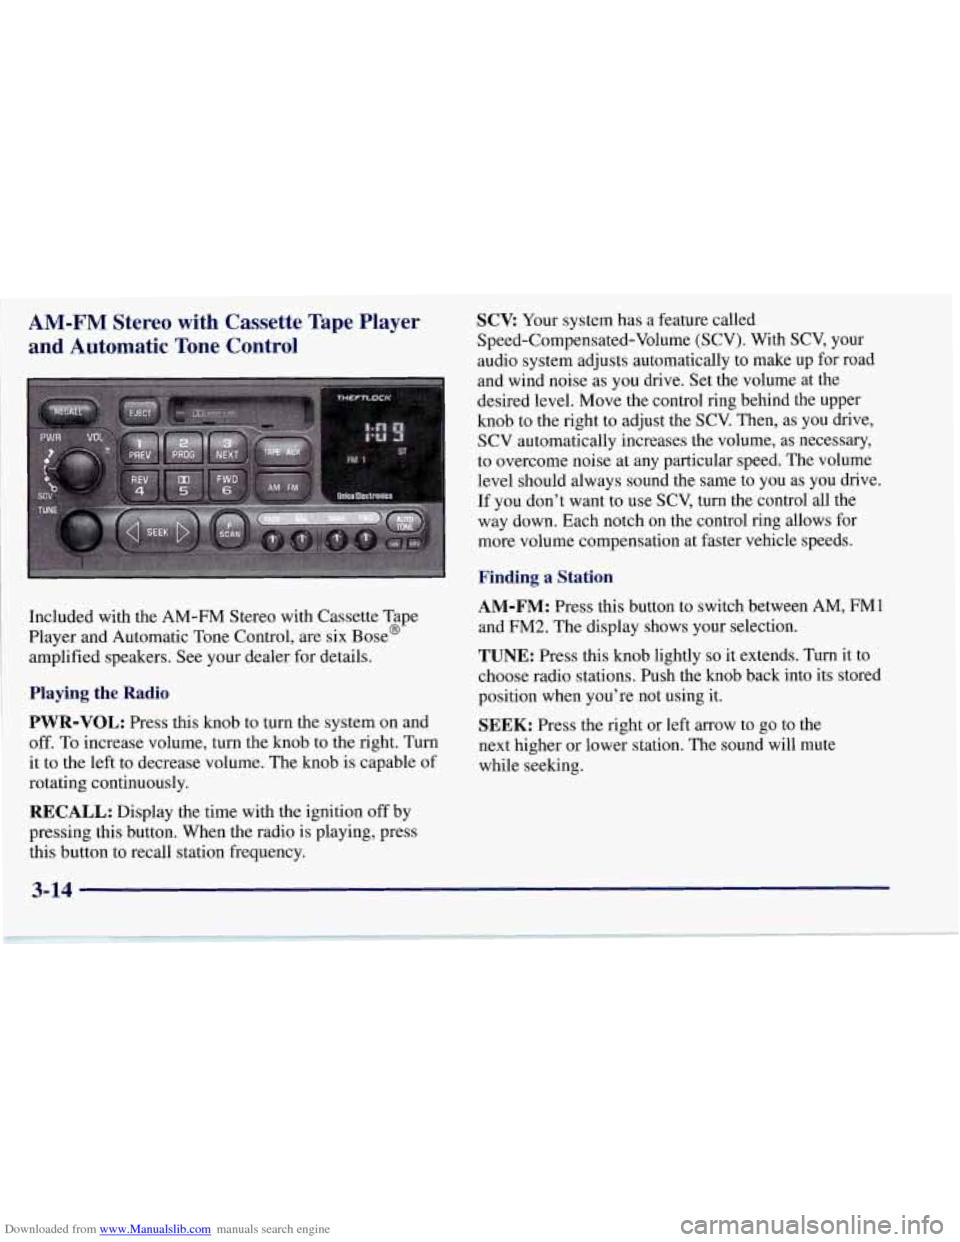
Included with the AM-FM Stereo with Cassette Tape
Player and Automatic Tone Control, are six
Base@
amplified speakers. See your dealer for details.
Playing the Radio
PWR-VOL:
Press this knob to turn the system on and
off. To increase volume, turn the knob to the right. Turn
it to the left to decrease volume. The knob is capable of
rotating continuously.
RECALL: Display the time with the ignition off by
pressing this button. When the radio is playing, press
this button to recall station frequency.
SCV: Your system has a feature called
Speed-Compensated-Volume (SCV). With SCV, your
audio system adjusts automatically to make up for road
and wind noise as you drive. Set the volume at the
desired level. Move the control ring behind the upper
knob to the right to adjust the SCV. Then, as you drive,
SCV automatically increases the volume,
as necessary,
to overcome noise at any particular speed. The volume
level should always sound the same to you as you drive.
If you don’t want to
use SCV, turn the control all the
way down. Each notch on the control ring allows for
more volume compensation at faster vehicle speeds.
Finding a Station
AM-FM: Press this button to switch between AM, FMl
and FM2. The display shows your selection.
TUNE: Press this knob lightly so it extends. Turn it to
choose radio stations. Push the knob back into its stored
position when you’re not using it.
SEEK: Press the right or left arrow to go to the
next higher or lower station. The sound will mute
while seeking.
3-14