1997 CHEVROLET CORVETTE air condition
[x] Cancel search: air conditionPage 2 of 356
Downloaded from www.Manualslib.com manuals search engine The 1997 Chevrolet Corvette Owner’s Manual
1-1
2-1
3-1
4- 1
5- 1
6-1
7-1
8-1
9- 1
Seats and Restraint Systems
This section tells you how to use your seats and safety belts\
properly. It also explains the air bag system.
Features and Controls
This section explains how to start and operate your Corvette.
Comfort Controls and Audio Systems
This section tells you how to adjust the ventilation and comfort controls and how to operate your audio \
system.
Your Driving and the Road
Here you’ll find helpful information and tips about the road\
and how to drive under different conditions.
Problems on the Road
This section tells what to do if you have a problem while driving, such as a flat tire or overheated engine, etc.
Service and Appearance Care
Here the manual tells you how to keep your Corvette running p\
roperly and looking good.
Maintenance Schedule
This section tells you when to perform vehicle maintenance and what fluids and lubricants to u\
se.
Customer Assistance Information
This section tells you how to contact Chevrolet for assistance \
and how to get service and owner publications.
It also gives you information on “Reporting Safety Defects” on page
8- 10.
Index
Here’s an alphabetical listing of almost every subject in this manual. You can use it to quickly find
something you want to read.
i
Page 101 of 356
Downloaded from www.Manualslib.com manuals search engine Interior Lamps
Instrument Panel Brightness Control
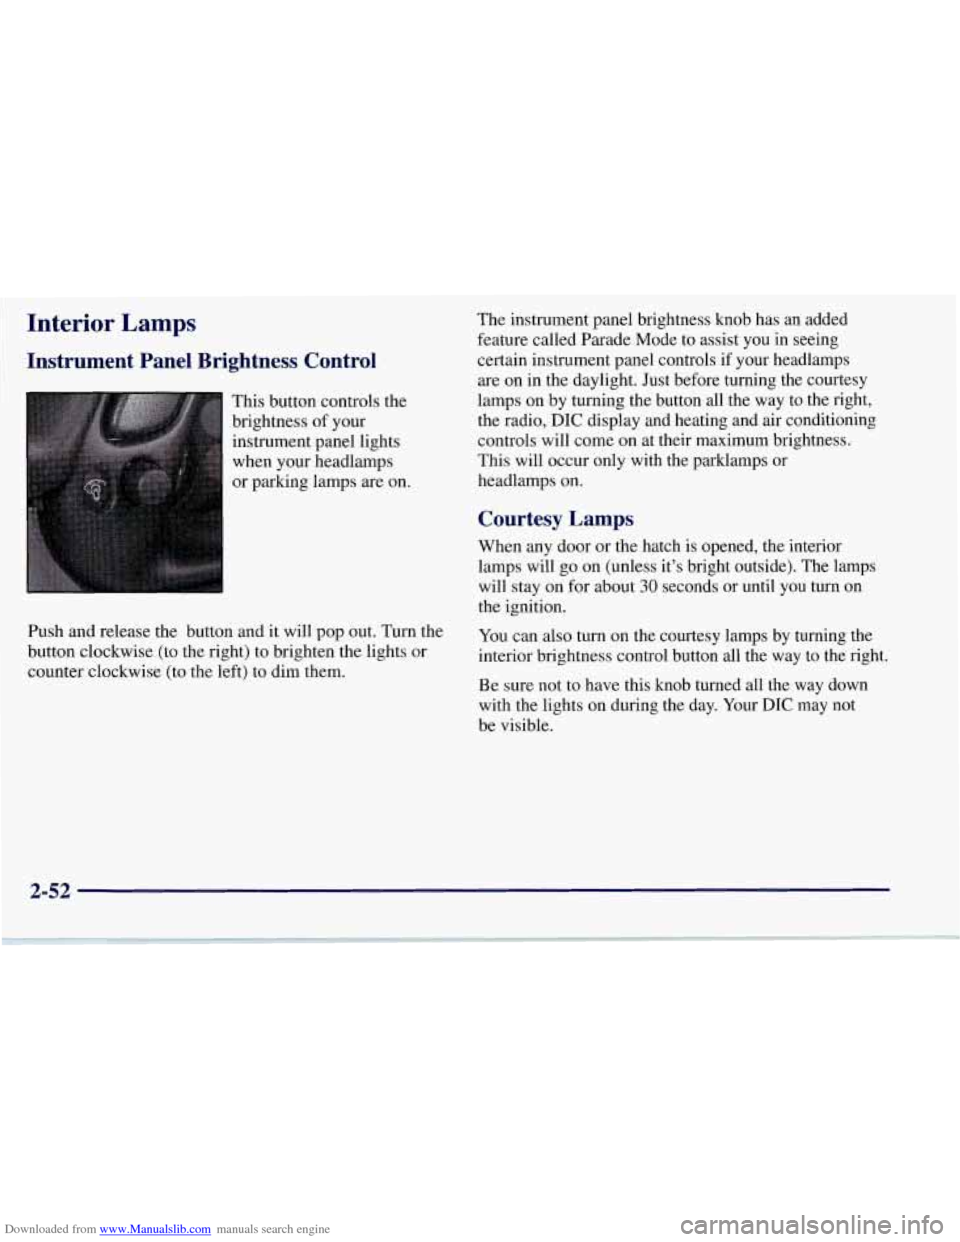
This button controls the
brightness of your
instrument panel lights
when your headlamps
or parking lamps are on.
Push and release the button and it will pop out. Turn the
button clockwise (to the right) to brighten the lights or
counter clockwise (to the left) to dim them. The
instrument panel brightness knob has an added
feature called Parade Mode to assist you in seeing
certain instrument panel controls if your headlamps
are on in the daylight. Just before turning the courtesy
lamps on by turning the button all the way to the right,
the radio,
DIC display and heating and air conditioning
controls will come on at their maximum brightness..
This will occur only with the parklamps or
headlamps on.
Courtesy Lamps
When any door or the hatch is opened, the interior
lamps will go on (unless it’s bright outside). The lamps
will stay on for about
30 seconds or until you turn on
the ignition.
You can also turn on the courtesy lamps by turning the
interior brightness control button all the way to the right.
Be sure not to have this knob turned all the way down
with the lights on during the day. Your
DIC may not
be visible.
2-52
Page 125 of 356
Downloaded from www.Manualslib.com manuals search engine Malfunction Indicator Lamp (Check Engine Light)
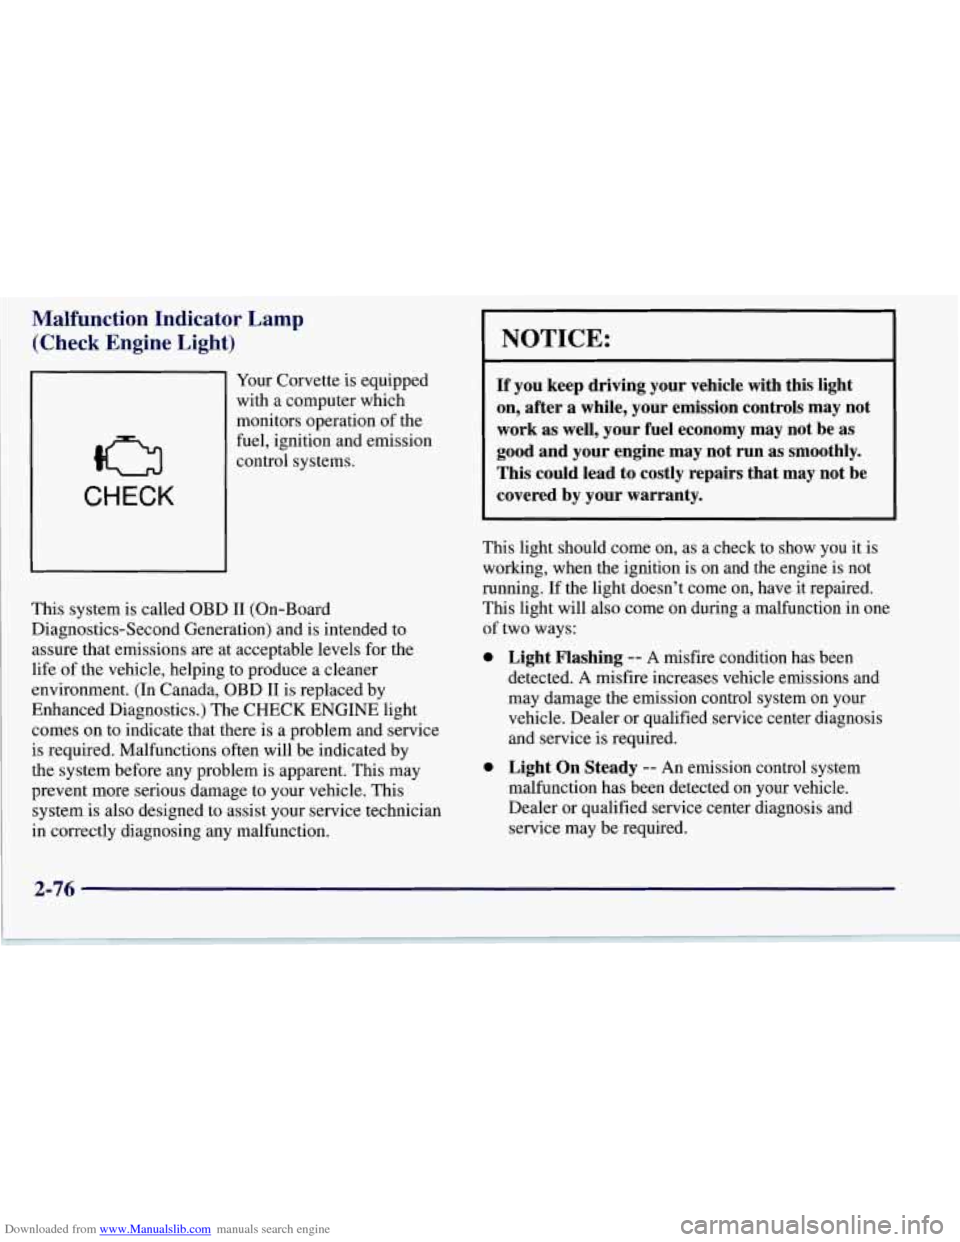
CHECK
Your Corvette is equipped
with a computer which
monitors operation of the
fuel, ignition and emission
control systems.
This system is called OBD I1 (On-Board
Diagnostics-Second Generation) and is intended to
assure that emissions are at acceptable levels for the
life of the vehicle, helping
to produce a cleaner
environment. (In Canada, OBD
I1 is replaced by
Enhanced Diagnostics.) The CHECK ENGINE light
comes on to indicate that there
is a problem and service
is required. Malfunctions often will be indicated by
the system before any problem is apparent. This may
prevent more serious damage to your vehicle. This
system
is also designed to assist your service technician
in correctly diagnosing any malfunction.
NOTICE:
If you keep driving your vehicle with this light
on, after a while, your emission controls may not
work as well, your fuel economy may not be as
good and your engine may not run as smoothly. This could lead to costly repairs that may not be
covered by your warranty.
This light should come on, as a check to show you it is
working, when the ignition is on and the engine is not
running. If the light doesn’t come on, have it repaired.
This light will also come on during a malfunction in one
of two ways:
0
0 Light Flashing -- A misfire condition has been
detected. A misfire increases vehicle emissions and
may damage the emission control system on your
vehicle. Dealer or qualified service center diagnosis
and service
is required.
Light On Steady -- An emission control system
malfunction has been detected on your vehicle.
Dealer or qualified service center diagnosis and
service may be required.
2-76
Page 141 of 356
Downloaded from www.Manualslib.com manuals search engine REDUCED ENGINE POWER: You will hear chimes
continuously when this message is displayed. To
acknowledge that you have read the message and to
remove it from the display, press RESET. The
message will reappear every
15 seconds until this
condition changes.
If the Driver Information Center displays the
REDUCED ENGINE POWER message and the
CHECK ENGINE light comes on, a noticeable
reduction in the vehicle’s performance may occur. If the
REDUCED ENGINE POWER message is displayed but
there is no reduction
in performance, proceed to your
destination. The performance may be reduced the next
time the vehicle is driven.
The vehicle may be driven at a reduced speed while the
REDUCED ENGINE POWER message is displayed,
but acceleration and speed may be reduced. Anytime the
CHECK ENGINE light stays on, the vehicle should be
taken to an authorized Chevrolet dealer as soon as
possible for diagnosis and repair.
Also, refer to “Malfunction Indicator Lamp” (Check
Engine Light) in the Index. If the REDUCED ENGINE
POWER message is displayed in combination with the
COOLANT OVER TEMP message, see “Engine
Overheating” in the Index.
SERVICE VEHICLE SOON: If this message appears
on the DIC, there may be an electrical or another system
problem with your Corvette. Have your vehicle checked
by your dealer if this message keeps appearing.
CHARGE SYSTEM FAULT Press RESET to
acknowledge that you have read the message and to
remove it from the display. The message will reappear
every
10 minutes until this condition changes. You will
hear two chimes when this message is displayed.
If this message comes
on while you are driving, you
may have a problem with the electrical charging system.
It could indicate that you have a loose or broken drive
belt or another electrical problem. Have it checked
right away. Driving while this light is
on could drain
your battery.
If you must drive a short distance with the message on,
be certain to turn off your accessories, such as the radio
and air conditioner.
TRACTION SYS ACTIVE: When your traction
control system is limiting wheel spin, the TRACTION
SYS ACTIVE message will be displayed. Slippery road
conditions may exist if this message is displayed,
so
adjust your driving accordingly. The message will stay
on for a few seconds after the traction control system
stops limiting wheel spin.
2-92
Page 148 of 356

Downloaded from www.Manualslib.com manuals search engine e Section 3 Comfort Controls and Audio Systems
In this section, you’ll find out how to operate the comfort control and audio systems offered with your Corvette. Be
sure to read about the particular systems supplied with your vehicle.
3-2
3-2
3-5
3-1 1
3-12
3-12
3-13
3-13
3-14 Comfort Controls
Manual Comfort
Controls
Automatic Electronic Dual Climate
Control System (Option)
Air Conditioning
Heating
Defogging and Defrosting
Audio Systems
Setting the Clock for All Systems
AM-FM Stereo with Cassette Tape Player
Automatic Tone Control and 3-18
3-18
3
-22
3 -26
3 -28
3-28
3-29
3-30
3-30 CD
Adapter Kits
AM-FM Stereo with Compact Disc Player
and Automatic Tone Control (Option)
Trunk Mounted CD Changer (Option)
Theft-Deterrent Feature
Understanding Radio Reception
Tips About Your Audio System
Care of Your Cassette Tape Player
Care of Your Compact Discs
Integrated Windshield and Rear
Window Antennas
3-1
Page 149 of 356
Downloaded from www.Manualslib.com manuals search engine Comfort Controls Manual Comfort Controls
This section tells you how to make your air system
work for you. Your comfort control system uses
ozone-friendly
R- 134a refrigerant.
With these systems you can control the heating,
cooling and ventilation in your Corvette. Your vehicle
also has a flow-through ventilation system described
later in this section.
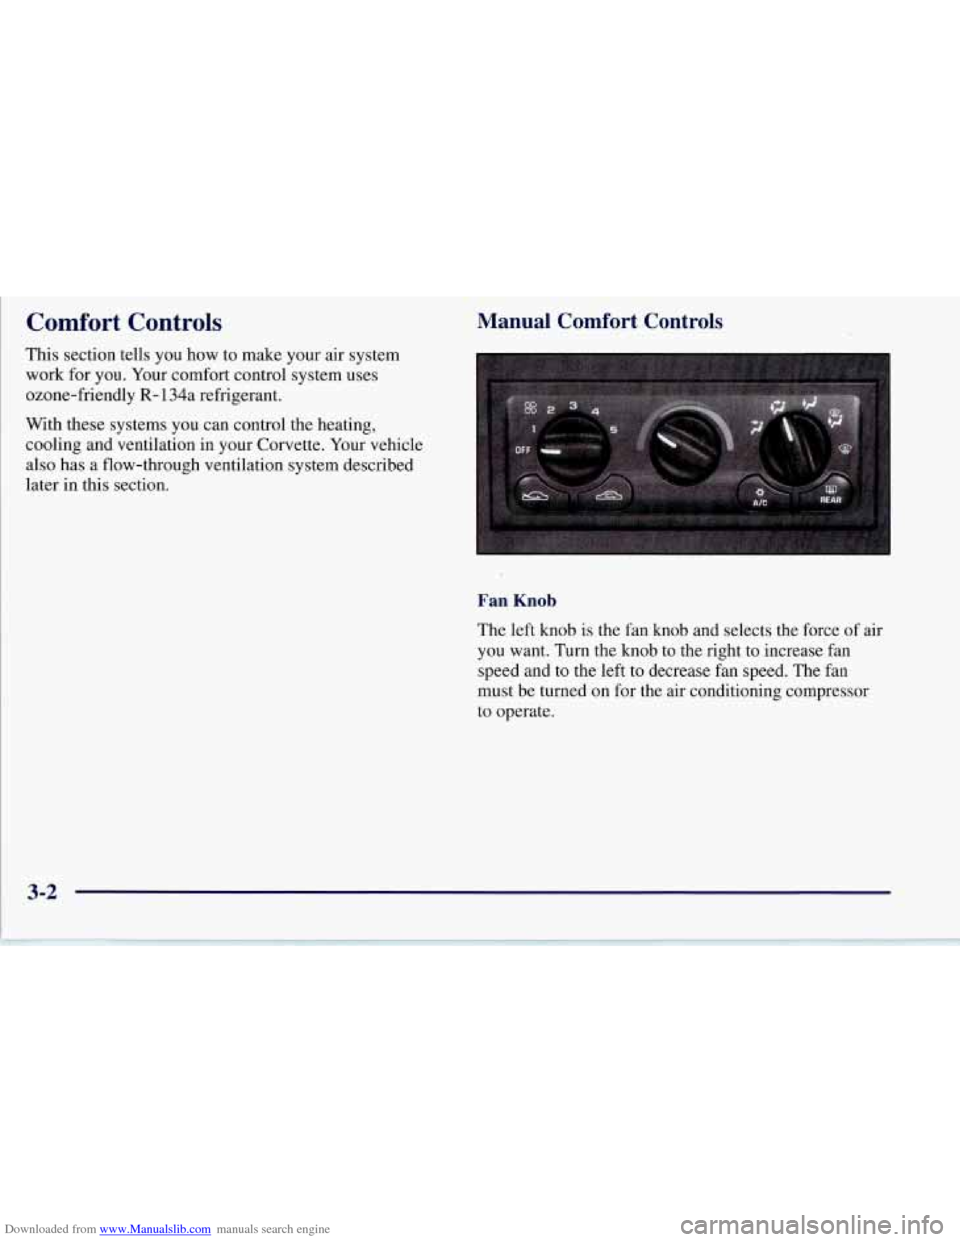
Fan Knob
The left knob is the fan knob and selects the force of air
you want. Turn the knob to the right to increase fan
speed and to the left to decrease fan speed. The fan
must be turned on for the air conditioning compressor
to operate.
Page 150 of 356
Downloaded from www.Manualslib.com manuals search engine Temperature Knob
The center knob controls the temperature of the air
coming through the system. Turn it to the left (toward
the blue area) for cooler air. Turn it to the right (toward
the red area) for warmer air.
Mode Knob
The right knob selects the direction of where the air will
enter the vehicle.
+*
/J UPPER: This setting directs most of the air
through the instrument panel outlets with a very small
amount of air directed to the lower outlets.
+’ BI-LEVEL: This setting directs air into your
vehicle in two ways. Cooler air is directed toward your
upper body through the instrument panel outlets, while
warmer air is directed through the lower outlets.
+e a
+’ LOWER: This
.setting directs most of the air
through the lower ducts to the floor area of the vehicle
with some of the air also directed toward the windshield
and side window vents.
+fl DEFOG: This setting divides the air between
the windshield and lower outlets with a small amount
directed toward the side window vents. This is useful
when fog appears on the windshield or side glass due
to rain or snowy conditions.
we
DEFROST: Use this setting to quickly remove fog
or frost from the windshield. This setting directs most of
the airflow to the windshield with a small mount
directed toward the lower and side window outlets.
3-3
Page 151 of 356
Downloaded from www.Manualslib.com manuals search engine Mode Buttons
These buttons control the air intake, the air conditioning
and the rear window defogger operation.
outside air into your vehicle. The light on the button will
come on when operating. Use this setting while trying
to
defrost or defog windows to help clear moisture.
amount of fresh
air entering your vehicle by recirculating
most of the
air inside your vehicle. The light on the button
will come on when operating.
This setting is helpful when
you are trying to cool the
air quickly or to limit odors
entering your vehicle.
RECIRCULATE cannot be used
while in the DEFROST or DEFOG modes.
a NC: This button turns the air conditioning
compressor off or on under most conditions. The light
on the
A/C button comes on when the compressor is
operating. The air conditioning does not operate at
temperatures below approximately
35 OF to 40°F
(2" C to 4" C). The air conditioning cools and
dehumidifies the air coming into the vehicle. The
air conditioning cannot be turned off in DEFROST
as it helps to remove moisture from the vehicle. It also
helps to keep the windows clear.
FRESH AIR: Press this button and it will bring
RECIRCULATE: Press this button to limit the The air
conditioning may be forced off at high engine
speeds or high engine oil or coolant temperatures,
Rear Window Defogger
@ This button turns the rear defogger and heated
outside mirrors on. The light on the button will come
on when operating. The system automatically shuts off
after approximately
10 minutes. If further defogging is
desired, press the button again.
The rear window defogger operates only when the
engine
is running.
The rear window defogger uses a warming grid to
remove fog from the rear window.
Do not attach
anything like a temporary vehicle license or a decal
across the defogger grid on the rear window.
I NOTICE:
Don't use a razor blade or something sharp on
the inside
of the rear window. If you do, you
could cut or damage the warming grid, and repairs wouldn't be covered by your warranty.