Page 185 of 274

Downloaded from www.Manualslib.com manuals search engine Service and Appearance Care
5.
0
0
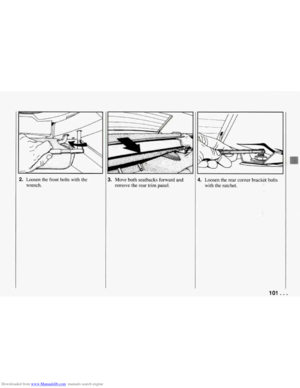
Reverse the steps.
Align the tabs
to the slots in the
bottom of the assembly before you
replace it.
Install the short knob into the middle
hole first. Then install the longer
knobs into the outer holes.
Automatic Transmission Fluid
When to Check and Change
4 good time to check your automatic
:ransmission fluid level is when the
mgine oil is changed. Refer to the
Maintenance Schedule to determine when
co change your fluid. See “Scheduled
Maintenance Services” in the Index.
How to Check
Because this operation can be a little
iifficult, you may choose to have this
done at a Chevrolet dealership Service
Department.
[f you do it yourself, be sure to follow all
the instructions here, or you could get a
false reading on the dipstick.
NOTICE:
Too much or too little fluid can dam-
age your transmission.
Too much can
mean that some of the fluid could
come out and fall
on hot engine parts
or exhaust system, starting a fire. Be
sure to get an accurate reading if you
check your transmission fluid. Wait
at least 30 minutes before checking
the transmission fluid level if you have
been driving:
0 When outside temperatures are above
0 At high speed for quite a while.
0 In heavy traffic - especially in hot
To get the right reading, the fluid should
be at normal operating temperature, which is
180°F to 200°F (82°C to 93°C).
To check transmission fluid hot: Get
the vehicle warmed up by driving
about
15 miles (24 km) when outside
temperatures are above
50°F (10°C). If
it’s colder than
50°F (10°C)’ drive the
vehicle in
“D’ (Third Gear) until the
engine temperature gage moves and then
remains steady for ten minutes. Then follow the hot check procedures.
To check transmission fluid cold: A cold
check is made after the vehicle has been sitting for eight hours or more with the
engine
off and is used only as a reference.
Let the engine run at idle for five minutes
if outside temperatures are 50” F ( 1 OOC)
or more. If it’s colder than 50°F ( 10°C)’
you may have to idle the engine longer.
Should the fluid level be low during a
90°F (32°C).
weather.
. . .184
Page 186 of 274

Downloaded from www.Manualslib.com manuals search engine cold check, you must perform a hot check
before adding fluid. This will give you a
more accurate reading
of the fluid level.
To check the fluid hot or cold
0
Park your vehicle on a level place.
With the parking brake applied, place
the shift lever in “P” (Park).
With your foot
on the brake pedal,
move the shift lever through each gear
range, pausing for about three seconds
in each range. Then, position the shift
lever
in “P’ (Park).
Let the engine run at idle for three
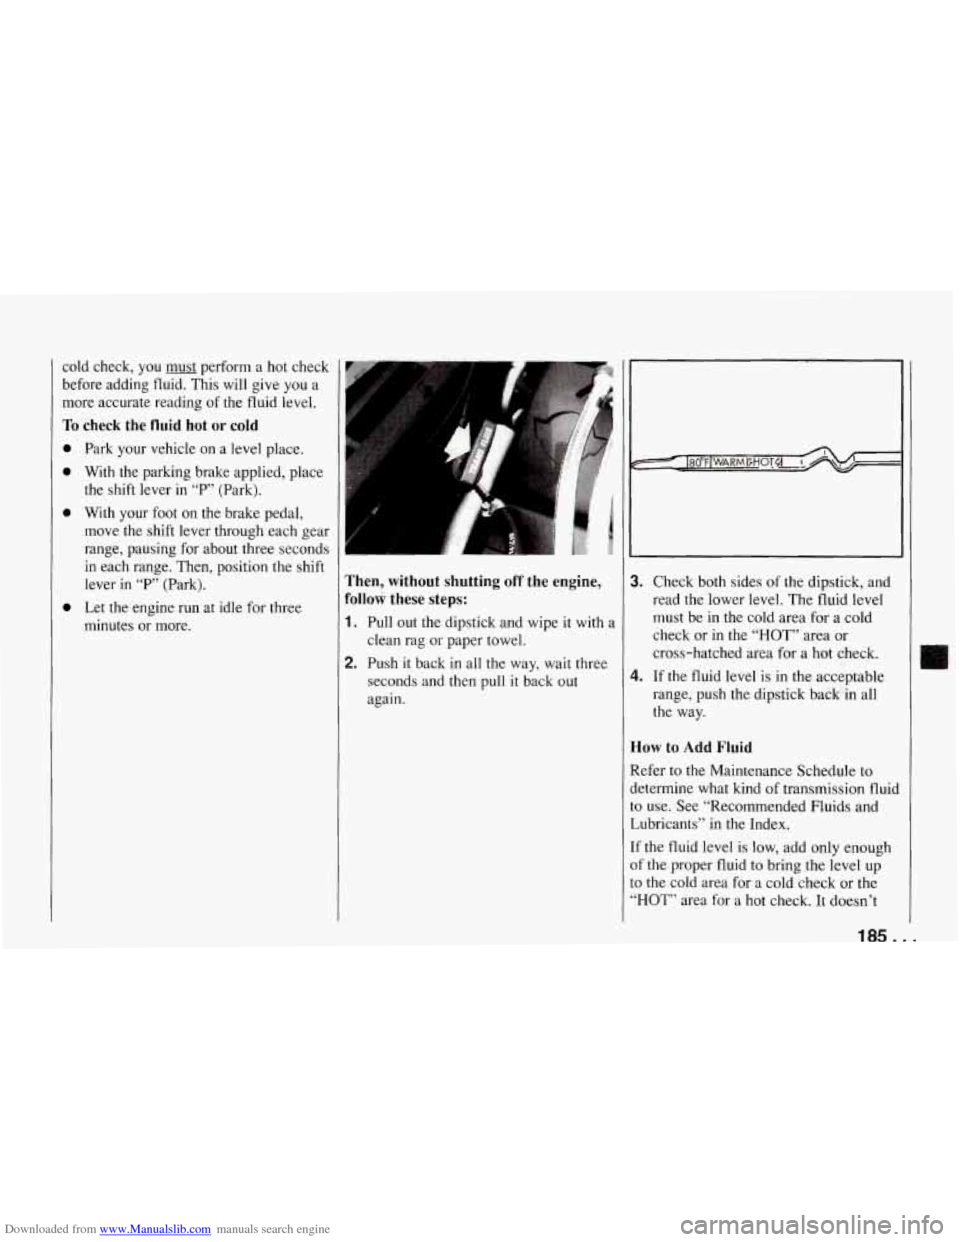
minutes or more. Then, without shutting off the engine,
Follow these steps:
1. Pull out the dipstick and wipe it with a
clean rag or paper towel.
2. Push it back in all the way, wait three
seconds and then pull
it back out
again.
3. Check both sides of the dipstick, and
read the lower level. The fluid level
must be in the cold area for a cold
check or in the
“HOT” area or
cross-hatched area for a hot check.
range, push the dipstick back in all
the way.
4. If the fluid level is in the acceptable
How to Add Fluid
Refer to the Maintenance Schedule to
determine what kind of transmission fluid to use. See “Recommended Fluids and
Lubricants” in the Index.
If the fluid level
is low, add only enough
of the proper fluid to bring the level up
to the cold area for a cold check or the
“HOT” area for a hot check. It doesn’t
Page 187 of 274

Downloaded from www.Manualslib.com manuals search engine Service and Appearance Care
;ake much fluid, generally less than a pint.
Don’t overfill. We recommend you use
mly fluid labeled DEXRON@-111 or
DEXRON@-IIE, because fluids with that
label are made especially for your
automatic transmission. Dama e caused
by fluid other than DEXRON -111 or
DEXRON@-IIE is not covered by your
new vehicle warranty.
0 After adding fluid, recheck the fluid
level as described under “How to
Check.”
obtained, push the dipstick back in all
the way.
D
0 When the correct fluid level is
Manual Transmission Fluid
How to Check:
Because this operation can be difficult,
you may choose to have this done at a
Chevrolet dealership Service Department.
If you do it yourself, be sure to follow all
the instructions here, or you could get a
false reading.
. . .I86
NOTICE:
Too much or too little fluid can
damage your transmission.
Too much
can mean that some of the fluid could
come out and fall on hot engine parts
or exhaust system, starting a fire. Be
sure to get an accurate reading if
you
check your transmission fluid.
:heck the fluid level only when your
mgine is
off, the vehicle is parked on a
eve1 place and the transmission is cool
:nough for you to rest your fingers on
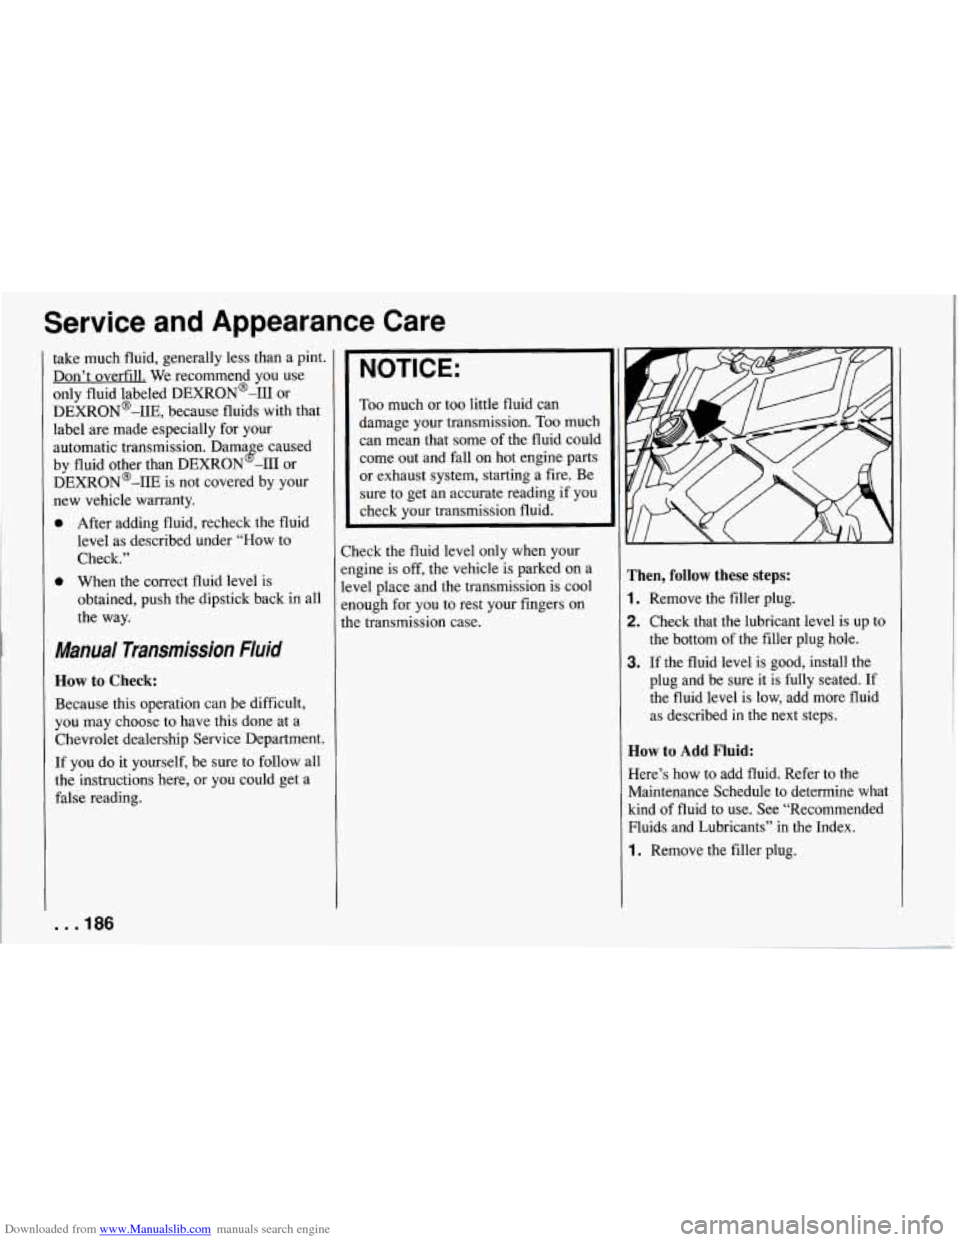
he transmission case. Then, follow these steps:
1. Remove the filler plug.
2. Check that the lubricant level is up to
the bottom of the filler plug hole.
3. If the fluid level is good, install the
plug and be sure it is fully seated. If
the fluid level is low, add more fluid
as described in the next steps.
How to Add Fluid:
Here’s how to add fluid. Refer to the
Maintenance Schedule to determine what
kind of fluid to use. See “Recommended
Fluids and Lubricants”
in the Index.
1. Remove the filler plug.
Page 188 of 274

Downloaded from www.Manualslib.com manuals search engine 2. Add fluid at the filler plug hole. Add only enough fluid to bring the fluid
level up to the bottom
of the filler
plug hole.
3. Install the filler plug. Be sure the plug
is fully seated.
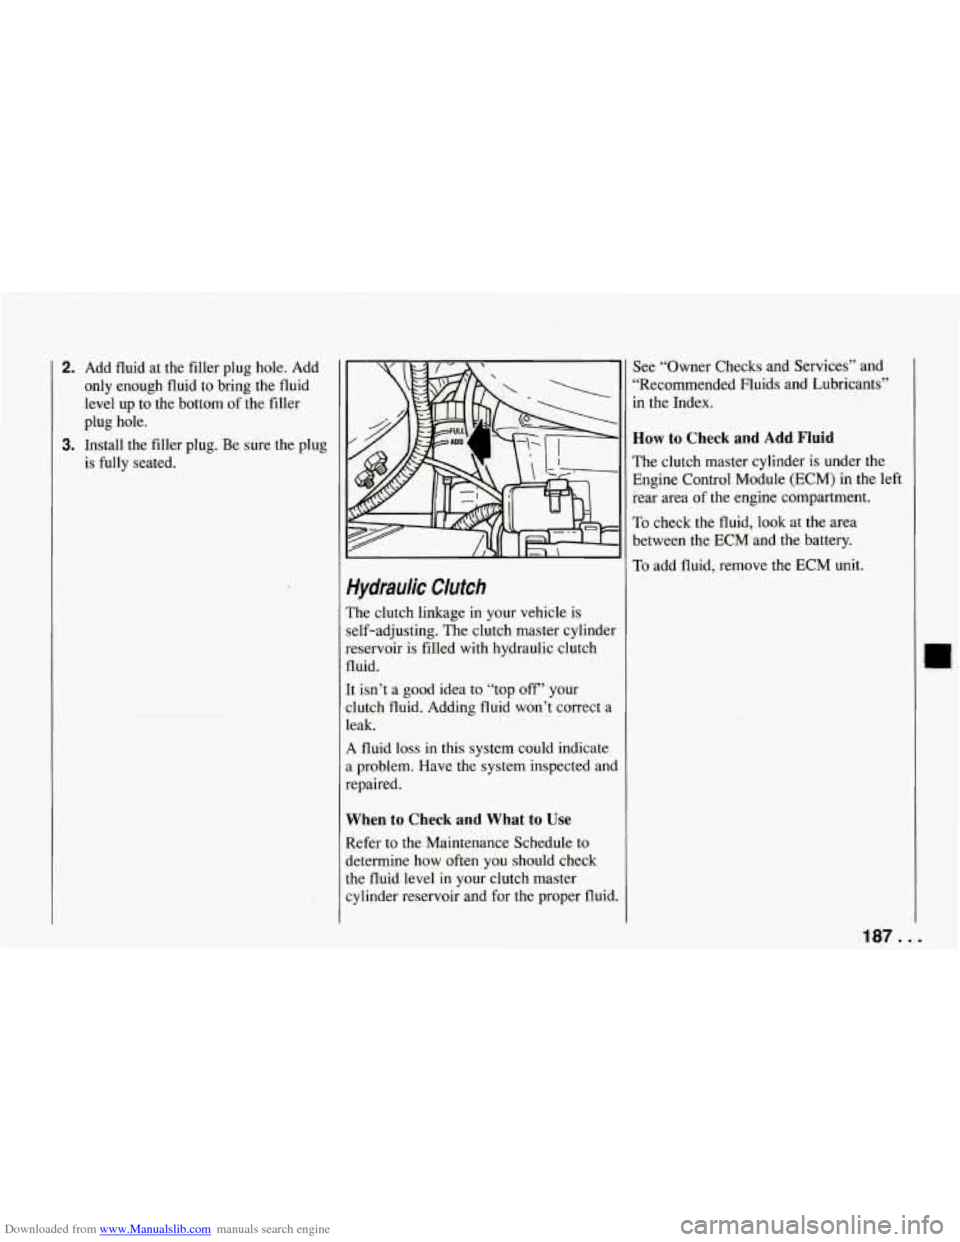
Hydraulic Clutch
The clutch linkage in your vehicle is
self-adjusting. The clutch master cylinder
reservoir is filled with hydraulic clutch
fluid.
It isn’t a good idea to “top
off’ your
clutch fluid. Adding fluid won’t correct a
leak.
A fluid loss in this system could indicate
a problem. Have the system inspected and
repaired.
When to Check and What to Use
Refer to the Maintenance Schedule to
determine how often you should check
the fluid level in your clutch master
cylinder reservoir and for the proper fluid. See
“Owner Checks and Services’’ and
“Recommended Fluids and Lubricants”
in the Index.
How to Check and Add Fluid
The clutch master cylinder is under the
Engine Control Module
(ECM) in the left
rear area of the engine compartment.
To check the fluid, look at the area
between the
ECM and the battery.
To add fluid, remove the ECM unit.
187 ...
Page 189 of 274

Downloaded from www.Manualslib.com manuals search engine Service and Appearance Care
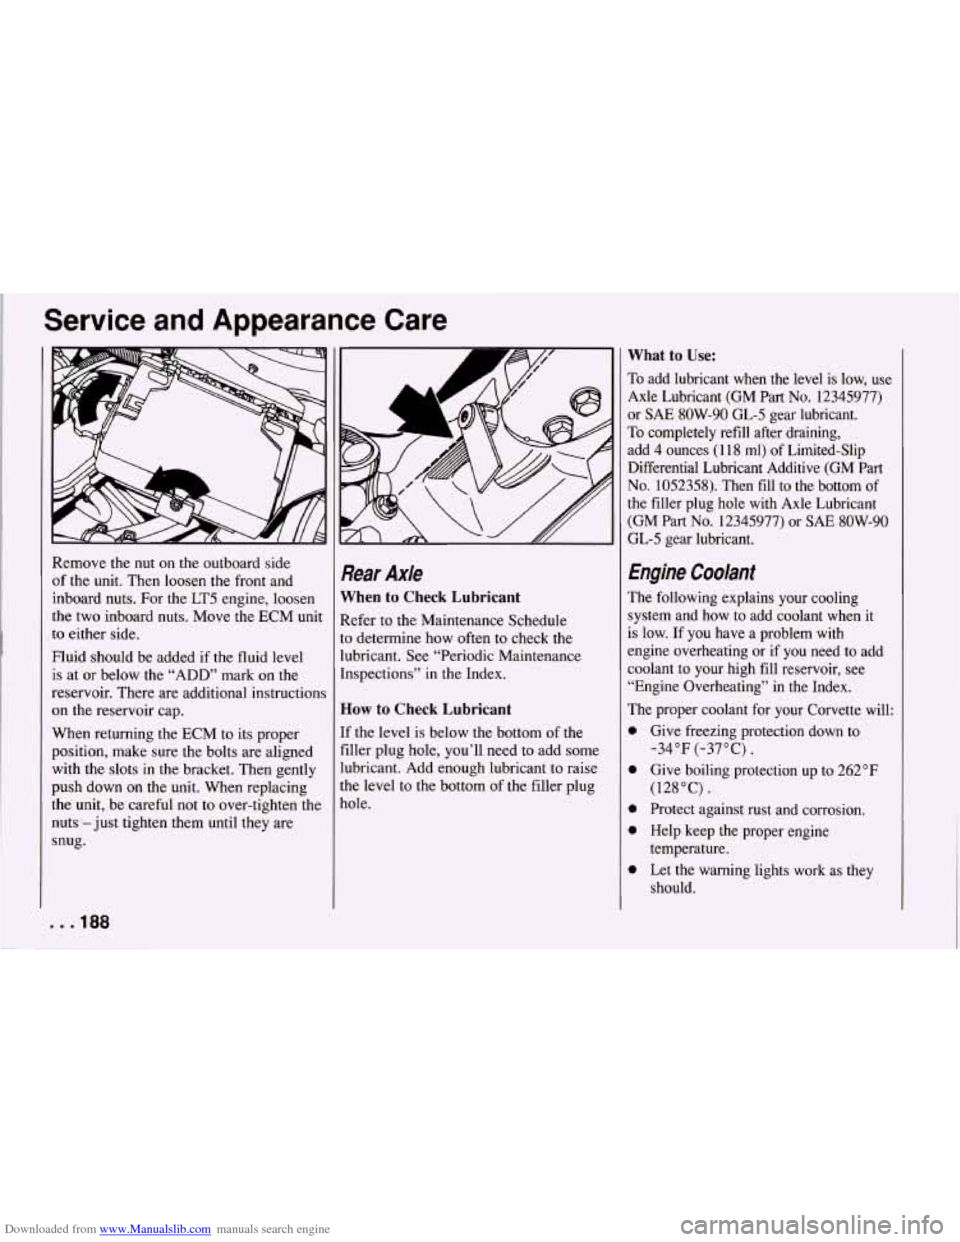
Remove the nut on the outboard side
of the unit. Then loosen the front and
inboard nuts. For the LT5 engine, loosen
the two inboard nuts. Move the ECM unit
to either side.
Fluid should be added if the fluid level
is at or below the “ADD” mark on the
reservoir. There are additional instructions
on the reservoir cap.
When returning the ECM to its proper
position, make sure the bolts are aligned
with the slots in the bracket. Then gently
push down on the unit. When replacing
the unit, be careful not to over-tighten the
nuts -just tighten them until they are
snug.
. . * 188
Rear Axle
When to Check Lubricant
Refer to the Maintenance Schedule
to determine how often to check the
lubricant. See “Periodic Maintenance
Inspections” in the Index.
How to Check Lubricant
If the level is below the bottom of the
filler plug hole, you’ll need to add some
lubricant. Add enough lubricant to raise
the level to the bottom of the filler plug
hole.
What to Use:
To add lubricant when the level is low, use
Axle Lubricant (GM Part
No. 12345977)
or
SAE 8OW-90 GL-5 gear lubricant.
To completely refill after draining,
add 4 ounces (1 18 ml) of Limited-Slip
Differential Lubricant Additive (GM Part
No. 1052358). Then fill to the bottom of
the filler plug hole with Axle Lubricant
(GM Part
No. 12345977) or SAE 8OW-90
GL-5 gear lubricant.
Engine Coolant
The following explains your cooling
system and how to add coolant when
it
is low. If you have a problem with
engine overheating or
if you need to add
coolant to your high fill reservoir, see
“Engine Overheating” in the Index.
The proper coolant for your Corvette will:
0
0
0
0
0
Give freezing protection down to -34°F (-37°C).
Give boiling protection up to 262°F
(128°C).
Protect against rust and corrosion.
Help keep the proper engine
temperature.
Let the warning lights work as they
should.
Page 190 of 274

Downloaded from www.Manualslib.com manuals search engine What to Use:
Use a mixture of one-half clean water
(preferably distilled) and one-half
antifreeze that meets “GM Specification
1825-M,” which won’t damage aluminum
parts.
You can also use a recycled coolant
conforming to GM Specification 1825-M
with a complete coolant flush and refill.
If you use this mixture, you don’t need to
add anything else.
NOTICE:
If you use an improper coolant mix,
your engine could overheat and be
badly damaged. The repair cost wouldn’t be covered by your
warranty.
Too much water in the mix
can freeze and crack the engine,
radiator, heater core and other parts.
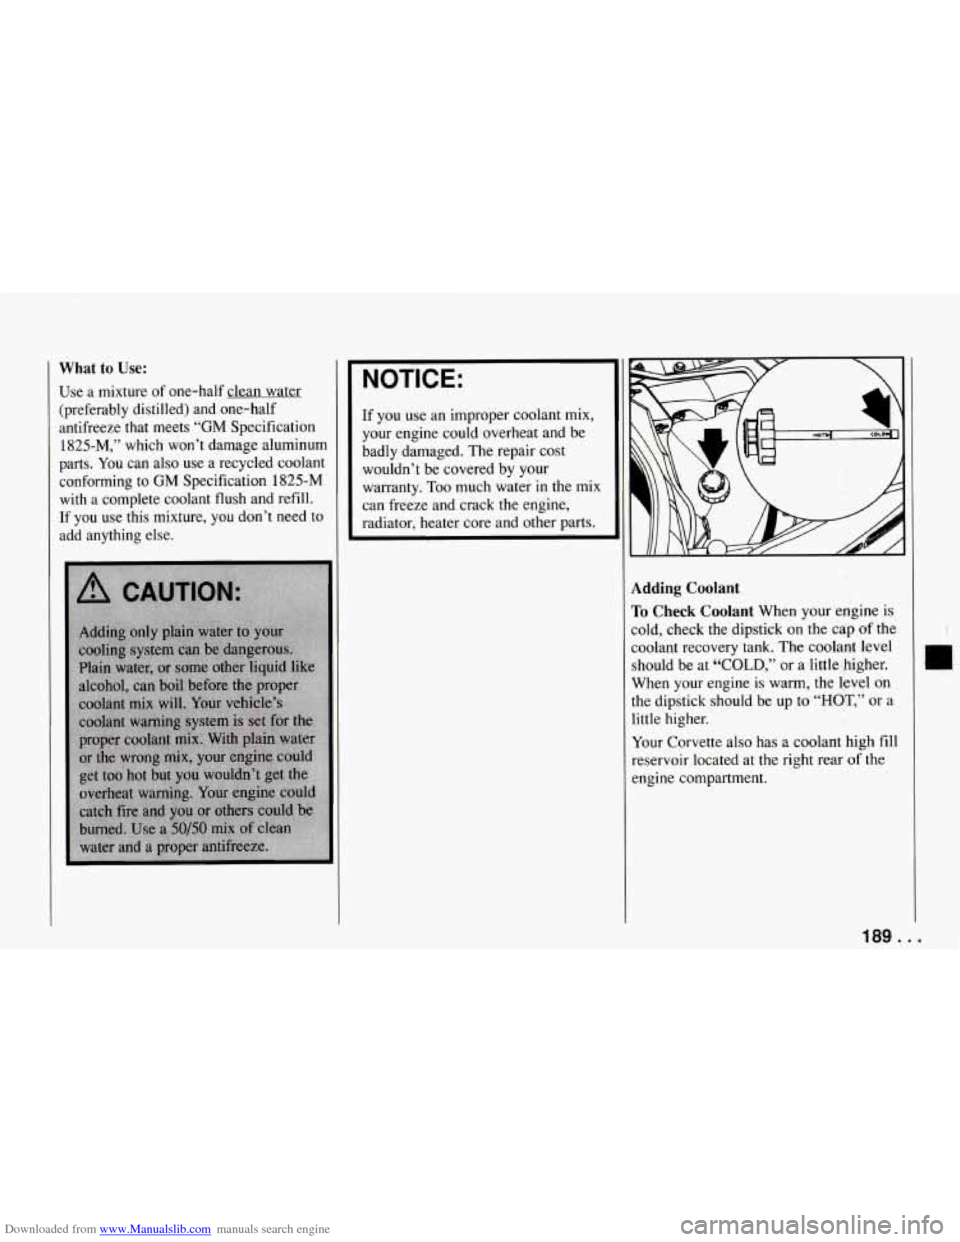
Adding Coolant
I’o Check Coolant When your engine is
;old, check the dipstick on the cap of the
;oolant recovery tank. The coolant level
should be at “COLD,” or a little higher.
When your engine is warm, the level on
the dipstick should be up to “HOT,” or a
little higher.
Your Corvette also has a coolant high fill
reservoir located at the right rear of the
engine compartment.
189 ...
Page 191 of 274

Downloaded from www.Manualslib.com manuals search engine Service and Appearance Care
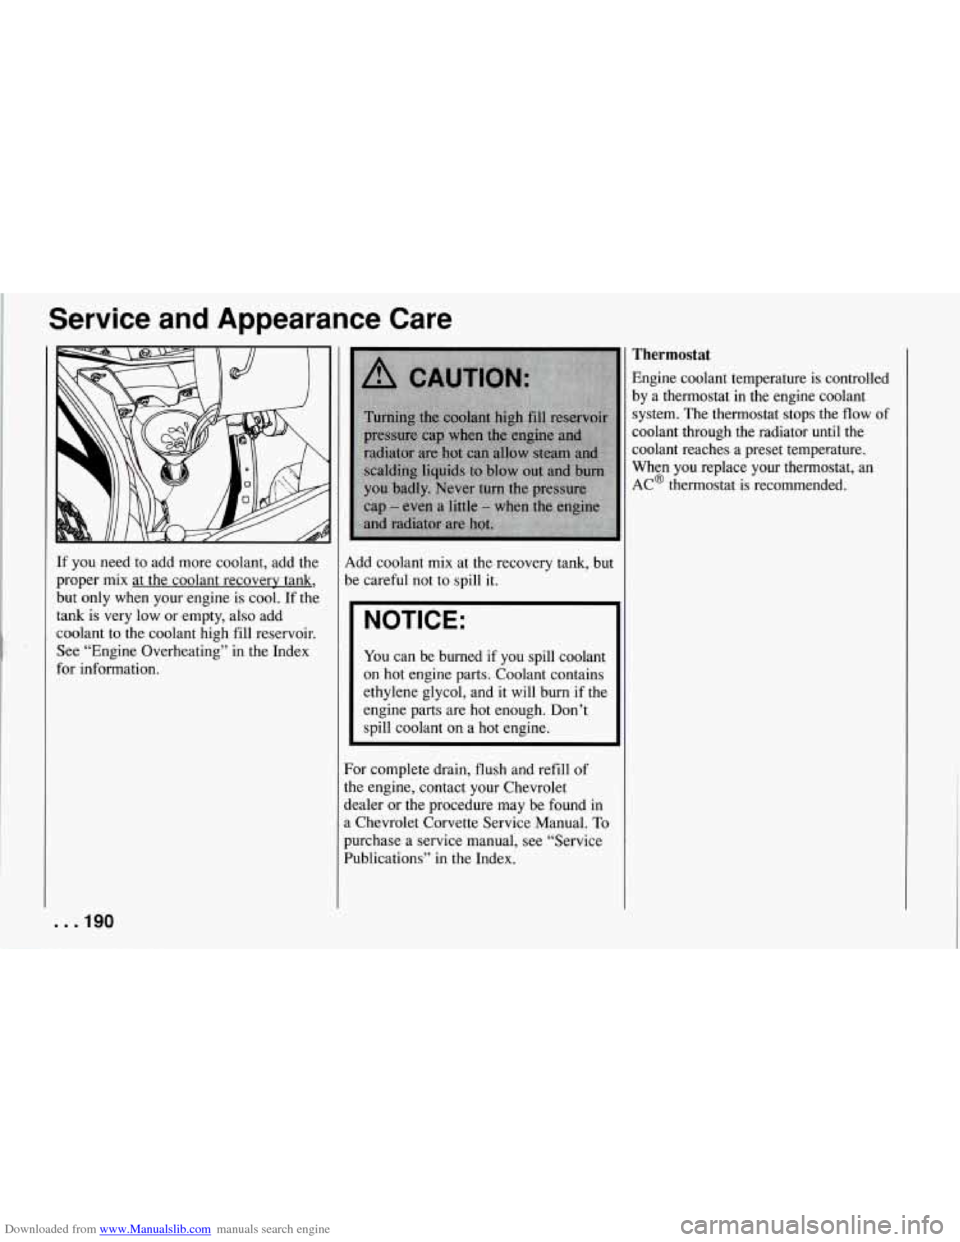
If you need to add more coolant, add the
proper mix at
the coolant recovery tank,
but only when your engine is cool. If the
tank is very low or empty, also add
coolant to the coolant high fill reservoir.
See “Engine Overheating”
in the Index
for information.
. . .190
Add coolant mix at the recovery tank, but
be careful not to spill it.
NOTICE:
You can be burned if you spill coolant
on hot engine parts. Coolant contains
ethylene glycol, and it will burn if the
engine parts are hot enough. Don’t
spill coolant on a hot engine.
For complete drain, flush and refill
of
the engine, contact your Chevrolet
jealer or the procedure may be found in
3 Chevrolet Corvette Service Manual. To
purchase a service manual, see “Service
Publications” in the Index.
Thermostat
Engine coolant temperature is controlled
by a thermostat in
the engine coolant
system. The thermostat stops the flow of
coolant through the radiator until the
coolant reaches a preset temperature.
When you replace your thermostat, an
AC@ thermostat is recommended.
Page 192 of 274
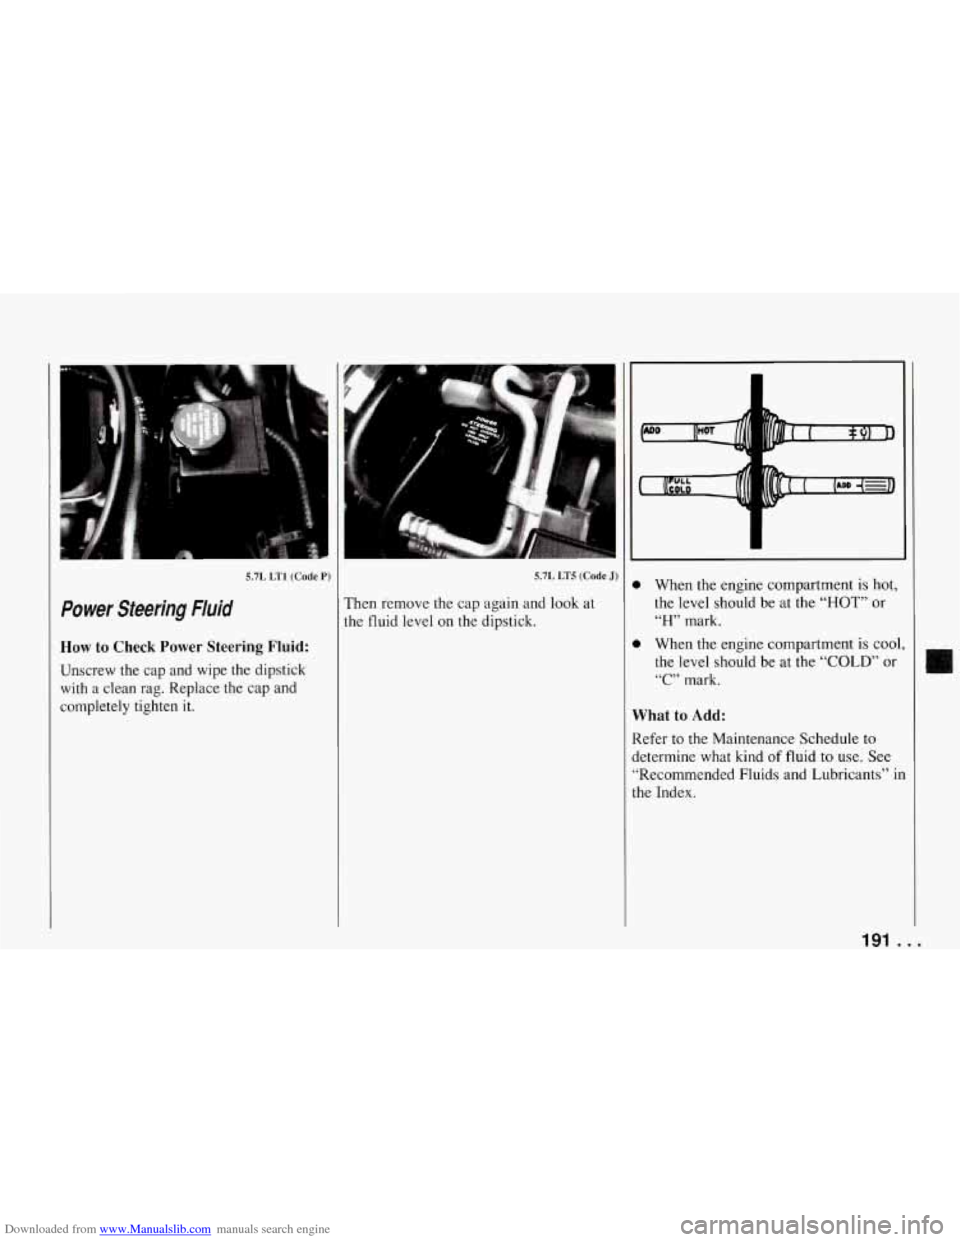
Downloaded from www.Manualslib.com manuals search engine 5.7L LT1 (Code P)
Power Steering Fluid
How to Check Power Steering Fluid:
Unscrew the cap and wipe the dipstick with a clean rag. Replace the cap and
completely tighten it.
5.7L LT5 (Code J)
Then remove the cap again and look at
the fluid level on the dipstick.
0 When the engine compartment is hot,
the level should be at the
“HOT” or
“H” mark.
0 When the engine compartment is cool
the level should be at
the “COLD” or
“C” mark.
What to Add:
Refer to the Maintenance Schedule to
determine what kind
of fluid to use. See
“Recommended Fluids and Lubricants” il
the Index.
191 .
T
-
3
1
..