Page 169 of 356

Downloaded from www.Manualslib.com manuals search engine 1
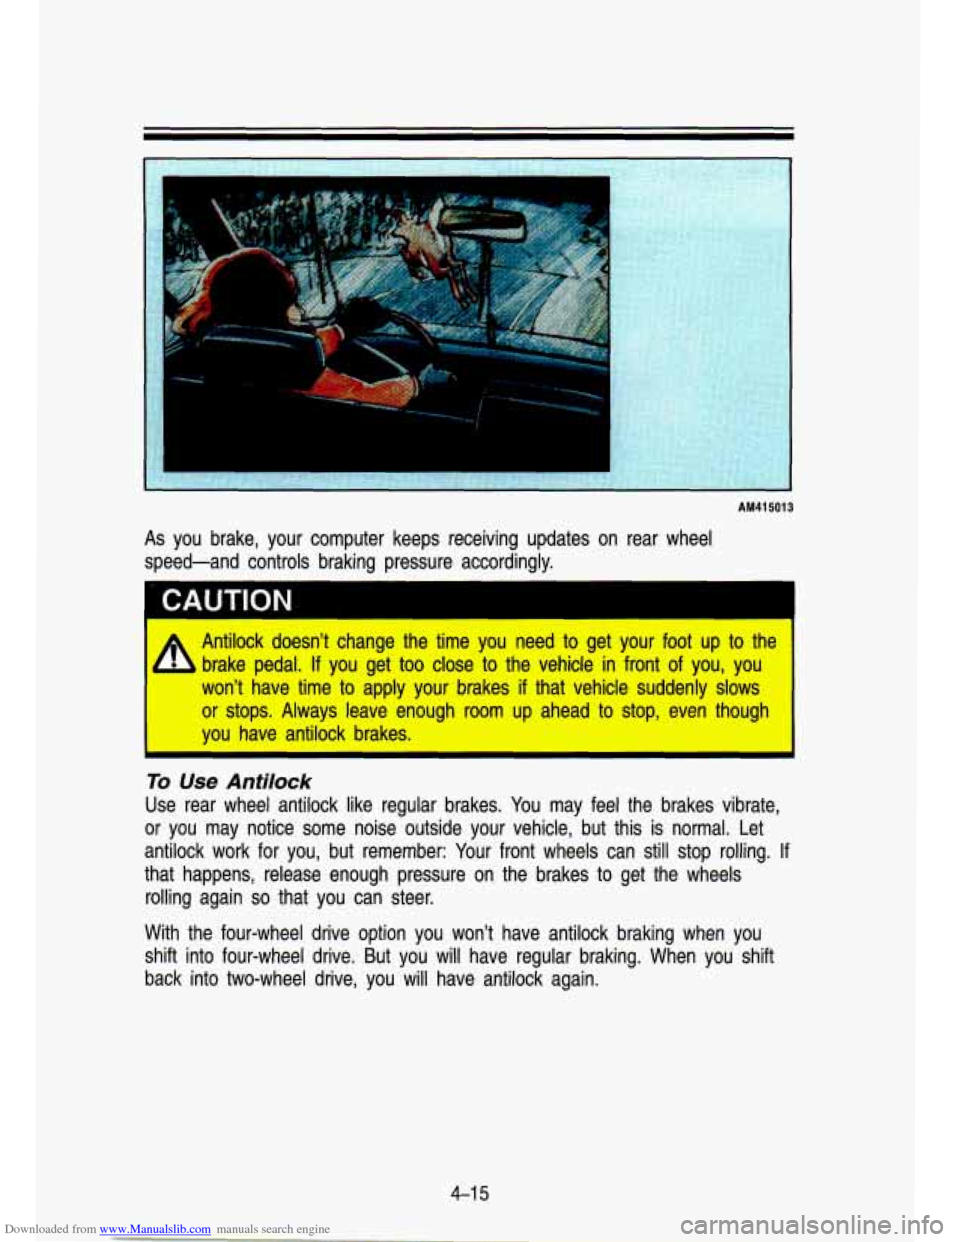
AM41 5013
As you brake, your computer keeps receiving updates on rear wheel
speed-and controls braking pressure accordingly.
Antilock doesn't change the time
you need to get your foot u8p to the
brake pedal.
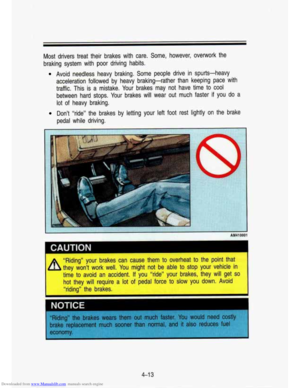
If you get too clloise to the vehicle in front of you, you
won? have time to apply your brakes if that vehicle suddenly slows
or stops. Always leave enough room ulp ahead to stop, even thouglh
you have antilock brakes. I
To Use Antilock
Use rear wheel antilock like regular brakes. You may feel the brakes vibrate,
or you may notice some noise outside your vehicle, but this i\
s normal. Let antilock work for you, but remember: Your front wheels can still stop rolling. If
that happens, release enough pressure on the brakes to get the wheels
rolling again
so that you can steer.
With the four-wheel drive option you won't have antilock brakin\
g when you
shift into four-wheel drive. But you will have regular braking.\
When you shift
back into two-wheel drive, you will have antilock again.
4-1 5
Page 170 of 356

Downloaded from www.Manualslib.com manuals search engine Your Driving and the Road
Brake System Warning Light
Standard Cluster
Digital Cluster
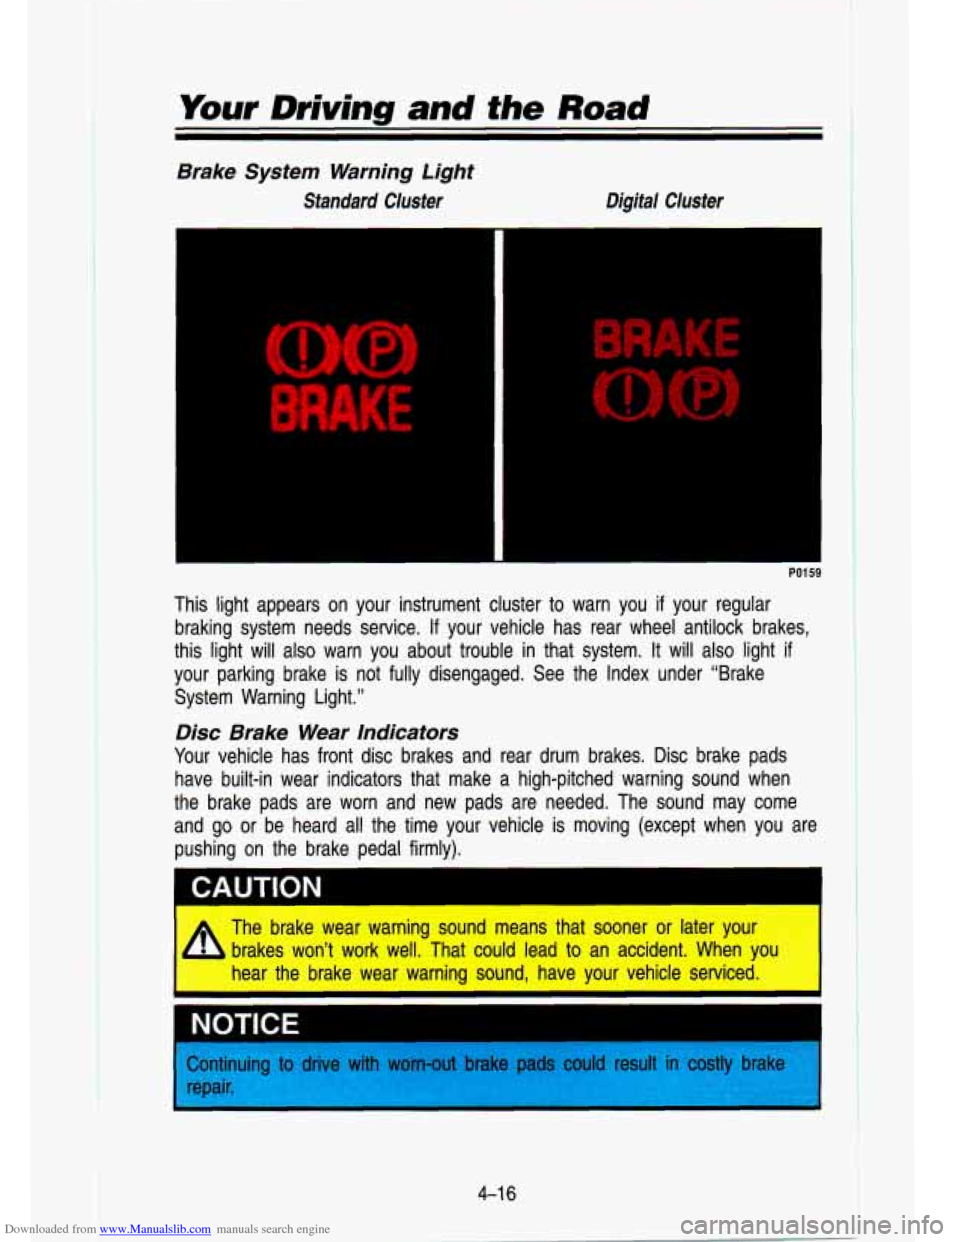
This light appears on your instrument cluster to warn you if your regular
braking system needs service.
If your vehicle has rear wheel antilock brakes,
this light will
also warn you about trouble in that system. It will also light if
your parking brake is not fully disengaged. See the Index unde\
r “Brake
System Warning Light.”
Disc Brake Wear Indicators
Your vehicle has front disc brakes and rear drum brakes. Disc brake pads
have built-in wear indicators that make a high-pitched warning \
sound when
the brake pads are worn and new pads are needed. The sound m\
ay come
and go or be heard all the time your vehicle is moving (except \
when you are
pushing on the brake pedal firmly).
The brake wear warning sound means that sooner or later your brakes won’t work well. That could lead to an accident. When yo
hear the brake wear warning sound, have your vehicle serviced. \
I NOTICE
>ontinuing ti
epair.
e with worn-out bra1 could sult in lstly brake
Page 171 of 356

Downloaded from www.Manualslib.com manuals search engine Some driving conditions or climates may cause a brake squeal w\
hen the brakes are first applied or lightly applied. This does not mea\
n something is
wrong with your brakes.
Rear Drum Brakes
Your rear drum brakes don’t have the wear indicators, but i\
f you ever hear a
rear brake rubbing noise, have the rear brake linings inspected\
. Also, the rear
brake drums should be removed and inspected each time the tire\
s are
removed for rotation or changing. When you have the front brak\
es replaced,
have the rear brakes inspected, too.
Brake linings should always be replaced as complete axle sets. \
Brake Pedal Travel
See your dealer if the brake pedal does not return to normal height, or if
there is a rapid increase in pedal travel. This could be a s\
ign of brake
trouble.
Brake Adjustment
Every time you make a brake stop, your disc brakes adjust for\
wear. If your
brake pedal goes down farther than normal, your rear drum brak\
es may need
adjustment. Adjust them by backing up and firmly applying the \
brakes a few
times.
Braking In Emergencies
At some time, nearly every driver gets into a situation that requires hard
braking. You have the rear wheel antilock braking system. Your front wheels
can stop rolling when you brake very hard. Once they do, the \
vehicle can’t respond to your steering. Momentum will carry
it in whatever direction it was
headed when the front wheels stopped rolling. That could be of\
f the road,
into the very thing you were trying to avoid, or into traffic.
So, use a “squeeze” braking technique. This will give you max\
imum braking
while maintaining steering control. You do this by pushing on the brake pedal
with steadily increasing pressure. When you do, it will help maintain steering
control. In many emergencies, steering can help you more than \
even the very
best braking.
Steering
Power Steering
If you lose power steering assist because the engine stops or the\
system
fails to function, you can steer but
it will take much more effort.
4-1 7
Page 172 of 356

Downloaded from www.Manualslib.com manuals search engine Your Driving and the Road
Steering Tips
Driving on Curves
It’s important to take curves at a reasonable speed.
A lot of the “driver lost control” accidents mentioned on the news \
happen on
curves. Here’s why:
Experienced driver or beginner, each of us is subject to the same laws of
physics when driving on curves. The traction of the tires against the road
surface makes it possible for the vehicle to change its path when you turn
the front wheels.
If there’s no traction, inertia will keep the vehicle going in
the same direction.
If you’ve ever tried to steer a vehicle on wet ice, you’ll \
understand this.
The traction you can get in a curve depends on the condition of your tires
and the road surface, the angle at which the curve is banked, and your
speed. While you’re in a curve, speed is the one factor you can control.
Suppose you’re steering through a sharp curve. Then you sudd\
enly apply the
brakes. Both control systems-steering and braking-have to do their work
where the tires meet the road. Adding the hard braking can de\
mand too
much at those places. You can lose control. The same thing can happen
if
you’re steering through a sharp curve and you suddenly accel\
erate. Those
two control systems-steering and acceleration-can overwhelm those places
where the tires meet the road and make you lose control.
What should you
do if this ever happens? Let up on the brake or accelerator
pedal, steer the vehicle the way you want it to go, and slow down.
Speed limit signs near curves warn that you should adjust your\
speed. Of
course, the posted speeds are based on good weather and road \
conditions. Under less favorable conditions you’ll want to go slower.
If you need to reduce your speed as you approach a curve, do it before you
enter the curve, while your front wheels are straight ahead. Try to adjust your
speed
so you can “drive” through the curve. Maintain a reasonable, \
steady
speed. Wait to accelerate until you are out of the curve, and then accelerate
gently into the straightaway.
When you drive into a curve at night, it’s harder to see the road ahead of
you because it bends away from the straight beams of your lights. This is
one
good reason to drive slower.
Steering in Emergencies
There are times when steering can be more effective than braki\
ng. For
example, you come over a hill and find a truck stopped in your lane, or a
4-1 %
Page 173 of 356

Downloaded from www.Manualslib.com manuals search engine car suddenly pulls out from nowhere, or a child darts out from between
parked cars and stops right in front of you. You can avoid these problems by
braking-if you can stop in time. But sometimes you can’t; there isn’t room.
That’s the time for evasive action-steering around the proble\
m.
Your vehicle can perform very well in emergencies like these. First apply your
brakes, but not enough to lock your front wheels.
It is better to remove as much speed as you can from a possible collision.
Then steer around the problem, to the left or right depending on the space
available.
KO444
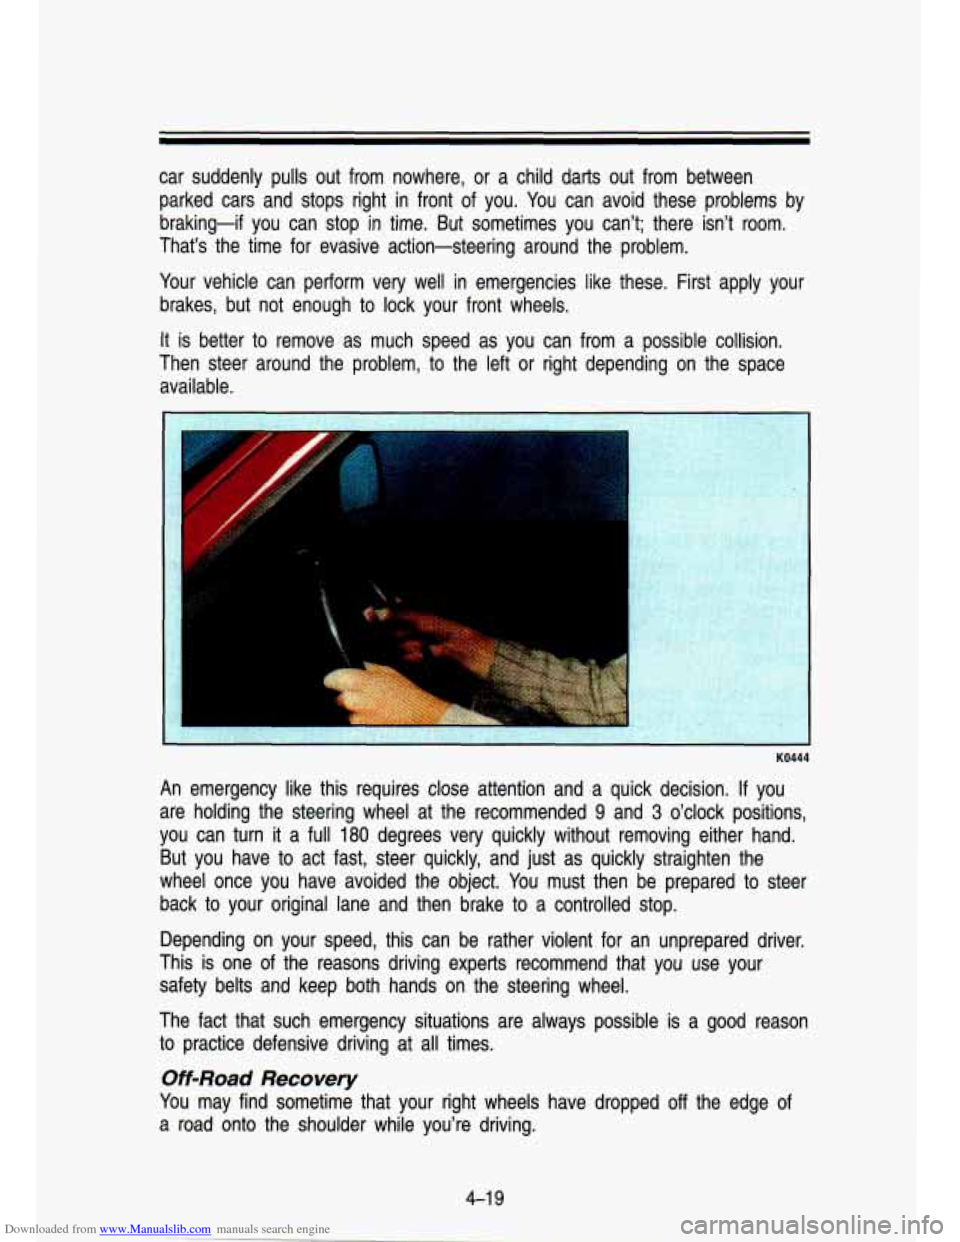
An emergency like this requires close attention and a quick de\
cision. If you
are holding the steering wheel at the recommended
9 and 3 o’clock positions,
you can turn
it a full 180 degrees very quickly without removing either hand.
But you have to act fast, steer quickly, and just as quickly straighten the
wheel once you have avoided the object. You must then be prepared to steer
back to your original lane and then brake
to a controlled stop.
Depending on your speed, this can be rather violent for an un\
prepared driver.
This is one
of the reasons driving experts recommend that you use your
safety belts and keep both hands on the steering wheel.
The fact that such emergency situations are always possible
is a good reason
to practice defensive driving at
all times.
Off-Road Recovery
You may find sometime that your right wheels have dropped off the edge of
a road onto the shoulder while you’re driving.
Page 174 of 356

Downloaded from www.Manualslib.com manuals search engine Your Driving and the Road
AM428003
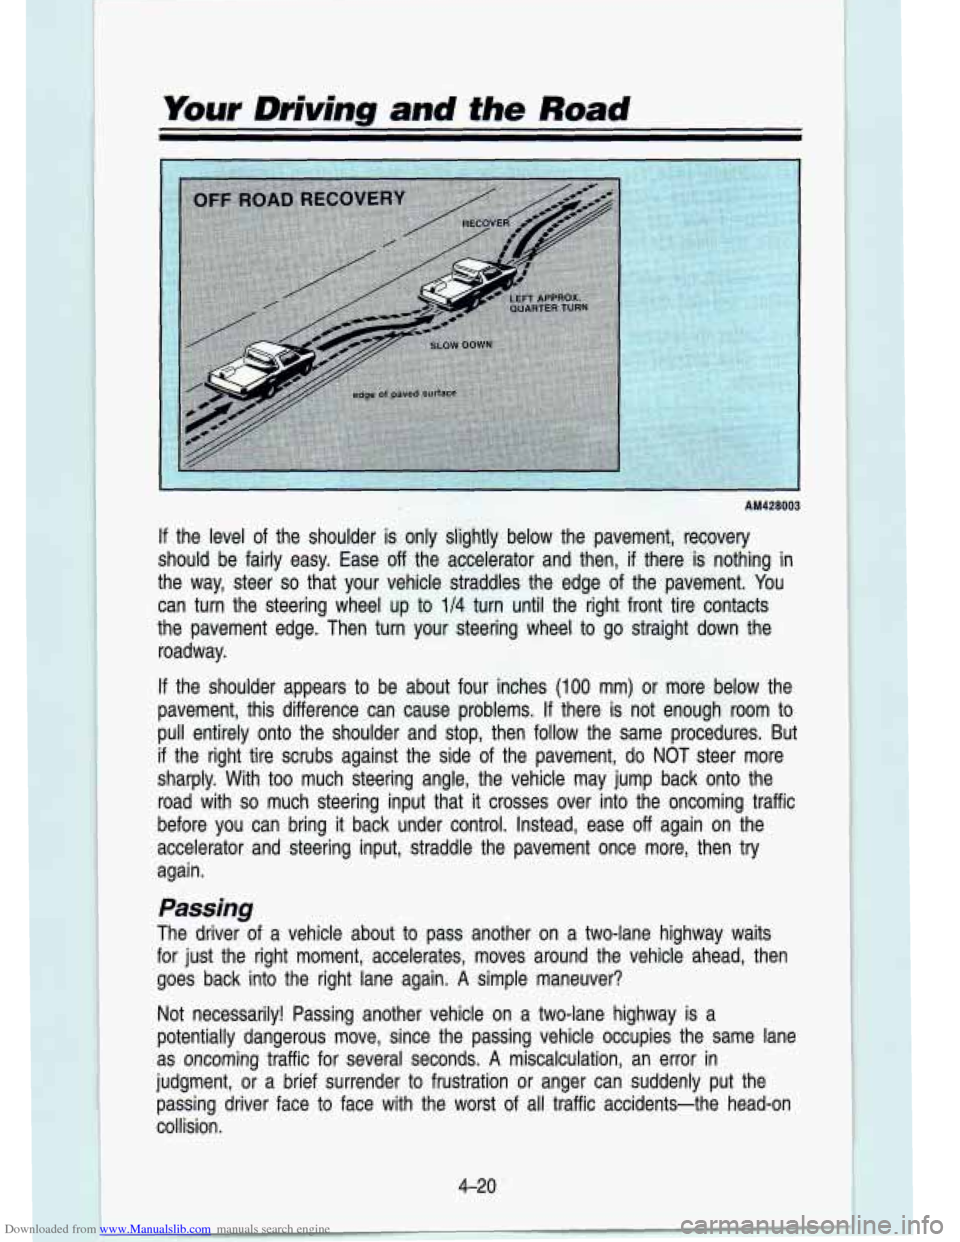
If the level of the shoulder is only slightly below the pavement, recovery
should be fairly easy. Ease off the accelerator and then,
if there is nothing in
the way, steer
so that your vehicle straddles the edge of the pavement. You
can turn the steering wheel up to
114 turn until the right front tire contacts
the pavement edge. Then turn your steering wheel to go straigh\
t down the
roadway.
If the shoulder appears to be about four inches (100 mm) or more below the
pavement, this difference can cause problems.
If there is not enough room to
pull entirely onto the shoulder and stop, then follow the same\
procedures. But
if the right tire scrubs against the side of the pavement, do NO\
T steer more
sharply. With too much steering angle, the vehicle may jump ba\
ck onto the
road with
so much steering input that it crosses over into the oncoming traffic
before you can bring it back under control. Instead, ease
off again on the
accelerator and steering input, straddle the pavement once more,\
then
try
again.
Passing
The driver of a vehicle about to pass another on a two-lane highway waits
for just the right moment, accelerates, moves around the vehicl\
e ahead, then goes back into the right lane again.
A simple maneuver?
Not necessarily! Passing another vehicle on a two-lane highway is a\
potentially dangerous move, since the passing vehicle occupies t\
he same lane
as oncoming traffic for several seconds.
A miscalculation, an error in
judgment, or a brief surrender to frustration or anger can sud\
denly put the passing driver face to face with the worst of all traffic accidents-the head-on
collision.
4-20
Page 175 of 356

Downloaded from www.Manualslib.com manuals search engine So here are some tips for passing:
e
e
e
e
e
e
e
“Drive ahead.” Look down the road, to the sides, and to \
crossroads for
situations that might affect your passing patterns.
If you have any doubt
whatsoever about making a successful pass, wait for a better t\
ime.
Watch for traffic signs, pavement markings, and lines.
If you can see a
sign up ahead that might indicate a turn or an intersection, \
delay your pass.
A broken center line usually .indicates it’s all right to pass
(providing the road ahead is clear). Never cross a solid lin\
e on your side
of the lane or a double solid line, even
if the road seems empty of
approaching traffic.
If you suspect that the driver of the vehicle you want to pass isn’t aware
of your presence, tap the horn a couple of times before passing. \
Do not get too close to the vehicle you want to pass while you’re
awaiting an opportunity.
For one thing, following too closely reduces your
area of vision, especially
if you’re following a larger vehicle. Also, you
won’t have adequate space if the vehicle ahead suddenly
slows or stops.
Keep back a reasonable distance.
When it looks like a chance to pass is coming up, start to accelerate
but stay in the right lane and don’t get too close. Time your move
so
you will be increasing speed as the time comes to move into \
the other
lane.
If the way is clear to pass, you will have a “running start”\
that
more than makes up for the distance you would lose by droppin\
g back.
And if something happens to cause you to cancel your pass, you need
only
slow down and drop back again and wait for another opportunity.
If other cars are lined up to pass a slow vehicle, wait your tu\
rn. But
take care that someone isn’t trying to pass you as you pul\
l out to pass
the slow vehicle. Remember to glance over your shoulder and ch\
eck the
blind spot.
Check your mirrors, glance over your shoulder, and start your \
left lane
change signal before moving out of the right lane to pass. When you
are far enough ahead of the passed vehicle to see its front in your
inside mirror, activate your right lane change signal and move \
back into
the right lane. (Remember that
if your right outside mirror is convex, the
vehicle you just passed may seem to be further away from you \
than
it
really is.)
Try not to pass more than one vehicle at a time on two-lane roads.
Reconsider before passing the next vehicle.
4-21
Page 176 of 356

Downloaded from www.Manualslib.com manuals search engine Your Driving and the Road
Don’t overtake a slowly moving vehicle too rapidly. Even tho\
ugh the
brake lights are not flashing, it may be slowing down or starting to turn.
If you’re being passed, make it easy for the following driv\
er to get ahead
of you. Perhaps you can ease a little to the right.
Loss of Control
Let’s review what driving experts say about what happens whe\
n the three
control systems (brakes, steering and acceleration) don’t ha\
ve enough friction
where the tires meet the road to
do what the driver has asked.
In any emergency, don’t give up. Keep trying to steer, and constantly seek an
escape route or area of less danger.
Skidding
In a skid, a driver can lose control of the vehicle. Defensive drivers avoid
most skids by taking reasonable care suited to existing conditi\
ons, and by not
“overdriving” those conditions. But skids are always possib\
le.
The three types
of skids correspond to your vehicle’s three control systems.
In the braking skid, your wheels aren’t rolling. In the steering or cornering
skid, too much speed or steering in a curve causes tires to \
slip and lose
cornering force. And in the acceleration skid, too much throttle causes the
driving wheels to spin.
A cornering skid and an acceleration skid are best handled by easing your
foot off the accelerator pedal. If your vehicle starts to slide (as when you turn
a corner on a wet, snow- or ice-covered road), ease your foo\
t
off the
accelerator pedal as soon as you feel the tires start to slide. Quickly steer
the way you want the vehicle to go. If you start steering quickly enough, your
vehicle will straighten out.
As it does, straighten the front wheels.
Of course, traction is reduced when water, snow, ice, gravel, or other material
is on the road. For safety, you’ll want to slow down and adjust your driving to
these conditions.
It is important to slow down on slippery surfaces because
stopping distance will be longer and vehicle control more limit\
ed.
While driving on a surface with reduced traction, try your bes\
t to avoid
sudden steering, acceleration, or braking (including engine brak\
ing by shifting
to a lower gear). Any sudden move could cause the tires to slide. You may
not realize the surface is slippery until your vehicle is skidding. Learn to
recognize warning clues-such as enough water, ice or packed snow on the
road to make
a “mirrored surface”-and slow down when you have any
doubt.
4-22