Page 249 of 372

2493-1. CONTROLS
3
CONTROLS
Via Toyota Supra Command:
1“My Vehicle”
2 “System settings”
3 “Wireless charging tray”
4 “Forgotten mobile device
alert”
The charge current may be
reduced or the charging process
may be temporarily interrupted
in the following situations:
Due to excessive tempera-
tures on the surface of the
tray and mobile phone.
If there are objects between
the mobile phone and the
wireless charging tray.
By settings on the mobile
phone, for instance for
charging. Follow the relevant
instructions control display
and in the instructions for the
mobile phone, if applicable.
Your car is equipped with a wire-
less charging tray (WCA) to
charge your mobile phone and
connect it to the mobile network.
To ensure the best possible con-
nection a signal booster
(LTE-Compensator) is used in
conjunction with the WCA. The following paragraphs refer to
this booster:
This is a CONSUMER device.
BEFORE USE, you MUST
REGISTER THIS DEVICE with
your wireless provider and have
your provider's consent. Most
wireless providers consent to
the use of Compensators. Some
providers may not consent to
the use of this device on their
network. If you are unsure, con-
tact your provider. You MUST
operate this device with
approved antennas and cables
as specified by the manufac-
turer. Antennas MUST be
installed at least 20 cm (8
inches) from any person. You
MUST cease operating this
device immediately if requested
by the FCC or a licensed wire-
less service provider. Warning
E911 location information may
not be provided or may be inac-
curate for calls served by using
this device.
Please observe additionally the
following information
Sprint Nextel will allow con-
sumers to register their signal
boosters by calling their
toll-free number.
T-Mobile online registration
link:
(www.T-Mobile.com/Booster-
Registration);
(https://saqat.t-mobile.com/sit
es/SignalBooster#).
Activating
System limits
LTE-Compensator - Infor-
mation and User Manual
Page 250 of 372

2503-1. CONTROLS
Verizon’s online registration
link: (http://www.verizonwire-
less.com/wcms/con-
sumer/register-signal-booster.
html).
AT&T online registration link
(https://secu-
rec45.securewebses-
sion.com/attsignal-booster.co
m/).
U.S.Cellular online registra-
tion link (http://www.uscellu-
lar.com/uscellular/support/fcc-
booster-registration.jsp).
Before use you must register
your booster device with your
wireless provider.
If you should be requested by
the FCC to cease operating your
booster you are not allowed to
insert your mobile phone in the
charging tray anymore unless
the booster is permanently
deactivated by your Toyota
dealer.
You must not remove the
booster from the car nor use it
with any other than the prein-
stalled coupling device or
antenna. Any modification of the
existing antenna or coupling
device as well as the use of
other antennas or coupling
devices will cause the cease of
the booster’s operating license.
The booster device fulfills the
network protections tandards as
required by the FCC, such as intermodulation limits, oscillation
detection and gainlimits.
Booster Manufacturer: Kathrein
Automotive
Model Number: LTECOMPB0
Part Number: 6803145-01
FCC-ID: 2ACC7LTECOMPB0
Page 251 of 372

2513-1. CONTROLS
3
CONTROLS
This chapter describes all stan-
dard, country-specific and
optional features offered with
the series. It also describes fea-
tures and functions that are not
necessarily available in your
vehicle, e.g., due to the selected
options or country versions. This
also applies to safety-related
functions and systems. When
using these functions and sys-
tems, the applicable laws and
regulations must be observed.The vehicle interior contains
multiple storage compartments
for stowing objects.
Pull the handle.
The light in the glove compart-
ment switches on.
Fold cover closed.
Storage compar t-
ments
Vehicle features and
options
Safety information
WARNING
Loose objects or devices with a
cable connection to the vehicle,
for instance mobile phones, can
be thrown into the car’s interior
while driving, for
instance in the
event of an accident or during
braking and evasive maneuvers.
There is a risk of injury. Secure
loose objects or devices with a
cable connection to the vehicle in
the car’s interior.
NOTICE
Anti-slip pads such as anti-slip
mats can damage the dashboard.
There is a risk of damage to prop-
erty. Do not use anti-slip pads.
Storage compartments
Glove compartment
Safety information
WARNING
Folded open, the glove compart-
ment protrudes in the car's inte-
rior. Objects in the glove
compartment can be thrown into
the car's interior w hile driving, for
instance in the event of an acci-
dent or during braking and eva-
sive maneuvers. There is a risk of
injury. Always close the glove
compartment immediately after
using it.
Opening
Closing
Page 252 of 372

2523-1. CONTROLS
The glove compartment can be
locked with an integrated key,
refer to page 86. This prevents
access to the glove compart-
ment.
After the glove compartment is
locked, the remote control can
be handed over without the inte-
grated key, for instance when
the vehicle is parked by valet
parking.
There are storage compart-
ments in the doors.Locking
Compartments in the
doors
General information
Safety information
WARNING
Breakable objects, such as glass
bottles or glasses, can break in
the event of an accident or a brak-
ing or evasive maneuver. Broken
glass can be scattered in the car's
interior. There is a risk of injury or
risk of damage to property. Do not
use any breakable objects while
driving. Only stow breakable
objects in closed storage com-
partments.
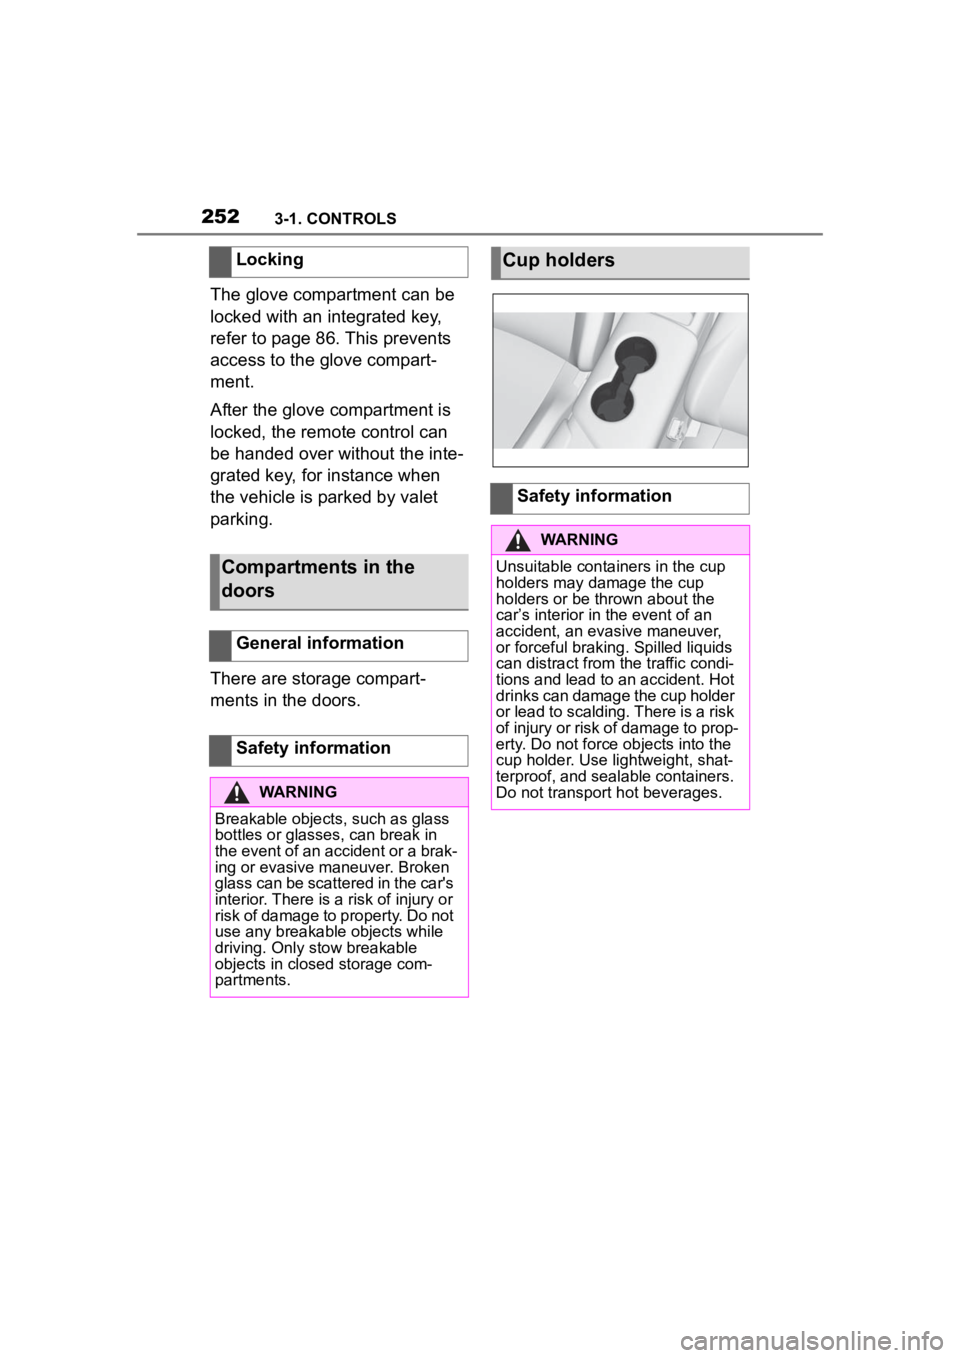
Cup holders
Safety information
WARNING
Unsuitable containers in the cup
holders may damage the cup
holders or be thrown about the
car’s interior in the event of an
accident, an evasive maneuver,
or forceful braking. Spilled liquids
can distract from the traffic condi-
tions and lead to an accident. Hot
drinks can damage the cup holder
or lead to scalding. There is a risk
of injury or risk of damage to prop-
erty. Do not force objects into the
cup holder. Use lightweight, shat-
terproof, and sealable containers.
Do not transport hot beverages.
Page 253 of 372

2533-1. CONTROLS
3
CONTROLS
This chapter describes all stan-
dard, country-specific and
optional features offered with
the series. It also describes fea-
tures and functions that are not
necessarily available in your
vehicle, e.g., due to the selected
options or country versions. This
also applies to safety-related
functions and systems. When
using these functions and sys-
tems, the applicable laws and
regulations must be observed.1Locate the statement “The
combined weight of occu-
pants and cargo should
never exceed XXX kg or XXX
lbs” on your vehicle’s plac-
ard.
2 Determine the combined
weight of the driver and pas-
sengers that will be riding in
your vehicle.
Cargo area
Vehicle features and
options
Loading
Safety information
WARNING
High gross weight can overheat
the tires, damage them internally
and cause a sudden drop in tire
inflation pressure. Driving charac-
teristics may be negatively
impacted, reducing lane stability,
lengthening the braking distances
and changing the steering
response. There is a risk of an
accident. Pay attention to the per-
mitted load capaci ty of the tires
and never exceed the permitted
gross weight.
WARNING
Loose object or devices with a
cable connection to the vehicle,
for instance mobile phones, can
be thrown about the car
Page 254 of 372

2543-1. CONTROLS
3Subtract the combined
weight of the driver and pas-
sengers from XXX kg or XXX
lbs.
4 The resulting figure equals
the available amount of cargo
and luggage load capacity.
For example, if the “XXX”
amount equals 1,400 lbs and
there will be five 150 lbs pas-
sengers in your vehicle, the
amount of available cargo
and luggage load capacity is
650 lbs (1,400–750 (5 x 150)
= 650 lbs).
5 Determine the combined
weight of luggage and cargo
being loaded on the vehicle.
That weight may not safely
exceed the available cargo
and luggage load capacity
calculated in Step 4.
6 If your vehicle will be towing
a trailer, load from your trailer
will be transferred to your
vehicle. Consult this manual
to determine how this
reduces the available cargo
and luggage load capacity of
your vehicle. The maximum load is the sum of
the weight of the occupants and
the cargo.
The greater the weight of the
occupants, the less cargo that
can be transported.
Cover sharp edges and cor-
ners on the cargo.
Heavy cargo: stow as far for-
ward and as low as possible,
ideally directly behind the
cargo partition.
Smaller and lighter cargo:
secure with ratchet straps or
with a cargo net or draw
straps.
Larger and heavy cargo:
secure with cargo straps.
*: if equipped
Load
Stowing and securing
cargo
Lashing eyes in the cargo
area*
Page 255 of 372

2553-1. CONTROLS
3
CONTROLS
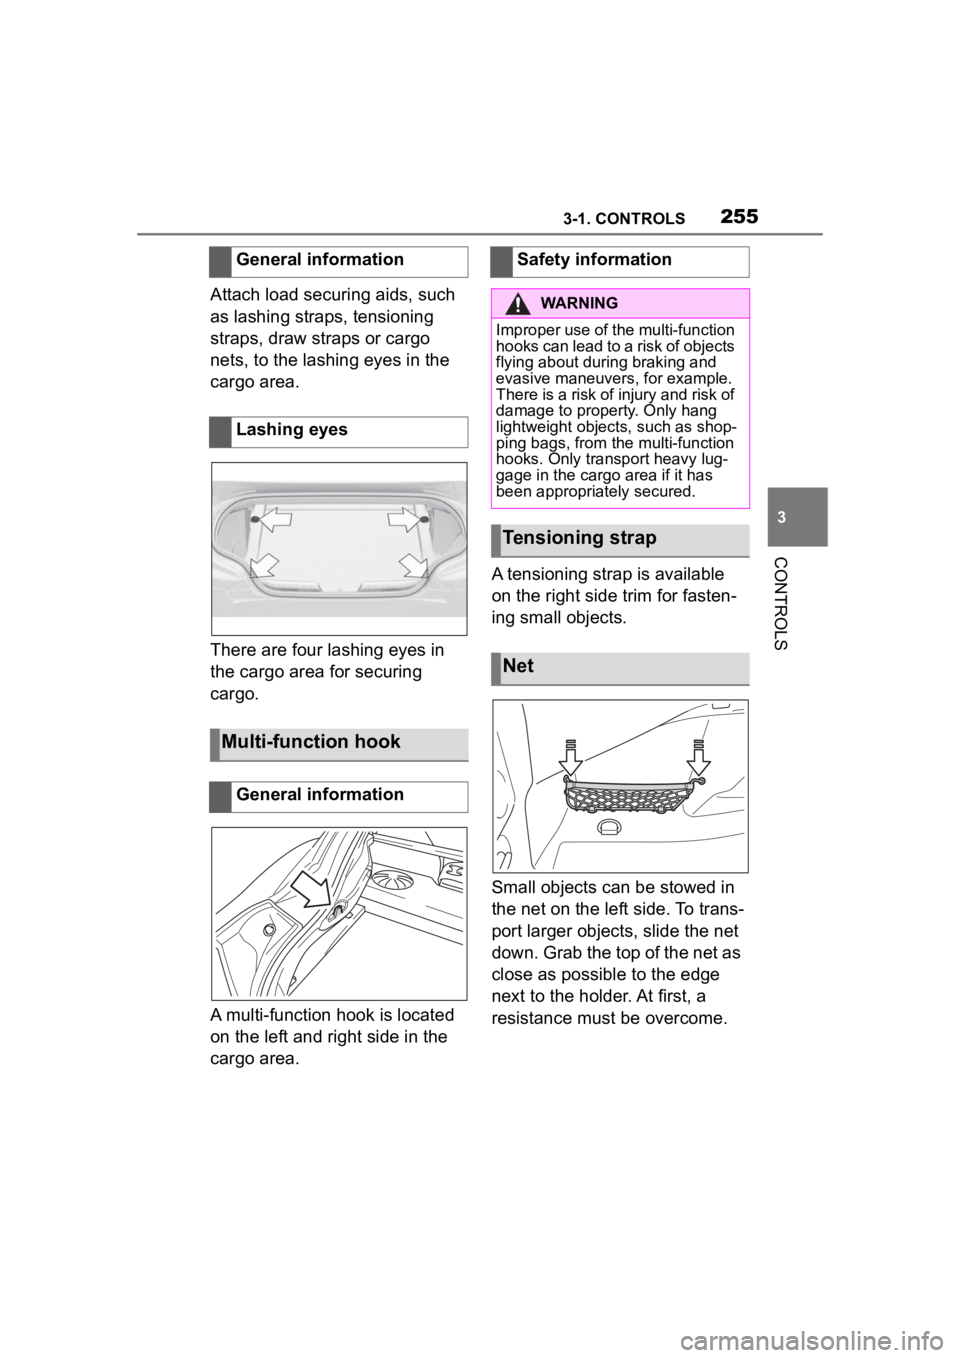
Attach load securing aids, such
as lashing straps, tensioning
straps, draw straps or cargo
nets, to the lashing eyes in the
cargo area.
There are four lashing eyes in
the cargo area for securing
cargo.
A multi-function hook is located
on the left and right side in the
cargo area.A tensioning strap is available
on the right side trim for fasten-
ing small objects.
Small objects can be stowed in
the net on the left side. To trans-
port larger objects, slide the net
down. Grab the top of the net as
close as possible to the edge
next to the holder. At first, a
resistance must be overcome.
General information
Lashing eyes
Multi-function hook
General information
Safety information
WARNING
Improper use of the multi-function
hooks can lead to a risk of objects
flying about during braking and
evasive maneuvers, for example.
There is a risk of injury and risk of
damage to property. Only hang
lightweight objects, such as shop-
ping bags, from the multi-function
hooks. Only transport heavy lug-
gage in the cargo
area if it has
been appropriately secured.
Tensioning strap
Net
Page 256 of 372
2563-1. CONTROLS
A storage compartment is avail-
able on the right side of the
cargo area.
Unlock the cover of the right
side panel, arrow 1, and fold up,
arrow 2.
The cover can be removed for
stowing bulky items.
1 Unhook the retaining straps
on the tailgate. 2
Slightly lift the cover, arrow 1,
and pull backward from the
holders, arrows 2.
To insert, proceed in reverse
order. Make sure that the lug-
gage cover is positioned cor-
rectly in the brackets.
Storage compartment on
the right side
General information
Opening
Luggage cover
Removing
Inserting