Page 105 of 372
1053-1. CONTROLS
3
CONTROLS
posture not only helps reduce
fatigue while driving, but helps
ensure that the occupant protec-
tion devices, such as the seat
belts and airbags, will operate
correctly in a collision, reducing
the impact to the occupants.The most basic occupant pro-
tection device is the seat belt.
The airbags are designed to
supplement the seat belts, not
be used in place of them. Wear-
ing the seat belt correctly
ensures that the occupants are
securely held in the seats and
helps prevent them from con-
tacting interior parts or being
thrown from the vehicle in a col-
lision. Therefore, it is necessary
for all occupants to wear their
seat belt. If a seat belt is worn
improperly, its effectiveness as
an occupant protection device
will be severely reduced. Pay
attention to the following to
ensure the correct driving pos-
ture and use of the seat belts.
Correct use of the seat
belts
Correct driving posture and use of the seat belts
Page 106 of 372

1063-1. CONTROLS
Position the head restraint so that the center of it is at the same
height as the top of your ears
Make sure that the seat belt is not twisted
Adjust the seat so that your arms bend slightly at the elbow when
gripping the upper part of the steering wheel
Make sure that the seat belt is snug and not loose at any point
Position the lap belt as low as possible over the hips
Sit well back in the seat with the seatback upright
Sit so your entire back is in contact with the seatback
Position the shoulder belt so that it does not contact your nec k or
slide off your shoulderA
B
C
D
E
F
G
H
WARNING
Do not recline the seatback
excessively while driving.
To reduce the risk of sliding under
the lap belt during a collision, do
not recline the seat more than
necessary. If the seat is too
reclined, the lap belt may slide
past the hips and apply restraint
forces directly to the abdomen, or
your neck may contact the shoul-
der belt, increasing the risk of
death or serious injury in the
event of an accident. Adjustments
should not be made while driving
as the seat may unexpectedly
move and cause the driver to lose
control of the vehicle.
WARNING
Make sure that all passengers
wear their seat belt correctly.
Use of seat belts may be manda-
tory under local laws and regula-
tions. If a seat belt is not worn
properly, an occupant may con-
tact interior parts or be thrown
from the vehicle in the case of
sudden braking or a collision, pos-
sibly resulting in death or serious
injury. Also, if an occupant has an
incorrect riding posture, the air-
bags will be ineffectual as occu-
pant protection devices and may
actually cause injuries when they
deploy.
Page 107 of 372

1073-1. CONTROLS
3
CONTROLS
1Guide the safety belt slowly
over shoulder and hip to put it
on.
2 Insert the tongue plate into
the safety belt buckle. The
safety belt buckle must
engage audibly. 1
Hold the safety belt firmly.
2 Press the red button in the
safety belt buckle.
3 Guide the safety belt back
into its roll-up mechanism.
The safety belt warning is
issued when the driver's safety
belt is not buckled.
The safety belt warning is also
active when the front passenger
seat belt is not buckled or
objects are on the front passen-
ger seat.
The safety belt warning is also
activated when a passenger
unbuckles a safety belt during
the trip.
WARNING
Correct use of the seat belts when
pregnant:
Pregnant women must wear a
seat belt. Consult your physician
for advice on correct way to wear
a seat belt. Position the lap belt as
low as possible over the hips and
the shoulder belt completely over
the shoulder, passing the center
of the chest, so tha t the seat belt
does not apply any pressure to
the abdomen.
Buckling the safety belt
Unbuckling the safety belt
Safety belt warning for
driver's seat and front pas-
senger seat
General information
Display in the instrument
cluster
The indicator light lights up
and a signal sounds.
Make sure that the safety
belts are positioned cor-
rectly. The safety belt
warning can also be acti-
vated if objects are placed
on the front passenger
seat.
Page 108 of 372

1083-1. CONTROLS
The height of the head restraints
cannot be adjusted.
The distance to the back of the
head is adjusted via the back-
rest tilt.
Adjust the distance so that the
head restraint is as close as
possible to the back of the head.
The head restraints cannot be
removed.The mirror on the front passen-
ger side is more curved than the
driver's side mirror.
The mirror setting is stored for
the driver profile currently in
use. When the vehicle is
unlocked via the vehicle key, the
position is automatically
retrieved if the function, refer to
page 68, is activated for this
purpose.
The current exterior mirror posi-
tion can be stored using the
memory function, refer to page
111 .
Front head restraints
Safety information
WARNING
Objects on the head restraint
reduce the p
rotective effect in the
head and neck area. There is a
risk of injury.
• Do not use seat or head restraint covers.
• Do not hang objects, for instance clothes hangers,
directly on the head restraint.
• Only use accessories that have been determined to be safe for
attachment to a h ead restraint.
• Do not use any accessories, for instance pillows, while driving.
Adjusting the height
Adjusting the distance
Removing
Exterior mirrors
General information
Safety information
WARNING
Objects reflected in the mirror are
closer than they appear. The dis-
tance to the traffic behind could
be incorrectly estimated, for
instance while changing lanes.
There is a risk of an accident.
Estimate the distance to the traffic
behind by looking over your
shoulder.
Page 109 of 372

1093-1. CONTROLS
3
CONTROLS
1Adjusting
2 Selecting a mirror, Automatic
Curb Monitor
3 Folding in and out
Press the button.
The selected mirror moves
along with the button move-
ment.
To change over to the
other mirror: Slide the switch.
In case of an electrical malfunc-
tion, adjust the mirror by press-
ing the edges of the mirror
glass. Press the button.
Folding is only possible up to a
speed of approx. 15 mph/20
km/h.
Folding the mirrors in and out is
helpful in the following situa-
tions:
• In vehicle washes.
• On narrow roads.
Mirrors that were folded in are
folded out automatically at a
speed of approx. 25 mph/40
km/h.
Both exterior mirrors are auto-
matically heated as needed and
when the drive-ready state is
switched on.
The exterior mirror on the
driver's side is automatically
dimmed. Photocells in the car's
interior mirror, refer to page 110,
are used to control this.
Overview
Adjusting the exterior mir-
rors
Selecting a mirror
Malfunction
Folding in and out
NOTICE
Depending on the vehicle width,
the vehicle can be damaged in
vehicle washes. There is a risk of
damage to property. Before wash-
ing, fold in the mirrors by hand or
with the button.
Automatic heating
Automatic dimming fea-
ture
Page 110 of 372

1103-1. CONTROLS
If reverse gear is engaged, the
mirror glass on the front passen-
ger side is tilted downward. This
improves your view of the curb
and other low-lying obstacles
when parking, for instance.
1 Slide the switch to the
driver's side mirror position.
2 Engage selector lever posi-
tion R.
Slide the switch to the passen-
ger's side mirror position.
The interior mirror is dimmed
automatically.
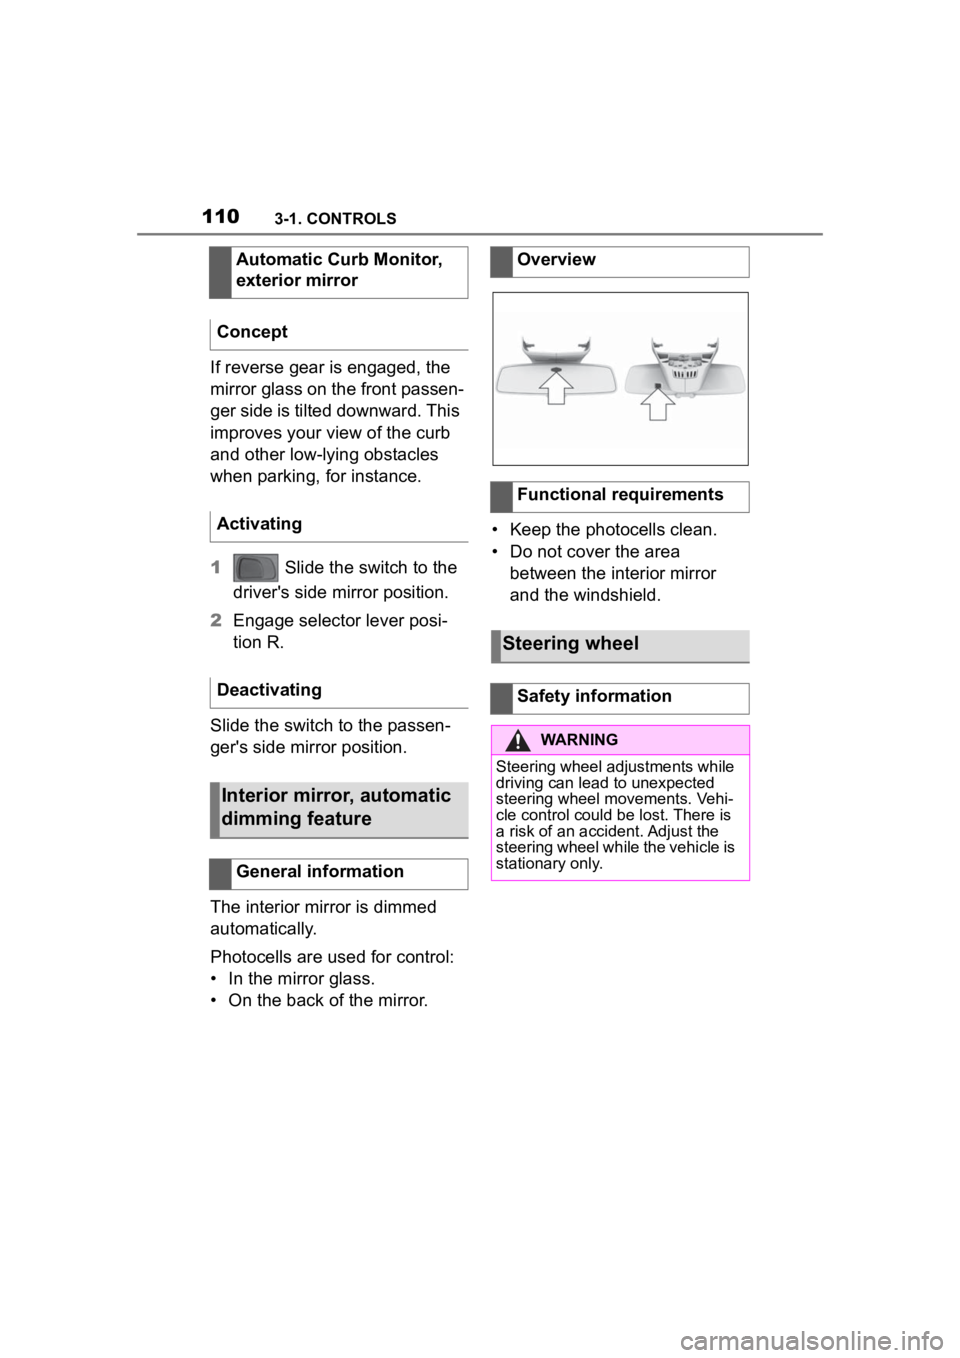
Photocells are used for control:
• In the mirror glass.
• On the back of the mirror. • Keep the photocells clean.
• Do not cover the area
between the interior mirror
and the windshield.
Automatic Curb Monitor,
exterior mirror
Concept
Activating
Deactivating
Interior mirror, automatic
dimming feature
General information
Overview
Functional requirements
Steering wheel
Safety information
WARNING
Steering wheel adjustments while
driving can lead to unexpected
steering wheel movements. Vehi-
cle control could be lost. There is
a risk of an accident. Adjust the
steering wheel while the vehicle is
stationary only.
Page 111 of 372

1113-1. CONTROLS
3
CONTROLS
1Fold the lever down com-
pletely.
2 Grip the steering wheel with
both hands and move the
steering wheel to the pre-
ferred height and angle to
suit your seat position.
3 Fold the lever back up.
The following settings can be
stored and, if necessary,
retrieved using the memory
function:
• Seat position.
• Exterior mirror position.
• Height of the Head-up Dis- play.
Two memory locations with dif-
ferent settings can be set for
each driver profile, refer to page
68. The following settings are not
stored:
• Backrest width.
• Lumbar support.
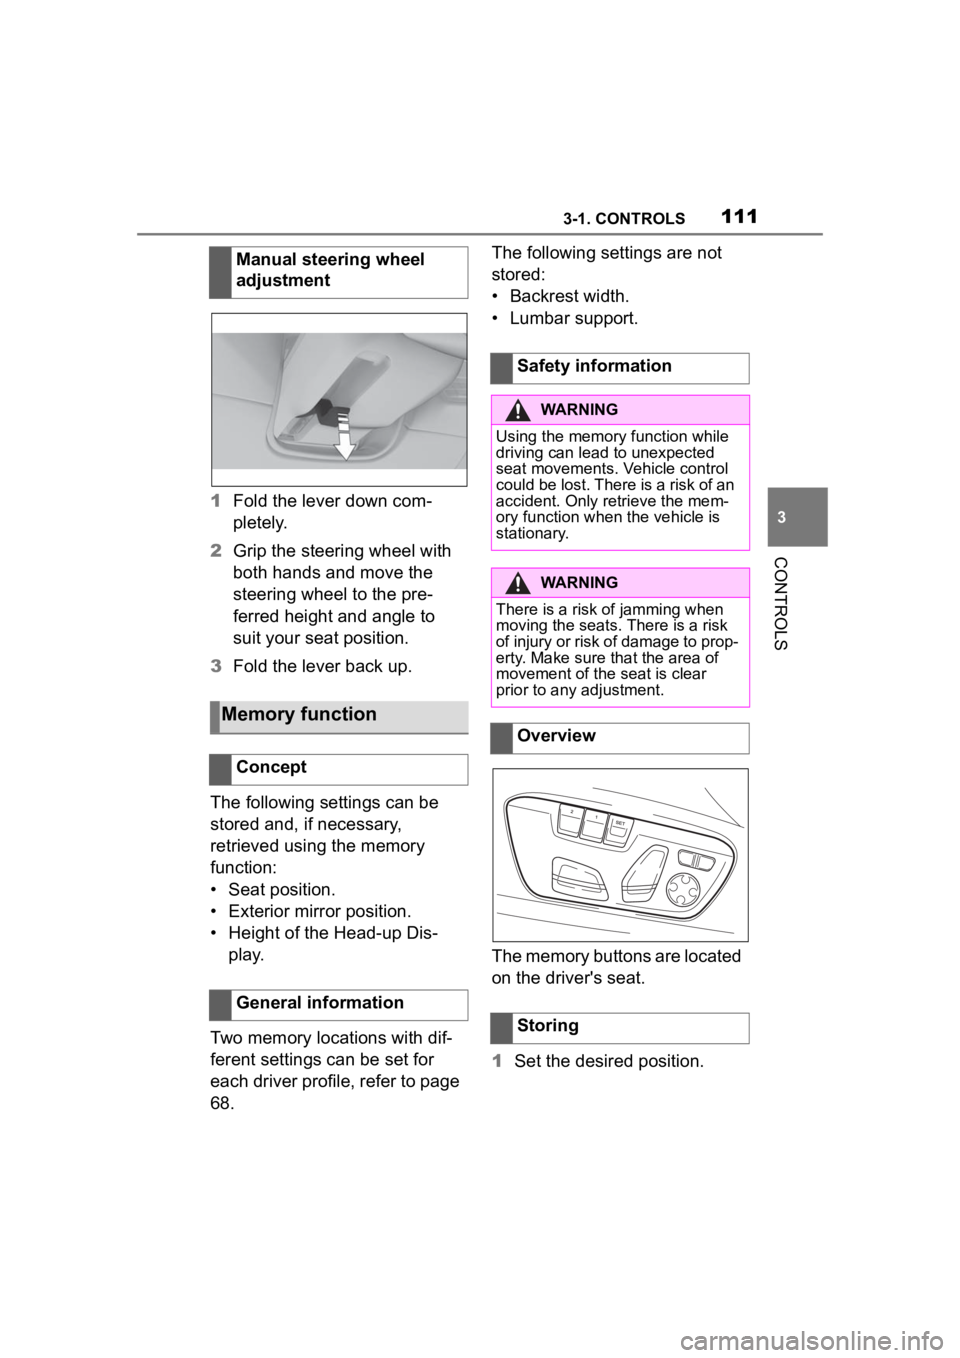
The memory buttons are located
on the driver's seat.
1
Set the desired position.
Manual steering wheel
adjustment
Memory function
Concept
General information
Safety information
WARNING
Using the memory function while
driving can lead to unexpected
seat movements. Vehicle control
could be lost. There is a risk of an
accident. Only retrieve the mem-
ory function when
the vehicle is
stationary.
WARNING
There is a risk of jamming when
moving the seats. There is a risk
of injury or risk of damage to prop-
erty. Make sure that the area of
movement of the seat is clear
prior to any adjustment.
Overview
Storing
Page 112 of 372
1123-1. CONTROLS
2 Press the button. The
writing on the button lights
up.
3 Press desired button 1 or 2
while the LED is lit. A signal
sounds.
The stored position is called up
automatically.
Press the desired button 1 or 2.
The stored position is called up.
The procedure stops when a
switch for setting the seat is
pressed or one of the memory
buttons is pressed again.
While driving, the seat position
adjustment on the driver's side
is interrupted after a short time.
*: if equipped
Press the button
once for each temperature level.
The maximum temperature is
reached when three LEDs are
lit.
Press and hold
the button until the LEDs go out.
Calling up settings
Seat heating*
Overview
Seat heating
Switching on
Switching off