Page 97 of 372

973-1. CONTROLS
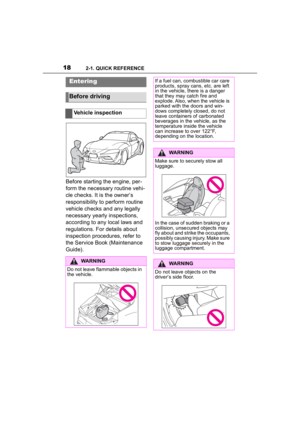
3
CONTROLS
motion sensor can trigger an
alarm, although no unauthorized
action occurred.
Possible situations for an
unwanted alarm:
• In automatic vehicle washes.
• In duplex garages.
• During transport on trains car-rying vehicles, at sea or on a
trailer.
• With animals in the vehicle.
• When the vehicle is locked after start of fueling.
The tilt alarm sensor and the
interior motion sensor can be
switched off in such situations.
The indicator light lights up for
approx. 2 seconds and then
continues to flash.
The tilt alarm sensor and interior
motion sensor are switched off
until the vehicle is locked again.
• Unlock the vehicle with the remote control.
• Unlock the vehicle with the integrated key and activate
the drive-ready state via
emergency detection of the vehicle key, refer to page 85.
• With Smart Key System: when carrying the vehicle key,
grasp the driver’s door or front
passenger door handle com-
pletely.
The windows can be opened
with the vehicle key from the
outside as well as closed with
Smart Key System.
Additional information: Vehicle
key, refer to page 80.
Switching off the tilt alarm
sensor and interior motion
sensor
Press the button on the
remote control within 10
seconds as soon as the
vehicle is locked.
Switching off the alarm
Power windows
General information
Safety information
WARNING
When operating the windows,
body parts and objects can be
jammed. There is a risk of injury
or risk of damage to property.
Make sure that the area of move-
ment of the windows is clear
during opening and closing.
Overview
Power windows
Page 98 of 372

983-1. CONTROLS
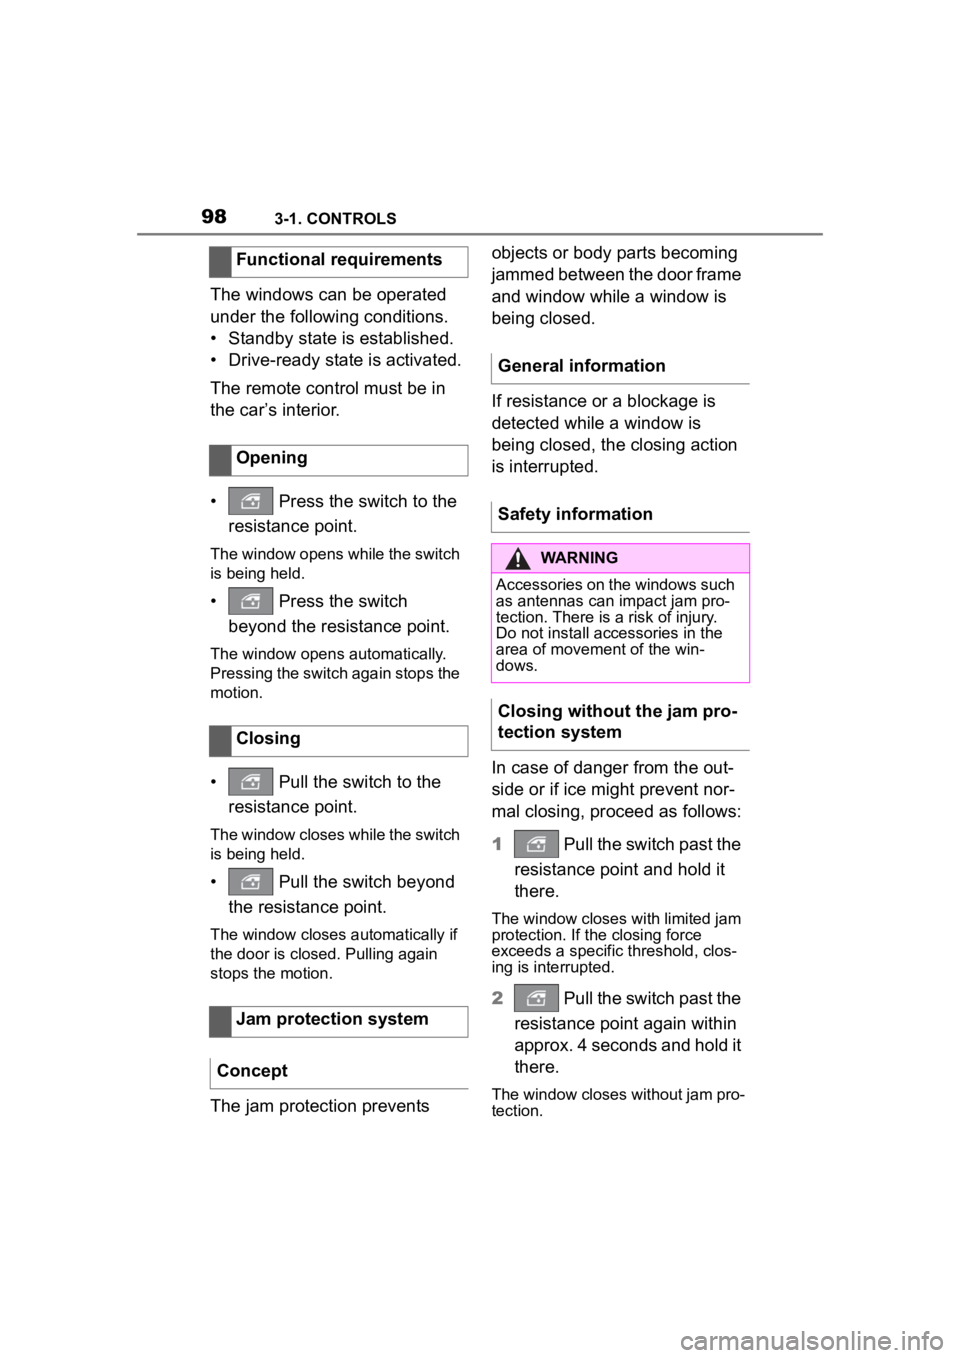
The windows can be operated
under the following conditions.
• Standby state is established.
• Drive-ready state is activated.
The remote control must be in
the car’s interior.
• Press the switch to the resistance point.
The window opens while the switch
is being held.
• Press the switch beyond the resistance point.
The window opens automatically.
Pressing the switch again stops the
motion.
• Pull the switch to the
resistance point.
The window closes while the switch
is being held.
• Pull the switch beyond the resistance point.
The window closes automatically if
the door is closed. Pulling again
stops the motion.
The jam protection prevents objects or body parts becoming
jammed between the door frame
and window while a window is
being closed.
If resistance or a blockage is
detected while a window is
being closed, the closing action
is interrupted.
In case of danger from the out-
side or if ice might prevent nor-
mal closing, proceed as follows:
1
Pull the switch past the
resistance point and hold it
there.
The window closes with limited jam
protection. If the closing force
exceeds a specific threshold, clos-
ing is interrupted.
2 Pull the switch past the
resistance point again within
approx. 4 seconds and hold it
there.
The window closes without jam pro-
tection.
Functional requirements
Opening
Closing
Jam protection system
Concept
General information
Safety information
WARNING
Accessories on the windows such
as antennas can impact jam pro-
tection. There is a risk of injury.
Do not install accessories in the
area of movement of the win-
dows.
Closing without the jam pro-
tection system
Page 99 of 372

993-1. CONTROLS
3
CONTROLS
This chapter describes all stan-
dard, country-specific and
optional features offered with
the series. It also describes fea-
tures and functions that are not
necessarily available in your
vehicle, e.g., due to the selected
options or country versions. This
also applies to safety-related
functions and systems. When
using these functions and sys-
tems, the applicable laws and
regulations must be observed.
An ideal seating position that
meets the needs of the occu-
pants can make a vital contribu-
tion to relaxed, fatigue-free
driving.
In the event of an accident, the
correct seating position plays an
important role. Follow the infor-
mation in the following chapters:
• Seats, refer to page 99.
• Safety belts, refer to page 103.
• Head restraints, refer to page 108.
• Airbags, refer to page 164.
Seats, mirrors, and
steering wheel
Vehicle features and
options
Sitting safely
Seats
Safety information
WARNING
Seat adjustments while driving
can lead to unexpected move-
ments of the seat. Vehicle control
could be lost. There is a risk of an
accident. Only adjust the seat on
the driver's side when the vehicle
is stationary.
WARNING
With a backrest inclined too far to
the rear, the efficacy of the safety
belt can no longer be ensured.
There is a risk of sliding under the
safety belt in an accident. There is
a risk of injuries or danger to life.
Adjust the seat prior to starting the
trip. Adjust the backrest so that it
is in the most upright position as
possible and do not adjust again
while driving.
WARNING
There is a risk of jamming when
moving the seats. There is a risk
of injury or risk of damage to prop-
erty. Make sure that the area of
movement of the seat is clear
prior to any adjustment.
Page 100 of 372
1003-1. CONTROLS
1Backrest angle
2 Height
3 Backrest width*
4 Lumbar support*
5 Forward/back
6 Seat angle*
*: if equipped
Pull the lever and apply your
weight to or lift your weight off
the backrest as required. Pull the lever up or press the
lever down repeatedly until the
seat reaches the desired height.
Pull the lever and slide the seat
in the desired direction.
After releasing the lever, move
the seat gently forward or back
to make sure it engages prop-
erly.
Manually adjustable seats
Overview
Backrest angle
654321
+ H L J K W
) R U Z D U G E D F N
Page 101 of 372
1013-1. CONTROLS
3
CONTROLS
Pull the lever up or press the
lever down repeatedly until the
seat reaches the desired angle.
*: if equipped
The seat adjustment for the
driver’s seat is stored for the
driver profile currently used.
When the vehicle is unlocked
via the vehicle key, the position
is automatically retrieved if the
function, refer to page 68, is
activated for this purpose.
The current seat position can be
stored using the memory func-
tion, refer to page 111.1
Forward/backward, height,
seat tilt
2 Driver's seat memory
3 Backrest tilt
4 Backrest width
5 Lumbar support
Push switch forward or back-
ward.
Seat angle
Electrically adjustable
seats*
General information
Overview
Forward/backward
Page 102 of 372

1023-1. CONTROLS
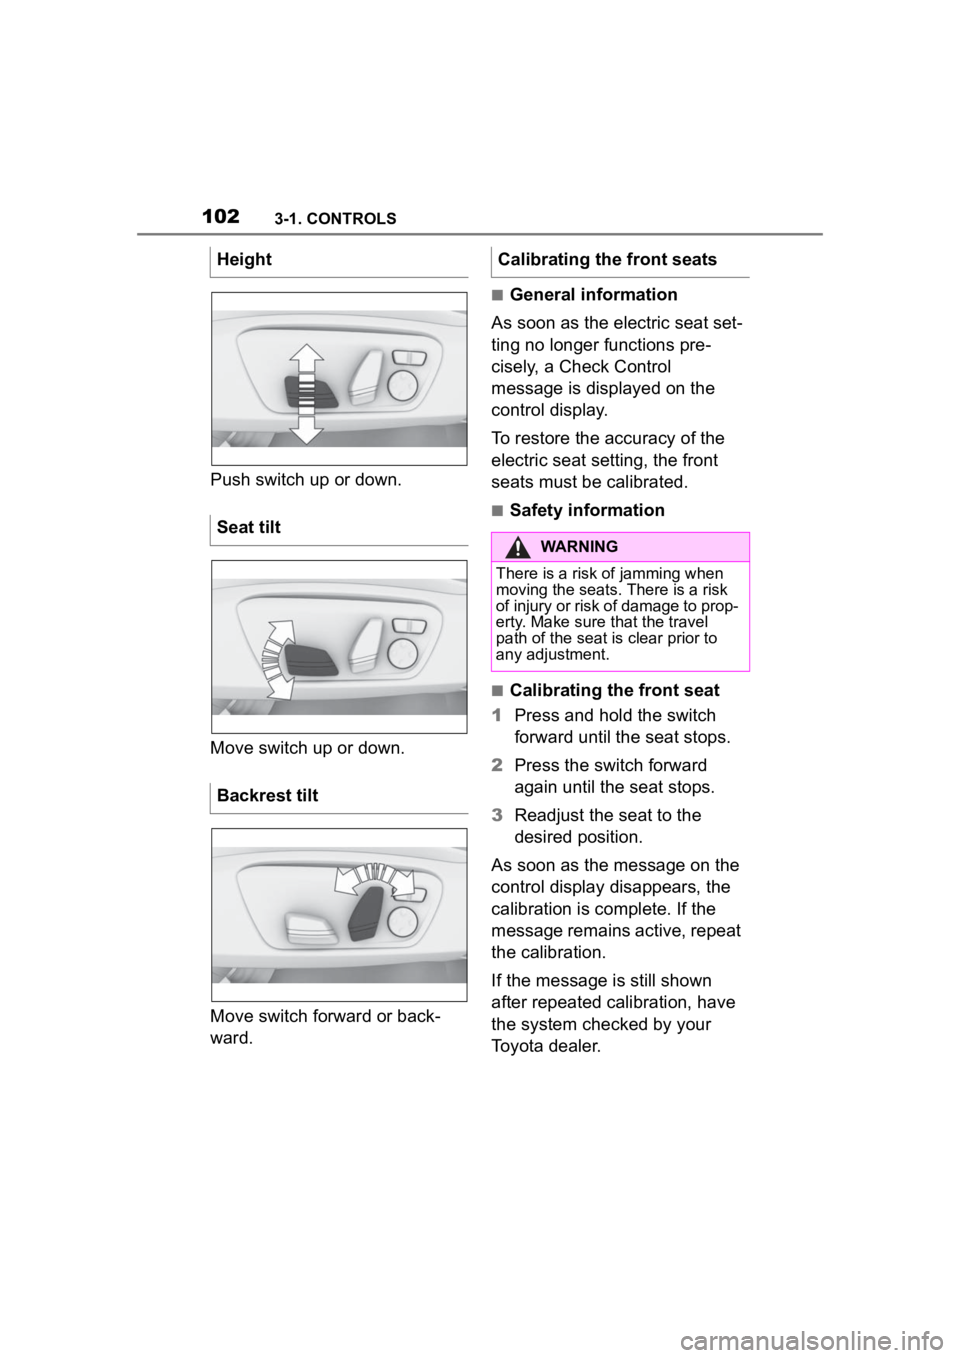
Push switch up or down.
Move switch up or down.
Move switch forward or back-
ward.
■General information
As soon as the electric seat set-
ting no longer functions pre-
cisely, a Check Control
message is displayed on the
control display.
To restore the accuracy of the
electric seat setting, the front
seats must be calibrated.
■Safety information
■Calibrating the front seat
1 Press and hold the switch
forward until the seat stops.
2 Press the switch forward
again until the seat stops.
3 Readjust the seat to the
desired position.
As soon as the message on the
control display disappears, the
calibration is complete. If the
message remains active, repeat
the calibration.
If the message is still shown
after repeated calibration, have
the system checked by your
Toyota dealer.
Height
Seat tilt
Backrest tilt
Calibrating the front seats
WARNING
There is a risk of jamming when
moving the seats.
There is a risk
of injury or risk of damage to prop-
erty. Make sure t hat the travel
path of the seat is clear prior to
any adjustment.
Page 103 of 372

1033-1. CONTROLS
3
CONTROLS
The curvature of the seat back-
rest can be adjusted in a way
that it supports the lumbar
region of the spine. The lower
back and the spine are sup-
ported for upright posture.
Adjusting the backrest width
may improve lateral support
when taking corners.
You can change the backrest
width by adjusting the side
wings of the backrest.The vehicle is fitted with two
safety belts to ensure occupant
safety. However the safety belt
can only offer protection when
adjusted correctly.
Always make sure that safety
belts are being worn by the
occupants before driving off.
The airbags supplement the
safety belts as an additional
safety device. The airbags are
not a substitute for safety belts.
All belt fastening points are
designed to achieve the best
possible protective effect of the
safety belts with proper use of
the safety belts and correct seat
setting. Notes on sitting safely,
refer to page P.99.
Lumbar support
Concept
Adjusting
• Press the front/rear sec- tion of the button: The
curvature is increased/
decreased.
• Press the upper/lower section of the button:
The curvature is shifted
up/ down.
Backrest width
Concept
General information
Adjusting
• Press the front section of the button: The back-
rest width decreases.
• Press the rear section of the button: The back-
rest width increases.
Safety belts
General information
Page 104 of 372

1043-1. CONTROLS
• Wear the safety belt twist-free and tight to your body over
your lap and shoulders.
• Wear the safety belt deep on your hips over your lap. The
safety belt may not press on
your stomach.
• Do not rub the safety belt against sharp edges, or guide
it or jam it in across hard or
fragile objects.
• Avoid thick clothing.
• Re-tighten the safety belt fre- quently upward around your
upper body.
Having a correct driving posture
is essential for safe driving.
Maintaining a correct driving
Safety information
WARNING
Use of a safety belt to buckle
more than one person will poten-
tially defeat the ability of the
safety belt to serve its protective
function. There is a risk of injuries
or danger to life. Do not allow
more than one person to wear a
single safety belt. Infants and chil-
dren are not allowed on an occu-
pant's lap, but must be
transported and secured in desig-
nated child restraint systems.
WARNING
The efficacy of safety gear, includ-
ing safety belts, c
an be limited or
lost when safety belts are fas-
tened incorrectly. An incorrectly
fastened safety belt can cause
additional injuries, for instance in
the event of an accident or during
braking and evasive maneuvers.
There is a risk o f injuries or dan-
ger to life. Make sure that all
occupants are wearing safety
belts correctly.
WARNING
The efficacy of safety gear, includ-
ing safety belts, may not be fully
functional or fail in the following
situations: