Page 179 of 498
177
3
3-1. CONTROLS
CONTROLS
to the standard.
If signs are detected that apply to
a parallel road.
In the case of country-specific
signs or road layouts.
During the camera calibration
process immediately after vehi-
cle delivery.
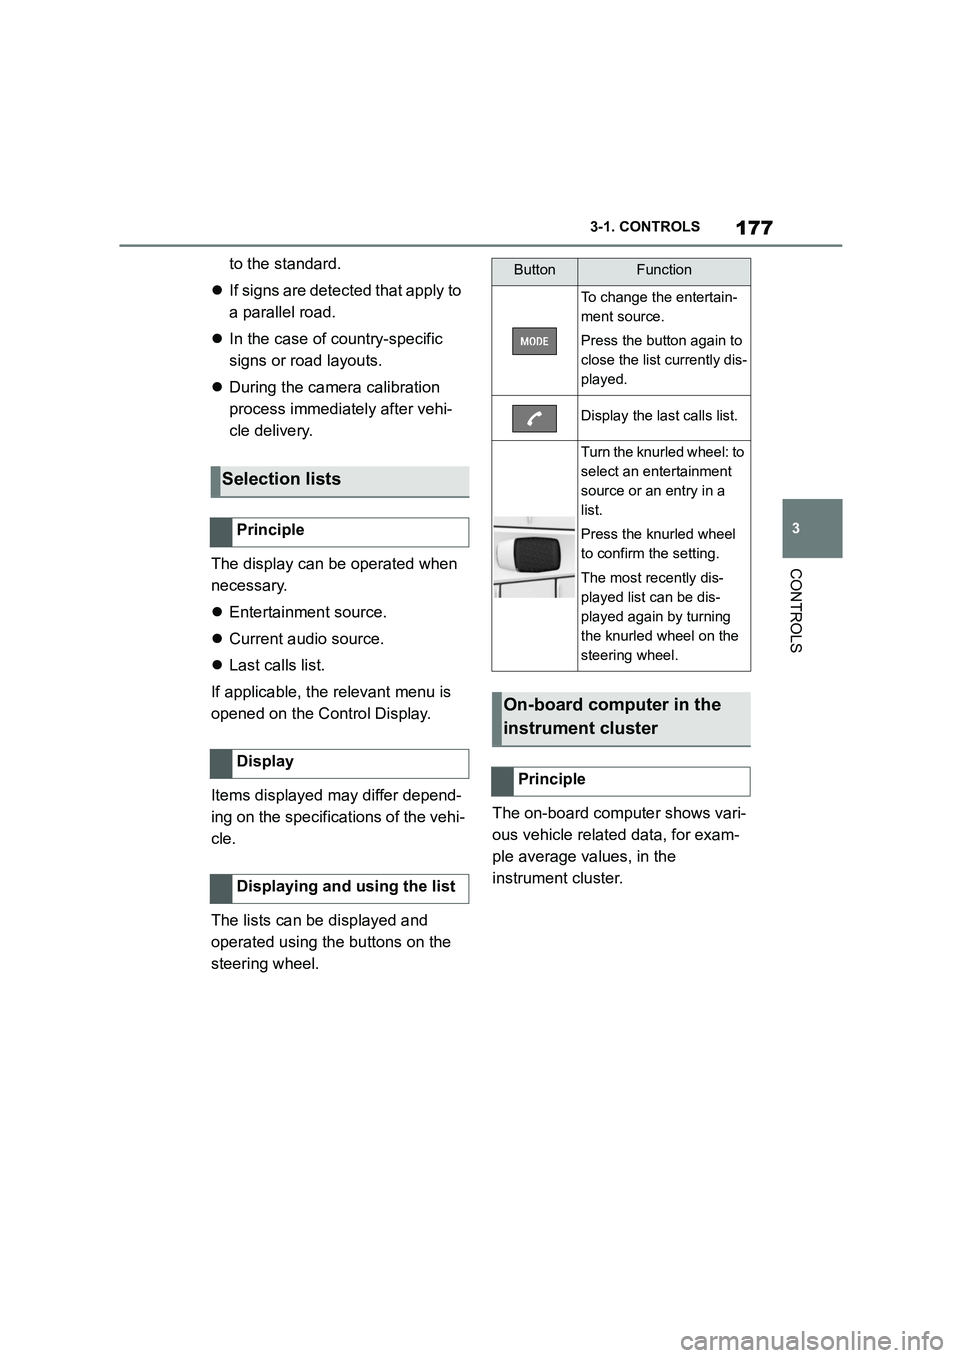
The display can be operated when
necessary.
Entertainment source.
Current audio source.
Last calls list.
If applicable, the relevant menu is
opened on the Control Display.
Items displayed may differ depend-
ing on the specifications of the vehi-
cle.
The lists can be displayed and
operated using the buttons on the
steering wheel.
The on-board computer shows vari-
ous vehicle related data, for exam-
ple average values, in the
instrument cluster.
Selection lists
Principle
Display
Displaying and using the list
ButtonFunction
To change the entertain-
ment source.
Press the button again to
close the list currently dis-
played.
Display the last calls list.
Turn the knurled wheel: to
select an entertainment
source or an entry in a
list.
Press the knurled wheel
to confirm the setting.
The most recently dis-
played list can be dis-
played again by turning
the knurled wheel on the
steering wheel.
On-board computer in the
instrument cluster
Principle
Page 180 of 498
1783-1. CONTROLS
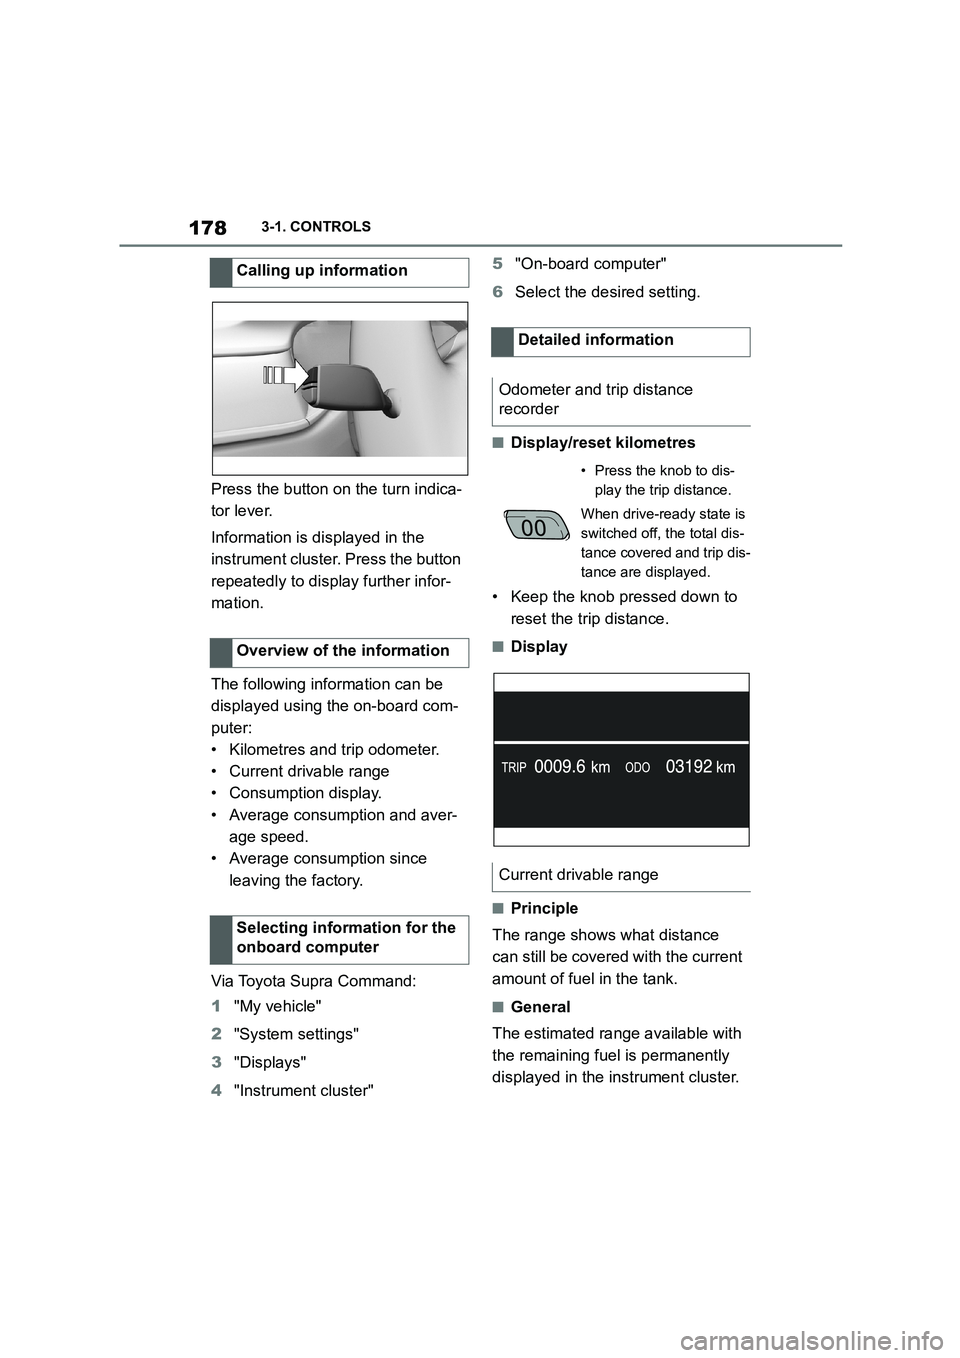
Press the button on the turn indica-
tor lever.
Information is displayed in the
instrument cluster. Press the button
repeatedly to display further infor-
mation.
The following information can be
displayed using the on-board com-
puter:
• Kilometres and trip odometer.
• Current drivable range
• Consumption display.
• Average consumption and aver-
age speed.
• Average consumption since
leaving the factory.
Via Toyota Supra Command:
1 "My vehicle"
2 "System settings"
3 "Displays"
4 "Instrument cluster"
5 "On-board computer"
6 Select the desired setting.
■Display/reset kilometres
• Keep the knob pressed down to
reset the trip distance.
■Display
■Principle
The range shows what distance
can still be covered with the current
amount of fuel in the tank.
■General
The estimated range available with
the remaining fuel is permanently
displayed in the instrument cluster.
Calling up information
Overview of the information
Selecting information for the
onboard computer
Detailed information
Odometer and trip distance
recorder
• Press the knob to dis-
play the trip distance.
When drive-ready state is
switched off, the total dis-
tance covered and trip dis-
tance are displayed.
Current drivable range
Page 181 of 498
179
3
3-1. CONTROLS
CONTROLS
A vehicle message is displayed
briefly if the remaining range is low.
If a sporty driving style is adopted,
for example fast cornering, engine
function is not always ensured.
If the range drops below approxi-
mately 50 km, 30 miles the vehicle
message is continuously displayed.
■Safety note
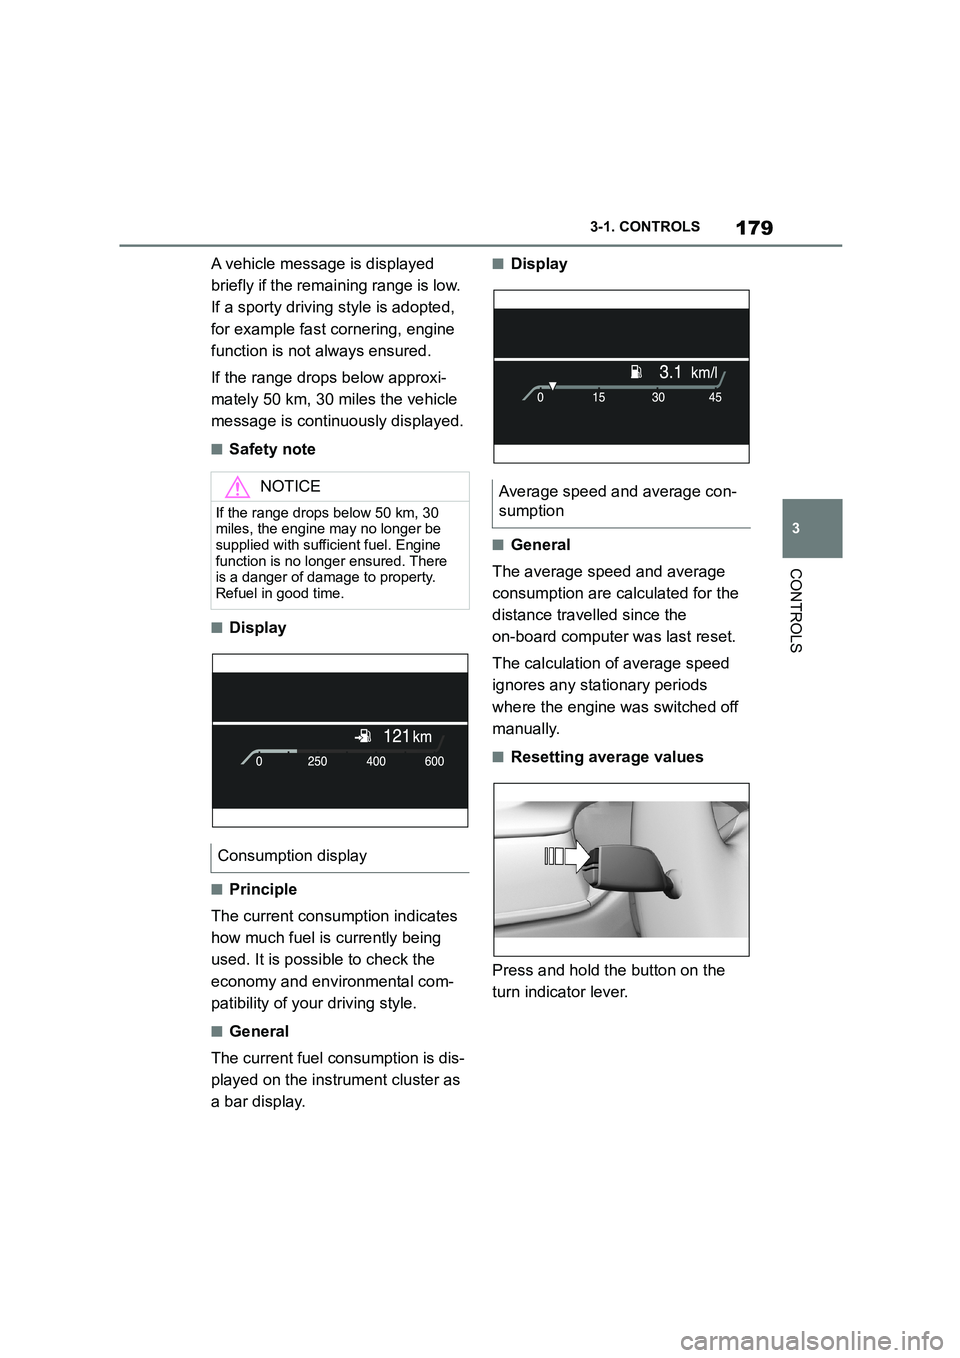
■Display
■Principle
The current consumption indicates
how much fuel is currently being
used. It is possible to check the
economy and environmental com-
patibility of your driving style.
■General
The current fuel consumption is dis-
played on the instrument cluster as
a bar display.
■Display
■General
The average speed and average
consumption are calculated for the
distance travelled since the
on-board computer was last reset.
The calculation of average speed
ignores any stationary periods
where the engine was switched off
manually.
■Resetting average values
Press and hold the button on the
turn indicator lever.
NOTICE
If the range drops below 50 km, 30
miles, the engine may no longer be supplied with sufficient fuel. Engine
function is no longer ensured. There
is a danger of damage to property. Refuel in good time.
Consumption display
Average speed and average con-
sumption
Page 182 of 498
1803-1. CONTROLS
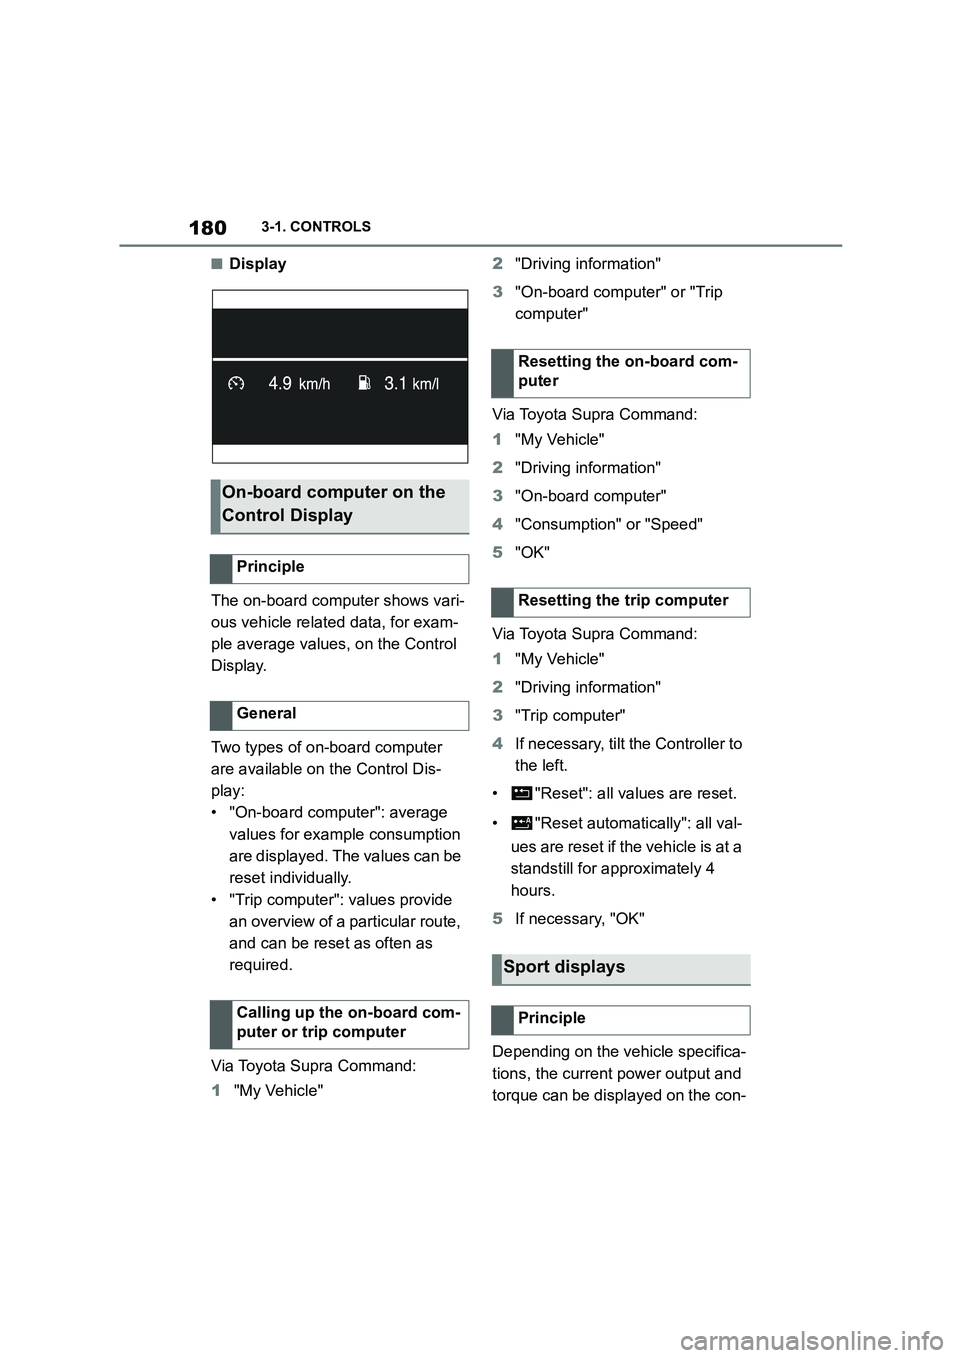
■Display
The on-board computer shows vari-
ous vehicle related data, for exam-
ple average values, on the Control
Display.
Two types of on-board computer
are available on the Control Dis-
play:
• "On-board computer": average
values for example consumption
are displayed. The values can be
reset individually.
• "Trip computer": values provide
an overview of a pa rticular route,
and can be reset as often as
required.
Via Toyota Supra Command:
1 "My Vehicle"
2 "Driving information"
3 "On-board computer" or "Trip
computer"
Via Toyota Supra Command:
1 "My Vehicle"
2 "Driving information"
3 "On-board computer"
4 "Consumption" or "Speed"
5 "OK"
Via Toyota Supra Command:
1 "My Vehicle"
2 "Driving information"
3 "Trip computer"
4 If necessary, tilt the Controller to
the left.
• "Reset": all va lues are reset.
• "Reset automatically": all val-
ues are reset if the vehicle is at a
standstill for ap proximately 4
hours.
5 If necessary, "OK"
Depending on the vehicle specifica-
tions, the current power output and
torque can be displayed on the con-
On-board computer on the
Control Display
Principle
General
Calling up the on-board com-
puter or trip computer
Resetting the on-board com-
puter
Resetting the trip computer
Sport displays
Principle
Page 183 of 498
181
3
3-1. CONTROLS
CONTROLS
trol display.
The following info rmation is dis-
played:
Torque.
Power.
Via Toyota Supra Command:
1 "My vehicle"
2 "Sport displays"
The system can be used to set a
speed limit which triggers a warning
when it is exceeded.
The warning is repeated if the vehi-
cle speed exceeds the set speed
limit again, after it has dropped
below 5 km/h/3 mph.
Via Toyota Supra Command:
1 "My Vehicle"
2 "Vehicle settings"
3 "Speed warning"
4 "Warning at:"
5 Turn the Controller until the
desired speed is displayed.
6 Press the Controller.
Via Toyota Supra Command:
1 "My Vehicle"
2 "Vehicle settings"
3 "Speed warning"
4 "Speed warning"
Via Toyota Supra Command:
1 "My Vehicle"
2 "Vehicle settings"
3 "Speed warning"
4 "Select current speed"
It is possible to show the status of
some systems and perform actions
on them.
Via Toyota Supra Command:
1 "My vehicle"
2 "Vehicle status"
Display on the Control Dis-
play
Overview
Displays
Speed warning
Principle
General
Adjusting the speed warning
Activating/deactivating the
speed warning
Setting the current speed as
the speed warning
Vehicle status
General
Calling up the vehicle status
Page 184 of 498
1823-1. CONTROLS
• "Tyre Pressure Monitor": Sta-
tus of the Tyre Pressure Monitor,
see page 304
• "Engine oil leve l": Electronic
oil measurement, see page 324.
• "Vehicle messages": Vehicle
messages are stored in the
background and can be shown
on the Control Display. Display-
ing of saved vehicle messages,
see page 163.
• "Service requirements": dis-
play of the service requirements,
see page 170.
• "Remote maintenance call":
Remote maintenance call.
*: if equipped
The system projects important
information, for example the speed,
into the driver's field of vision.
The driver can register this informa-
tion without having to divert atten-
tion from the road.
Follow the instruct ions on cleaning
the Head-Up Display, see page
368.
Via Toyota Supra Command:
1 "My vehicle"
2 "System settings"
3 "Displays"
4 "Head-up display"
5 "Head-up display"
The following information is dis-
played in the Head-Up Display:
Speed.
Navigation instructions.
Vehicle messages.
Selection list in the instrument
cluster.
Driver Assistance Systems.
Some of this information is only
shown briefly when needed.
Overview of the information
Head-Up Display*
Principle
General
Overview
Switching on/off
Display
Overview
Page 185 of 498
183
3
3-1. CONTROLS
CONTROLS
Various views are available in the
Head-Up Display.
Via Toyota Supra Command:
1 "My vehicle"
2 "System settings"
3 "Displays"
4 "Head-up display"
5 Select the desired setting.
The brightness is automatically
adapted to the ambient light.
The dafault setting can be adjusted
manually.
Via Toyota Supra Command:
1 "My vehicle"
2 "System settings"
3 "Displays"
4 "Head-up display"
5 "Brightness"
6 Turn the Controller until the
desired brightness is obtained.
7 Press the Controller.
The brightness of the Head-Up Dis-
play can also be adjusted with the
instrument lighting if the low-beam
headlights are switched on.
Via Toyota Supra Command:
1 "My vehicle"
2 "System settings"
3 "Displays"
4 "Head-up display"
5 "Height"
6 Turn the Controller until the
desired height is obtained.
7 Press the Controller.
The height of the Head-Up Display
can also be saved with the memory
function, see page 119.
The Head-Up Display view can be
rotated.
Via Toyota Supra Command:
1 "My vehicle"
2 "System settings"
3 "Displays"
4 "Head-up display"
5 "Rotation"
6 Turn the Controller until the
desired setting is reached.
7 Press the Controller.
The visibility of the display on the
Head-Up Display can be affected
by the following:
Seat position.
Objects on the protective glass
of the Head-Up Display cover.
Dust or dirt on the protective
glass of the Head-Up Display
Selecting the view
Adjusting the brightness
Adjusting the height
Adjusting the rotation
Visibility of the display
Page 197 of 498
195
3
3-1. CONTROLS
CONTROLS
entirely ruled out.
The noise caused by the deploy-
ment of an airbag may lead to tem-
porary hearing loss in vehicle
occupants sensit ive to noise.
Have the system checked.
The force with which the driver and
front passenger airbag trigger
depends on the position of the
driver and front passenger seat.
In order to maintain the accuracy of
this function perm anently, calibrate
the front seats as soon as a corre-
sponding message is displayed on
the Control Display.
A corresponding message is dis-
played on the Control Display.
1 Press switch and move seat for-
wards until it stops.
2 Press switch forwards again.
Seat moves a bit further for-
wards.
Operational readiness of the
airbag system
Safety notes
WA R N I N G
Individual components of the airbag
system may be hot after airbag deployment. There is a danger of
injury. Do not touch individual compo-
nents.
WA R N I N G
Work carried out incorrectly can lead
to a failure, a malfunction or acciden-
tal deployment of t he airbag system. If there is a malfunction, the airbag sys-
tem might not deploy as intended in
an accident, in spite of the accident being of the appropriate severity.
There is a danger of injury or even
death. Have the airb ag system tested, repaired or removed and disposed of
by any authorized Toyota retailer or
Toyota authorized repairer, or any reli- able repairer.
Display in the instrument cluster
When drive-ready state is
switched on, the warning
lamp in the instrument cluster
briefly illuminates in order to
show the operational readi-
ness of the entire airbag sys-
tem and the belt tensioners.
Malfunction
The warning lamp does not
illuminate after drive-ready
state is switched on.
The warning lamp is per-
manently illuminated.
Force of driver and front pas-
senger airbag
Calibrating the front seats
WA R N I N G
There is a risk of entrapment when
the seats are moved. There is a dan-
ger of injury or damage to property. Before making any adjustment, make
sure that the area of movement of the
seat is clear.