2022 TOYOTA SUPRA display
[x] Cancel search: displayPage 86 of 498

843-1. CONTROLS
• Protect the USB device from
mechanical damage.
• Due to the large variety of USB
devices available on the market,
operation via the vehicle cannot
be ensured for every device.
• Do not expose the USB devices
to extreme environmental condi-
tions, for example very high tem-
peratures, see the operating
instructions of the device.
• Due to the large variety of differ-
ent compression techniques,
correct playback of the media
stored on the USB device cannot
be guaranteed in every case.
• To ensure correc t transfer of the
stored data, do not charge a
USB device from the socket in
the vehicle when the device is
also connected to the USB port.
• Depending on how the USB
device is being used, it may be
necessary to perform settings on
the USB device, see the operat-
ing instructions of the device.
Unsuitable USB devices:
• USB hard drives.
• USB hubs.
• USB memory card reader with
several inserts.
• HFS-formatted USB devices.
• Devices such as fans or lamps.
Compatible device with USB port.
The USB device is displayed in the
device list, see page 86.
*: if equipped
CarPlay makes it po ssible to oper-
ate certain functions of a compati-
ble Apple iPhone by Siri voice
operation and using Toyota Supra
Command.
• Compatible iPhone.
iPhone 5 or later with iOS 7.1 or later.
• Corresponding mobile radio con-
tract.
• Bluetooth, WLAN and Siri voice
operation are activated on the
iPhone.
• Booking of the Toyota Supra
Connect service: Apple CarPlay
preparation.
Via Toyota Supra Command:
1 "My Vehicle"
2 "System settings"
3 "Mobile devices"
4 "Settings"
5 Select the following settings:
Operating requirements
Connecting a device
Apple CarPlay preparation*
Principle
Operating requirements
Switching on Bluetooth and
CarPlay
Page 87 of 498
85
3
3-1. CONTROLS
CONTROLS
• "Bluetooth"
• "Apple CarPlay"
Register iPhone via Bluetooth on
the vehicle, see page 81.
Select CarPlay as the function:
"Apple CarPlay"
The iPhone is connected to the
vehicle and displayed in the device
list, see page 86.
For further infor mation, see the
Navigation system Owner's man-
ual .
There may be instances where the
mobile device does not function as
expected, even though all precondi-
tions have been met and all the
necessary steps have been carried
out in the correct order. Neverthe-
less, the mobile device does not
function as expected.
In such cases, the following expla-
nations may provide assistance:
The iPhone has already been
paired with Apple CarPlay. When a
new connection is established,
CarPlay can no longer be selected.
• Delete the iPhone concerned
from the device list.
• On the iPhone, delete the vehicle
concerned from the list of saved
connections under Bluetooth and
under WLAN.
• Pair the iPhone as a new device.
If the steps listed have been carried
out and the desire d function still
cannot be run: contact the cus-
tomer support, any authorized
Toyota retailer or Toyota authorized
repairer, or any reliable repairer.
Screen Mirroring enables you to
display your smartphone screen on
the Control Display.
• Compatible smartphone with
Screen Mirroring interface.
• Screen Mirroring is switched on
in the smartphone.
• WLAN is switched on in the vehi-
cle.
Via Toyota Supra Command:
1 "My Vehicle"
2 "System settings"
3 "Mobile devices"
4 "Settings"
5 "Vehicle WiFi"
Registering iPhone with
CarPlay
Operation
Frequently Asked Questions
Screen Mirroring
General
Operating requirements
Switching on WLAN
Page 88 of 498
863-1. CONTROLS
Via Toyota Supra Command:
1 "My Vehicle"
2 "System settings"
3 "Mobile devices"
4 "Connect new device"
5 "Screen Mirroring"
The WLAN name of the vehicle is dis-
played in the Control Display.
6 On the smartphone, search for
WLAN devices in the vicinity.
The WLAN name of the vehicle is
shown on the display of the device. Select WLAN name of the vehicle.
7 Confirm the connection via
Toyota Supra Command.
The device is connected and dis-
played in the device list, see page
86.
• Following one-off registration,
the devices are automatically
detected and connected again
when the standby state is
switched on.
• The data saved on the SIM card
or in the mobile telephone is
transferred to the vehicle follow-
ing detection.
• Some devices may require par-
ticular settings, for example
authorisation; see the user man-
ual of the device.
All devices registered or connected
to the vehicle are displayed in the
device list.
Via Toyota Supra Command:
1 "My Vehicle"
2 "System settings"
3 "Mobile devices"
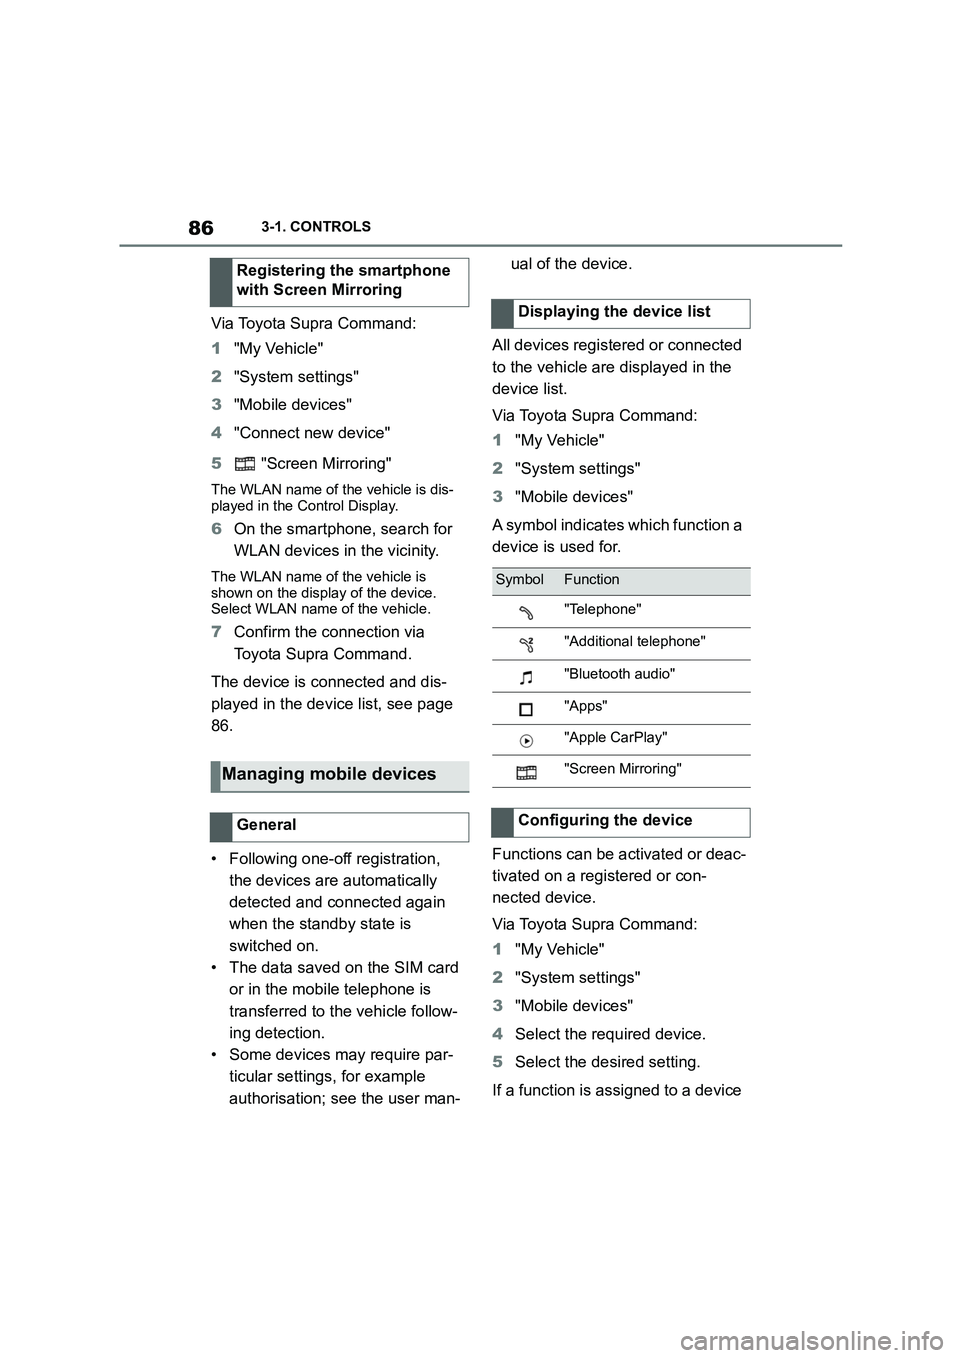
A symbol indicates which function a
device is used for.
Functions can be activated or deac-
tivated on a registered or con-
nected device.
Via Toyota Supra Command:
1 "My Vehicle"
2 "System settings"
3 "Mobile devices"
4 Select the required device.
5 Select the desired setting.
If a function is assigned to a device
Registering the smartphone
with Screen Mirroring
Managing mobile devices
General
Displaying the device list
SymbolFunction
"Telephone"
"Additional telephone"
"Bluetooth audio"
"Apps"
"Apple CarPlay"
"Screen Mirroring"
Configuring the device
Page 96 of 498
943-1. CONTROLS
1Hold the back of the remote
control against the mark on the
steering column. Pay attention
to the display in the instrument
cluster.
2 If the remote control is detected:
Switch on drive-ready state
within 10 seconds.
If the remote control is not
detected, change the position of the
remote control slightly and repeat
the procedure.
What provisions can be made to
enable a vehicle to be opened if the
remote control has accidentally
been locked inside the vehicle?
• The Remote Services of the
Toyota Supra Connect app can
be used to lock and unlock a
vehicle.
This requires an active Toyota Supra
Connect contract and the Toyota Supra
Connect app must be installed on a
smartphone.
• Unlocking of the vehicle can be
requested via the Concierge Ser-
vices.
This requires an active Toyota Supra
Connect contract.
With the integrated key, the driver's
door can be unlocked and locked
without the remote control.
The integrated key also fits in the
glove box.
Use the integrated key to operate
the key switch for front passenger
airbags, see page 202.
Frequently Asked Questions
Integrated key
General
Safety notes
WA R N I N G
With some country specifications,
unlocking from the inside is only pos-
sible with special knowledge.
There is a risk of injury or danger to
life if persons remain in the vehicle for extended periods and are exposed to
extreme temperatures as a result. Do
not lock the vehicle from the outside when there is someone inside it.
NOTICE
The door lock is firmly connected to
the door. The door handle can be moved. Pulling the door handle when
the integrated key is inserted can
damage the paint or the integrated key. There is a danger of damage to
property. Pull out the integrated key
before pulling on the outer door han- dle.
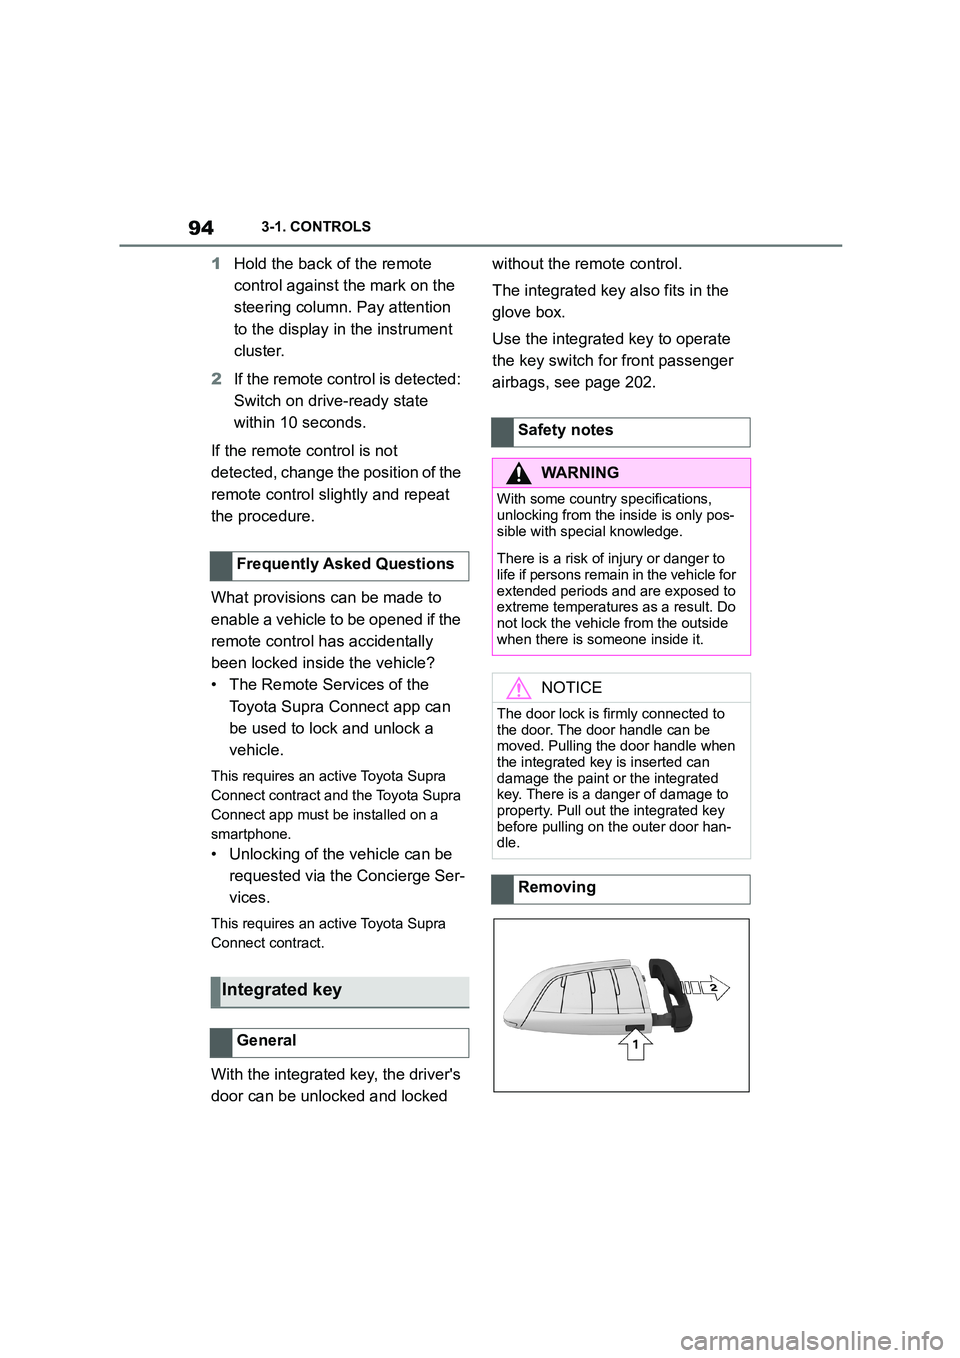
Removing
Page 118 of 498
1163-1. CONTROLS
buckle has locked correctly, pull
upwards on the shoulder strap
until the lap belt fits tightly.
• The length of the diagonal shoul-
der strap adjusts itself automati-
cally to allow freedom of
movement.
• To release the seat belt, press
the button on the buckle catch
unit.
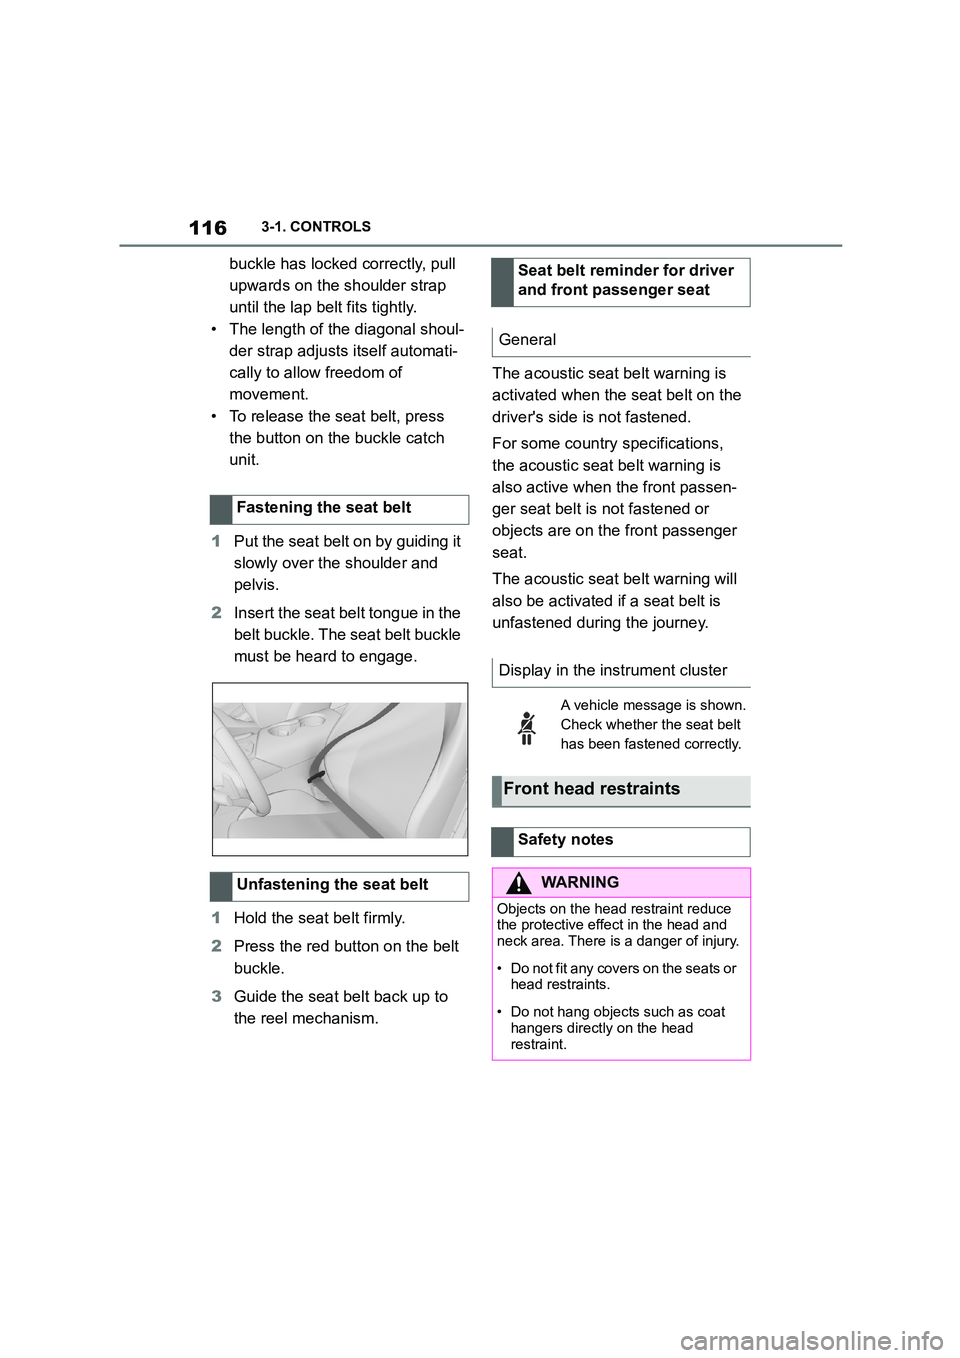
1 Put the seat belt on by guiding it
slowly over the shoulder and
pelvis.
2 Insert the seat belt tongue in the
belt buckle. The seat belt buckle
must be heard to engage.
1 Hold the seat belt firmly.
2 Press the red button on the belt
buckle.
3 Guide the seat belt back up to
the reel mechanism.
The acoustic seat belt warning is
activated when the seat belt on the
driver's side is not fastened.
For some country specifications,
the acoustic seat belt warning is
also active when the front passen-
ger seat belt is not fastened or
objects are on the front passenger
seat.
The acoustic seat belt warning will
also be activated if a seat belt is
unfastened during the journey.
Fastening the seat belt
Unfastening the seat belt
Seat belt reminder for driver
and front passenger seat
General
Display in the instrument cluster
A vehicle message is shown.
Check whether the seat belt
has been fastened correctly.
Front head restraints
Safety notes
WA R N I N G
Objects on the head restraint reduce the protective effect in the head and
neck area. There is a danger of injury.
• Do not fit any covers on the seats or
head restraints.
• Do not hang objects such as coat
hangers directly on the head
restraint.
Page 121 of 498
119
3
3-1. CONTROLS
CONTROLS
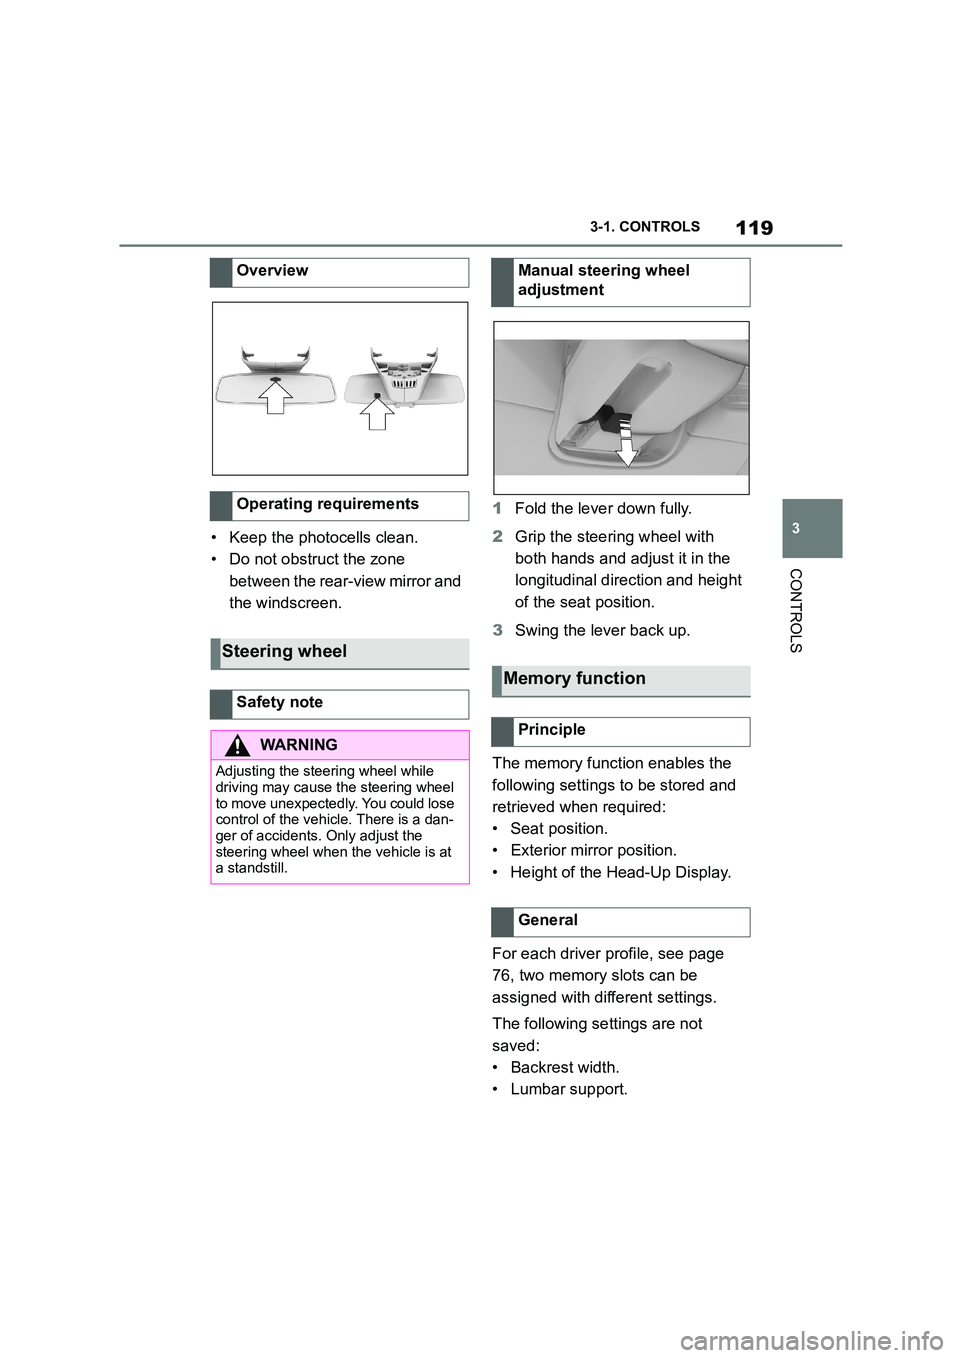
• Keep the photocells clean.
• Do not obstruct the zone
between the rear-view mirror and
the windscreen.
1 Fold the lever down fully.
2 Grip the steering wheel with
both hands and adjust it in the
longitudinal direction and height
of the seat position.
3 Swing the lever back up.
The memory function enables the
following settings to be stored and
retrieved when required:
• Seat position.
• Exterior mirror position.
• Height of the Head-Up Display.
For each driver profile, see page
76, two memory slots can be
assigned with different settings.
The following settings are not
saved:
• Backrest width.
• Lumbar support.
Overview
Operating requirements
Steering wheel
Safety note
WA R N I N G
Adjusting the steering wheel while
driving may cause the steering wheel
to move unexpectedly. You could lose control of the vehicle. There is a dan-
ger of accidents. Only adjust the
steering wheel when the vehicle is at a standstill.
Manual steering wheel
adjustment
Memory function
Principle
General
Page 147 of 498
145
3
3-1. CONTROLS
CONTROLS
3 Releasing the parking brake.
4 Drive off.
The Auto Start/Stop helps you to
save fuel. The system switches the
engine off when stationary, for
example in congestion or at traffic
lights. The drive-ready state
remains switched on. For driving
off, the engine starts automatically.
Each time the engine is started via
the start/stop button, the Auto
Start/Stop is switched to standby.
The function is activated from a
speed of around 5 km/h, approxi-
mately 3 mph.
Depending on selected drive mode,
see page 160, the system is acti-
vated or deactivated automatically.
The engine is automatically shut
down when stationary under the fol-
lowing conditions:
Selector lever in selector lever
position D.
Brake pedal remains pressed
while the vehicle is at a standstill.
Driver's seat belt buckled or
driver's door closed.
If the engine was not switched off
automatically when the vehicle
came to a stop, it can be switched
off manually:
Rapidly press the brake pedal
from the current position.
Engage selector lever position P.
If all the operating requirements
have been met, the engine is
stopped.
The air flow rate of the air condi-
tioning system is reduced when the
engine is not running.
■General
The engine is not shut down auto-
matically in the following situations:
Auto Start/Stop
Principle
General
Stopping the engine
Operating requirements
Manual engine stop
Air conditioning system when the
vehicle is parked
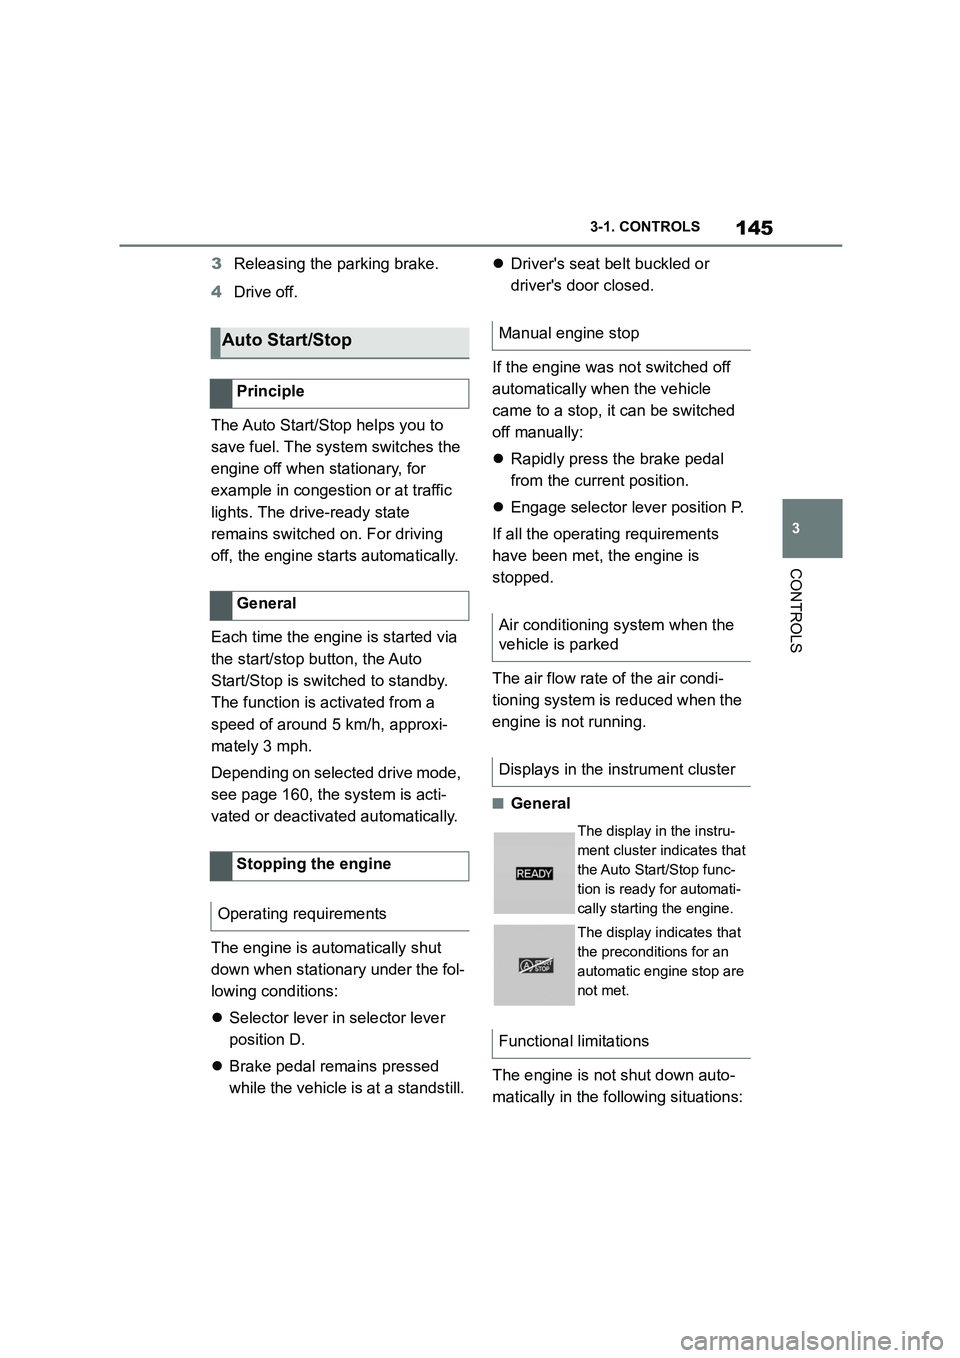
Displays in the instrument cluster
The display in the instru-
ment cluster indicates that
the Auto Start/Stop func-
tion is ready for automati-
cally starting the engine.
The display indicates that
the preconditions for an
automatic engine stop are
not met.
Functional limitations
Page 149 of 498

147
3
3-1. CONTROLS
CONTROLS
Shift from selector lever position
P to N, D or R.
Vehicle battery is heavily dis-
charged.
Start of an oil level measure-
ment.
Depending on the equipment ver-
sion and country version, the vehi-
cle has various sensors to record
the traffic situation. This enables
the intelligent auto matic Start/Stop
function to adapt to various traffic
situations and, where necessary,
behave in an anticipatory manner.
For example, in the following situa-
tions:
If a situation is detected in which
the duration of the stop is likely
to be very short, the engine is not
stopped automatically. Depend-
ing on the situation, a message
is shown on the Control Display.
If a situation is detected in which
the vehicle should drive off
immediately, the stopped engine
is started automatically.
The function may be limited if the
navigation data is invalid, outdated
or not available, for example.
The engine is not switched off auto-
matically.
During an automatic engine stop,
the engine is started.
Press the button.
The Auto Start/Stop is also deacti-
vated in selector lever position M.
The Auto Start/Stop is also deacti-
vated in the SPORT drive mode of
the Sport mode switch.
■General
With automatic engine stop, the
vehicle can be parked safely, for
Auto Start/Stop additional
function
Manually deactivating/acti-
vating the system
Principle
Using the button
Via selector lever position
Sport mode switch
Parking the vehicle during auto-
matic engine stop