2022 TOYOTA SUPRA towing
[x] Cancel search: towingPage 105 of 498

103
3
3-1. CONTROLS
CONTROLS
is opened.
• Movements inside the vehicle.
• A change in the vehicle's incline,
for instance if an attempt is made
to jack it up and steal the wheels
or to raise it prior to towing away.
• An interruption in the power sup-
ply from the battery.
• Improper use of the socket for
on-board diagnosis OBD.
• The vehicle is locked while a
device is connected to the socket
for on-board diagnosis OBD.
Socket for on-board diagnosis
OBD, see page 332.
The alarm system indicates the fol-
lowing changes visually and audi-
bly:
• Audible alarm: Depending on
local regulations, the acoustic
alarm may be suppressed.
• Visual alarm: By flashing of the
hazard warning lights and, if
applicable, the headlights.
To safeguard the function of the
alarm system, do not modify the
system.
The alarm system is switched off
and on at the same time as the
vehicle is unlocked and locked via
the remote control or Smart Key
System.
The alarm system is triggered on
opening a door if the door has been
unlocked using the integrated key
in the door lock.
To stop the alarm, see page 104.
The boot lid can be opened even
with the alarm system switched on.
On closing the boot lid, it is locked
again and monitored, as long as the
doors are locked. The hazard warn-
ing lights flash once.
• Indicator lamp flashes every 2
seconds: The alarm system is
switched on.
• Indicator lamp flashes for
approximately 10 seconds
before it flashes every 2 sec-
onds: The interior movement
detector and tilt alarm sensor are
not active because doors, bon-
Switching on/off
Opening the doors when the
alarm system is switched on
Opening the boot lid with the
alarm system switched on
Indicator lamp on the
rear-view mirror
Page 106 of 498

1043-1. CONTROLS
net or boot lid are not closed cor-
rectly. Correctly closed access
points are secured.
If the open access points are then
closed, the interior protection and tilt
alarm sensor are switched on.
• The indicator lamp extinguishes
after the vehicle has been
unlocked: No attempt has been
made to tamper with the vehicle.
• The indicator lamp flashes after
unlocking until the drive-ready
state is switched on, but for no
longer than approximately 5 min-
utes: The alarm has been trig-
gered.
The incline of the vehicle is moni-
tored.
The alarm system responds, for
example, when there is an attempt
to steal a wheel or when towing
away.
The passenger compartment is
monitored to the height of the seat
cushions. Therefore the alarm sys-
tem, including the interior move-
ment detector, is switched on even
when the window is open. Falling
objects such as leaves can acci-
dentally trigger the alarm.
The tilt alarm sensor and the inte-
rior movement detector may trigger
an alarm without any unauthorised
activity taking place.
Possible situations for an unwanted
alarm:
• In washing bays or car washes.
• In two-level garages.
• During transport via motorail, car
ferry or trailer.
• When there are pets in the vehi-
cle.
• When the vehicle is locked after
starting to refuel.
The tilt alarm sensor and interior
protection can be switched off for
such situations.
The indicator lamp illuminates for
approximately 2 seconds and then
flashes again.
The tilt alarm sensor and the inte-
rior movement detector are
switched off until the next time the
vehicle is locked.
• Unlock the vehicle with the
Tilt alarm sensor
Interior move ment detector
Avoiding false alarms
General
Switching off the tilt alarm sensor
and interior movement detector
Within 10 seconds of locking
the vehicle, press the button
on the remote control.
Stopping the alarm
Page 161 of 498
159
3
3-1. CONTROLS
CONTROLS
can turn the engine.
Before the transmission lockout is
released, apply the parking brake
to prevent the ve hicle from rolling
away.
1 Apply the brakes and keep them
applied.
2 Press the start/stop button. The
starter must be heard to start
turning. Press and hold the
start/stop button.
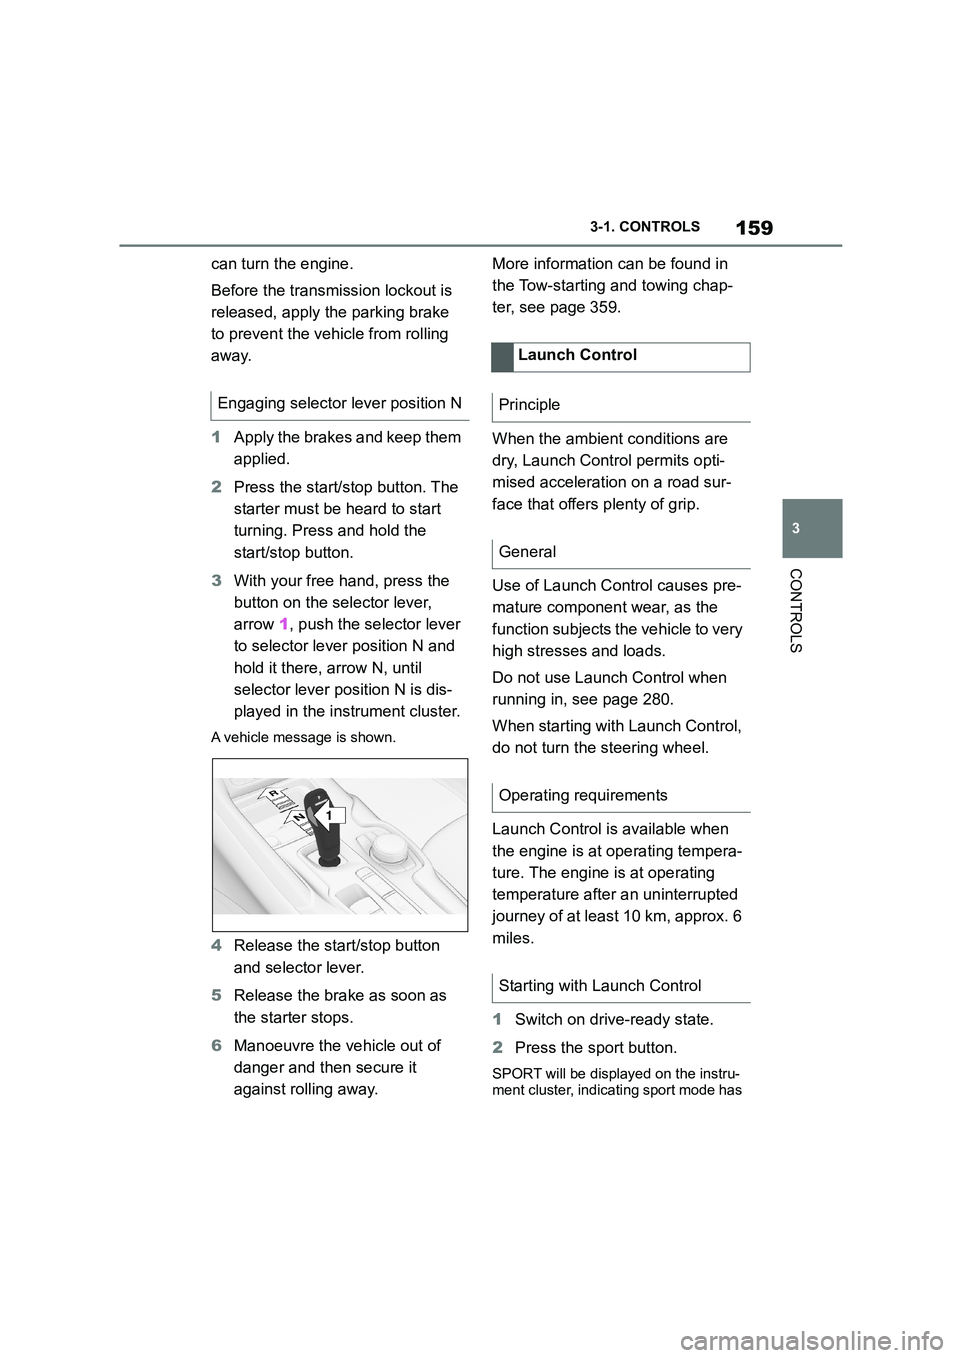
3 With your free hand, press the
button on the selector lever,
arrow 1, push the selector lever
to selector lever position N and
hold it there, arrow N, until
selector lever position N is dis-
played in the instrument cluster.
A vehicle message is shown.
4 Release the start/stop button
and selector lever.
5 Release the brake as soon as
the starter stops.
6 Manoeuvre the vehicle out of
danger and then secure it
against rolling away.
More information can be found in
the Tow-starting and towing chap-
ter, see page 359.
When the ambient conditions are
dry, Launch Control permits opti-
mised acceleration on a road sur-
face that offers plenty of grip.
Use of Launch Control causes pre-
mature component wear, as the
function subjects t he vehicle to very
high stresses and loads.
Do not use Launch Control when
running in, see page 280.
When starting with Launch Control,
do not turn the steering wheel.
Launch Control is available when
the engine is at operating tempera-
ture. The engine is at operating
temperature after an uninterrupted
journey of at least 10 km, approx. 6
miles.
1 Switch on drive-ready state.
2 Press the sport button.
SPORT will be displayed on the instru-
ment cluster, indicating sport mode has
Engaging selector lever position N
1
R
N
Launch Control
Principle
General
Operating requirements
Starting with Launch Control
Page 208 of 498
2063-1. CONTROLS
trians and bicycles), see page
212.
Lane Departure Warning, see
page 216.
Blind spot monitor, see page
220.
Some Toyota Supra Safety Sys-
tems are automatically active at the
start of each journey. Some Toyota
Supra Safety Systems are acti-
vated according to the last setting.
Safety notes
WA R N I N G
The system does not relieve you of
your personal responsibility to assess
the visibility conditions and traffic situ- ation correctly. There is a danger of
accidents. Adapt your driving style to
the traffic conditions. Observe the traffic situation and intervene actively
if the situation warrants it.
WA R N I N G
Displays and warnings do not relieve
you of your personal responsibility.
System limitations can mean that
warnings or system responses are not issued or are issued too late,
incorrectly or wit hout justification.
There is a danger of accidents. Adapt your driving style to the traffic condi-
tions. Observe the traffic situation and
intervene actively if the situation war- rants it.
WA R N I N G
Due to system limitations, individual functions may not work properly when
tow-starting/towing with activated
Toyota Supra Safety Systems. There
is a danger of accidents. Switch off all Toyota Supra Safety Systems before
tow-starting/towing.
Overview
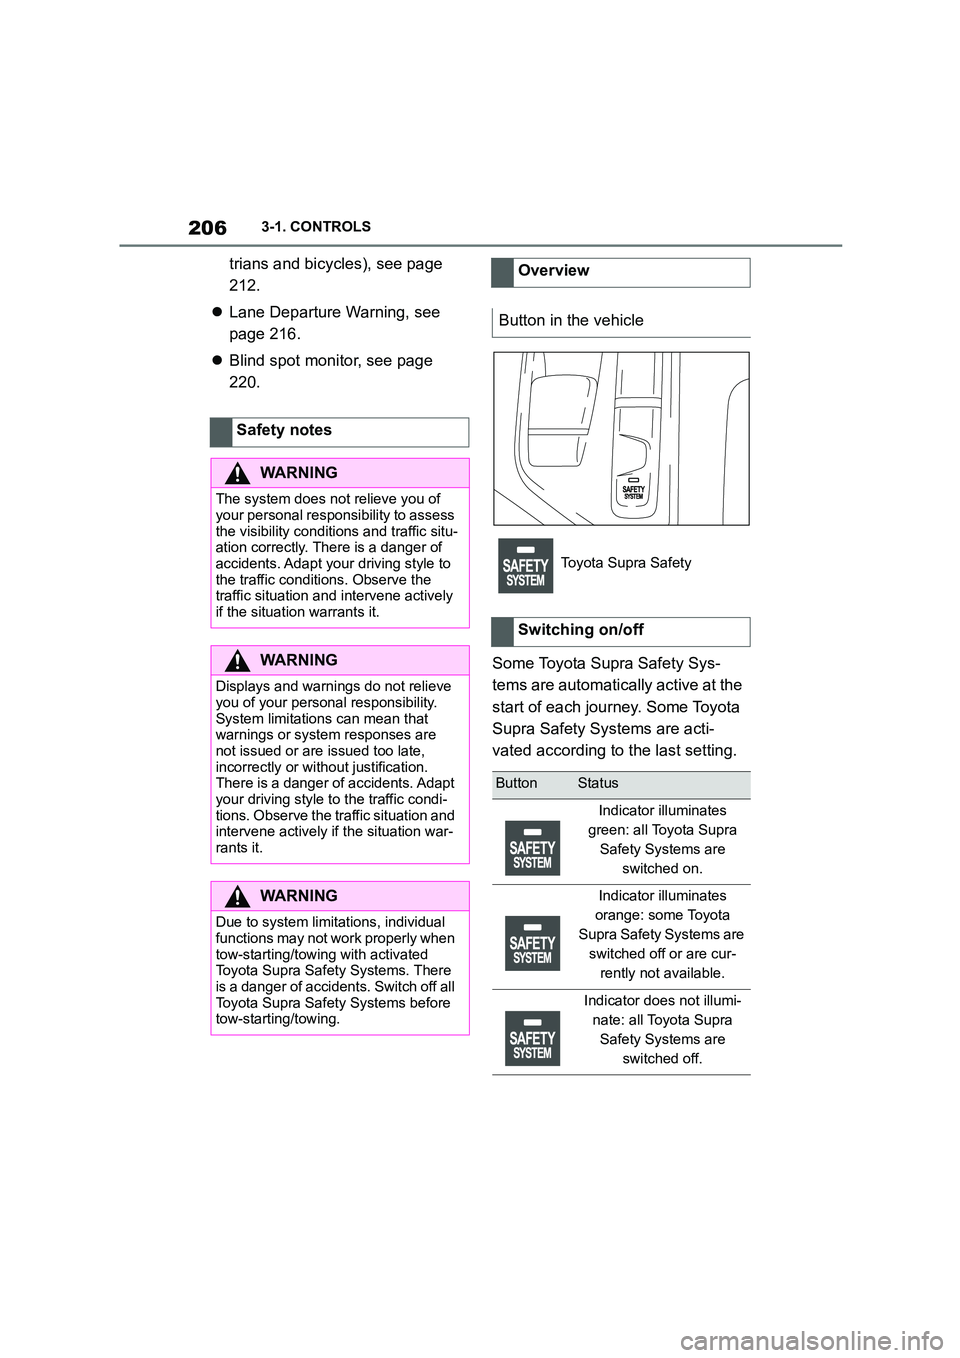
Button in the vehicle
Toyota Supra Safety
Switching on/off
ButtonStatus
Indicator illuminates
green: all Toyota Supra
Safety Systems are
switched on.
Indicator illuminates
orange: some Toyota
Supra Safety Systems are
switched off or are cur-
rently not available.
Indicator does not illumi-
nate: all Toyota Supra
Safety Systems are
switched off.
Page 210 of 498
2083-1. CONTROLS
The system is automatically acti-
vated at the start of each journey.
The menu for the Toyota Supra
Safety Systems is shown.
If all Toyota Supra Safety Systems
were switched off, all systems are
now switched on.
"Customise Settings": depending
on the equipment, the Toyota Supra
Safety Systems can be configured
individually. The custom settings
are activated and saved. As soon
Safety notes
WA R N I N G
The system does not relieve you of
your personal responsibility to assess the visibility conditions and traffic situ-
ation correctly. There is a danger of
accidents. Adapt your driving style to the traffic conditions. Observe the
traffic situation and intervene actively
if the situation warrants it.
WA R N I N G
Displays and warnings do not relieve
you of your personal responsibility.
System limitations can mean that warnings or system responses are
not issued or are issued too late,
incorrectly or wit hout justification. There is a danger of accidents. Adapt
your driving style to the traffic condi-
tions. Observe the traffic situation and intervene actively if the situation war-
rants it.
WA R N I N G
Due to system limitations, individual functions may not work properly when
tow-starting/towing with activated
Toyota Supra Safety Systems. There is a danger of accidents. Switch off all
Toyota Supra Safety Systems before
tow-starting/towing.
Overview
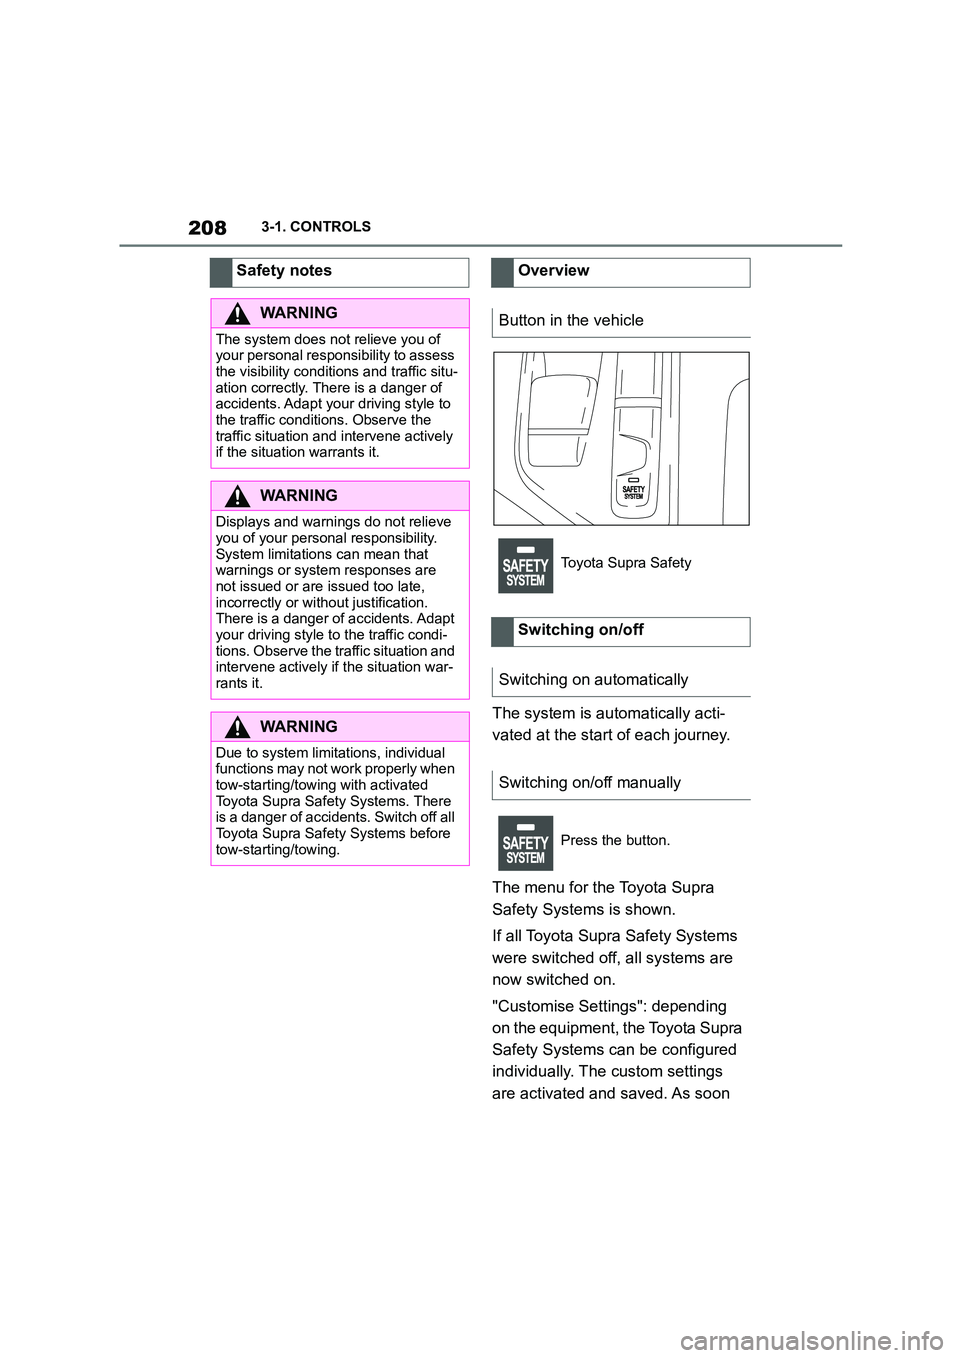
Button in the vehicle
Toyota Supra Safety
Switching on/off
Switching on automatically
Switching on/off manually
Press the button.
Page 215 of 498

213
3
3-1. CONTROLS
CONTROLS
The system is controlled using the
following sensors:
• Cameras behind the windscreen.
• With radar sensor: front radar
sensor.
For further information:
Sensors of the vehicle, see page
P. 5 0 .
The system is automatically acti-
vated at the start of each journey.
The menu for the Toyota Supra
Safety Systems is shown.
If all Toyota Supra Safety Systems
were switched off, all systems are
now switched on.
"Customise Settings": depending
on the equipment, the Toyota Supra
Safety Systems can be configured
individually. The custom settings
are activated and saved. As soon
as a setting is changed in the
menu, all settings in the menu are
activated.
The setting switches between the
following:
"ALL ON": all Toyota Supra Safety
WA R N I N G
Displays and warnings do not relieve
you of your personal responsibility.
System limitations can mean that warnings or system responses are
not issued or are issued too late,
incorrectly or wit hout justification. There is a danger of accidents. Adapt
your driving style to the traffic condi-
tions. Observe the traffic situation and
intervene actively if the situation war- rants it.
WA R N I N G
Due to system limitations, individual functions may not work properly when
tow-starting/towing with activated
Toyota Supra Safety Systems. There is a danger of accidents. Switch off all
Toyota Supra Safety Systems before
tow-starting/towing.
Overview
Button in the vehicle
Toyota Supra Safety
Sensor
Switching on/off
Switching on automatically
Switching on/off manually
Press the button.
Press the button repeatedly.
Page 278 of 498
2763-1. CONTROLS
Wrap protective material around
any sharp corners and edges on
the load.
Heavy transported loads: stow
as far forward and as low down
as possible, ideally directly
behind the boot partition.
Small and lightweight loads:
secure with retaining straps, a
luggage net or other suitable
straps.
Large and heavy loads: secure
with lashing straps.
*: if equipped
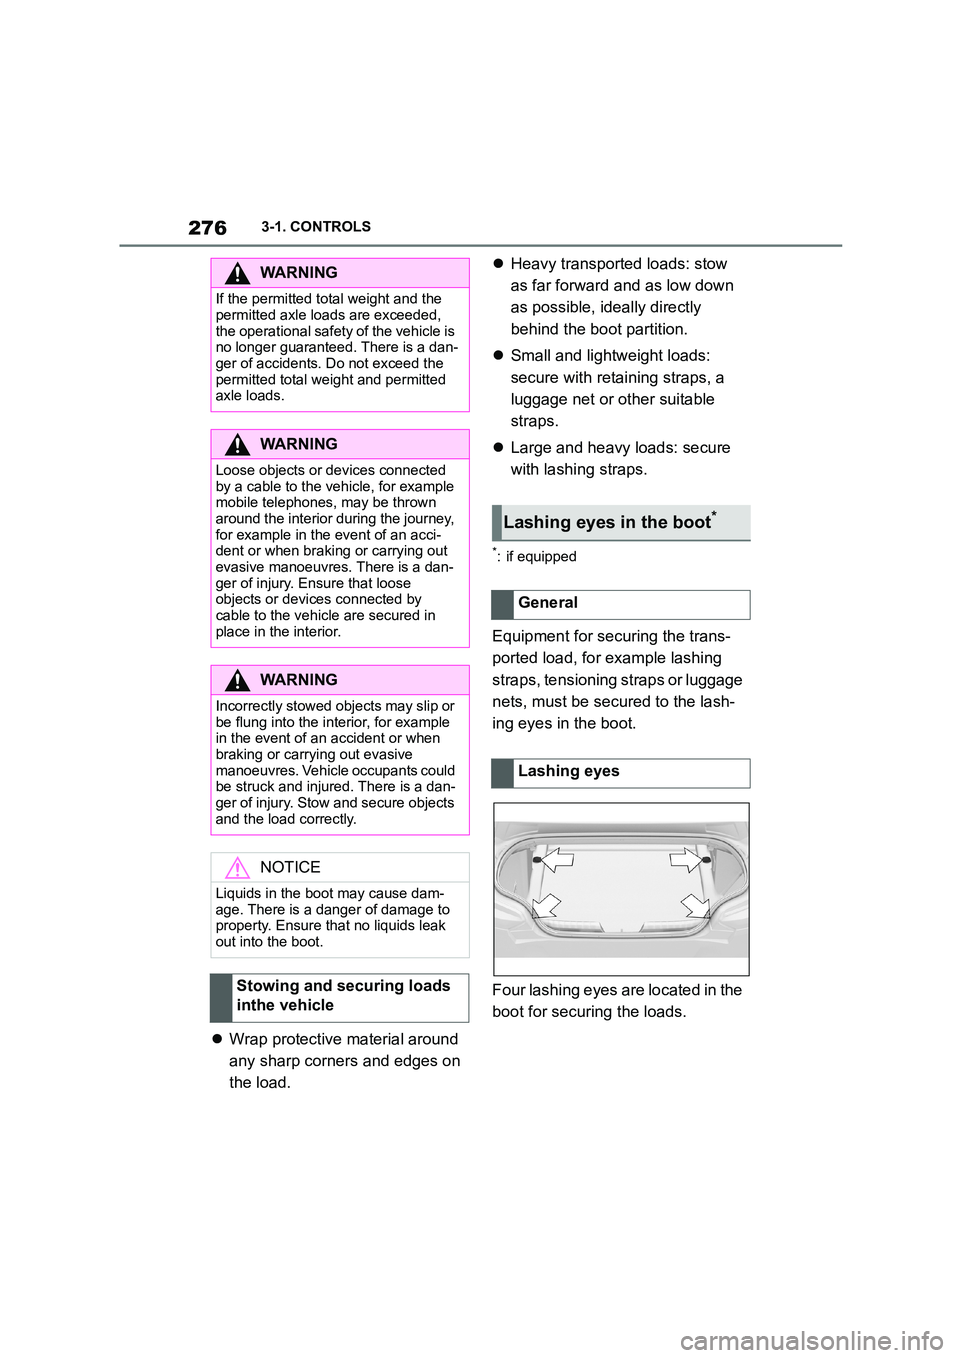
Equipment for securing the trans-
ported load, for example lashing
straps, tensioning straps or luggage
nets, must be secured to the lash-
ing eyes in the boot.
Four lashing eyes are located in the
boot for securing the loads.
WA R N I N G
If the permitted total weight and the
permitted axle loads are exceeded,
the operational safety of the vehicle is no longer guaranteed. There is a dan-
ger of accidents. Do not exceed the
permitted total weight and permitted axle loads.
WA R N I N G
Loose objects or devices connected
by a cable to the vehicle, for example mobile telephones, may be thrown
around the interior during the journey,
for example in the event of an acci- dent or when braking or carrying out
evasive manoeuvres. There is a dan-
ger of injury. Ensure that loose objects or devices connected by
cable to the vehicle are secured in
place in the interior.
WA R N I N G
Incorrectly stowed objects may slip or
be flung into the interior, for example
in the event of an accident or when braking or carrying out evasive
manoeuvres. Vehicle occupants could
be struck and injured. There is a dan- ger of injury. Stow and secure objects
and the load correctly.
NOTICE
Liquids in the boot may cause dam- age. There is a danger of damage to
property. Ensure that no liquids leak
out into the boot.
Stowing and securing loads
inthe vehicle
Lashing eyes in the boot*
General
Lashing eyes
Page 280 of 498
2783-1. CONTROLS
2.
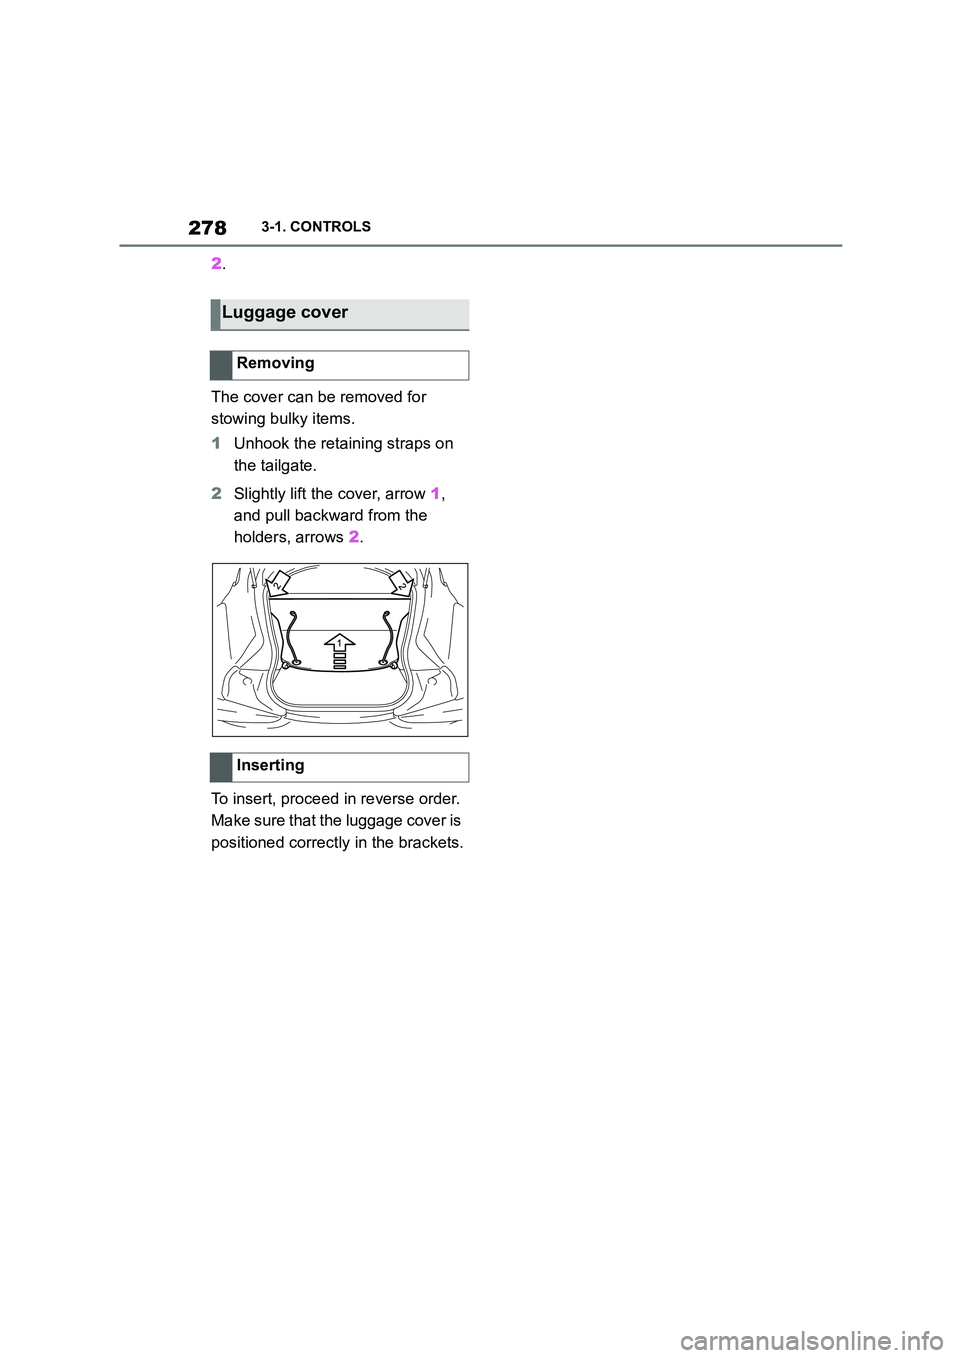
The cover can be removed for
stowing bulky items.
1 Unhook the retaining straps on
the tailgate.
2 Slightly lift the cover, arrow 1,
and pull backward from the
holders, arrows 2.
To insert, proceed in reverse order.
Make sure that the luggage cover is
positioned correctly in the brackets.
Luggage cover
Removing
Inserting