2022 TOYOTA SUPRA instrument cluster
[x] Cancel search: instrument clusterPage 32 of 498

302-1. QUICK REFERENCE
1Wipers
2 Instrument cluster
3 Turn indicator, high-beam head-
lights
4 Light switch element
Indicator and warning lamps can
illuminate in a variety of combina-
tions and colours.
When the engine starts or the
standby state is switched on, the
functionality of some lights is briefly
checked.
1 Exterior mirrors
2 Power window switches
3 Central locking system
4 Unlocking the boot lid
1 Selector lever
2 Controller
3 Auto Start & Stop cancel button
4 Sport mode switch
5 Park Assistant button
6 VSC OFF button
7 Toyota Supra Safety button
8 Parking brake
Toyota Supra Command brings
together the functions of a number
of switches. These functions can be
operated using the Controller and,
depending on the equipment ver-
sion, the touchscreen.
Displays and controls
Around the steering wheel
Indicator and warning lamps
Driver's door
1
2
3
4
321
4
Switch cluster
Toyota Supra Command
Principle
Page 38 of 498
362-1. QUICK REFERENCE
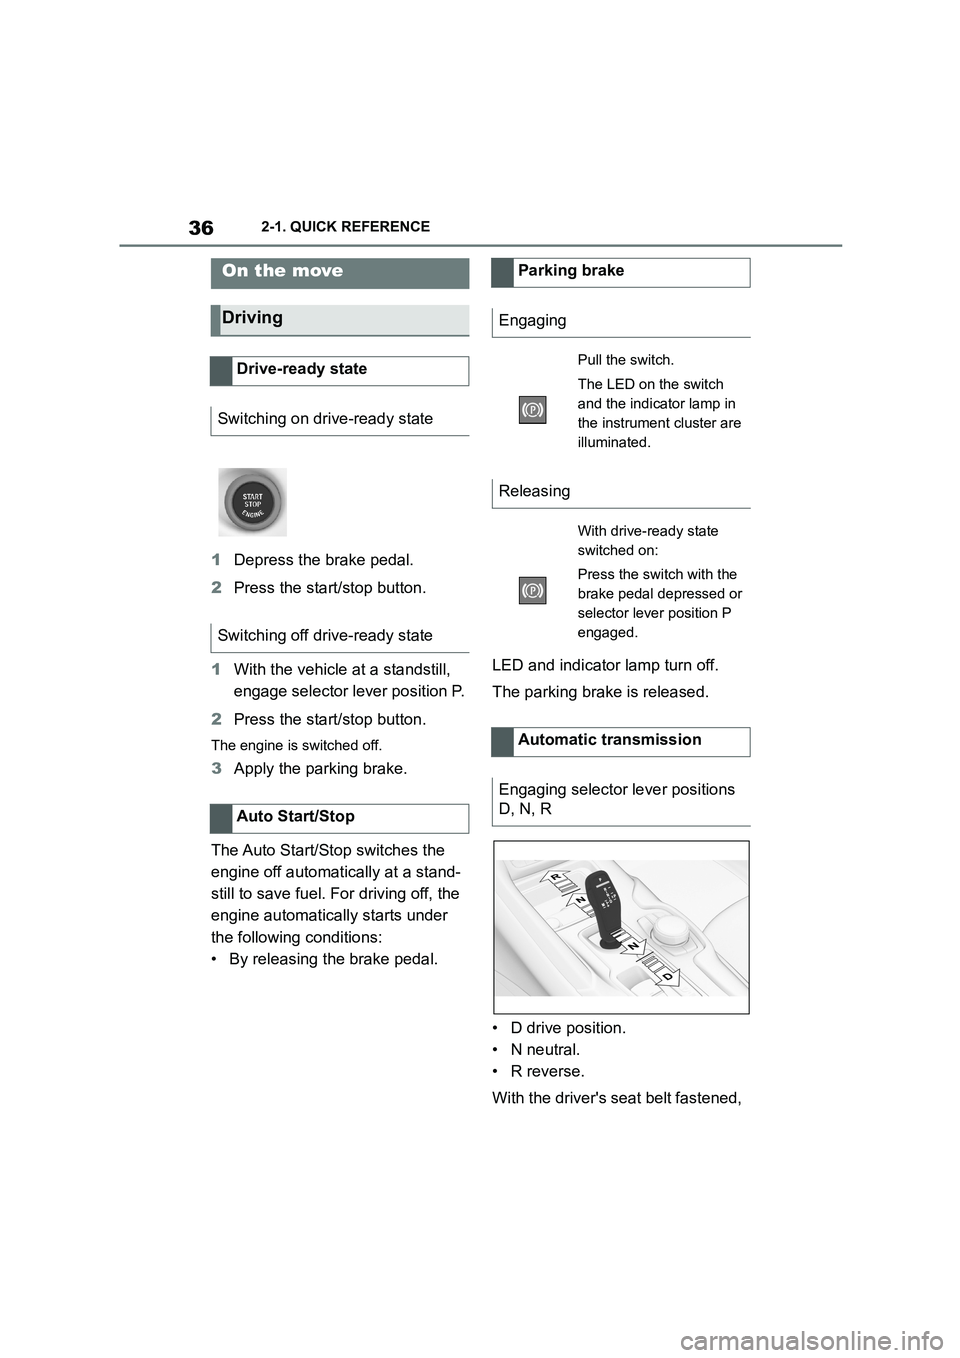
1Depress the brake pedal.
2 Press the start/stop button.
1 With the vehicle at a standstill,
engage selector lever position P.
2 Press the start/stop button.
The engine is switched off.
3Apply the parking brake.
The Auto Start/St op switches the
engine off automatically at a stand-
still to save fuel. For driving off, the
engine automatically starts under
the following conditions:
• By releasing the brake pedal.
LED and indicator lamp turn off.
The parking brake is released.
• D drive position.
• N neutral.
• R reverse.
With the driver's seat belt fastened,
On the move
Driving
Drive-ready state
Switching on drive-ready state
Switching off drive-ready state
Auto Start/Stop
Parking brake
Engaging
Pull the switch.
The LED on the switch
and the indicator lamp in
the instrument cluster are
illuminated.
Releasing
With drive-ready state
switched on:
Press the switch with the
brake pedal depressed or
selector lever position P
engaged.
Automatic transmission
Engaging selector lever positions
D, N, R
Page 49 of 498

47
3
3-1. CONTROLS
CONTROLS
Automatic driving lights
control P.185
Automatic high-beamP.188
Low-beam headlights
P. 1 8 6
Instrument lighting P.191
Right parking light P.186
Left parking light P.186
5 Steering-column lever, left
Turn indicator P.150
High-beam headlights,
headlight flasher P.150
Automatic high-beam
P. 1 8 8
On-board computer P.177
6 Shift paddle P.157
7 Buttons on steering wheel, left
Manual Speed Limiter
P. 2 3 2
Cruise Control on/off
P. 2 3 4
Resuming Cruise Con-
trolP.232
Interrupting Cr uise Control
P. 2 3 2
Dynamic radar cruise con-
trol on/off P.238
Cruise Control: to store a
speed
Speed Limit Assist: accept the
suggested speed P.246
Interrupts Cruise Con-
trol/Resuming Cruise Con-
trolP.232
Dynamic radar cruise con-
trol: to increase the distance/to
reduce the distanceP.232
Rocker switch for Cruise Con-
trolP.232
8 Instrument cluster P.162
9 Buttons on steering wheel, right
Selection lists P.177
Volume, see Navigation
system Owner's manual
Voice control system P.68
Telephone, see Owner's
Manual for Navigation, Enter-
tainment, Communication
Knurled wheel for selection lists
P. 1 7 7
10 Shift paddle P.157
11 Steering-column lever, right
Wiper P.151
Rain sensor P.152
Cleaning windscreen
P. 1 5 3
12 To adjust the steering wheel
P. 1 1 9
Page 57 of 498
55
3
3-1. CONTROLS
CONTROLS
Switching on drive-ready state cor-
responds to starting the engine.
Some functions, for example Vehi-
cle Stability Control VSC, can only
be operated when drive-ready state
is switched on.
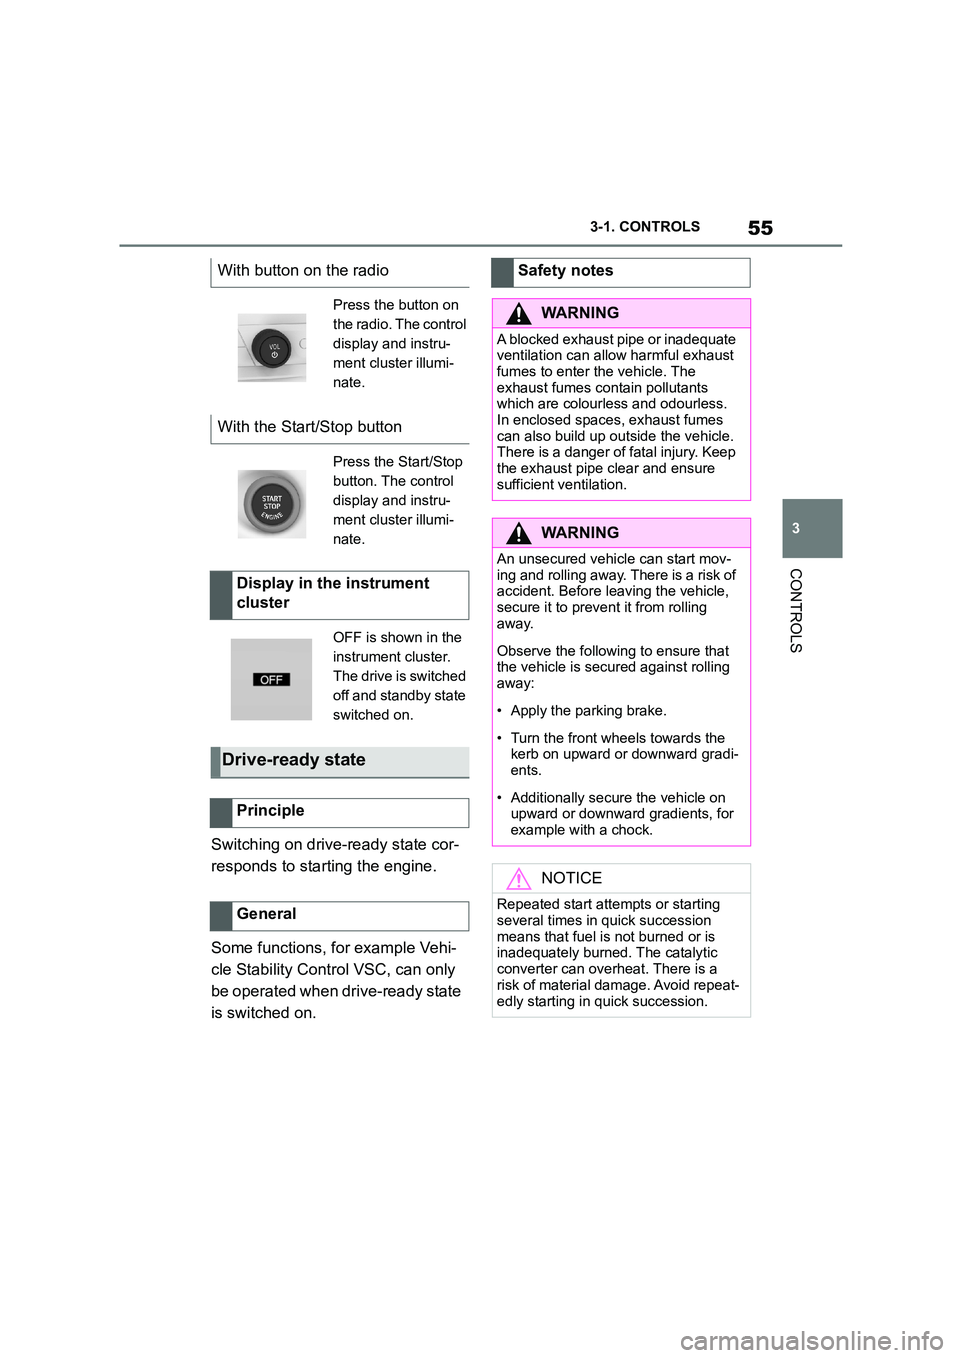
With button on the radio
Press the button on
the radio. The control
display and instru-
ment cluster illumi-
nate.
With the Start/Stop button
Press the Start/Stop
button. The control
display and instru-
ment cluster illumi-
nate.
Display in the instrument
cluster
OFF is shown in the
instrument cluster.
The drive is switched
off and standby state
switched on.
Drive-ready state
Principle
General
Safety notes
WA R N I N G
A blocked exhaust pipe or inadequate
ventilation can allow harmful exhaust fumes to enter the vehicle. The
exhaust fumes contain pollutants
which are colourless and odourless. In enclosed spaces, exhaust fumes
can also build up outside the vehicle.
There is a danger of fatal injury. Keep
the exhaust pipe clear and ensure sufficient ventilation.
WA R N I N G
An unsecured vehicle can start mov-ing and rolling away. There is a risk of
accident. Before leaving the vehicle,
secure it to prevent it from rolling away.
Observe the following to ensure that the vehicle is secured against rolling
away:
• Apply the parking brake.
• Turn the front wheels towards the
kerb on upward or downward gradi- ents.
• Additionally secure the vehicle on upward or downward gradients, for
example with a chock.
NOTICE
Repeated start attempts or starting
several times in quick succession
means that fuel is not burned or is inadequately burned. The catalytic
converter can overheat. There is a
risk of material damage. Avoid repeat-
edly starting in quick succession.
Page 58 of 498
563-1. CONTROLS
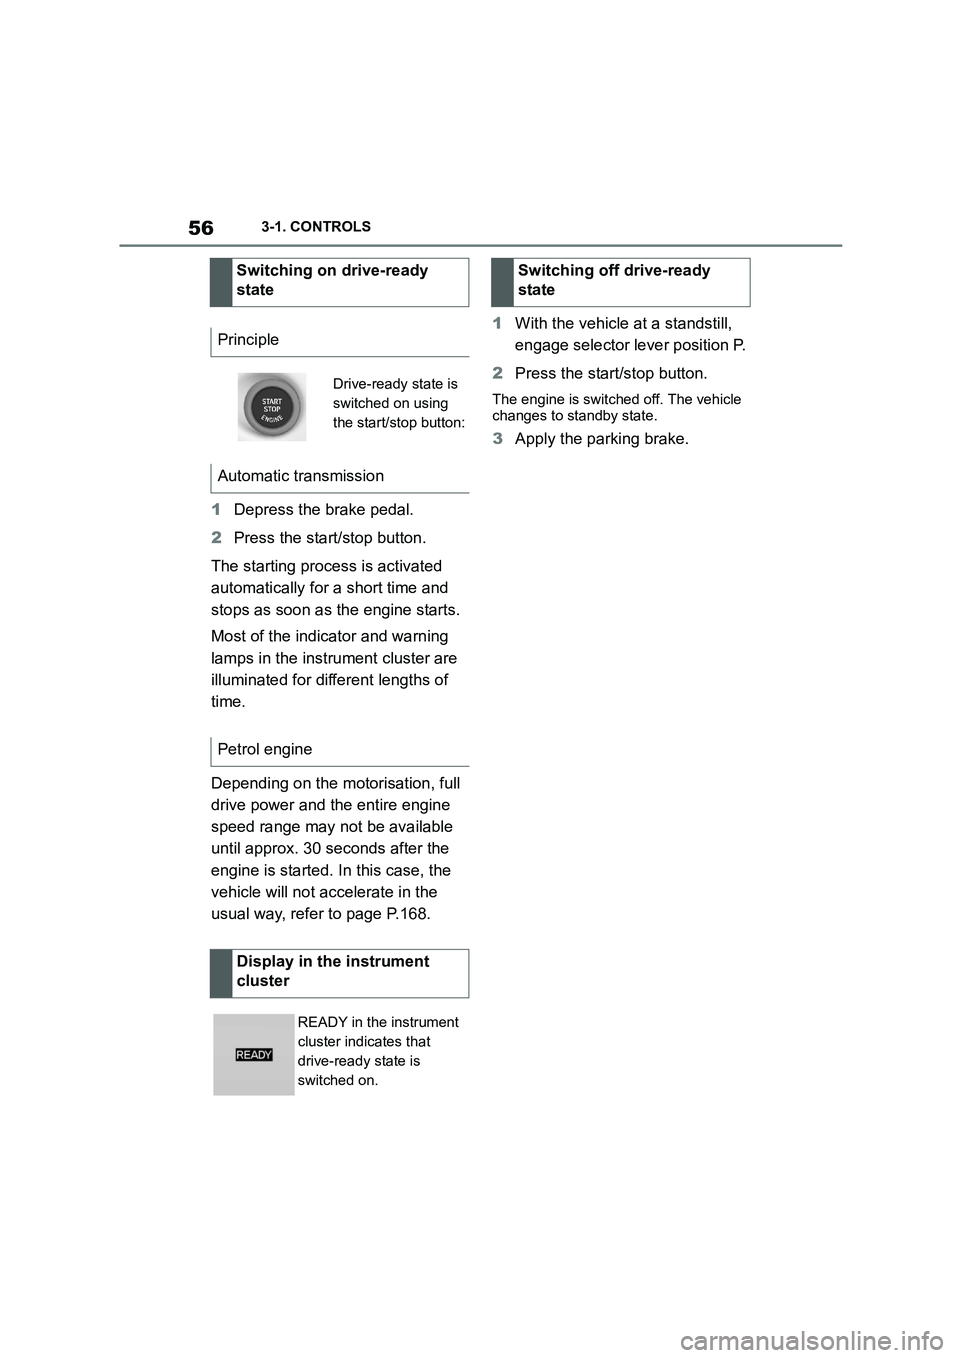
1Depress the brake pedal.
2 Press the start/stop button.
The starting process is activated
automatically for a short time and
stops as soon as the engine starts.
Most of the indicator and warning
lamps in the instrument cluster are
illuminated for different lengths of
time.
Depending on the motorisation, full
drive power and the entire engine
speed range may not be available
until approx. 30 seconds after the
engine is started. In this case, the
vehicle will not accelerate in the
usual way, refer to page P.168.
1 With the vehicle at a standstill,
engage selector lever position P.
2 Press the start/stop button.
The engine is switched off. The vehicle
changes to standby state.
3 Apply the parking brake.
Switching on drive-ready
state
Principle
Drive-ready state is
switched on using
the start/stop button:
Automatic transmission
Petrol engine
Display in the instrument
cluster
READY in the instrument
cluster indicates that
drive-ready state is
switched on.
Switching off drive-ready
state
Page 79 of 498

77
3
3-1. CONTROLS
CONTROLS
files.
To ensure that the correct driver
profile can be set, the system must
be able to allocate the detected
remote control uniquely to the
driver.
This is ensured if the following con-
ditions are met:
• The driver is only carrying their
own remote control.
• The driver unlocks the vehicle.
• The driver enters the vehicle
through the driver's door.
The name of the currently used
driver profile is displayed when the
Control Display is switched on.
Select a driver profile, see page 77.
As soon as the engine is started or
any button pressed, the display
selected last is shown on the Con-
trol Display.
To cancel the welcome screen via
Toyota Supra Command: "OK"
Settings for the following systems
and functions are saved in the cur-
rently used driv er profile. Which
settings can be saved depends on
the country and equipment.
• Unlocking and locking.
•Lights.
• Air conditioning.
• Radio.
• Instrument cluster.
• Favourites buttons.
• Volumes, sound.
• Control Display.
• Parking Sensors.
• Rear-view camera.
• Head-Up Display.
• Sport mode switch.
• Seat position, exterior mirror
position
The positions set via the seat memory
and the last position set are saved.
• Cruise Control.
• Toyota Supra Safety.
Regardless of which remote control
is currently being used, it is possi-
ble to call up a different driver pro-
file. This enables the personal
vehicle settings to be called up,
even if the vehicle was not
unlocked with the driver's own
remote control.
Via Toyota Supra Command:
1 "My Vehicle"
2 "Driver profiles"
3 Select a driver profile.
4 "OK"
• The settings saved in the
selected driver profile are
applied automatically.
Operating requirements
Currently used driver profile
Settings
Profile management
Selecting a driver profile
Page 96 of 498
943-1. CONTROLS
1Hold the back of the remote
control against the mark on the
steering column. Pay attention
to the display in the instrument
cluster.
2 If the remote control is detected:
Switch on drive-ready state
within 10 seconds.
If the remote control is not
detected, change the position of the
remote control slightly and repeat
the procedure.
What provisions can be made to
enable a vehicle to be opened if the
remote control has accidentally
been locked inside the vehicle?
• The Remote Services of the
Toyota Supra Connect app can
be used to lock and unlock a
vehicle.
This requires an active Toyota Supra
Connect contract and the Toyota Supra
Connect app must be installed on a
smartphone.
• Unlocking of the vehicle can be
requested via the Concierge Ser-
vices.
This requires an active Toyota Supra
Connect contract.
With the integrated key, the driver's
door can be unlocked and locked
without the remote control.
The integrated key also fits in the
glove box.
Use the integrated key to operate
the key switch for front passenger
airbags, see page 202.
Frequently Asked Questions
Integrated key
General
Safety notes
WA R N I N G
With some country specifications,
unlocking from the inside is only pos-
sible with special knowledge.
There is a risk of injury or danger to
life if persons remain in the vehicle for extended periods and are exposed to
extreme temperatures as a result. Do
not lock the vehicle from the outside when there is someone inside it.
NOTICE
The door lock is firmly connected to
the door. The door handle can be moved. Pulling the door handle when
the integrated key is inserted can
damage the paint or the integrated key. There is a danger of damage to
property. Pull out the integrated key
before pulling on the outer door han- dle.
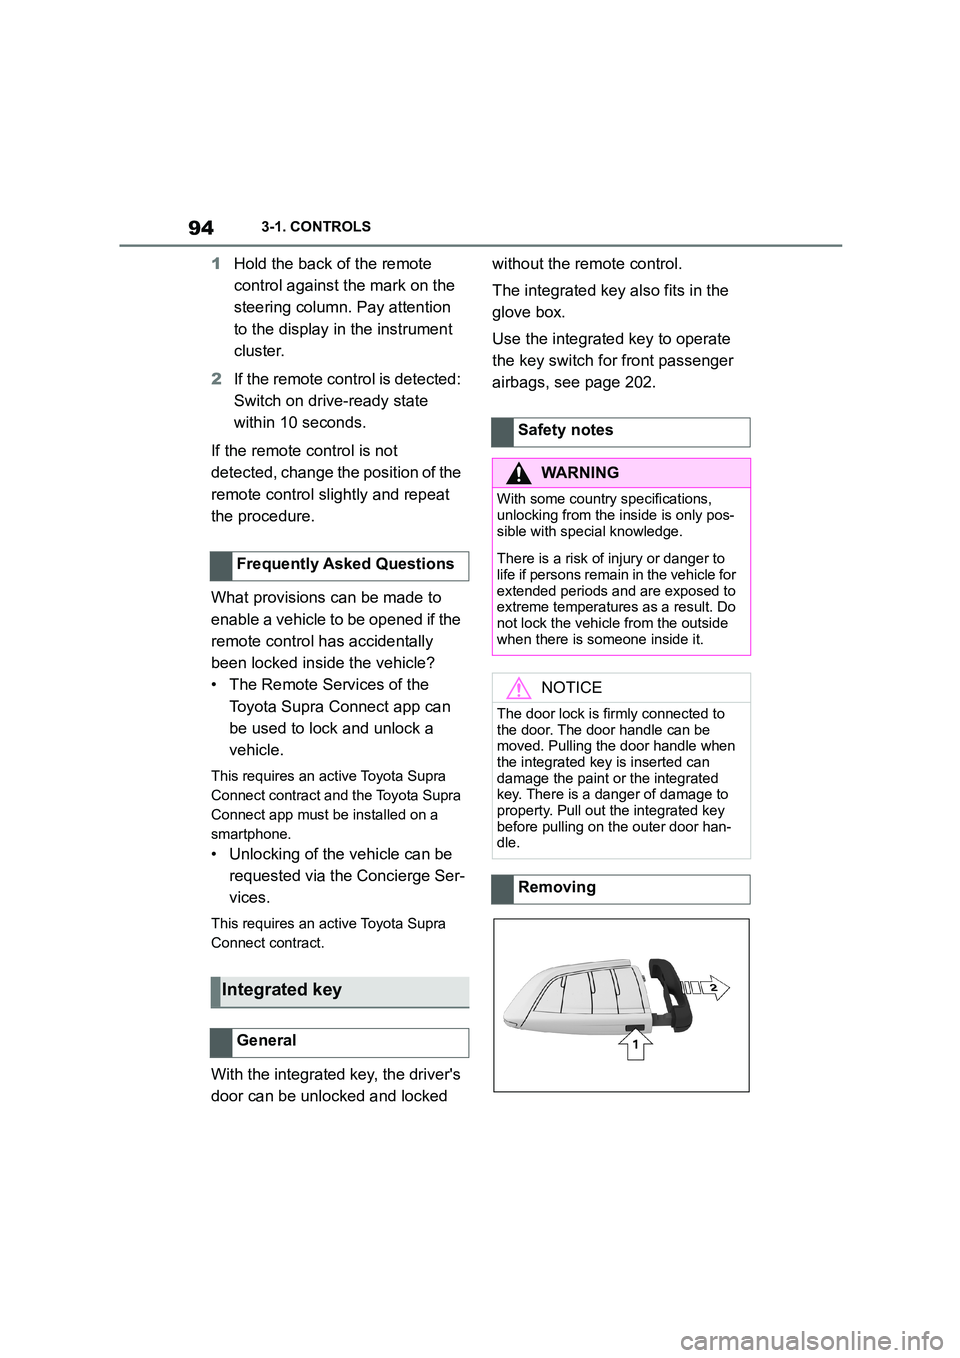
Removing
Page 118 of 498
1163-1. CONTROLS
buckle has locked correctly, pull
upwards on the shoulder strap
until the lap belt fits tightly.
• The length of the diagonal shoul-
der strap adjusts itself automati-
cally to allow freedom of
movement.
• To release the seat belt, press
the button on the buckle catch
unit.
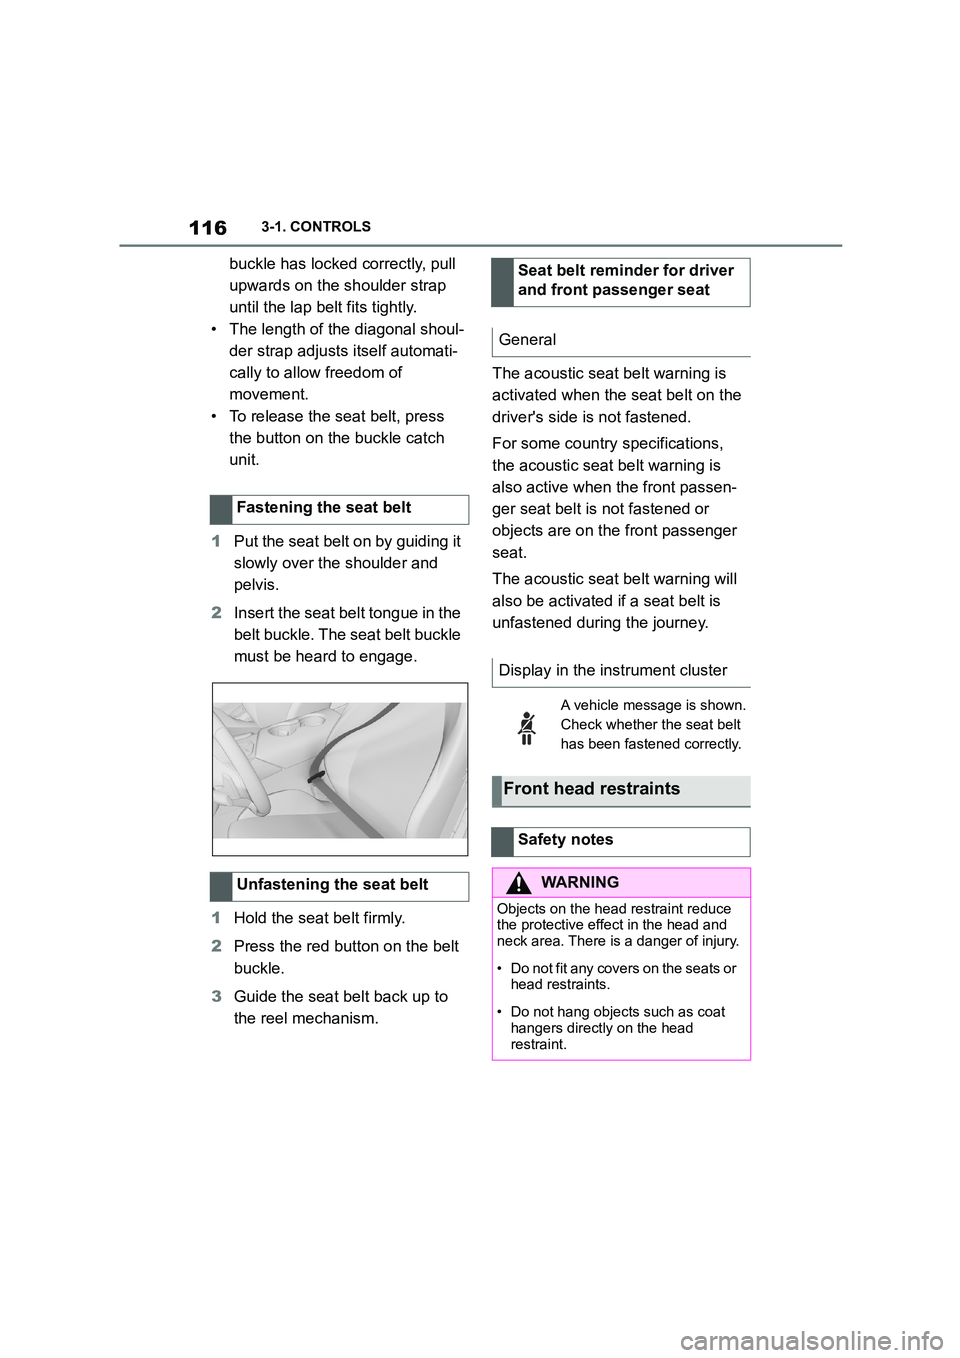
1 Put the seat belt on by guiding it
slowly over the shoulder and
pelvis.
2 Insert the seat belt tongue in the
belt buckle. The seat belt buckle
must be heard to engage.
1 Hold the seat belt firmly.
2 Press the red button on the belt
buckle.
3 Guide the seat belt back up to
the reel mechanism.
The acoustic seat belt warning is
activated when the seat belt on the
driver's side is not fastened.
For some country specifications,
the acoustic seat belt warning is
also active when the front passen-
ger seat belt is not fastened or
objects are on the front passenger
seat.
The acoustic seat belt warning will
also be activated if a seat belt is
unfastened during the journey.
Fastening the seat belt
Unfastening the seat belt
Seat belt reminder for driver
and front passenger seat
General
Display in the instrument cluster
A vehicle message is shown.
Check whether the seat belt
has been fastened correctly.
Front head restraints
Safety notes
WA R N I N G
Objects on the head restraint reduce the protective effect in the head and
neck area. There is a danger of injury.
• Do not fit any covers on the seats or
head restraints.
• Do not hang objects such as coat
hangers directly on the head
restraint.