Page 385 of 417

Replacement of light bulbs
9-28 Vehicle care and maintenance
9
N00950302102
Outside
Item
Wa t t -age
ANSI
Tr a d e
No. or
Bulb type
1 - Headlight Halogen bulb55 W HIR2
LED — —
2 - Parking light/ Daytime running
light ——
3 - Front side-marker light ——
Front
4 - Front turn signal light 21 W PY21W
5 - Front fog light 35 W H8
6 - Side turn signal light — —
NOTE
The following lights use an LED type bulb
instead of a light bulb.
Check with an authorized Mitsubishi Motors
dealer or a repair facility of your choice
when either light needs to be repaired or
replaced.
• Headlight (LED type)
• Parking light
• Daytime running light
• Front side-marker light
• Side turn signal light
Item
Wa t t - age
ANSI
Tr a d e
No. or Bulb type
Item
Wattage
ANSI
trade No. or Bulb
type
1 - High-mounted stop light ——
2 - Tail light — —
3 - Back-up light 16 W W16W
4 - License plate light 5 W W5W
5 - Rear turn sig- nal light 21 W WY21W
6 - Stop light — —
7 - Rear side- marker light ——
Rear
BK0252700US.bo
ok 28 ページ 2017年10月5日 木曜日 午後6時49分
Page 386 of 417

Replacement of light bulbs
Vehicle care and maintenance 9-29
9
N00950401757
N00901801229
1. Turn the cap (A) counterclockwise to remove it. 2. While pulling the tab (B), pull out the socket (C).
NOTE
The following lights use an LED type bulb instead of a light bulb. Check with an authorized Mitsubishi Motors dealer or a repair
facility of your choice
when either light needs to be repaired orreplaced. • High-mounted stop light• Tail light • Stop light • Rear side-marker light
Inside
Item
Wattage
1 - Vanity mirror lights (if so
equipped)
2 W
2 - Dome light (front)/Read-
ing light
10 W
3 - LED interior illumination
(Smartphone tray)
—
4 - Dome light (rear) 8 W 5 - Cargo room light 5 W6 - LED interior illumination
(Front drink holder)
—
NOTE
The following lights use an LED type bulb instead of a light bulb. Check with an authorized Mitsubishi Motors dealer or a repair facility of your choice when the light needs to be repaired orreplaced. • LED interior illumination (Smartphone tray) • LED interior illumination (Front drink holder)
Headlights (halogen bulb type)
NOTE
When replacing a bulb on the right side of the vehicle, make sure that the removed parts do not contact the coolant reserve tank.
* : Front of the vehicle
BK0252700US.bo
ok 29 ページ 2017年10月4日 水曜日 午後4時54分
Page 387 of 417

Replacement of light bulbs 9-30 Vehicle care and maintenance
9
3. Turn the bulb (D) counterclockwise to remove it. 4. To install the bulb, perform the removal steps in reverse.
N00900301197
N00943201359
The alignment of the headlights should be checked by an authorized Mitsubishi Motorsdealer or a repair facility of your choice.
N00915501227 N00917301753
NOTE
After installing the cap (A), make sure that the mark (E) on the cap is pointing upward and the cap is locked in place. If the cap is not locked in place, it may become detached while the vehicle is being driven.
Headlights (LED type)
NOTE
The headlights (LED type) use an LED type bulb instead of a light bulb. Check with an authorized Mitsubishi Motors dealer or a repair
facility of your choice
when the light needs to be repaired or replaced.
Headlight aim adjustment Front side-marker lights
NOTE
The front side-marker lights use an LED type bulb instead of a light bulb.Check with an authorized Mitsubishi Motors dealer or a repair
facility of your choice
when the light needs to be repaired orreplaced.
Parking lights/Daytime running lights
NOTE
The parking lights and daytime running lights use an LED type bulb instead of a lightbulb. Check with an authorized Mitsubishi Motors dealer or a repair
facility of your choice
when the light needs to be repaired or replaced.
BK0252700US.bo
ok 30 ページ 2017年10月4日 水曜日 午後4時54分
Page 388 of 417

Replacement of light bulbs
Vehicle care and maintenance 9-31
9
N00943401494
1. To create enough work space, turn the steering wheel all the way in the directionopposite to the side you wish to replace. 2. Remove the screw (A), and then pull the wheel cut moulding (B) to release thethree clips (C). 3. Remove the three clips (D), and then pull back the splash shield (E).
4. Turn the socket (F) counterclockwise to remove it, then remove the bulb from thesocket by turning it counterclockwise while pressing in.
5. To install the bulb, perform the removal steps in reverse.
N00943501192
Front turn signal lights * : Front of the vehicleCAUTIONDo not pull the wheel cut moulding (B) more than is necessary to release the three clips(C). Otherwise, the wheel cut moulding could break.
* : Front of the vehicle * : Front of the vehicle
NOTE
When refitting each of the clip (D), first insert part (G) of the clip into the hole andthen press part (H) into it.
Side turn signal lights
NOTE
The side turn signal lights use an LED type bulb instead of a light bulb. Check with an authorized Mitsubishi Motors dealer or a repair facility of your choice when the light needs to be repaired or replaced.
BK0252700US.bo
ok 31 ページ 2017年10月4日 水曜日 午後4時54分
Page 389 of 417

Replacement of light bulbs 9-32 Vehicle care and maintenance
9
N00943601959
1. To create enough work space, turn the steering wheel all the way in the directionopposite to the side you wish to replace. 2. Remove the screw (A), and then pull the wheel cut moulding (B) to release thethree clips (C). 3. Remove the three clips (D), and then pull back the splash shield (E).
4. While holding down the tab (F), pull out the socket (G). 5. Turn the bulb (H) counterclockwise to remove it.
6. To install the bulb, perform the removal steps in reverse.
N00943701615
1. Open the liftgate.
Front fog lights * : Front of the vehicleCAUTIONDo not pull the wheel cut moulding (B) more than is necessary to release the three clips(C). Otherwise, the wheel cut moulding could break.
* : Front of the vehicle * : Front of the vehicle
NOTE
When refitting each of the clip (D), first insert part (I) of the clip into the hole and then press part (J) into it.
Rear combination lights
BK0252700US.bo
ok 32 ページ 2017年10月4日 水曜日 午後4時54分
Page 390 of 417

Replacement of light bulbs
Vehicle care and maintenance 9-33
9
2. After removing the two screws (A), move the light unit rearward and remove the light unit pins (B).
3. Turn the socket counterclockwise and remove it, and then pull the bulb out of the socket. 4. To install the bulb, perform the removal steps in reverse.
N00929101093
1. Remove the three clips (A), and then pullback the splash shield (B). 2. Turn the socket (C) counterclockwise to remove it, and then pull the bulb out ofthe socket.
NOTE
It will be easier to remove the light unit if you insert a minus screwdriver with the end covered with a cloth or
other object into the
space under the light unit and remove thehighest pin, and then pull the light unit at an upward angle.
C- Rear turn-signal light D- Stop light (LED) - cannot be replaced
NOTE
The rear side-marker light, tail light and stop light use an LED type bulb instead of a light bulb. Check with an authorized Mitsubishi Motorsdealer or a repair facility of your choice when the light needs to be repaired or replaced.
Back-up lights * : Rear of the vehicle
BK0252700US.bo
ok 33 ページ 2017年10月4日 水曜日 午後4時54分
Page 391 of 417
Replacement of light bulbs 9-34 Vehicle care and maintenance
9
3. To install the bulb, perform the removal steps in reverse.
N00944001455
1. When removing the li
ght unit (A), push it
toward the left side of the vehicle body. 2. Use a screwdriver to gently pry up the tab (B) and remove the lens.
3. Pull the bulb out of the socket. 4. To install the bulb, perform the removal steps in reverse.
NOTE
Fully return the splash shield (B) to its origi- nal position in the rear bumper.
When refitting the clip (A), first insert part (D) of the clip into the hole and then press part (E) into it.
License plate lights
NOTE
NOTE
Wrap a cloth around the tip of the screw- driver to keep from scratching the lens.
BK0252700US.bo
ok 34 ページ 2017年10月4日 水曜日 午後4時54分
Page 392 of 417

Vehicle care precautions
Vehicle care and maintenance 9-35
9
N00943901154 N00945100166
In order to maintain the value of your vehicle, perform regular maintenance using the proper materials and procedures. Be sure to use onlythose materials and procedures that meet your local environmental pollution control regula-
tions. Choose the materials you will use care- fully, to be sure that they do not contain corrosives. If you are not sure, contact an authorized Mitsubishi Motors dealer for helpin choosing these materials. These can all be dangerous, and they all can damage your vehicle.
N00945200095
After washing the inside of your vehicle withany cleaner, wipe it dry in a shady, well venti-lated area.
N00945301237
1. Lightly wipe these off with a soft clothsoaked in a 3 % solution of gentle soap and water.
NOTE
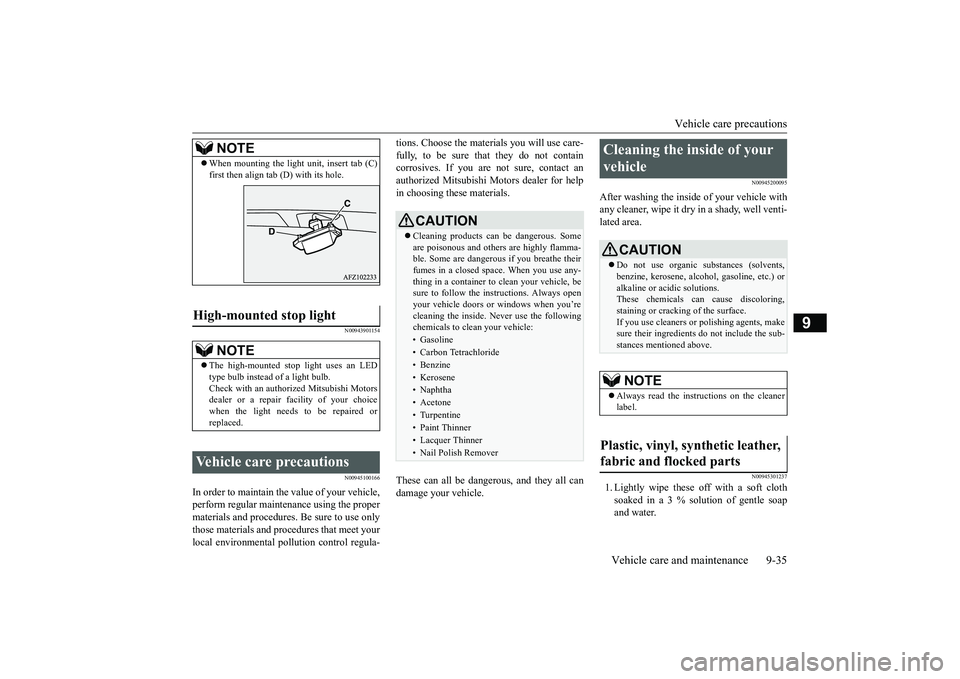
When mounting the light unit, insert tab (C) first then align tab (D) with its hole.
High-mounted stop light
NOTE
The high-mounted stop light uses an LED type bulb instead of a light bulb. Check with an authorized Mitsubishi Motors dealer or a repair
facility of your choice
when the light needs to be repaired or replaced.
Vehicle care precautions
CAUTION Cleaning products can be dangerous. Some are poisonous and others are highly flamma- ble. Some are dangerous if you breathe theirfumes in a closed space. When you use any- thing in a container to clean your vehicle, be sure to follow the instructions. Always openyour vehicle doors or windows when you’re cleaning the inside. Never use the following chemicals to clean your vehicle:• Gasoline• Carbon Tetrachloride• Benzine• Kerosene• Naphtha• Acetone• Turpentine• Paint Thinner• Lacquer Thinner• Nail Polish Remover
Cleaning the inside of your vehicle
CAUTION Do not use organic substances (solvents, benzine, kerosene, alcohol, gasoline, etc.) or alkaline or acidic solutions.These chemicals can cause discoloring, staining or cracking of the surface. If you use cleaners or polishing agents, makesure their ingredients do not include the sub- stances mentioned above.NOTE
Always read the instructions on the cleaner label.
Plastic, vinyl, synthetic leather, fabric and flocked parts
BK0252700US.bo
ok 35 ページ 2017年10月4日 水曜日 午後4時54分