2017 Peugeot 3008 Hybrid 4 tow
[x] Cancel search: towPage 188 of 566
186
3008-2_en_Chap05_securite_ed01-2016
"ISOFIX" mountings
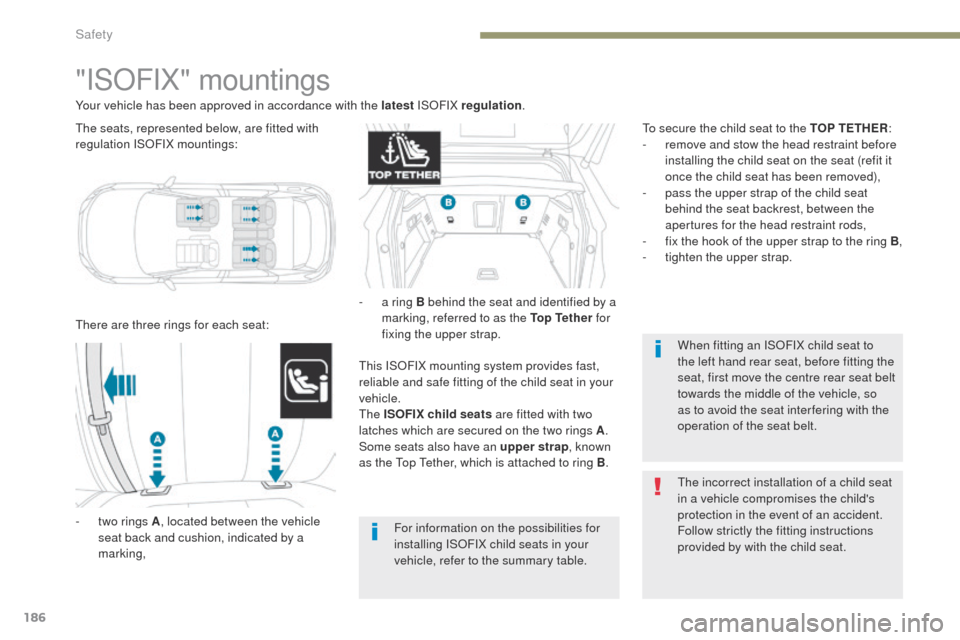
There are three rings for each seat:
-
t
wo rings A , located between the vehicle
seat back and cushion, indicated by a
marking, This ISOFIX mounting system provides fast,
reliable and safe fitting of the child seat in your
vehicle.
The ISOFIX child seats are fitted with two
latches which are secured on the two rings A
.
Some seats also have an upper strap , known
as the Top Tether, which is attached to ring B .
Your vehicle has been approved in accordance with the latest
ISOFIX regulation.
To secure the child seat to the TOP TETHER :
-
r
emove and stow the head restraint before
installing the child seat on the seat (refit it
once the child seat has been removed),
-
p
ass the upper strap of the child seat
behind the seat backrest, between the
apertures for the head restraint rods,
-
f
ix the hook of the upper strap to the ring B,
-
t
ighten the upper strap.
-
a r
ing B behind the seat and identified by a
marking, referred to as the Top Tether for
fixing the upper strap.
The incorrect installation of a child seat
in a vehicle compromises the child's
protection in the event of an accident.
Follow strictly the fitting instructions
provided by with the child seat. When fitting an ISOFIX child seat to
the left hand rear seat, before fitting the
seat, first move the centre rear seat belt
towards the middle of the vehicle, so
as to avoid the seat inter fering with the
operation of the seat belt.
For information on the possibilities for
installing ISOFIX child seats in your
vehicle, refer to the summary table.
The seats, represented below, are fitted with
regulation ISOFIX mountings:
Safety
Page 191 of 566
189
3008-2_en_Chap05_securite_ed01-2016
(a) Refer to the legislation in force in your
country before installing a child at this
seating position.
(b)
T
he installation of a cot at this seating
position may prevent the use of one or both
other seats in this row.
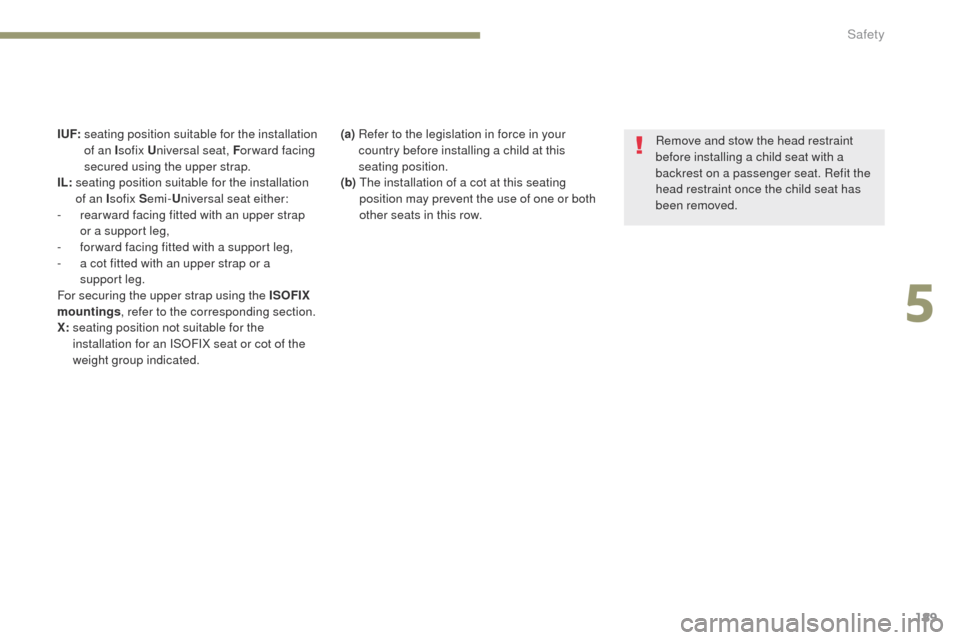
I UF:
s
eating position suitable for the installation
of an I sofix U niversal seat, F or ward facing
secured using the upper strap.
IL:
s
eating position suitable for the installation
of an I sofix S emi-Universal seat either:
-
r
ear ward facing fitted with an upper strap
or a support leg,
-
f
or ward facing fitted with a support leg,
-
a c
ot fitted with an upper strap or a
support
leg.
For securing the upper strap using the ISOFIX
mountings , refer to the corresponding section.
X:
s
eating position not suitable for the
installation for an ISOFIX seat or cot of the
weight group indicated. Remove and stow the head restraint
before installing a child seat with a
backrest on a passenger seat. Refit the
head restraint once the child seat has
been removed.
5
Safety
Page 193 of 566
191
3008-2_en_Chap05_securite_ed01-2016
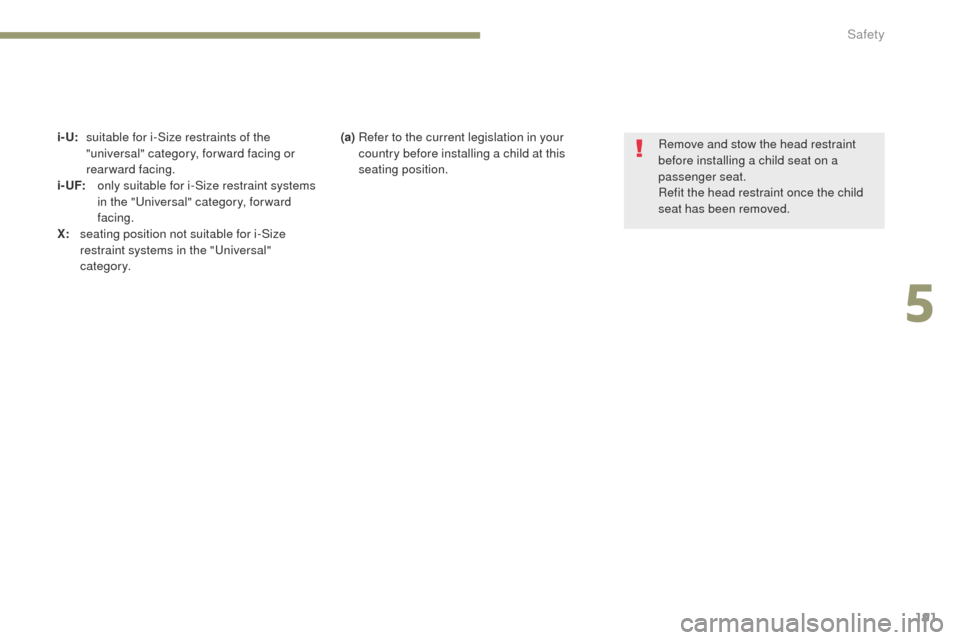
i- U: suitable for i-Size restraints of the "universal" category, forward facing or
rearward facing.
i - UF:
o
nly suitable for i-Size restraint systems
in the "Universal" category, forward
facing.
X:
s
eating position not suitable for i-Size
restraint systems in the "Universal"
category. Remove and stow the head restraint
before installing a child seat on a
passenger seat.
Refit the head restraint once the child
seat has been removed.
(a)
R efer to the current legislation in your
country before installing a child at this
seating position.
5
Safety
Page 198 of 566

196
3008-2_en_Chap06_conduite_ed01-2016
When towing
Distribution of loads
F Distribute the load in the trailer so that the heaviest items are as close as possible to
the axle and the nose weight approaches
the maximum permitted without
exceeding
it.
Air density decreases with altitude, thus
reducing engine performance. Above
1
000 metres, the maximum towed load must
be reduced by 10
% for every 1 000 metres of
altitude.
Side wind
F Take into account the increased sensitivity to side wind.
For more information on Weights
, refer to the
corresponding section. F
I
f the warning lamp and the
STOP warning lamp come on,
stop the vehicle and switch off
the engine as soon as possible.
Braking
Towing a trailer increases the braking distance.
To avoid overheating of the brakes, the use of
engine braking is recommended.
Ty r e s
F Check the tyre pressures of the towing vehicle and of the trailer, observing the
recommended pressures.
Lighting
F Check the electrical lighting and signalling on the trailer and the headlamp beam
height of your vehicle.
For more information on Adjusting the
headlamp beam height , refer to the
corresponding section.
The rear parking sensors will be
deactivated automatically to avoid the
audible signal if a genuine PEUGEOT
towbar is used.
Cooling
Towing a trailer on a slope increases the
temperature of the coolant.
As the fan is electrically controlled, its cooling
capacity is not dependent on the engine speed.
F
T
o lower the engine speed, reduce your
speed.
The maximum towed load on a long incline
depends on the gradient and the ambient
temperature.
In all cases, keep a check on the coolant
temperature.
Driving
Page 206 of 566
204
3008-2_en_Chap06_conduite_ed01-2016
When towing, parking on a steep slope,
or if your vehicle is heavily laden,
turn the wheels towards the kerb and
engage a gear (with a manual gearbox)
or place the gear selector at position P
with an automatic gearbox.
For towing, you vehicle is approved for
parking on slopes of up to 12%.
Manual operation
Manual application
With the vehicle stationary: briefly pull the control lever.
If you push the control lever without
pressing the brake pedal, the parking
brake will not be released and a
message is displayed.
Manual release
With the ignition on or the engine running, to
release the parking brake:
F
p
ress the brake pedal,
F
w
hile maintaining pressure on the brake
pedal, briefly push the control lever.
The complete release of the parking brake
is confirmed by the brake indicator lamp and
the
P indicator lamp in the control lever going
off, accompanied by the display of the message
"Parking brake released".
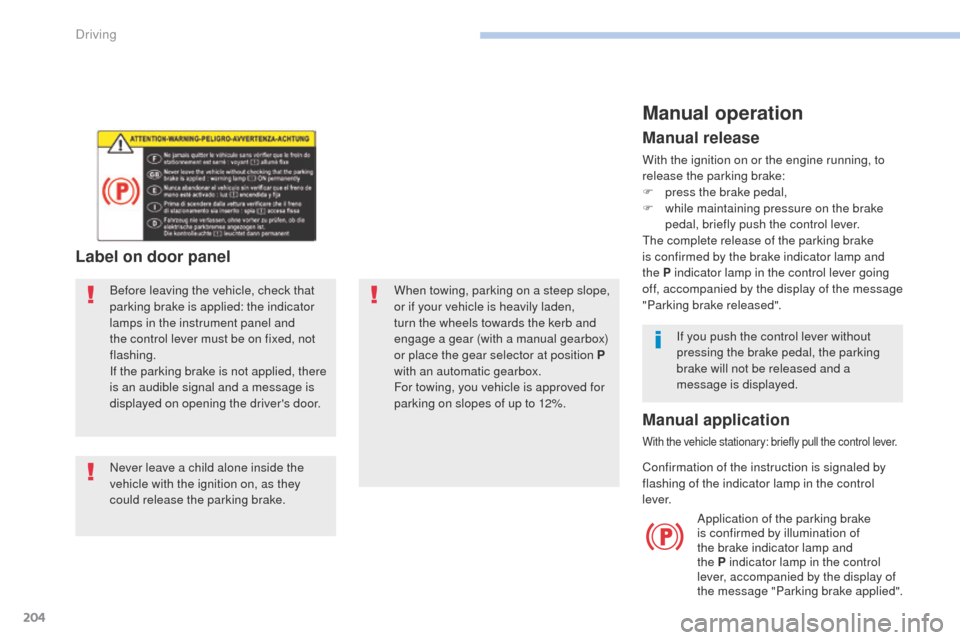
Never leave a child alone inside the
vehicle with the ignition on, as they
could release the parking brake. Before leaving the vehicle, check that
parking brake is applied: the indicator
lamps in the instrument panel and
the control lever must be on fixed, not
flashing.
If the parking brake is not applied, there
is an audible signal and a message is
displayed on opening the driver's door.
Label on door panel
Confirmation of the instruction is signaled by
flashing of the indicator lamp in the control
l eve r. Application of the parking brake
is confirmed by illumination of
the brake indicator lamp and
the
P indicator lamp in the control
lever, accompanied by the display of
the message "Parking brake applied".
Driving
Page 209 of 566
207
3008-2_en_Chap06_conduite_ed01-2016
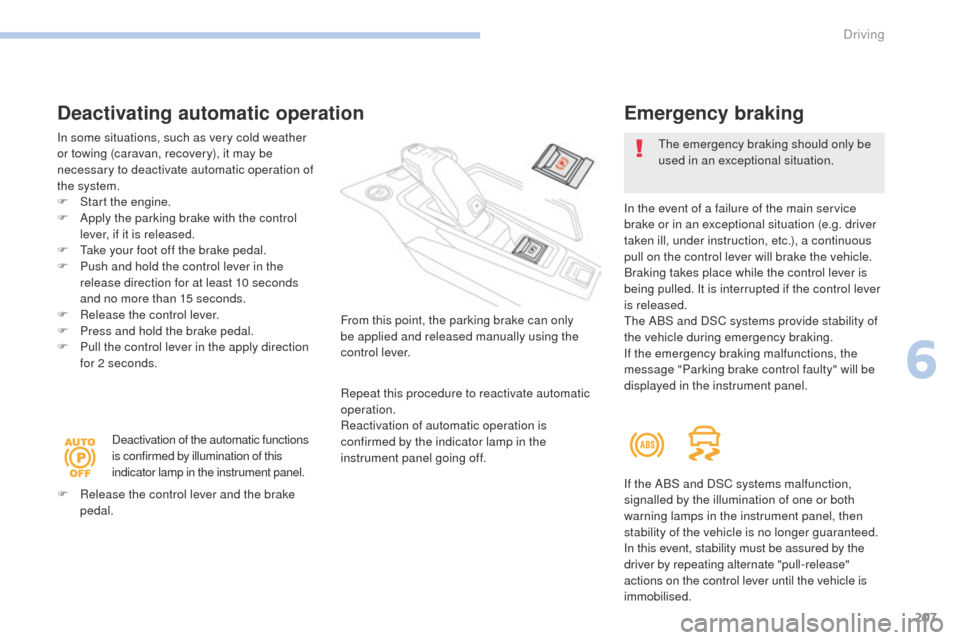
Deactivating automatic operation
In some situations, such as very cold weather
or towing (caravan, recovery), it may be
necessary to deactivate automatic operation of
the system.
F
S
tart the engine.
F
A
pply the parking brake with the control
lever, if it is released.
F
T
ake your foot off the brake pedal.
F
P
ush and hold the control lever in the
release direction for at least 10 seconds
and no more than 15 seconds.
F
R
elease the control lever.
F
P
ress and hold the brake pedal.
F
P
ull the control lever in the apply direction
for 2 seconds.
Deactivation of the automatic functions
is confirmed by illumination of this
indicator lamp in the instrument panel.
F
R
elease the control lever and the brake
pedal. From this point, the parking brake can only
be applied and released manually using the
control lever.
Repeat this procedure to reactivate automatic
operation.
Reactivation of automatic operation is
confirmed by the indicator lamp in the
instrument panel going off.
Emergency braking
The emergency braking should only be
used in an exceptional situation.
In the event of a failure of the main service
brake or in an exceptional situation (e.g. driver
taken ill, under instruction, etc.), a continuous
pull on the control lever will brake the vehicle.
Braking takes place while the control lever is
being pulled. It is interrupted if the control lever
is released.
The ABS and DSC systems provide stability of
the vehicle during emergency braking.
If the emergency braking malfunctions, the
message "Parking brake control faulty" will be
displayed in the instrument panel.
If the ABS and DSC systems malfunction,
signalled by the illumination of one or both
warning lamps in the instrument panel, then
stability of the vehicle is no longer guaranteed.
In this event, stability must be assured by the
driver by repeating alternate "pull-release"
actions on the control lever until the vehicle is
immobilised.
6
Driving
Page 213 of 566
211
3008-2_en_Chap06_conduite_ed01-2016
Automatic gearbox (EAT6)
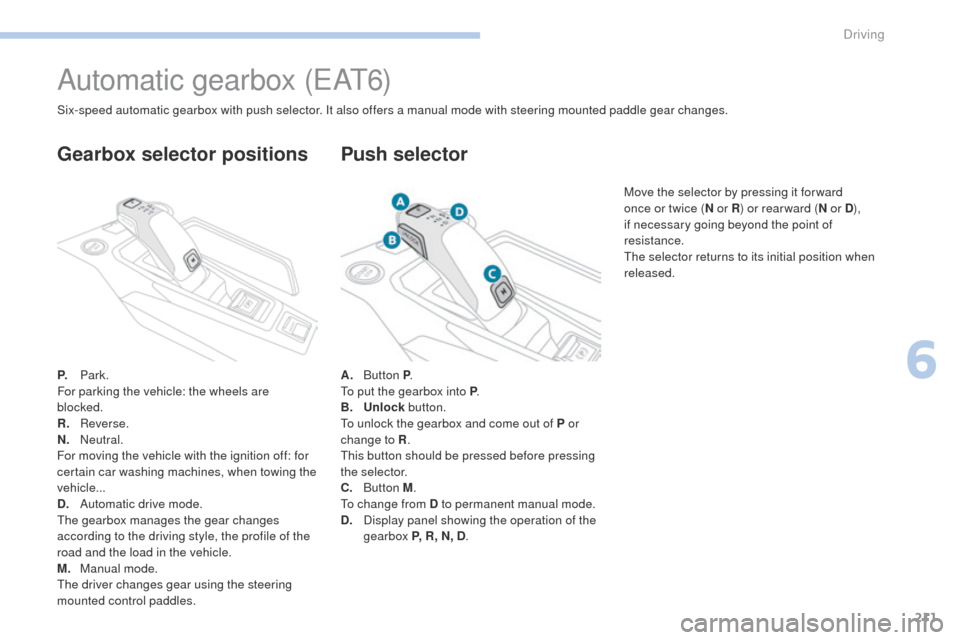
P. Park.
For parking the vehicle: the wheels are
blocked.
R.
R
everse.
N.
N
eutral.
For moving the vehicle with the ignition off: for
certain car washing machines, when towing the
vehicle...
D.
Aut
omatic drive mode.
The gearbox manages the gear changes
according to the driving style, the profile of the
road and the load in the vehicle.
M.
M
anual mode.
The driver changes gear using the steering
mounted control paddles.
Gearbox selector positions
A. Button P.
To put the gearbox into P .
B.
Un
lock button.
To unlock the gearbox and come out of P or
change to R .
This button should be pressed before pressing
the selector.
C.
Button M.
To change from D to permanent manual mode.
D.
D
isplay panel showing the operation of the
gearbox P, R, N, D .
Push selector
Six-speed automatic gearbox with push selector. It also offers a manual mode with steering mounted paddle gear changes.
Move the selector by pressing it for ward
once or twice (N or R) or rear ward ( N or
D),
if necessary going beyond the point of
resistance.
The selector returns to its initial position when
released.
6
Driving
Page 214 of 566
SPORT
SPORT
212
3008-2_en_Chap06_conduite_ed01-2016
Steering mounted control paddles
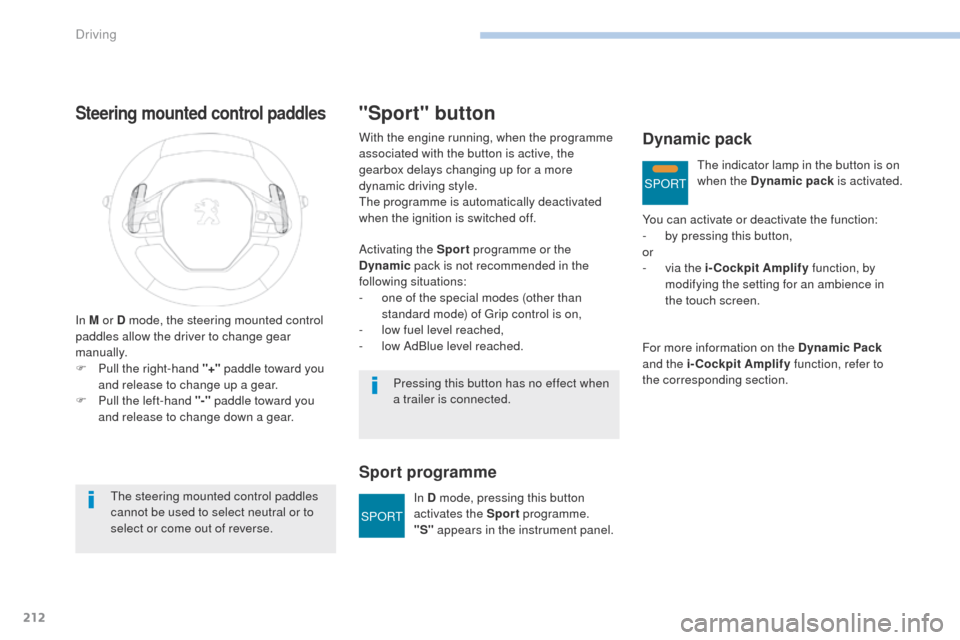
In M or D mode, the steering mounted control
paddles allow the driver to change gear
manually.
F
P
ull the right-hand "+" paddle toward you
and release to change up a gear.
F
P
ull the left-hand "-"
paddle toward you
and release to change down a gear.
The steering mounted control paddles
cannot be used to select neutral or to
select or come out of reverse.
"Sport" button
Activating the Sport programme or the
Dynamic pack is not recommended in the
following situations:
-
o
ne of the special modes (other than
standard mode) of Grip control is on,
-
l
ow fuel level reached,
-
l
ow AdBlue level reached.
Sport programme
With the engine running, when the programme
associated with the button is active, the
gearbox delays changing up for a more
dynamic driving style.
The programme is automatically deactivated
when the ignition is switched off.
Pressing this button has no effect when
a trailer is connected.In D mode, pressing this button
activates the Sport programme.
"S" appears in the instrument panel.Dynamic pack
You can activate or deactivate the function:
-
b y pressing this button,
or
-
v
ia the i-Cockpit Amplify function, by
modifying the setting for an ambience in
the touch screen.
For more information on the Dynamic Pack
and the i-Cockpit Amplify function, refer to
the corresponding section. The indicator lamp in the button is on
when the Dynamic pack
is activated.
Driving