Page 33 of 429

Auto Lock Doors Programming
The Automatic Door Locks feature can be enabled or
disabled as follows:
•For vehicles equipped with the instrument cluster dis-
play, refer to “Instrument Cluster Display — If
Equipped/Personal Settings (Customer Programmable
Features)” in “Getting To Know Your Instrument Panel”
for further information.
• For vehicles not equipped with the instrument cluster
display, perform the following procedure:
1. Close all doors and place the key in the ignition.
2. Within 15 seconds, place the ignition between LOCK and ON/RUN and then back to LOCK four times,
ending up in the LOCK position (do not start the
engine).
3. Within 30 seconds, push the power door LOCK switch to lock the doors.
4. A single chime will indicate the completion of the programming. 5. Repeat these steps if you want to return this feature
to its previous setting.
NOTE:
• If you do not hear the chime, it means that the system
did not enter the programming mode and you will need
to repeat the procedure.
• Use the Automatic Door Lock feature in accordance with
local laws.
Automatic Unlock Doors On Exit
The doors will unlock automatically if:
•The Automatic Unlock Doors On Exit feature is enabled.
• The transmission was in gear, and the vehicle speed
returned to 0 MPH (0 km/h).
• The transmission is in NEUTRAL or PARK.
• The driver’s door is opened.
• The doors were not previously unlocked.
3
GETTING TO KNOW YOUR VEHICLE 31
Page 34 of 429

Automatic Unlock Doors On Exit Programming
The Automatic Unlock Doors On Exit feature can be
enabled or disabled as follows:
•For vehicles equipped with the instrument cluster dis-
play, refer to “Instrument Cluster Display — If
Equipped/Personal Settings (Customer-Programmable
Features)” in “Getting To Know Your Instrument Panel”
for further information.
• For vehicles not equipped with the instrument cluster
display, perform the following procedure:
1. Close all doors and place the key in the ignition.
2. Within 15 seconds, place the ignition between LOCK and ON/RUN and then back to LOCK five times,
ending up in the ON/RUN position (do not start the
engine).
3. Within 30 seconds, push the power door UNLOCK switch to unlock the doors. 4. A single chime will indicate the completion of the
programming.
5. Repeat these steps if you want to return this feature to its previous setting.
NOTE:
• If you do not hear the chime, it means that the system
did not enter the programming mode and you will need
to repeat the procedure.
• Use the Automatic Unlock Doors On Exit feature in
accordance with local laws.
Child-Protection Door Lock System — Rear Doors
To provide a safer environment for small children riding in
the rear seats, the rear doors are equipped with Child-
Protection Door Lock system.
32 GETTING TO KNOW YOUR VEHICLE
Page 35 of 429
To Engage Or Disengage The Child-Protection Door
Lock System
1. Open the rear door.
2. Insert the tip of the ignition key into the lock and rotateto the LOCK or UNLOCK position.
3. Repeat steps 1 and 2 for the opposite rear door.
WARNING!
Avoid trapping anyone in a vehicle in a collision.
Remember that the rear doors can only be opened from
the outside when the Child-Protection locks are en-
gaged.
Child-Protection Door Lock Location
Child-Protection Door Lock Function
3
GETTING TO KNOW YOUR VEHICLE 33
Page 36 of 429

NOTE:For emergency exit with the system engaged,
move the lock knob up (unlocked position), roll down the
window, and open the door with the outside door handle.
SEATS
Seats are a part of the Occupant Restraint System of the
vehicle.
WARNING!
• It is dangerous to ride in a cargo area, inside or
outside of a vehicle. In a collision, people riding in
these areas are more likely to be seriously injured or
killed.
• Do not allow people to ride in any area of your
vehicle that is not equipped with seats and seat belts.
In a collision, people riding in these areas are more
likely to be seriously injured or killed.
• Be sure everyone in your vehicle is in a seat and
using a seat belt properly.
Manual Front Seat Adjustment
On models equipped with manual seats, the adjusting bar
is located at the front of the seats, near the floor. While
sitting in the seat, lift up on the bar and move the seat forward or rearward. Release the bar once you have
reached the desired position. Then, using body pressure,
move forward and rearward on the seat to be sure that the
seat adjusters have latched.
WARNING!
•
Adjusting a seat while driving may be dangerous.
Moving a seat while driving could result in loss of
control which could cause a collision and serious
injury or death.
(Continued)
Manual Seat Adjusting Bar
34 GETTING TO KNOW YOUR VEHICLE
Page 37 of 429

WARNING!(Continued)
•Seats should be adjusted before fastening the seat
belts and while the vehicle is parked. Serious injury
or death could result from a poorly adjusted seat belt.
Manual Seat Height Adjustment — If Equipped
The driver’s seat height can be raised or lowered by using
a lever, located on the outboard side of the seat. Pull
upward on the lever to raise the seat height or push
downward on the lever to lower the seat height.
Manual Lumbar — If Equipped
The lumbar adjustment handle is located on the inboard or
outboard side of the seatback. Rotate the lever downward
to increase the lumbar support or rotate the lever upward
to decrease the lumbar support.
Driver’s Seatback Recline
To adjust the seatback, lift the lever located on the outboard
side of the seat, lean back to the desired angle and release
the lever. To return the seatback, lift the lever, lean forward
and release the lever.
Seat Height Adjustment Lever
Outboard Lumbar Adjustment Lever
3
GETTING TO KNOW YOUR VEHICLE 35
Page 38 of 429
WARNING!
Do not ride with the seatback reclined so that the
shoulder belt is no longer resting against your chest. In
a collision you could slide under the seat belt, which
could result in serious injury or death.
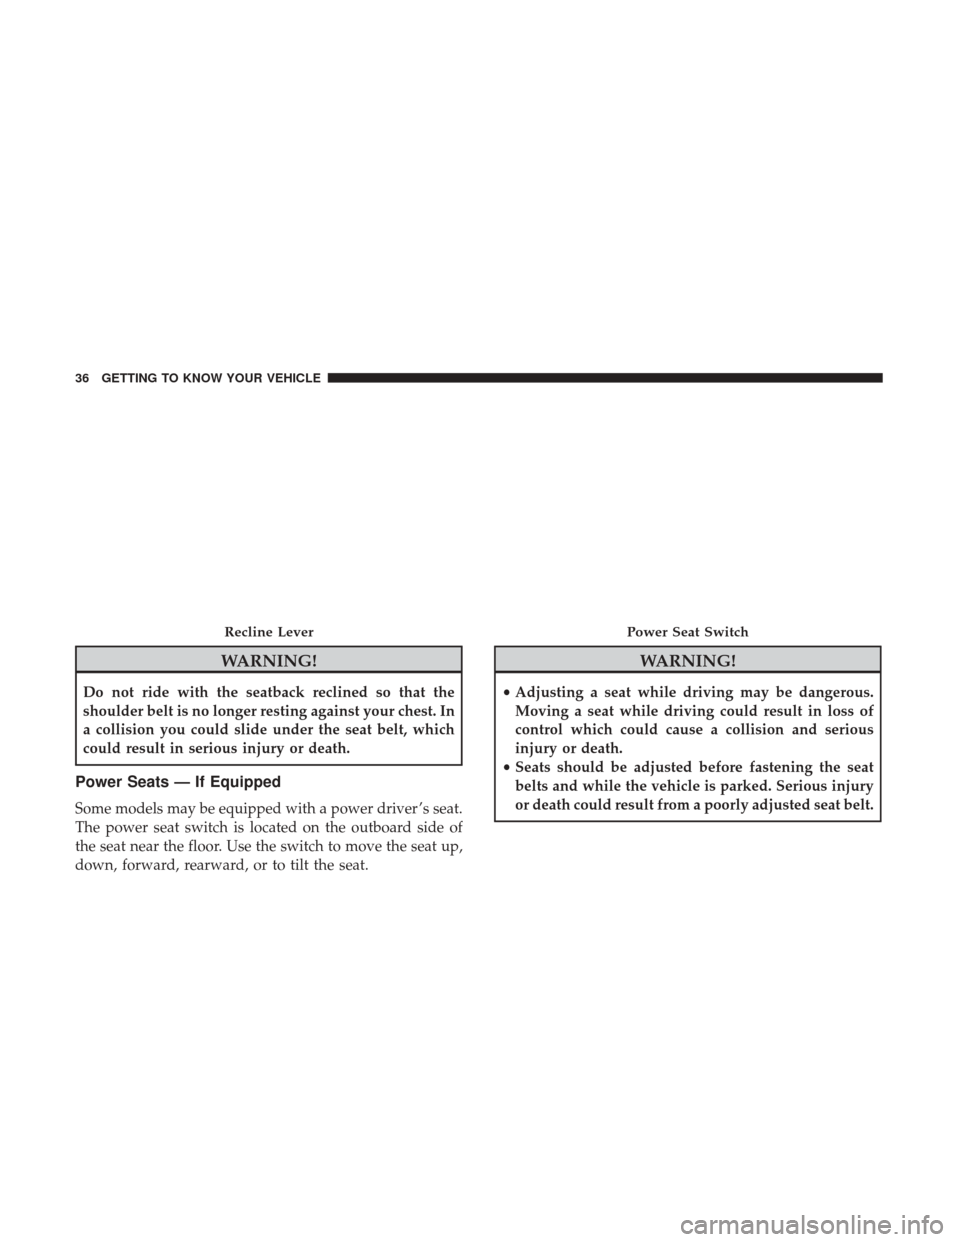
Power Seats — If Equipped
Some models may be equipped with a power driver ’s seat.
The power seat switch is located on the outboard side of
the seat near the floor. Use the switch to move the seat up,
down, forward, rearward, or to tilt the seat.
WARNING!
•Adjusting a seat while driving may be dangerous.
Moving a seat while driving could result in loss of
control which could cause a collision and serious
injury or death.
• Seats should be adjusted before fastening the seat
belts and while the vehicle is parked. Serious injury
or death could result from a poorly adjusted seat belt.
Recline LeverPower Seat Switch
36 GETTING TO KNOW YOUR VEHICLE
Page 39 of 429

CAUTION!
Do not place any article under a power seat or impede
its ability to move as it may cause damage to the seat
controls. Seat travel may become limited if movement
is stopped by an obstruction in the seat’s path.
Adjusting The Seat Forward Or Rearward
The seat can be adjusted both forward and rearward. Push
the seat switch forward or rearward. The seat will move in
the direction of the switch. Release the switch when the
desired position has been reached.
Adjusting The Seat Up Or Down
The height of the seats can be adjusted up or down. Pull
upward or push downward on the seat switch. The seat
will move in the direction of the switch. Release the switch
when the desired position is reached.
Tilting The Seat Up Or Down
The angle of the seat cushion can be adjusted in four
directions. Pull upward or push downward on the front or
rear of the seat switch, the front or rear of the seat cushion
will move in the direction of the switch. Release the switch
when the desired position is reached.
Heated Seats — If Equipped
On some models, the front driver and passenger seats may
be equipped with heaters in both the seat cushions and
seatbacks. The controls for the front heated seats are
located on the center instrument panel area.
You can choose from HI, LO or OFF heat settings. Amber
indicator lights in each switch indicate the level of heat in
use. Two indicator lights will illuminate for HI, one for LO
and none for OFF.Push the switch once to select HI-level heating.
Push the switch a second time to select LO-level
heating. Push the switch a third time to shut the
heating elements OFF.
When the HI-level setting is selected, the heater will
provide a boosted heat level during the initial stages of
operation. Then, the heat output will drop to the normal
HI-level. If the HI-level setting is selected, the system will
automatically switch to LO-level after approximately 30
minutes of continuous operation. At that time, the display
will change from HI to LO, indicating the change. When
the LO-level heating is selected, the system automatically
turns the heater and the indicator light OFF after approxi-
mately 30 minutes of continuous operation.
3
GETTING TO KNOW YOUR VEHICLE 37
Page 40 of 429
NOTE:Once a heat setting is selected, heat will be felt
within two to five minutes.
WARNING!
• Persons who are unable to feel pain to the skin
because of advanced age, chronic illness, diabetes,
spinal cord injury, medication, alcohol use, exhaus-
tion or other physical condition must exercise care
when using the seat heater. It may cause burns even
at low temperatures, especially if used for long
periods of time.
• Do not place anything on the seat or seatback that
insulates against heat, such as a blanket or cushion.
This may cause the seat heater to overheat. Sitting in
a seat that has been overheated could cause serious
burns due to the increased surface temperature of the
seat.
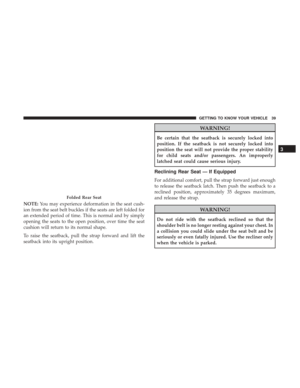
Folding Rear Seat
To provide additional storage area, each rear seatback can
be folded forward. Pull the strap forward to fold the rear
seatback flat.
Rear Seat Release Straps
38 GETTING TO KNOW YOUR VEHICLE