Page 279 of 565
Command
Function
Text message to To
crea tea message. All address book names are available.
Reply To
reply toa message
Forward text message To
forw ard a message Ve
hicle commands Yo
u can use theve hicle commands todirect ly
call up the cor responding menus forth eve hicle
settings. Command
Function
Ambient light To
display ambient light settings
Display settings To
show display settings
Assistance settings To
display assis tance settings
Scent To
display fragrancing settings
Energy flow To
display energy flow settings
Ionisation To
display ionisation settings
Climate control To
display climate control settings 276
LINGU ATRO NIC
Page 280 of 565
Command
Function
Light To
display light settings
Massage To
display massage settings
Engine data To
display engine data
Seats To
display seat adjustment settings
Consumption To
display the consum ption
Visualisation To
display visualisation LINGU
ATRO NIC 277
Page 281 of 565
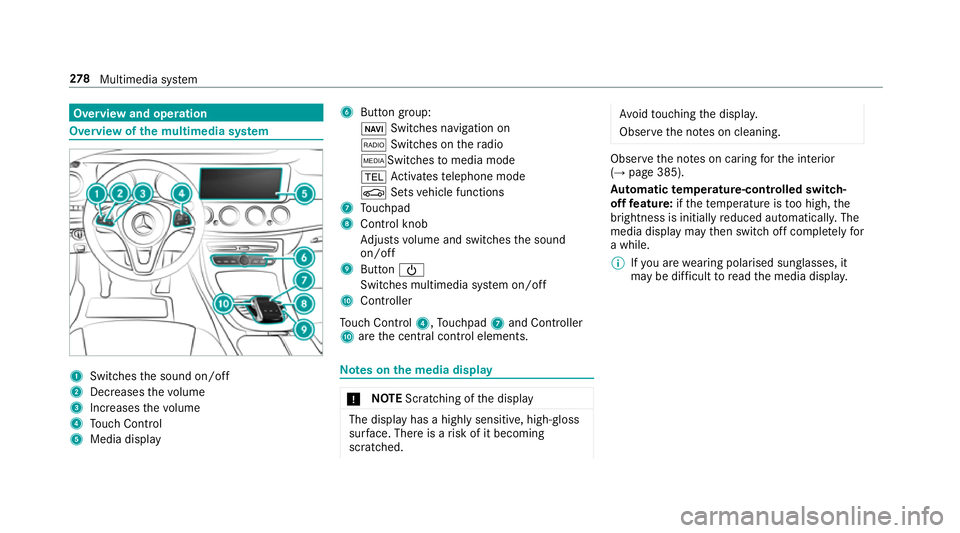
Overview and operation
Overview of
the multimedia sy stem 1
Swit ches the sound on/off
2 Decre asesthevo lume
3 Increases thevo lume
4 Touch Control
5 Media displ ay 6
Button group:
ß Switches navigation on
$ Switches on thera dio
ÕSwit ches tomedia mode
% Activates telephone mode
Ø Setsvehicle functions
7 Touchpad
8 Control knob
Adjusts volume and switches the sound
on/off
9 Button Ü
Switches multimedia sy stem on/off
A Controller
To uch Control 4,Touchpad 7and Controller
A are the cent ral control elements. Note
s onthe media display *
NO
TEScratching of the display The display has a highly sensitive, high-gloss
sur
face. The reis a risk of it becoming
scratched. Av
oid touching the displa y.
Obser vethe no tes on cleaning. Obser
vethe no tes on caring forth e interior
(→ page 385).
Au tomatic temperature-cont rolled switch-
off feature: ifth ete mp erature is too high, the
brightness is initially reduced automatically. The
media display may then switch off comple tely for
a while.
% Ifyo u are wearing polarised sun glasses, it
may be dif ficult toread the media displa y.278
Multimedia sy stem
Page 283 of 565
Operating
the controller 1
% button, toreturn tothe pr evious dis‐
play (press brief ly), to call up the main func‐
tions and favo urites (press and hold)
2 ò button, to call up main functions and
fa vo urites
3 Controller
Controller operating options: #
Turn 3 left or right. #
Slide 1 left orright. #
Slide 4 up or down. #
Slide 2 diagonally. #
Press 7brief lyor press and hold. To
uchpad Switching
theto uchpad on/off
Re quirement:
The vehicle is equipped with a contro ller.
Multimedia sy stem:
, System .
w Input #
Switch Touchpad onO or off ª.
Operating theto uchpad
Re quirement:
Fo rve hicles with a contro ller:theto uchpad is
swit ched on (→ page 280). 1
Touchpad
2 © button, calls up main functions and
fa vo urites
3 D button, calls up the menu of the most
re cently acti vemedia source
4 % button, returns tothe pr evious display
(press brief ly), calls up the main functions
and favo urites (press and hold) 280
Multimedia sy stem
Page 289 of 565
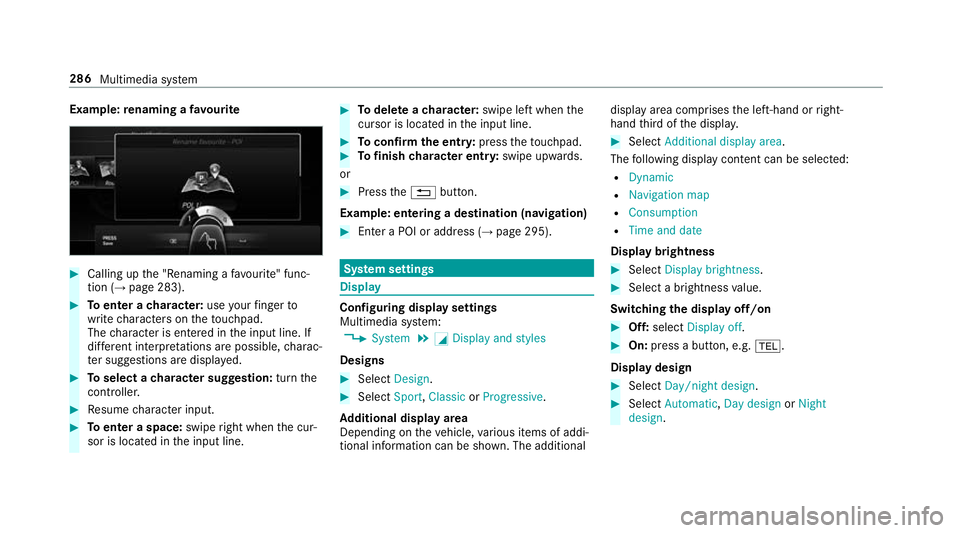
Example:
renaming a favo urite #
Calling up the "Renaming a favo urite" func‐
tion (→ page 283). #
Toenter a character: useyour finger to
write characters on theto uchpad.
The character is entered in the input line. If
dif fere nt interpr etations are possible, charac‐
te r suggestions are displa yed. #
Toselect a character suggestion: turnthe
controller. #
Resume character input. #
Toenter a space: swiperight when the cur‐
sor is located in the input line. #
Todel ete a character: swipe left when the
cursor is loca ted in the input line. #
Toconfirm the entr y:press theto uchpad. #
Tofinish character entr y:swipe upwards.
or #
Press the% button.
Example: entering a destination (navigation) #
Ente r a POI or addre ss (→page 295). Sy
stem settings Display
Configuring display settings
Multimedia sy
stem:
, System .
G Display and styles
Designs #
Select Design. #
Select Sport,Classic orProgressive.
Ad ditional displ ayarea
Depending on theve hicle, various items of addi‐
tional information can be shown. The additional display area comprises
the left-hand or right-
hand third of the displa y. #
Select Additional display area .
The following display con tent can be selected:
R Dynamic
R Navigation map
R Consumption
R Time and date
Displ aybrightness #
Select Display brightness . #
Select a brightness value.
Switching the display off/on #
Off: select Display off . #
On: press a button, e.g. %.
Display design #
Select Day/night design . #
Select Automatic, Day design orNight
design . 286
Multimedia sy stem
Page 292 of 565
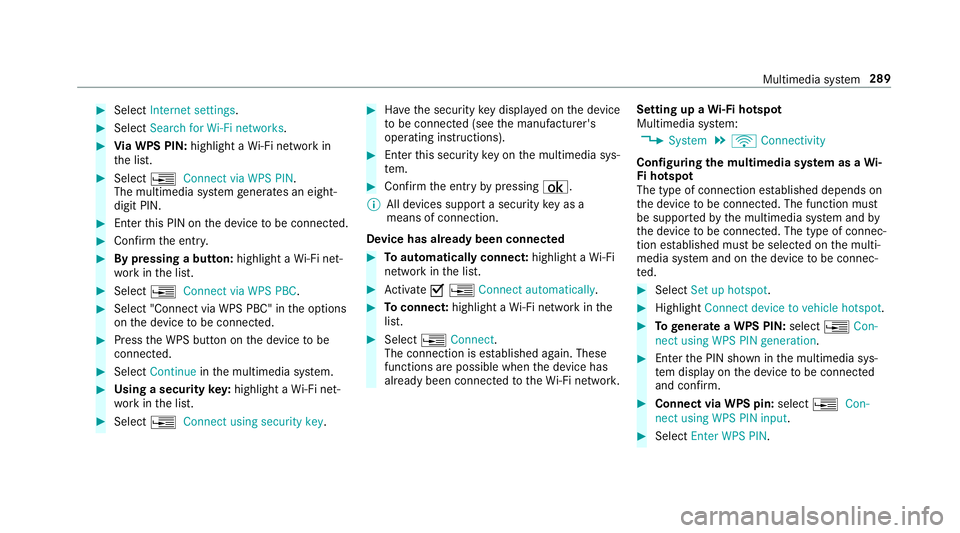
#
Select Internet settings . #
Select Search for Wi-Fi networks .#
Via WPS PIN: highlight aWi-Fi network in
th e list. #
Select ¥Connect via WPS PIN.
The multimedia sy stem generates an eight-
digit PIN. #
Enter this PIN on the device tobe connec ted. #
Confirm the entry. #
By pressing a button: highlight aWi-Fi net‐
wo rkinthe list. #
Select ¥Connect via WPS PBC. #
Select "Connect via WPS PBC" in the options
on the device tobe connec ted. #
Press the WPS button on the device tobe
connec ted. #
Select Continue inthe multimedia sy stem. #
Using a security key:highlight a Wi-Fi net‐
wo rkinthe list. #
Select ¥Connect using security key. #
Have the security key displa yed on the device
to be connec ted (see the manufacturer's
operating instructions). #
Ente rth is security key on the multimedia sys‐
te m. #
Confirm the entry bypressing ¡.
% All devices support a security key as a
means of connection.
Device has already been connec ted #
Toautomatically connect: highlight aWi-Fi
network in the list. #
Activate O¥ Connect automatically. #
Toconnect: highlight a Wi-Fi network in the
list. #
Select ¥Connect.
The connection is es tablished again. These
functions are possible when the device has
already been connected totheWi -Fi networ k.Setting up a
Wi-Fi hotspot
Multimedia sy stem:
, System .
ö Connectivity
Configuring the multimedia sy stem as a Wi-
Fi hotspot
The type of connection es tablished depends on
th e device tobe connec ted. The function must
be suppor tedby the multimedia sy stem and by
th e device tobe connec ted. The type of connec‐
tion es tablished must be selected on the multi‐
media sy stem and on the device tobe connec‐
te d. #
Select Set up hotspot. #
Highlight Connect device to vehicle hotspot. #
Togenerate a WPS PIN: select¥Con-
nect using WPS PIN generation. #
Ente rth e PIN shown in the multimedia sys‐
te m display on the device tobe connec ted
and con firm. #
Connect via WPS pin: select¥Con-
nect using WPS PIN input. #
Select Enter WPS PIN. Multimedia sy
stem 289
Page 293 of 565
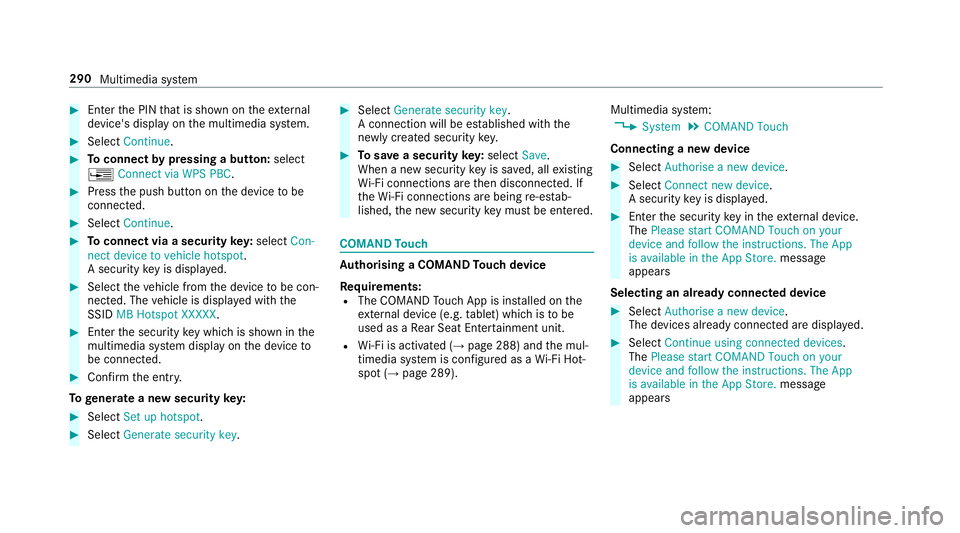
#
Enter the PIN that is shown on theex tern al
device's display on the multimedia sy stem. #
Select Continue. #
Toconnect bypressing a button: select
¥ Connect via WPS PBC .#
Press the push button on the device tobe
connec ted. #
Select Continue. #
Toconnect via a security key:select Con-
nect device to vehicle hotspot.
A security key is displa yed. #
Select theve hicle from the device tobe con‐
nec ted. The vehicle is displa yed with the
SSID MB Hotspot XXXXX .#
Enter the security key which is shown in the
multimedia sy stem display on the device to
be connec ted. #
Confirm the entry.
To generate a new security key: #
Select Set up hotspot .#
Select Generate security key . #
Select Generate security key .
A connection will be es tablished with the
newly crea ted security key. #
Tosave a security key:select Save.
When a new security key is sa ved, all existing
Wi -Fi connections are then disconnected. If
th eWi -Fi connections are being re-es tab‐
lished, the new security key must be en tere d. COMAND
Touch Au
thorising a COMAND Touch device
Re quirements:
R The COMAND Touch App is ins talled on the
ex tern al device (e.g. tablet) which is tobe
used as a Rear Seat En tertainment unit.
R Wi-Fi is acti vated (→ page 288) and the mul‐
timedia sy stem is confi gured as a Wi-Fi Hot‐
spot (→ page 289). Multimedia sy
stem:
, System .
COMAND Touch
Connecting a new device #
Select Authorise a new device. #
Select Connect new device.
A security key is displa yed. #
Ente rth e security key in theex tern al device.
The Please start COMAND Touch on your
device and follow the instructions. The App
is available in the App Store. message
appears
Selecting an already connected device #
Select Authorise a new device.
The devices already connec ted are displa yed. #
Select Continue using connected devices.
The Please start COMAND Touch on your
device and follow the instructions. The App
is available in the App Store. message
appears 290
Multimedia sy stem
Page 300 of 565
The address may be entered in
various
orders, e.g.:
R City or postcode, Street,House no.
A stre et intersection may be entered, if
av ailable.
R Street, City or postcode
R POI , e.g. Petrol station, City or postcode
% The functions desc ribed forth e free sear ch
may be used:
R switch tohandwriting recognition
R switch tocharacter selection
R dele teentry
Entries in thePOI field, forex ample, may
also be dele ted with £.
R call up online sear chfunction (if availa‐
ble)
R call up a list #
Tochange the count ry:select the count ry. #
Enter a countr y.Yo u on lyneed toenter the
fi rs tch aracter. #
Select a country in the list. #
Toadopt a destination: selectAdopt desti-
nation.
If th ere are se veral listings for a destination,
a dis tance-o rientated list appears. #
Select the destination.
The destination address is shown.
Selecting a POI
Multimedia sy stem:
, Navigation .
¬ Destination .
POIs #
Select a categor y.
or #
Select All categories. #
Select a categor y. #
Select a sea rch position.
The special characters are displa yed in a list.
The list is sor tedby distance in ascending
orde r.
The POIs show thefo llowing information:
R name of POI
R linear dis tance tothe POI R
the direction of the linear dis tance tothe
POI (ar row) is displa yed when sear ching
fo rth eve hicle's cur rent position #
Select a POI. #
Altern ativel y,to filter the display byspe‐
cial characters: enter a sea rch entry in the
to p line.
The results list sho wsreleva nt POIs.
Example: if you en terItaly, POIs are shown:
R whose name includes thewo rdItaly
R which belong tothe category Italian cui-
sine #
Select ¡.
The firs t POI in the list is highlighted. #
Select a POI.
Setting the sear chposition for the parking
ca tegor y,forex ample, during active route
guidance #
Select In the vicinity ,Near destination or
Along the route.
The list sho ws the located POIs or opens an
ove rview of thero ute. Multimedia sy
stem 297