Page 145 of 276

Mobile Phone won’t pair to system:
• Perform a hard reset in the mobile phone by removing the battery (if removable —see your mobile phone’s owner manual).
• Delete pairing history in mobile phone and Uconnect system; usually found in phone’s Bluetooth connection settings.
• Verify you are selecting “Uconnect” in the discovered Bluetooth devices on your mobile phone.
• If your vehicle system generates a pin code the default is 0000.
Mobile Phonebook didn’t download:
• Check “Do not ask again,” then accept the “phonebook download” request on your mobile phone.
• Up to 5,000 contact names with four numbers per contact will transfer to the Uconnect 8.4A/8.4AN system phonebook.
• Up to 2,000 contact names with six numbers per contact will transfer to the Uconnect 5.0 system phonebook.
Text messaging won’t work:
• Check “Do not ask again,” then accept the “connect to your messages” request on your mobile phone.
• Verify that your mobile phone has the Bluetooth feature (Message Access Profile).
Can’t make a conference call:
• CDMA (Code-Division Multiple Access) carriers do not support conference calling. Refer to your mobile phone user’s manual for further information.
Making calls while connected to AUX:
• Plugging in your mobile phone to AUX while connected to Bluetooth will disable Hands-Free Calling. Do not make calls while your mobile phone is plugged into the
AUX jack.
ELECTRONICS
143
Page 146 of 276

VIDEO ENTERTAINMENT SYSTEM (VES)
System Operation
• Cycle the ignition to the ON or ACCposition.
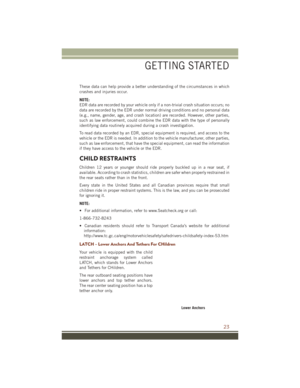
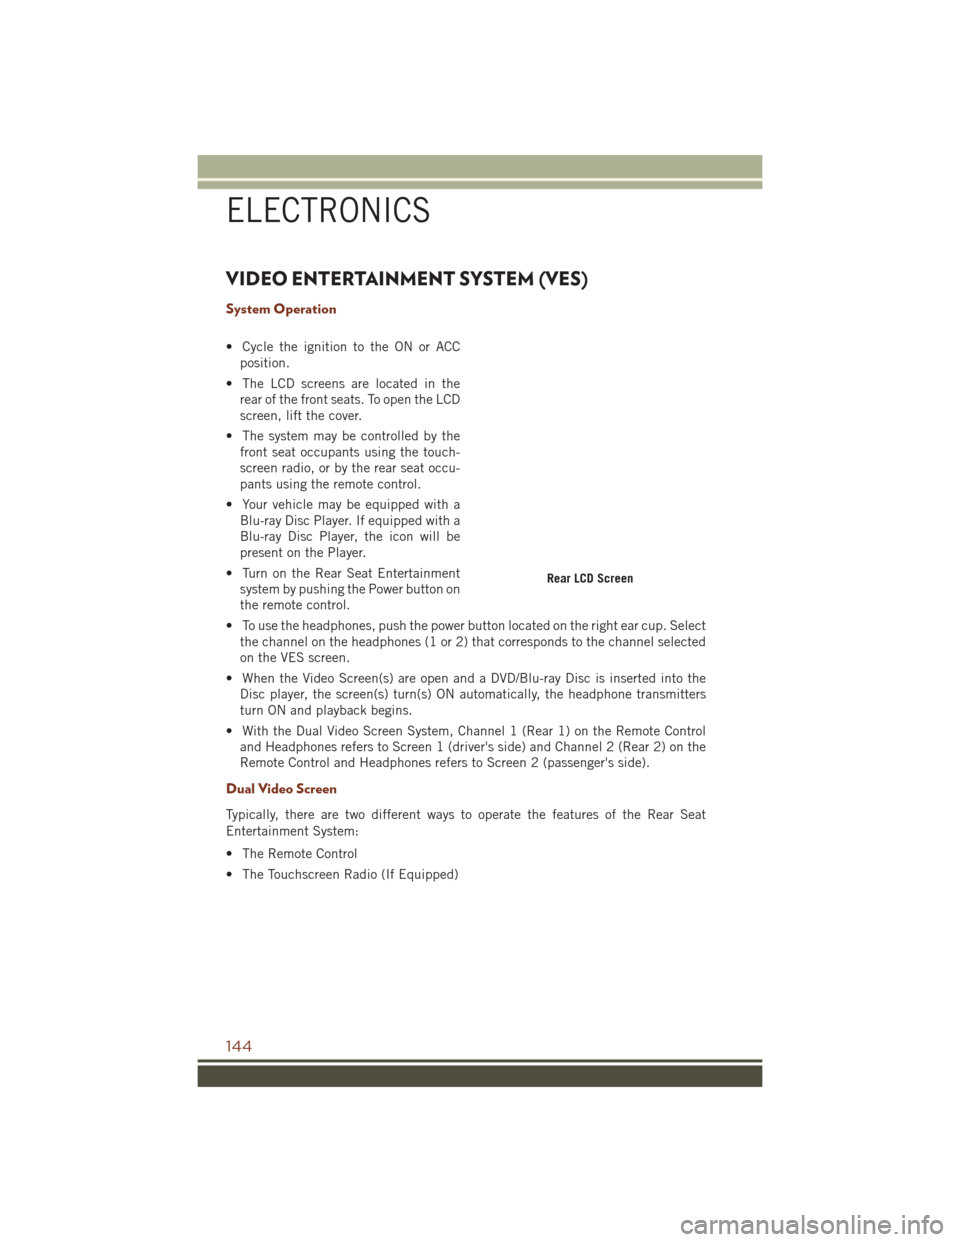
• The LCD screens are located in the rear of the front seats. To open the LCD
screen, lift the cover.
• The system may be controlled by the front seat occupants using the touch-
screen radio, or by the rear seat occu-
pants using the remote control.
• Your vehicle may be equipped with a Blu-ray Disc Player. If equipped with a
Blu-ray Disc Player, the icon will be
present on the Player.
• Turn on the Rear Seat Entertainment system by pushing the Power button on
the remote control.
• To use the headphones, push the power button located on the right ear cup. Select the channel on the headphones (1 or 2) that corresponds to the channel selected
on the VES screen.
• When the Video Screen(s) are open and a DVD/Blu-ray Disc is inserted into the Disc player, the screen(s) turn(s) ON automatically, the headphone transmitters
turn ON and playback begins.
• With the Dual Video Screen System, Channel 1 (Rear 1) on the Remote Control and Headphones refers to Screen 1 (driver's side) and Channel 2 (Rear 2) on the
Remote Control and Headphones refers to Screen 2 (passenger's side).
Dual Video Screen
Typically, there are two different ways to operate the features of the Rear Seat
Entertainment System:
• The Remote Control
• The Touchscreen Radio (If Equipped)
Rear LCD Screen
ELECTRONICS
144
Page 147 of 276

Play A Blu-ray Disc
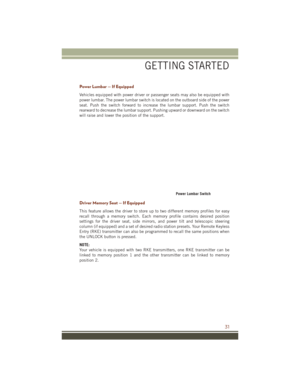
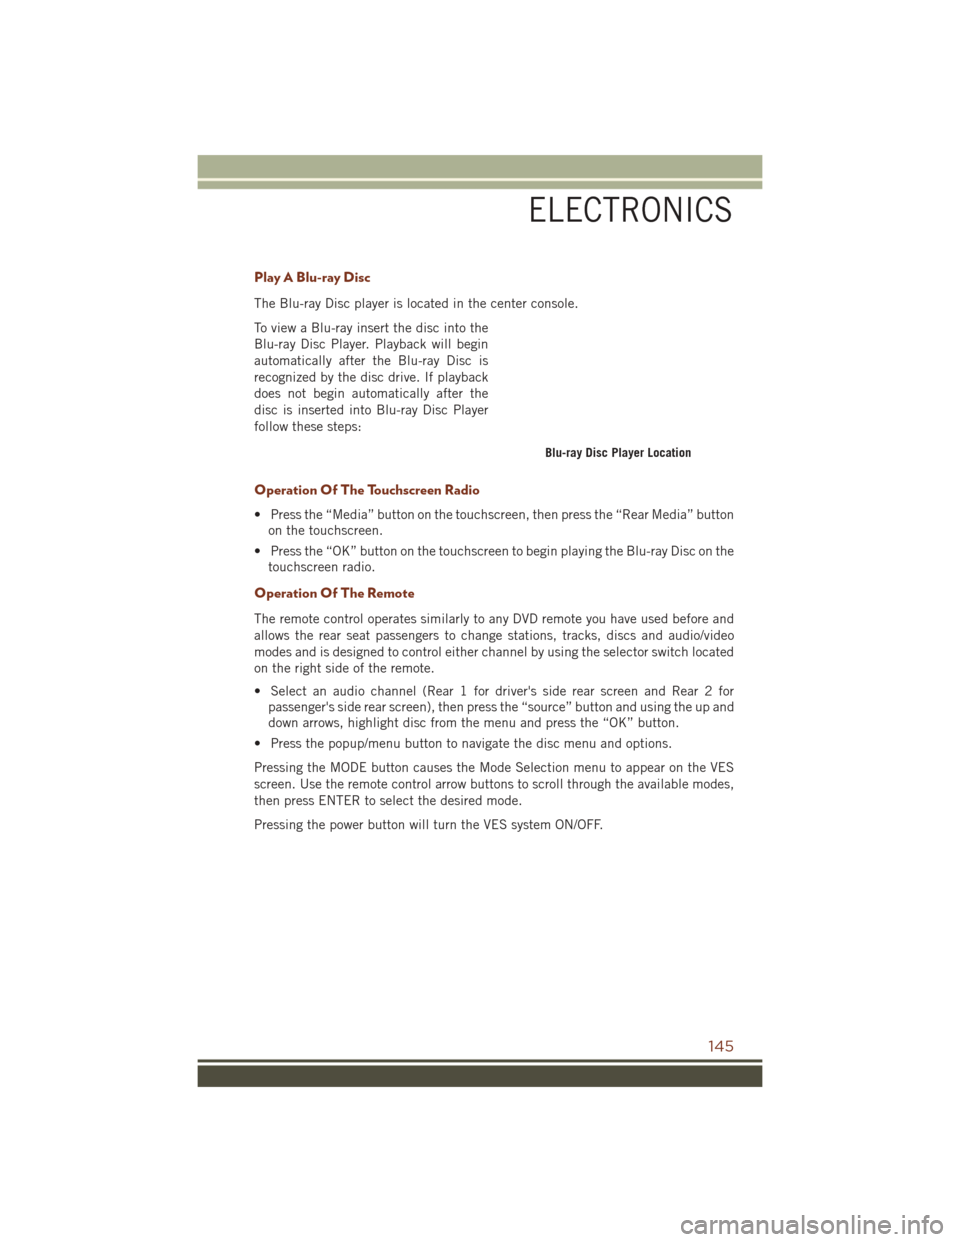
The Blu-ray Disc player is located in the center console.
To view a Blu-ray insert the disc into the
Blu-ray Disc Player. Playback will begin
automatically after the Blu-ray Disc is
recognized by the disc drive. If playback
does not begin automatically after the
disc is inserted into Blu-ray Disc Player
follow these steps:
Operation Of The Touchscreen Radio
• Press the “Media” button on the touchscreen, then press the “Rear Media” buttonon the touchscreen.
• Press the “OK” button on the touchscreen to begin playing the Blu-ray Disc on the touchscreen radio.
Operation Of The Remote
The remote control operates similarly to any DVD remote you have used before and
allows the rear seat passengers to change stations, tracks, discs and audio/video
modes and is designed to control either channel by using the selector switch located
on the right side of the remote.
• Select an audio channel (Rear 1 for driver's side rear screen and Rear 2 forpassenger's side rear screen), then press the “source” button and using the up and
down arrows, highlight disc from the menu and press the “OK” button.
• Press the popup/menu button to navigate the disc menu and options.
Pressing the MODE button causes the Mode Selection menu to appear on the VES
screen. Use the remote control arrow buttons to scroll through the available modes,
then press ENTER to select the desired mode.
Pressing the power button will turn the VES system ON/OFF.
Blu-ray Disc Player Location
ELECTRONICS
145
Page 148 of 276

Auxiliary Audio/Video Input Jacks
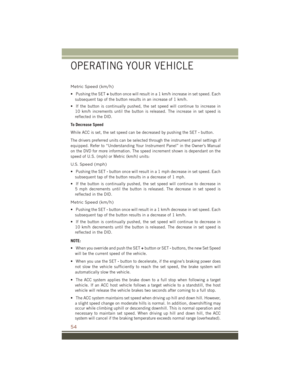
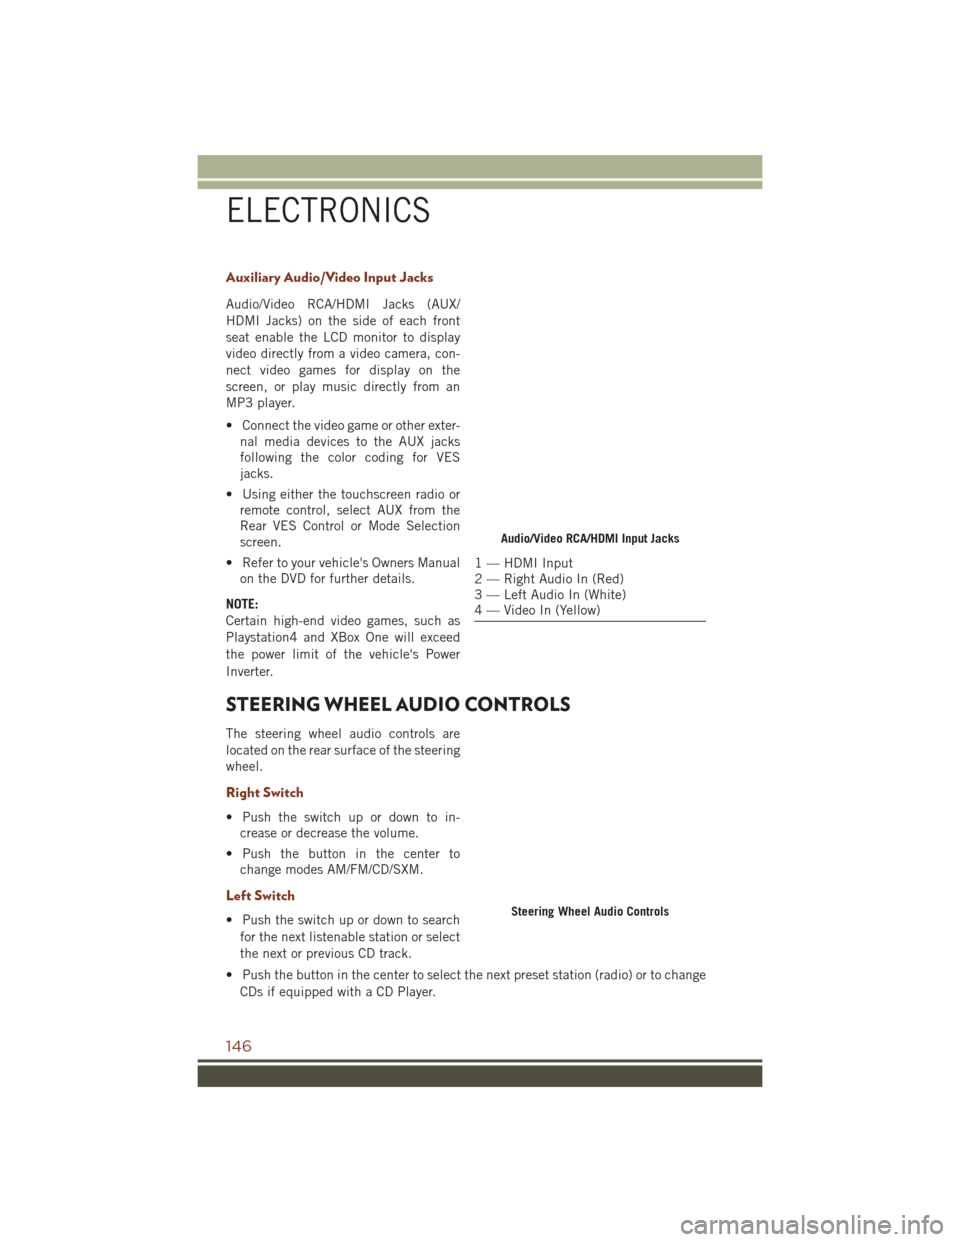
Audio/Video RCA/HDMI Jacks (AUX/
HDMI Jacks) on the side of each front
seat enable the LCD monitor to display
video directly from a video camera, con-
nect video games for display on the
screen, or play music directly from an
MP3 player.
• Connect the video game or other exter-nal media devices to the AUX jacks
following the color coding for VES
jacks.
• Using either the touchscreen radio or remote control, select AUX from the
Rear VES Control or Mode Selection
screen.
• Refer to your vehicle's Owners Manual on the DVD for further details.
NOTE:
Certain high-end video games, such as
Playstation4 and XBox One will exceed
the power limit of the vehicle's Power
Inverter.
STEERING WHEEL AUDIO CONTROLS
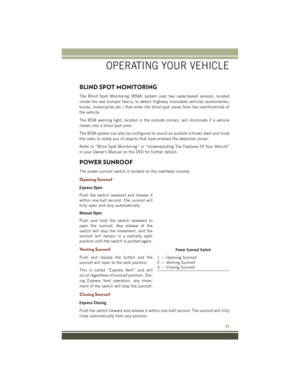
The steering wheel audio controls are
located on the rear surface of the steering
wheel.
Right Switch
• Push the switch up or down to in- crease or decrease the volume.
• Push the button in the center to change modes AM/FM/CD/SXM.
Left Switch
• Push the switch up or down to search
for the next listenable station or select
the next or previous CD track.
• Push the button in the center to select the next preset station (radio) or to change CDs if equipped with a CD Player.
Audio/Video RCA/HDMI Input Jacks
1 — HDMI Input
2 — Right Audio In (Red)
3 — Left Audio In (White)
4 — Video In (Yellow)
Steering Wheel Audio Controls
ELECTRONICS
146
Page 149 of 276

DRIVER INFORMATION DISPLAY (DID)
The DID features a driver interactive display that is located in the instrument cluster.
Pushing the controls on the left side of the steering wheel allows the driver to select
vehicle information and Personal Settings. For additional information, refer to
“Programmable Features” in this guide.
• Push theUP
arrow button to scroll
upward through the main menus
(Speedometer, MPH/km/h, Vehicle
Info, Terrain, Driver Assist, Fuel
Economy, Trip A, Trip B, Stop/Start,
Audio, Navigation, Stored Messages,
Screen Setup and Speed Warning).
• Push the DOWN
arrow button to
scroll downward through the main
menu and submenus (Speedometer,
MPH/km/h, Vehicle Info, Terrain,
Driver Assist, Fuel Economy, Trip A,
Trip B, Stop/Start, Audio, Navigation, Stored Messages, Screen Setup and Speed
Warning).
• Push the RIGHT
arrow button to access the information screens or submenu
screens of a main menu item.
• Push the LEFT
arrow button to access the information screens or submenu
screens of a main menu item.
• Push the OKbutton to access/select the information screens or submenu screens
of a main menu item. Push and hold the OKbutton for two seconds to reset
displayed/selected features that can be reset.
Compass Calibration
This compass is self-calibrating, which eliminates the need to set the compass
manually. When the vehicle is new, the compass may appear erratic, and the cluster
will display dashes (- -) until the compass is calibrated.
You may also calibrate the compass by completing one or more 360 degree turns (in
an area free from large metal or metallic objects) until the dashes (- -) displayed in
the DID turns off. The compass will now function normally.
Driver Information Display (DID) Controls
ELECTRONICS
147
Page 150 of 276

PROGRAMMABLE FEATURES
DID Main Menu Selectable Items
The DID can be used to view the following main menu items:
• Speedometer• Stop/Start Info — If Equipped
• Vehicle Info • Audio
• Driver Assist • Messages
• Fuel Economy • Screen Setup
• Trip Info
Refer to “Driver Information Display (DID)” in “Understanding Your Instrument
Panel” in the Owner's Manual on the DVD for further information.
Uconnect Customer Programmable Features
The Uconnect system allows you to access Customer Programmable feature settings
such as Display, Voice, Clock, Safety & Driving Assistance, Lights, Doors & Locks,
Auto-On Comfort & Remote Start, Engine Off Options, Compass Settings, Audio,
Phone/Bluetooth, Suspension, SiriusXM Setup, Restore Settings, Clear Personal
Data, and System Information through buttons on the touchscreen.
• Push the SETTINGS button (Uconnect 5.0), or press the “Apps” button (Uconnect 8.4) located near the bottom of the touchscreen, then press the
“Settings” button on the touchscreen to access the Settings screen. When making
a selection, scroll up or down until the preferred setting is highlighted, then press
the preferred setting until a check-mark appears next to the setting, showing that
setting has been selected. The following feature settings are available:
• Display • Engine Off Options
• Voice • Suspension
• Clock • Audio
• Safety & Driving Assistance • Phone/Bluetooth
• Lights • SiriusXM Setup
• Doors & Locks • Restore Settings
• Auto-On Comfort & Remote Start • Clear Personal Data
• Compass (Uconnect 5.0) • System Information
NOTE:
Depending on the vehicles options, feature settings may vary.
Refer to “Uconnect Settings/Customer Programmable Features” found within “Un-
derstanding Your Instrument Panel” located in your Owner's Manual on the DVD for
further information.
ELECTRONICS
148
Page 151 of 276

DID Screen Setup
The following settings allow you to change what information is displayed in the
instrument cluster as well as the location that information is displayed:
• None• Average MPH (L/100km)
• Compass • Current MPH (L/100km)
• Outside Temperature • Trip A (Distance Only)
• Time • Trip B (Distance Only)
• Range to Empty
Trip A
Push and release the UPorDOWNarrow button until the Trip A icon is
highlighted in the DID (Toggle left or right to select Trip A or Trip B). Push and release
the OKbutton to display the Trip A information.
Trip B
Push and release the UPorDOWNarrow button until the Trip B icon is
highlighted in the DID (Toggle left or right to select Trip A or Trip B). Push and release
the OKbutton to display the Trip B information.
Fuel Economy
Push and release the UPorDOWNarrow button until the Fuel Economy icon
is highlighted. Push the RIGHT
arrow button and the next screen will display the
following:
• Average Fuel Economy/Miles Per Gallon (MPG Bar graph)
• Range To Empty (RTE)
• Current Miles Per Gallon (MPG)
ELECTRONICS
149
Page 152 of 276

UNIVERSAL GARAGE DOOR OPENER (HomeLink)
• HomeLink replaces up to three hand-held transmitters that operate devices
such as garage door openers, motor-
ized gates, lighting or home security
systems. The HomeLink unit is pow-
ered by your vehicles 12 Volt battery.
• The HomeLink buttons that are lo- cated in the overhead console or sun-
visor designate the three different
HomeLink channels.
• The HomeLink indicator is located above the center button.
Before You Begin Programming HomeLink
Ensure that your vehicle is parked outside of the garage before you begin program-
ming.
For efficient programming and accurate transmission of the radio-frequency signal,
it is recommended that a new battery be placed in the hand-held transmitter of the
device that is being programmed to the HomeLink system.
To erase the channels, place the ignition switch into the ON/RUN position, then push
and hold the two outside HomeLink buttons (I and III) for up to 20 seconds or until
the red indicator flashes.
NOTE:
Erasing all channels should only be performed when programming HomeLink for the
first time. Do not erase channels when programming additional buttons.
If you have any problems, or require assistance, please call toll-free
1-800-355-3515 or, on the Internet at HomeLink.com for information or assistance.
Programming A Rolling Code
NOTE:
For programming Garage Door Openers that were manufactured after 1995. These
Garage Door Openers can be identified by the “LEARN” or “TRAIN” button located
where the hanging antenna is attached to the Garage Door Opener. It is NOT the
button that is normally used to open and close the door. The name and color of the
button may vary by manufacturer.
1. Place the ignition switch into the ON/RUN position.
Universal Garage Door Opener (HomeLink)
ELECTRONICS
150