Page 105 of 256

Things to remember when drivingDRIVING TIPS
103
Stowing cargo
>Position heavy objects as low and as far for-
ward as possible, ideally directly behind the
rear seat backrests.
> Cover sharp edges and corners.
> For very heavy cargo when the rear seat is
not occupied, secure each safety belt in the
respective opposite buckle.
> Do not stack higher than the top edge of the
backrests.
> Use the cargo net, refer to page 101. Ensure
that no objects can penetrate through the
net.
Securing cargo
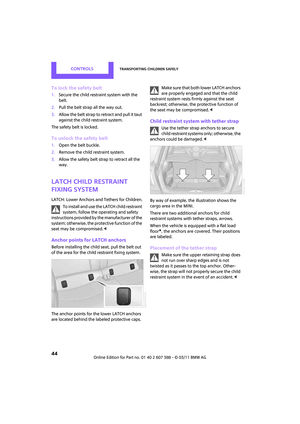
By way of example, the illustration shows the
cargo compartment in the MINI.
> Secure smaller and lighter items using
retaining or draw straps
*.
> Heavy-duty cargo straps
* for securing larger
and heavier objects ar e available at your
MINI dealer. Four lashing eyes are provided
for attaching the cargo straps. Two of them
are located on the forward wall of the cargo
area. Comply with the information enclosed with
the load-securing devices.
Always position and secure the cargo as
described above, so that it cannot endan-
ger the car's occupants, for example if sudden
braking or swerves are necessary.
Do not exceed the approved gross vehicle
weight and axle loads, page 228; otherwise, the
vehicle's operating safety is no longer assured
and the vehicle will not be in compliance with
the construction and use regulations.
Heavy or hard objects should not be carried
loose inside the car, since they could be thrown
around, for example as a re sult of heavy braking,
sudden swerves, etc., and endanger the occu-
pants. Do not secure ca rgo using the fastening
points for the tether strap, page 44; they may
become damaged. <
Roof-mounted luggage
rack*
A special rack system is available as an option for
your MINI. Your MINI dealer will be glad to
advise you. Comply with the installation instruc-
tions supplied with the rack system.
Mounting points
By way of example, the illustration shows the
roof of the MINI.
Remove the cover panel.
Page 106 of 256

DRIVING TIPSThings to remember when driving
104
Loading roof-mounted luggage rack
Because roof racks raise the vehicle's center of
gravity when loaded, they have a major effect
on vehicle handling and steering response.
You should therefore always remember not to
exceed the approved roof load capacity, the
approved gross vehicle weight or the axle loads
when loading the rack.
You can find the applicable data under Weights
on page 228.
The roof load must be distributed uniformly and
should not be too large in area. Heavy items
should always be placed at the bottom.
When loading, make sure that there is sufficient
space for the movement of the glass roof.
Fasten roof-mounted cargo correctly and
securely to prevent it from shifting or falling off
during the trip.
Drive smoothly. Avoid su dden acceleration and
braking maneuvers, and take corners gently.
Saving fuel
Fuel consumption depends on a number of dif-
ferent factors. The implementation of certain
measures, your driving style and regular mainte-
nance can have an influence on fuel consump-
tion and on the environmental impact.
Remove unnecessary cargo
Additional weight incr eases fuel consumption.
Remove attached parts no longer in use
Remove auxiliary mirrors, roof- or rear-mounted
luggage racks whenever you are not using
them.
Attached parts on the ve hicle affect its aero-
dynamics and increase fuel consumption.
Check tire inflation pressure regularly
Check and, if necessary, correct tire inflation
pressure at least twice a month and before start-
ing on a long trip. Low inflation pressure increases rolling resis-
tance and thus leads to greater fuel consump-
tion and tire wear.
Drive off immediately
Do not wait for the engine to warm up while the
vehicle remains stationary. Start driving right
away, but at moderate engi
ne speeds. This is the
fastest way for the cold engine to reach its oper-
ating temperature.
Think ahead while driving
Avoid unnecessary acceleration and braking by
maintaining a suitable di stance to the vehicle
driving ahead.
Driving smoothly and an ticipating impending
traffic situations reduces fuel consumption.
Avoid high engine speeds
Use first gear only for driving off. In second and
higher gears, accelerate smoothly to a suitable
engine and road speed. In doing so, avoid high
engine speeds and shift up early.
When you reach your desired traveling speed,
shift to the highest suit able gear and drive at
constant speed.
As a rule: driving at lo w engine speeds lowers
fuel consumption and reduces wear.
Coasting
When approaching a red traffic light, take your
foot off the accelerator and let the vehicle coast
to a halt in the highest suitable gear.
On a downhill gradient, take your foot off the
accelerator and let the vehicle coast in a suitable
gear.
Fuel supply is shut off automatically when the
vehicle is coasting.
Switch off the engine during lengthy
stops
Switch off the engine when stopping for lengthy
periods, e.g. at traffic li ghts, railroad crossings or
in traffic jams.
Page 107 of 256
Things to remember when drivingDRIVING TIPS
105
Have the vehicle serviced
Have your vehicle serviced regularly to achieve
good economy and a long vehicle life. The man-
ufacturer of your MINI recommends having the
vehicle serviced by a MINI dealer. Also note the
MINI Maintenance System, page202.
Page 108 of 256
Page 109 of 256
AT A GLANCE
CONTROLS
DRIVING TIPS
ENTERTAINMENT
Communications
MOBILITY
REFERENCE NAVIGATION
Page 110 of 256

NAVIGATIONNavigation system
108
Navigation system
General information
The navigation system can determine the pre-
cise position of the vehicle, with the aid of satel-
lites and vehicle sensors, and can reliably guide
you to every entered destination.
Enter data only with the vehicle station-
ary, and always give priority to the appli-
cable traffic regulations in the event of any con-
tradiction between traffic and road conditions
and the instructions issu ed by the navigation
system. Failure to take to this precaution can
place you in violation of the law and put vehicle
occupants and other ro ad users in danger.<
Navigation data
General information
Navigation data are stored in the vehicle and
can be updated.
You can obtain navigation data and an activa-
tion code from your MINI dealer.
Updating the data can take several hours,
depending on the volume of data.
> Update data while driving to reduce the
drain on the battery.
> The update is resumed automatically when
a trip is continued after an interruption.
> Only the main functions of the navigation
system are available during updating.
> You can inquire as to the status of the
update.
> The data are stored in the vehicle.
> After the updating process is complete, the
system restarts.
> The medium with the na vigation data can be
removed after the update.
Information on navigation data
1. "Navigation"
2. Open "Options".
3. "Navigation system version"
Information about the data version is displayed.
Updating the navigation data
1.Insert USB storage device with navigation
data
>Into the USB interface in the glove com-
partment
*
>Into the USB audio interface*.
2. Follow the instructions on the on-board
computer.
3. Enter the activation code of the USB storage
device.
4. Begin driving.
After you begin to drive, the system restarts and
updates the navigation data as you drive
*.
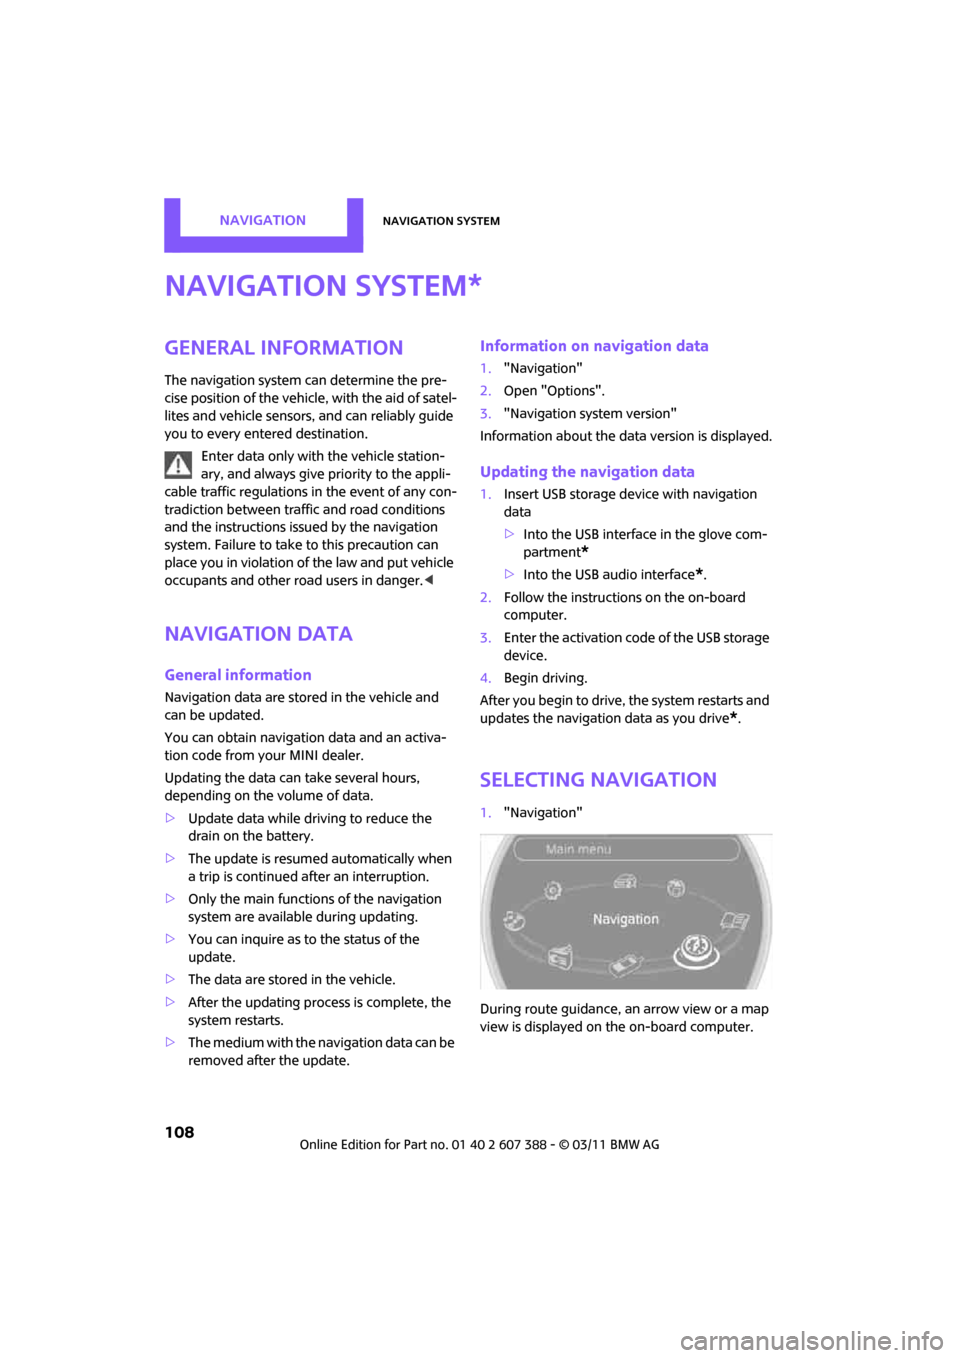
Selecting navigation
1. "Navigation"
During route guidance, an arrow view or a map
view is displayed on the on-board computer.
*
Page 111 of 256

Destination entryNAVIGATION
109
Destination entry
In entering your destination you can select from
among the following options:
> Manual destination entry, see below
> Selecting destination from address book,
page 111
> Last destinations, page 112
> Special destinations, refer to page 112
> Entering the destination via map, refer to
page 114
> Selecting home address, refer to page 112
> Entering destinatio n via voice*, page115
After selecting your destination you can proceed
to start the route guidance, page 118.
Manual destination
entry
To make it easier to enter town/city names and
street names, you are supported with the word-
match principle, refer to page 116. This makes it
possible to enter different spellings and com-
pletes your entry automatically so that stored
town/city names and st reet names can be
accessed quickly.
1. "Navigation"
2. "Enter address"
The system also supports you with the following
features: >
If you do not enter a street, the system will
guide you to the downtown area of a town
or city.
> You can skip the entry of country and town/
city if the current entries should be retained
for your new destination.
Entering a state/province
1."Navigation"
2. "Enter address"
3. Select "State/Province" or displayed country.
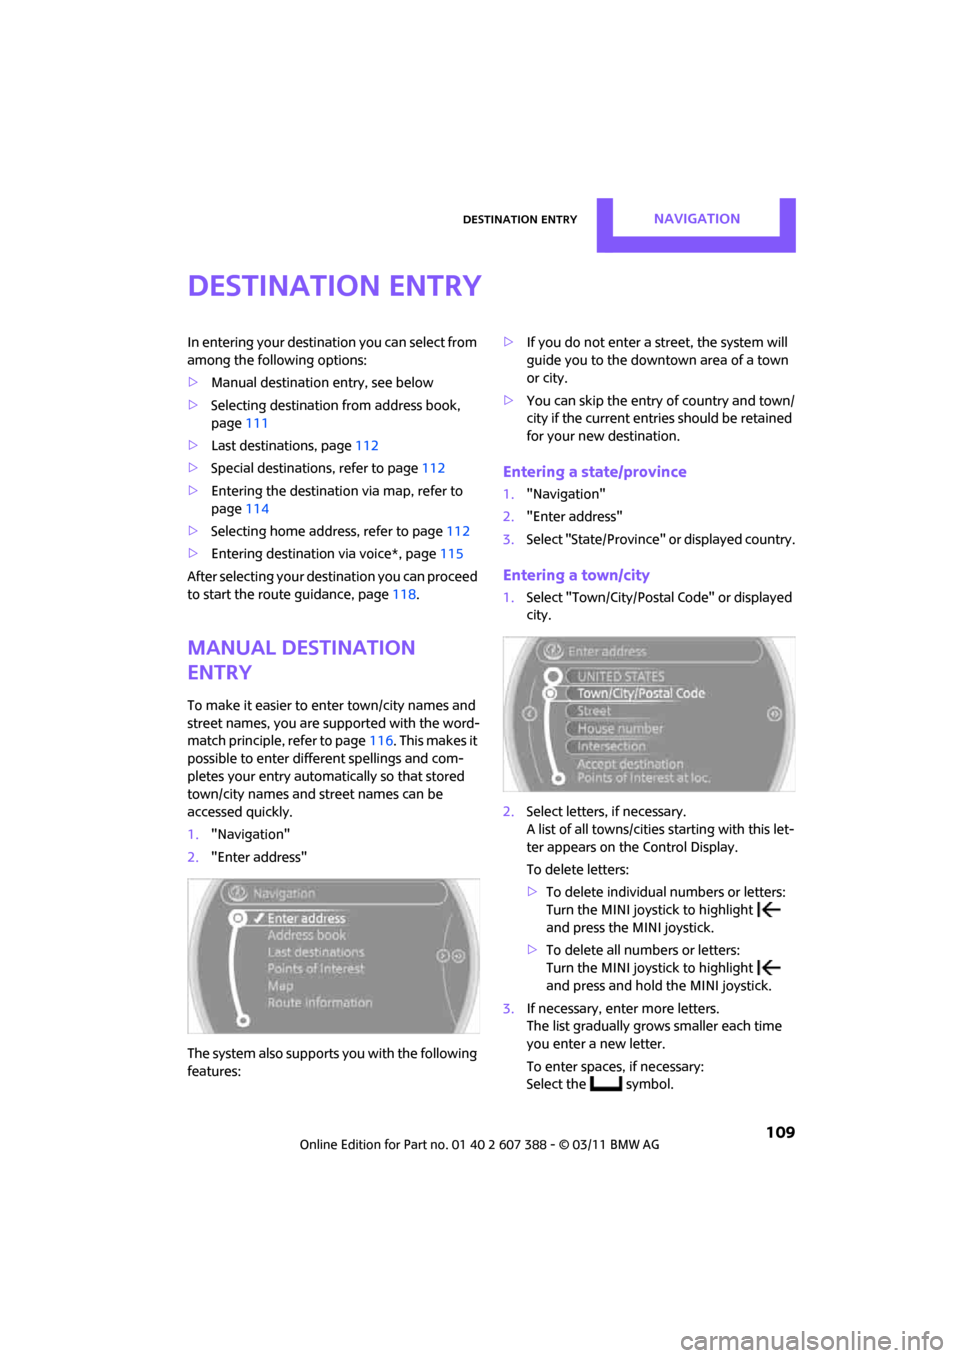
Entering a town/city
1.Select "Town/City/Postal Code" or displayed
city.
2. Select letters, if necessary.
A list of all towns/cities starting with this let-
ter appears on the Control Display.
To delete letters:
> To delete individual numbers or letters:
Turn the MINI joystick to highlight
and press the MINI joystick.
> To delete all numbers or letters:
Turn the MINI joystick to highlight
and press and hold the MINI joystick.
3. If necessary, enter more letters.
The list gradually grows smaller each time
you enter a new letter.
To enter spaces, if necessary:
Select the symbol.
Page 112 of 256

NAVIGATIONDestination entry
110
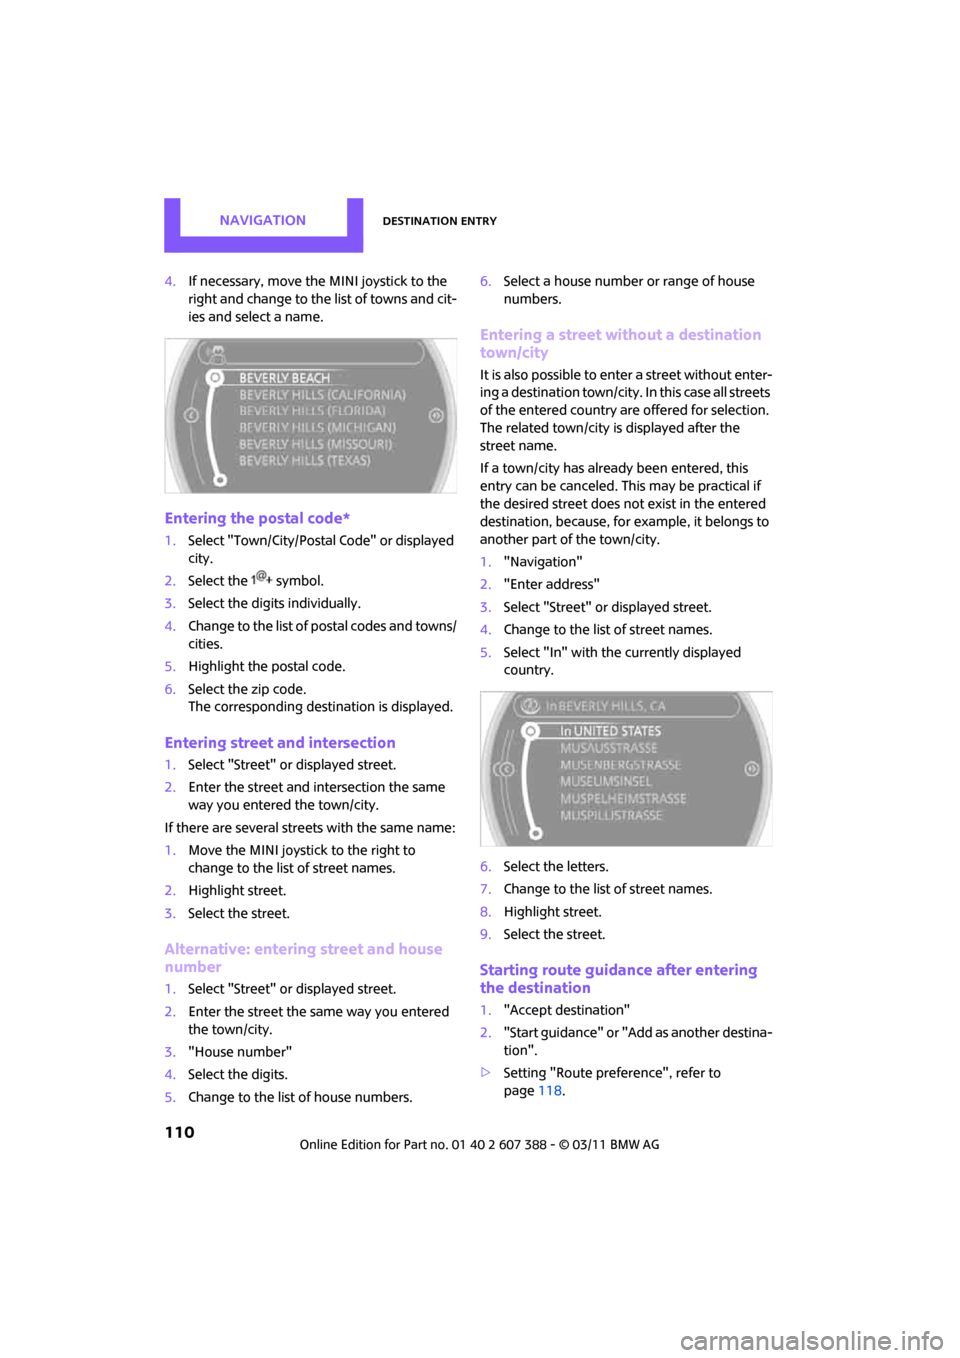
4.If necessary, move the MINI joystick to the
right and change to the list of towns and cit-
ies and select a name.
Entering the postal code*
1.Select "Town/City/Postal Code" or displayed
city.
2. Select the symbol.
3. Select the digits individually.
4. Change to the list of postal codes and towns/
cities.
5. Highlight the postal code.
6. Select the zip code.
The corresponding dest ination is displayed.
Entering street and intersection
1.Select "Street" or displayed street.
2. Enter the street and intersection the same
way you entered the town/city.
If there are several streets with the same name:
1. Move the MINI joystick to the right to
change to the list of street names.
2. Highlight street.
3. Select the street.
Alternative: entering street and house
number
1. Select "Street" or displayed street.
2. Enter the street the same way you entered
the town/city.
3. "House number"
4. Select the digits.
5. Change to the list of house numbers. 6.
Select a house number or range of house
numbers.
Entering a street without a destination
town/city
It is also possible to enter a street without enter-
ing a destination to wn/city. In this case all streets
of the entered country ar e offered for selection.
The related town/city is displayed after the
street name.
If a town/city has already been entered, this
entry can be canceled. This may be practical if
the desired street does not exist in the entered
destination, because, for example, it belongs to
another part of the town/city.
1. "Navigation"
2. "Enter address"
3. Select "Street" or displayed street.
4. Change to the list of street names.
5. Select "In" with the currently displayed
country.
6. Select the letters.
7. Change to the list of street names.
8. Highlight street.
9. Select the street.
Starting route guidance after entering
the destination
1."Accept destination"
2. "Start guidance" or "Add as another destina-
tion".
> Setting "Route preference", refer to
page 118.