2010 MERCEDES-BENZ GLK350 4MATIC light
[x] Cancel search: lightPage 121 of 344
operation of certain systems. They do not
replace the owner’s and/or driver’s
responsibility to maintain the vehicle’s
operating safety. Have all required
maintenance and safety checks performed on
the vehicle. Bring the vehicle to an authorized
Mercedes-Benz Center to address the
malfunction and warning messages.
XPress button = or ; to select the
Service menu.
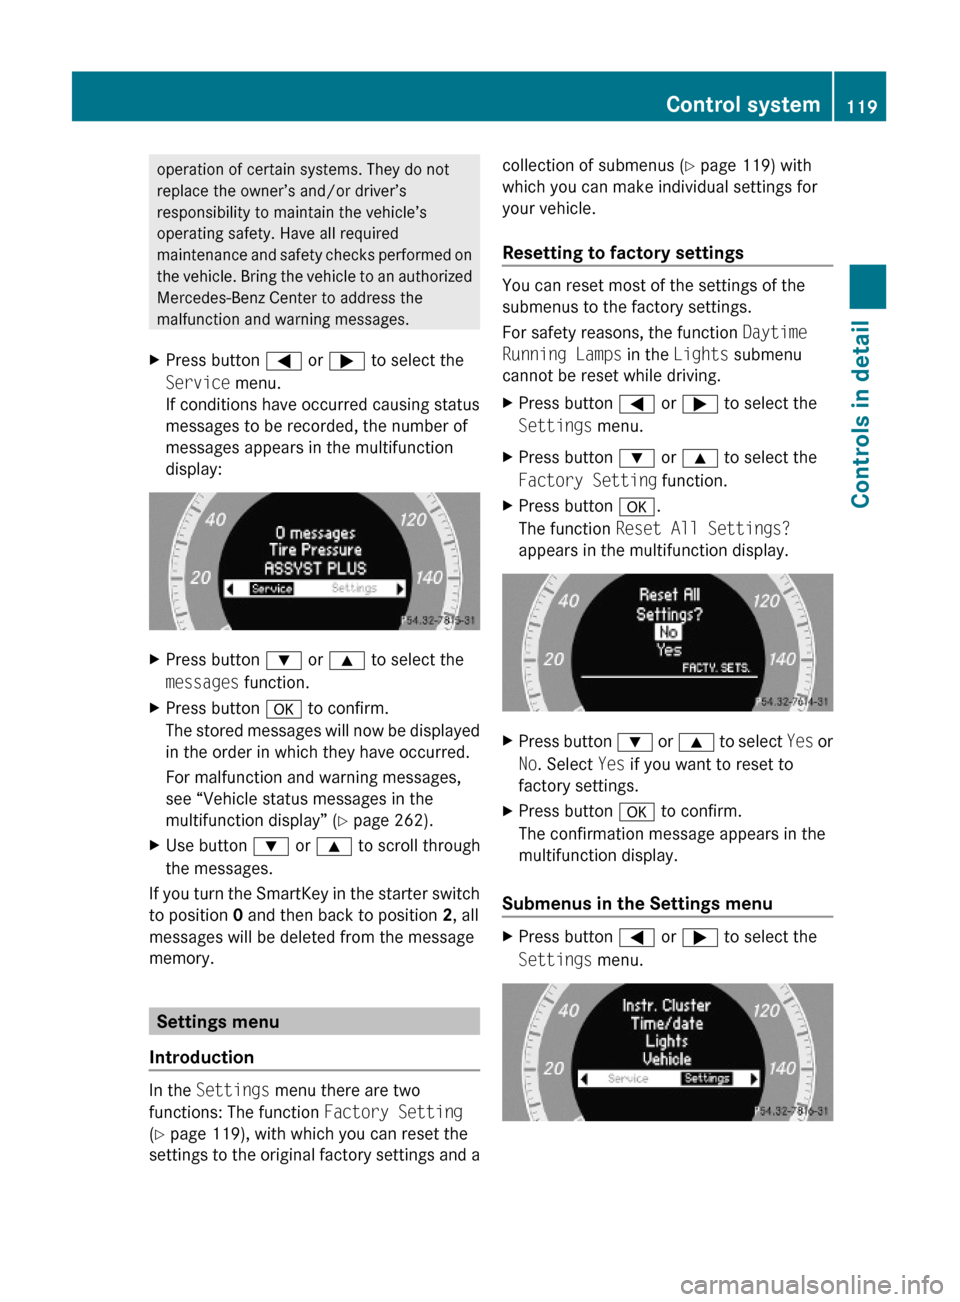
If conditions have occurred causing status
messages to be recorded, the number of
messages appears in the multifunction
display:
XPress button : or 9 to select the
messages function.
XPress button a to confirm.
The stored messages will now be displayed
in the order in which they have occurred.
For malfunction and warning messages,
see “Vehicle status messages in the
multifunction display” (Y page 262).
XUse button : or 9 to scroll through
the messages.
If you turn the SmartKey in the starter switch
to position 0 and then back to position 2, all
messages will be deleted from the message
memory.
Settings menu
Introduction
In the Settings menu there are two
functions: The function Factory Setting
(Y page 119), with which you can reset the
settings to the original factory settings and a
collection of submenus (Y page 119) with
which you can make individual settings for
your vehicle.
Resetting to factory settings
You can reset most of the settings of the
submenus to the factory settings.
For safety reasons, the function Daytime
Running Lamps in the Lights submenu
cannot be reset while driving.
XPress button = or ; to select the
Settings menu.
XPress button : or 9 to select the
Factory Setting function.
XPress button a.
The function Reset All Settings?
appears in the multifunction display.
XPress button : or 9 to select Yes or
No. Select Yes if you want to reset to
factory settings.
XPress button a to confirm.
The confirmation message appears in the
multifunction display.
Submenus in the Settings menu
XPress button = or ; to select the
Settings menu.
Control system119Controls in detailX204_AKB; 3; 23, en-USd2ureepe,Version: 2.11.8.12009-07-16T19:16:58+02:00 - Seite 119Z
Page 122 of 344
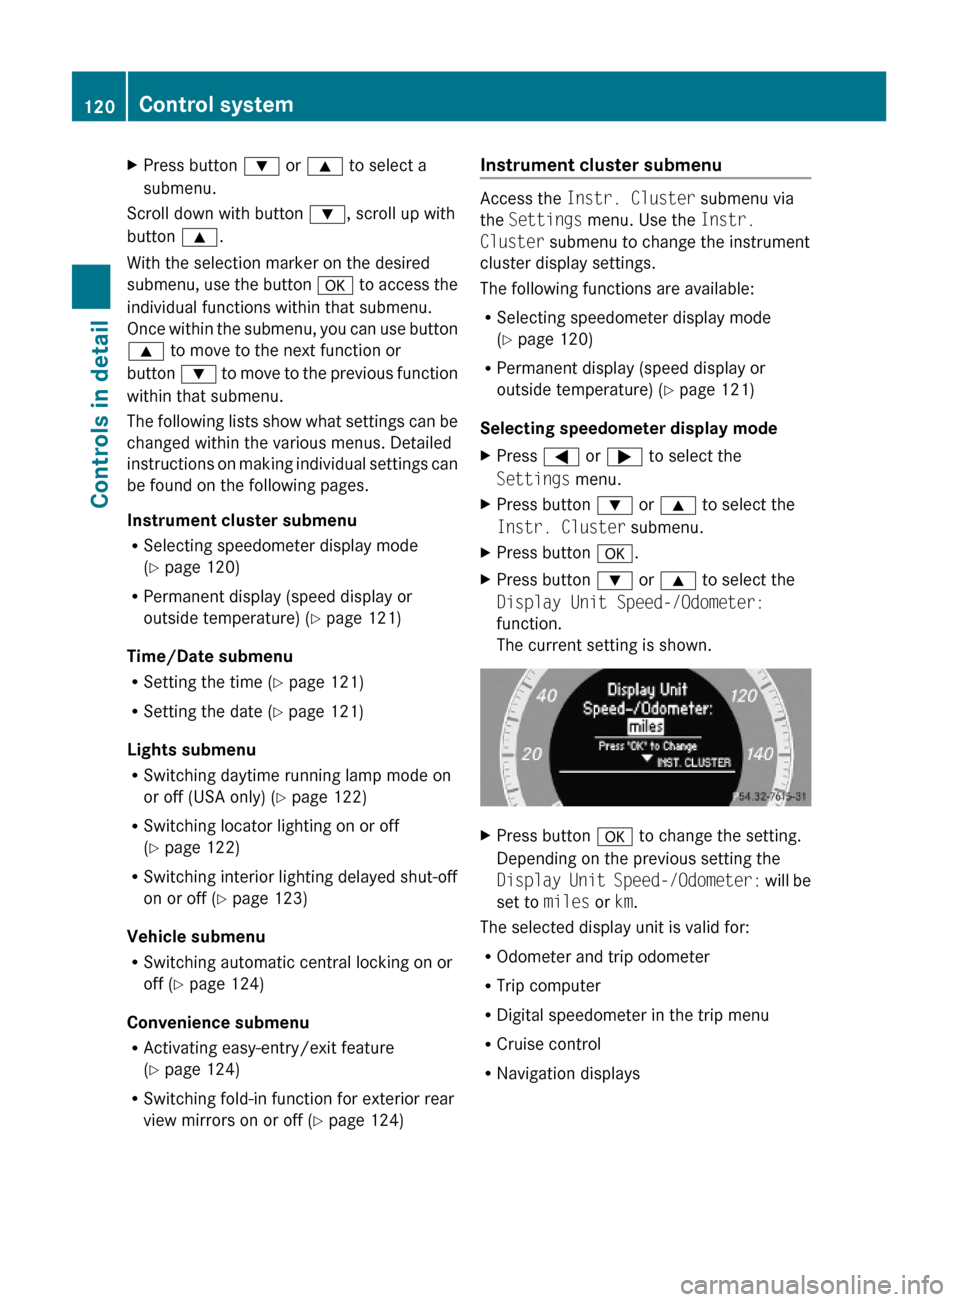
XPress button : or 9 to select a
submenu.
Scroll down with button :, scroll up with
button 9.
With the selection marker on the desired
submenu, use the button a to access the
individual functions within that submenu.
Once within the submenu, you can use button
9 to move to the next function or
button : to move to the previous function
within that submenu.
The following lists show what settings can be
changed within the various menus. Detailed
instructions on making individual settings can
be found on the following pages.
Instrument cluster submenu
RSelecting speedometer display mode
(Y page 120)
RPermanent display (speed display or
outside temperature) (Y page 121)
Time/Date submenu
RSetting the time (Y page 121)
RSetting the date (Y page 121)
Lights submenu
RSwitching daytime running lamp mode on
or off (USA only) (Y page 122)
RSwitching locator lighting on or off
(Y page 122)
RSwitching interior lighting delayed shut-off
on or off (Y page 123)
Vehicle submenu
RSwitching automatic central locking on or
off (Y page 124)
Convenience submenu
RActivating easy-entry/exit feature
(Y page 124)
RSwitching fold-in function for exterior rear
view mirrors on or off (Y page 124)
Instrument cluster submenu
Access the Instr. Cluster submenu via
the Settings menu. Use the Instr.
Cluster submenu to change the instrument
cluster display settings.
The following functions are available:
RSelecting speedometer display mode
(Y page 120)
RPermanent display (speed display or
outside temperature) (Y page 121)
Selecting speedometer display mode
XPress = or ; to select the
Settings menu.
XPress button : or 9 to select the
Instr. Cluster submenu.
XPress button a.XPress button : or 9 to select the
Display Unit Speed-/Odometer:
function.
The current setting is shown.
XPress button a to change the setting.
Depending on the previous setting the
Display Unit Speed-/Odometer: will be
set to miles or km.
The selected display unit is valid for:
ROdometer and trip odometer
RTrip computer
RDigital speedometer in the trip menu
RCruise control
RNavigation displays
120Control systemControls in detail
X204_AKB; 3; 23, en-USd2ureepe,Version: 2.11.8.12009-07-16T19:16:58+02:00 - Seite 120
Page 123 of 344
Permanent display
You can use the Permanent Display:
function to choose to display either the
outside temperature or the speed in
kilometers (USA) or miles (Canada)
permanently.
XPress button = or ; to select the
Settings menu.
XPress button : or 9 to select the
Instr. Cluster submenu.
XPress button a.XPress button : or 9 to select the
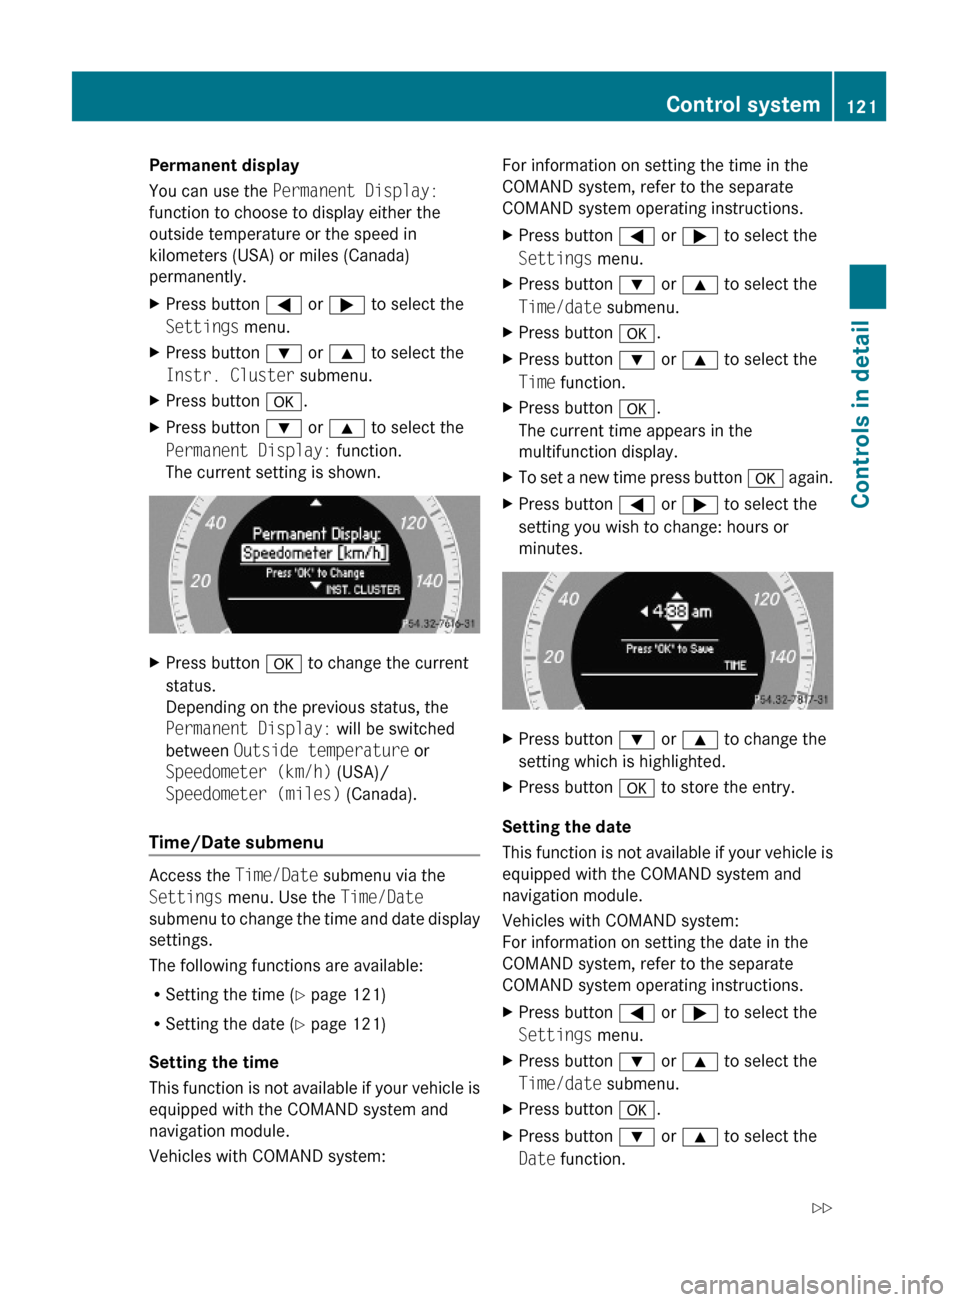
Permanent Display: function.
The current setting is shown.
XPress button a to change the current
status.
Depending on the previous status, the
Permanent Display: will be switched
between Outside temperature or
Speedometer (km/h) (USA)/
Speedometer (miles) (Canada).
Time/Date submenu
Access the Time/Date submenu via the
Settings menu. Use the Time/Date
submenu to change the time and date display
settings.
The following functions are available:
RSetting the time (Y page 121)
RSetting the date (Y page 121)
Setting the time
This function is not available if your vehicle is
equipped with the COMAND system and
navigation module.
Vehicles with COMAND system:
For information on setting the time in the
COMAND system, refer to the separate
COMAND system operating instructions.
XPress button = or ; to select the
Settings menu.
XPress button : or 9 to select the
Time/date submenu.
XPress button a.XPress button : or 9 to select the
Time function.
XPress button a.
The current time appears in the
multifunction display.
XTo set a new time press button a again.XPress button = or ; to select the
setting you wish to change: hours or
minutes.
XPress button : or 9 to change the
setting which is highlighted.
XPress button a to store the entry.
Setting the date
This function is not available if your vehicle is
equipped with the COMAND system and
navigation module.
Vehicles with COMAND system:
For information on setting the date in the
COMAND system, refer to the separate
COMAND system operating instructions.
XPress button = or ; to select the
Settings menu.
XPress button : or 9 to select the
Time/date submenu.
XPress button a.XPress button : or 9 to select the
Date function.
Control system121Controls in detailX204_AKB; 3; 23, en-USd2ureepe,Version: 2.11.8.12009-07-16T19:16:58+02:00 - Seite 121Z
Page 124 of 344
XPress button a.
The current date appears in the
multifunction display.
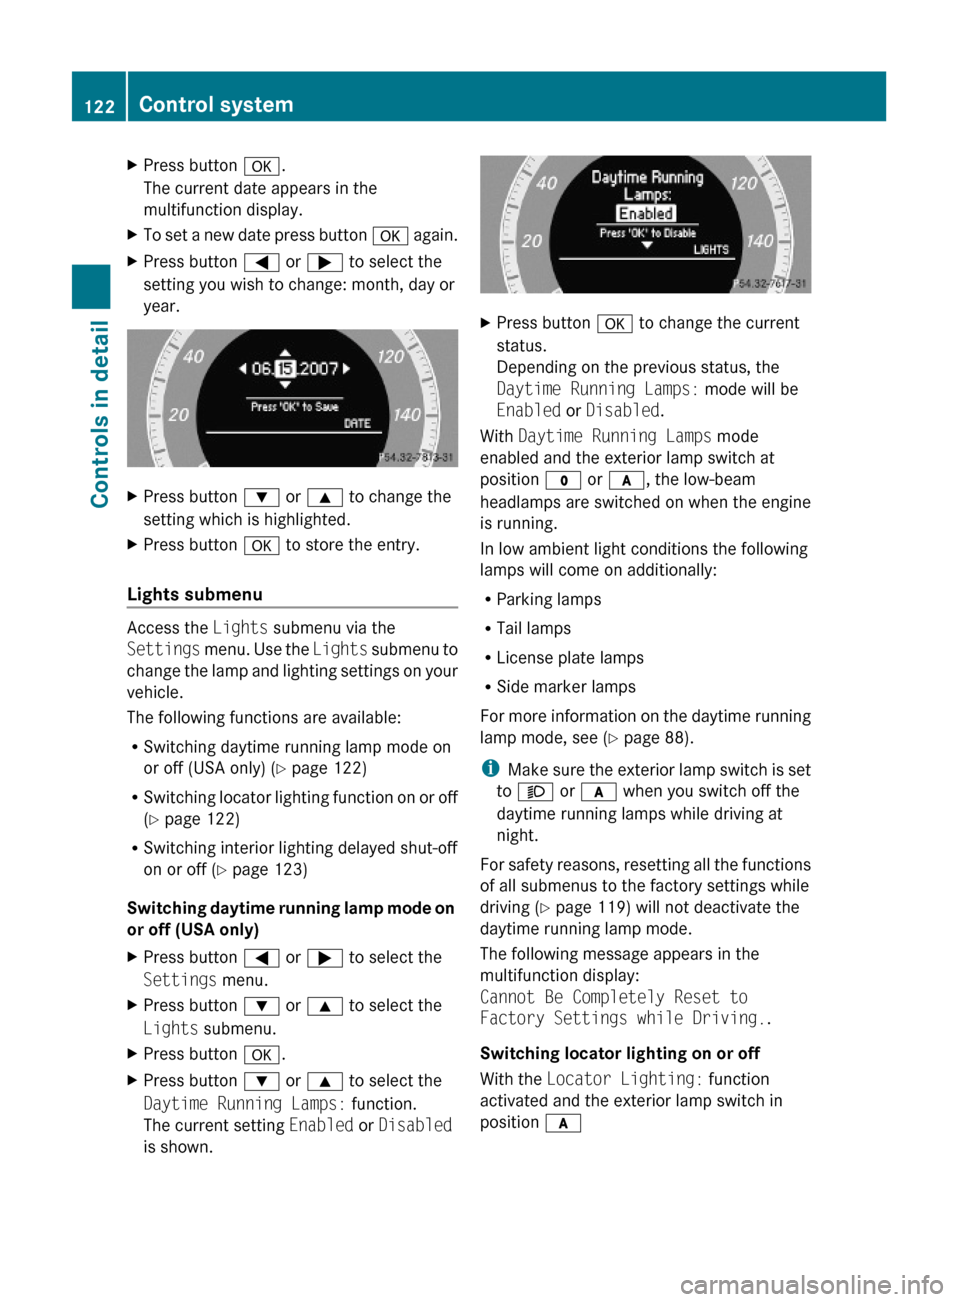
XTo set a new date press button a again.XPress button = or ; to select the
setting you wish to change: month, day or
year.
XPress button : or 9 to change the
setting which is highlighted.
XPress button a to store the entry.
Lights submenu
Access the Lights submenu via the
Settings menu. Use the Lights submenu to
change the lamp and lighting settings on your
vehicle.
The following functions are available:
RSwitching daytime running lamp mode on
or off (USA only) (Y page 122)
RSwitching locator lighting function on or off
(Y page 122)
RSwitching interior lighting delayed shut-off
on or off (Y page 123)
Switching daytime running lamp mode on
or off (USA only)
XPress button = or ; to select the
Settings menu.
XPress button : or 9 to select the
Lights submenu.
XPress button a.XPress button : or 9 to select the
Daytime Running Lamps: function.
The current setting Enabled or Disabled
is shown.
XPress button a to change the current
status.
Depending on the previous status, the
Daytime Running Lamps: mode will be
Enabled or Disabled.
With Daytime Running Lamps mode
enabled and the exterior lamp switch at
position $ or c, the low-beam
headlamps are switched on when the engine
is running.
In low ambient light conditions the following
lamps will come on additionally:
RParking lamps
RTail lamps
RLicense plate lamps
RSide marker lamps
For more information on the daytime running
lamp mode, see (Y page 88).
iMake sure the exterior lamp switch is set
to M or c when you switch off the
daytime running lamps while driving at
night.
For safety reasons, resetting all the functions
of all submenus to the factory settings while
driving (Y page 119) will not deactivate the
daytime running lamp mode.
The following message appears in the
multifunction display:
Cannot Be Completely Reset to
Factory Settings while Driving..
Switching locator lighting on or off
With the Locator Lighting: function
activated and the exterior lamp switch in
position c
122Control systemControls in detail
X204_AKB; 3; 23, en-USd2ureepe,Version: 2.11.8.12009-07-16T19:16:58+02:00 - Seite 122
Page 125 of 344
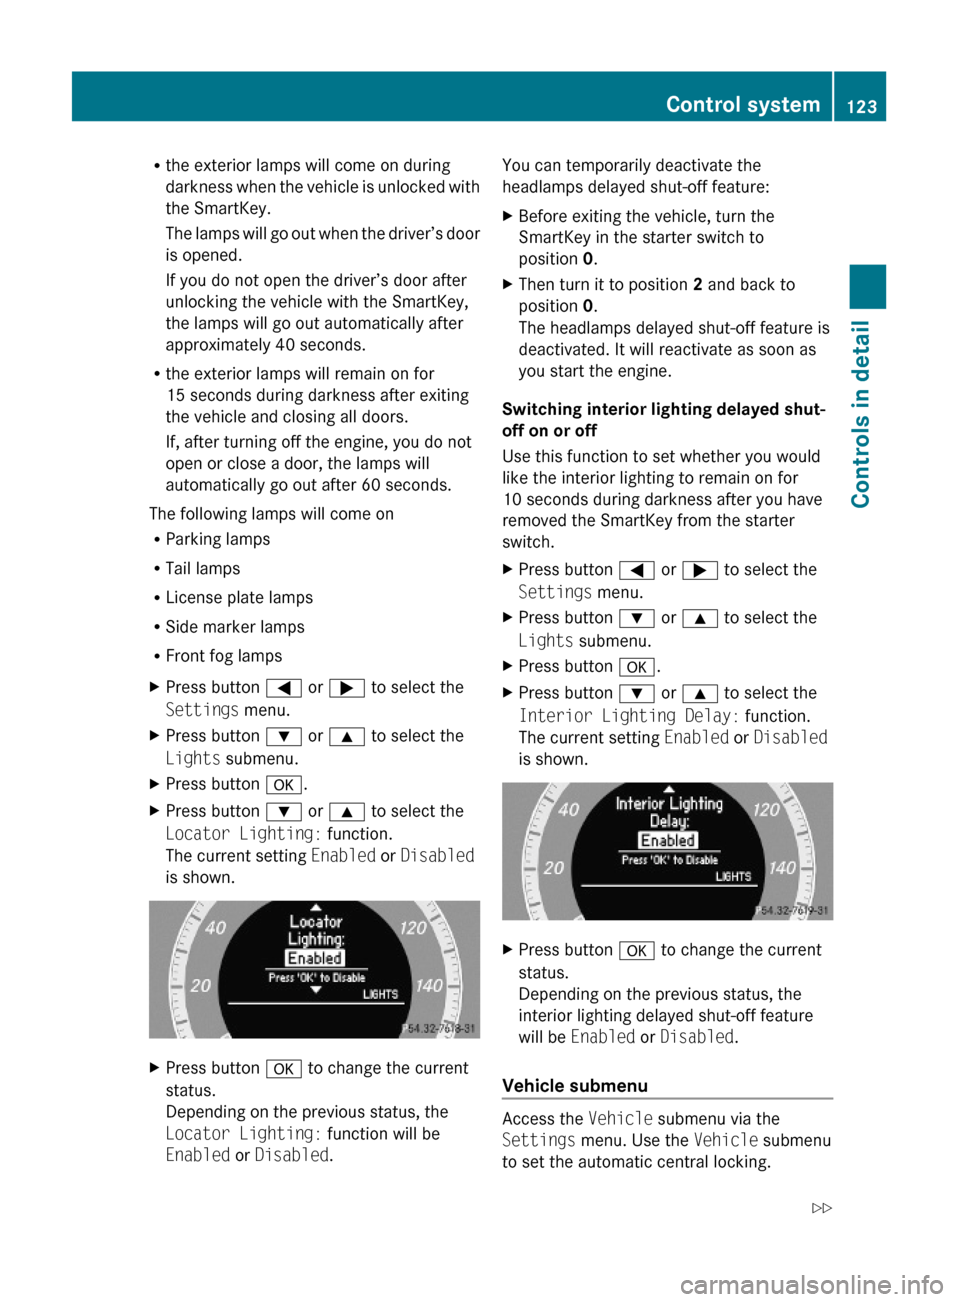
Rthe exterior lamps will come on during
darkness when the vehicle is unlocked with
the SmartKey.
The lamps will go out when the driver’s door
is opened.
If you do not open the driver’s door after
unlocking the vehicle with the SmartKey,
the lamps will go out automatically after
approximately 40 seconds.
Rthe exterior lamps will remain on for
15 seconds during darkness after exiting
the vehicle and closing all doors.
If, after turning off the engine, you do not
open or close a door, the lamps will
automatically go out after 60 seconds.
The following lamps will come on
RParking lamps
RTail lamps
RLicense plate lamps
RSide marker lamps
RFront fog lamps
XPress button = or ; to select the
Settings menu.
XPress button : or 9 to select the
Lights submenu.
XPress button a.XPress button : or 9 to select the
Locator Lighting: function.
The current setting Enabled or Disabled
is shown.
XPress button a to change the current
status.
Depending on the previous status, the
Locator Lighting: function will be
Enabled or Disabled.
You can temporarily deactivate the
headlamps delayed shut-off feature:
XBefore exiting the vehicle, turn the
SmartKey in the starter switch to
position 0.
XThen turn it to position 2 and back to
position 0.
The headlamps delayed shut-off feature is
deactivated. It will reactivate as soon as
you start the engine.
Switching interior lighting delayed shut-
off on or off
Use this function to set whether you would
like the interior lighting to remain on for
10 seconds during darkness after you have
removed the SmartKey from the starter
switch.
XPress button = or ; to select the
Settings menu.
XPress button : or 9 to select the
Lights submenu.
XPress button a.XPress button : or 9 to select the
Interior Lighting Delay: function.
The current setting Enabled or Disabled
is shown.
XPress button a to change the current
status.
Depending on the previous status, the
interior lighting delayed shut-off feature
will be Enabled or Disabled.
Vehicle submenu
Access the Vehicle submenu via the
Settings menu. Use the Vehicle submenu
to set the automatic central locking.
Control system123Controls in detailX204_AKB; 3; 23, en-USd2ureepe,Version: 2.11.8.12009-07-16T19:16:58+02:00 - Seite 123Z
Page 131 of 344
multifunction steering wheel buttons as they
relate to audio functions described in this
section.
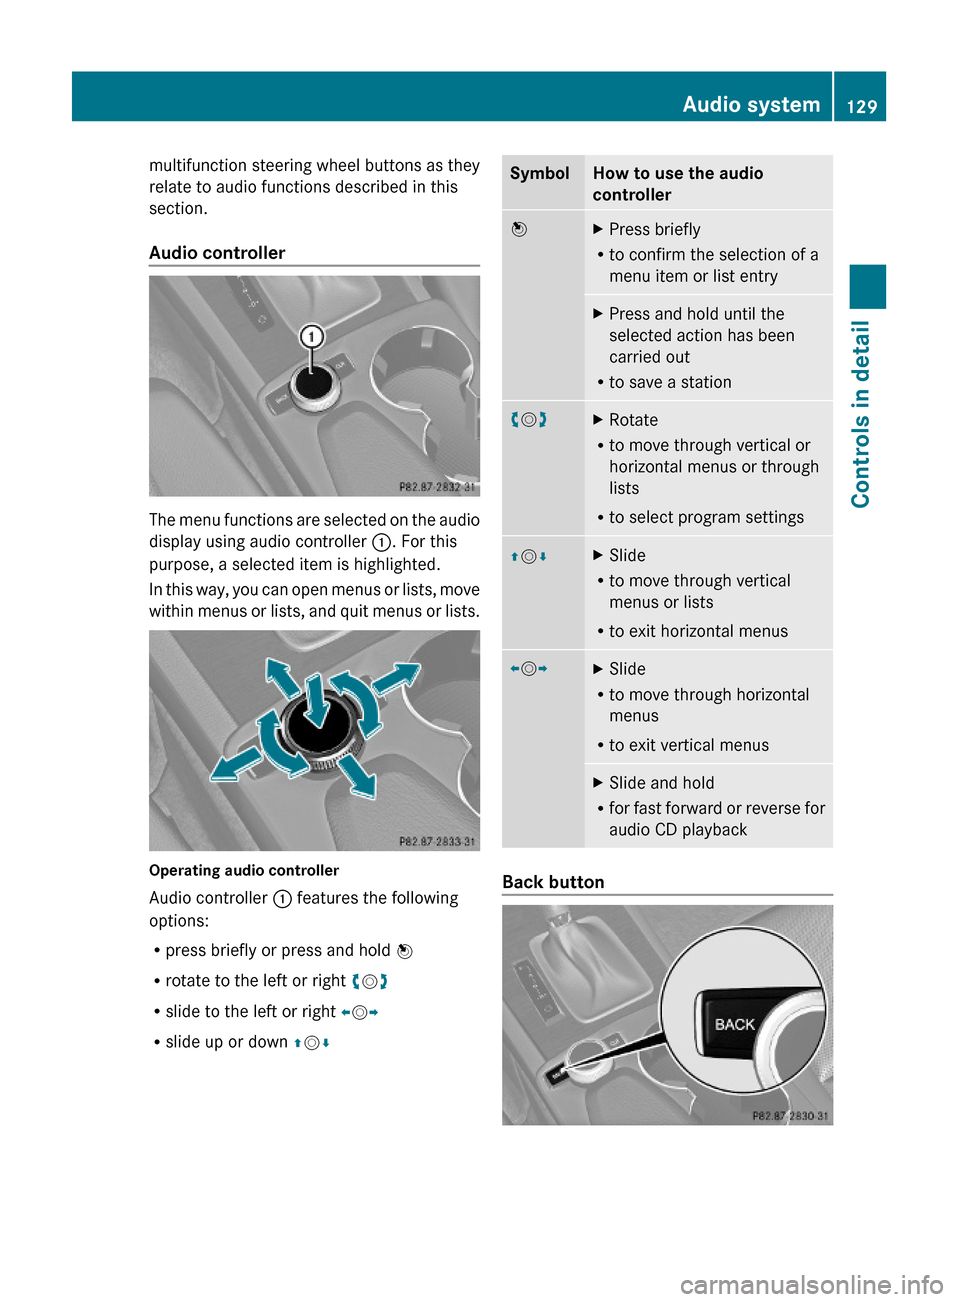
Audio controller
The menu functions are selected on the audio
display using audio controller :. For this
purpose, a selected item is highlighted.
In this way, you can open menus or lists, move
within menus or lists, and quit menus or lists.
Operating audio controller
Audio controller : features the following
options:
Rpress briefly or press and hold W
Rrotate to the left or right cVd
Rslide to the left or right XVY
Rslide up or down ZVÆ
SymbolHow to use the audio
controller
WXPress briefly
Rto confirm the selection of a
menu item or list entry
XPress and hold until the
selected action has been
carried out
Rto save a station
cVdXRotate
Rto move through vertical or
horizontal menus or through
lists
Rto select program settings
ZVÆXSlide
Rto move through vertical
menus or lists
Rto exit horizontal menus
XVYXSlide
Rto move through horizontal
menus
Rto exit vertical menus
XSlide and hold
Rfor fast forward or reverse for
audio CD playback
Back button
Audio system129Controls in detailX204_AKB; 3; 23, en-USd2ureepe,Version: 2.11.8.12009-07-16T19:16:58+02:00 - Seite 129Z
Page 132 of 344
XSwitching to the next highest menu:
Press button k briefly.
The audio system switches to the next
highest menu level within the currently
active mode.
iYou can also exit a menu or list by sliding
the audio controller XVY or ZVÆ.
XSwitching to the main menu: Press and
hold button k.
The audio system switches to the basic
menu of the currently active mode.
Clear button
XDeleting an individual digit: Briefly press
button 2.
XDeleting an entire entry: Press and hold
button 2 until the entry is deleted.
Menu
The table below shows the structure of the
modes and their menus. Each mode has a
basic menu. Each menu item in turn has
several submenu items.
ButtonMode/Menu$Radio modeRadio (FM/AM) (Y page 136)Weather Band (Y page 137)Satellite radio (Y page 140)ButtonMode/MenuPresets (Y page 139)Sound (Y page 133)hDisc modeCD/MP3 (Y page 146)Track list/folder list
(Y page 153)
CD Changer (Y page 150)Sound (Y page 133)%Telephone modeTelephone (Y page 155)Name (Y page 162)Call lists (Y page 164)iSystem settings menuSystem (Y page 135)Display off (Y page 136)
Calling up an operating mode
XPress the respective button ($, h,
%, or i) on the audio control unit.
The basic menu of the selected mode
appears in the audio display. The main area
is active. The active area is highlighted.
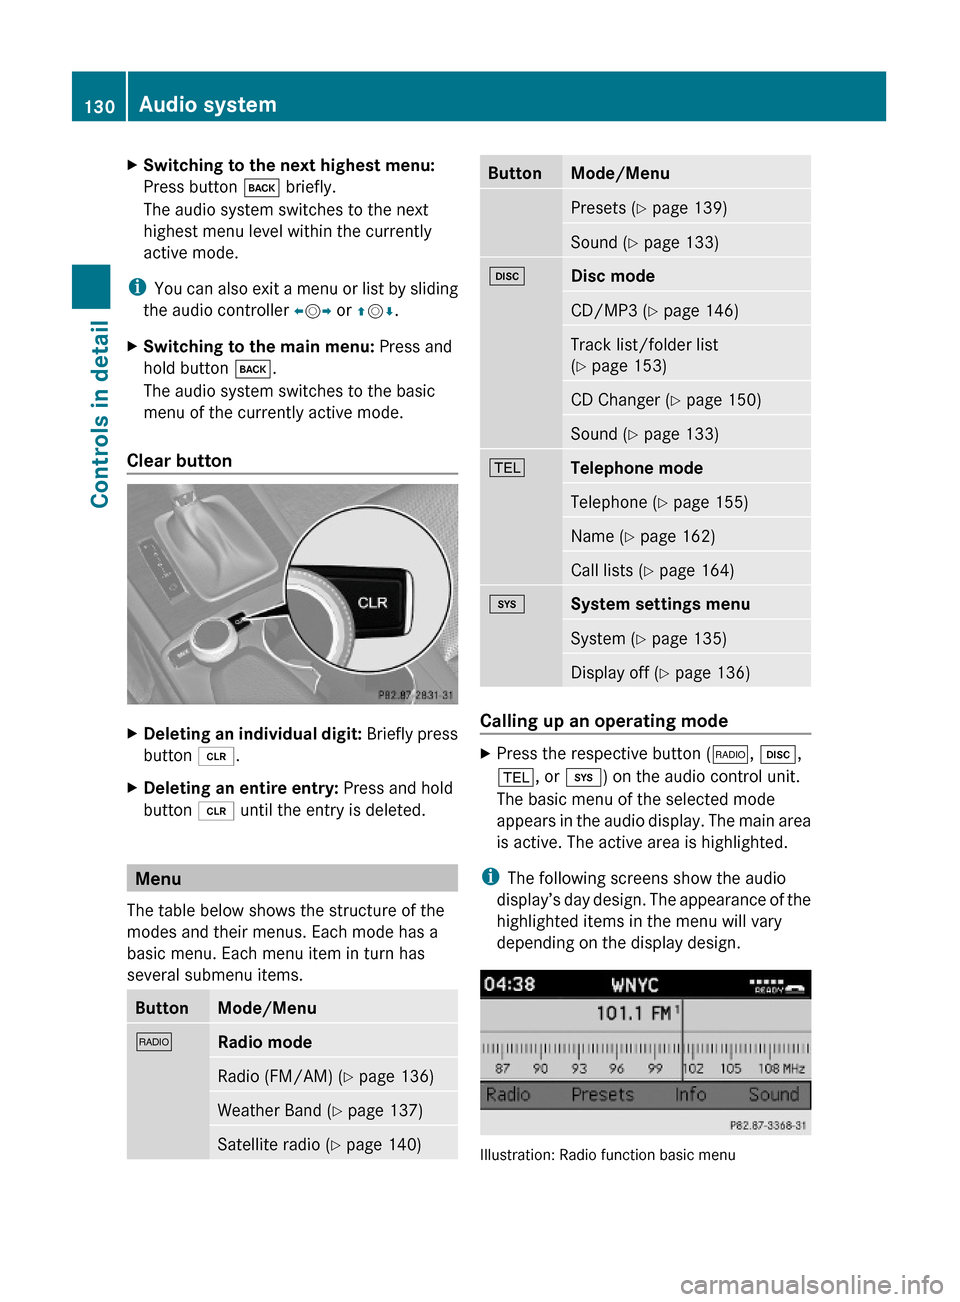
iThe following screens show the audio
display’s day design. The appearance of the
highlighted items in the menu will vary
depending on the display design.
Illustration: Radio function basic menu
130Audio systemControls in detail
X204_AKB; 3; 23, en-USd2ureepe,Version: 2.11.8.12009-07-16T19:16:58+02:00 - Seite 130
Page 133 of 344
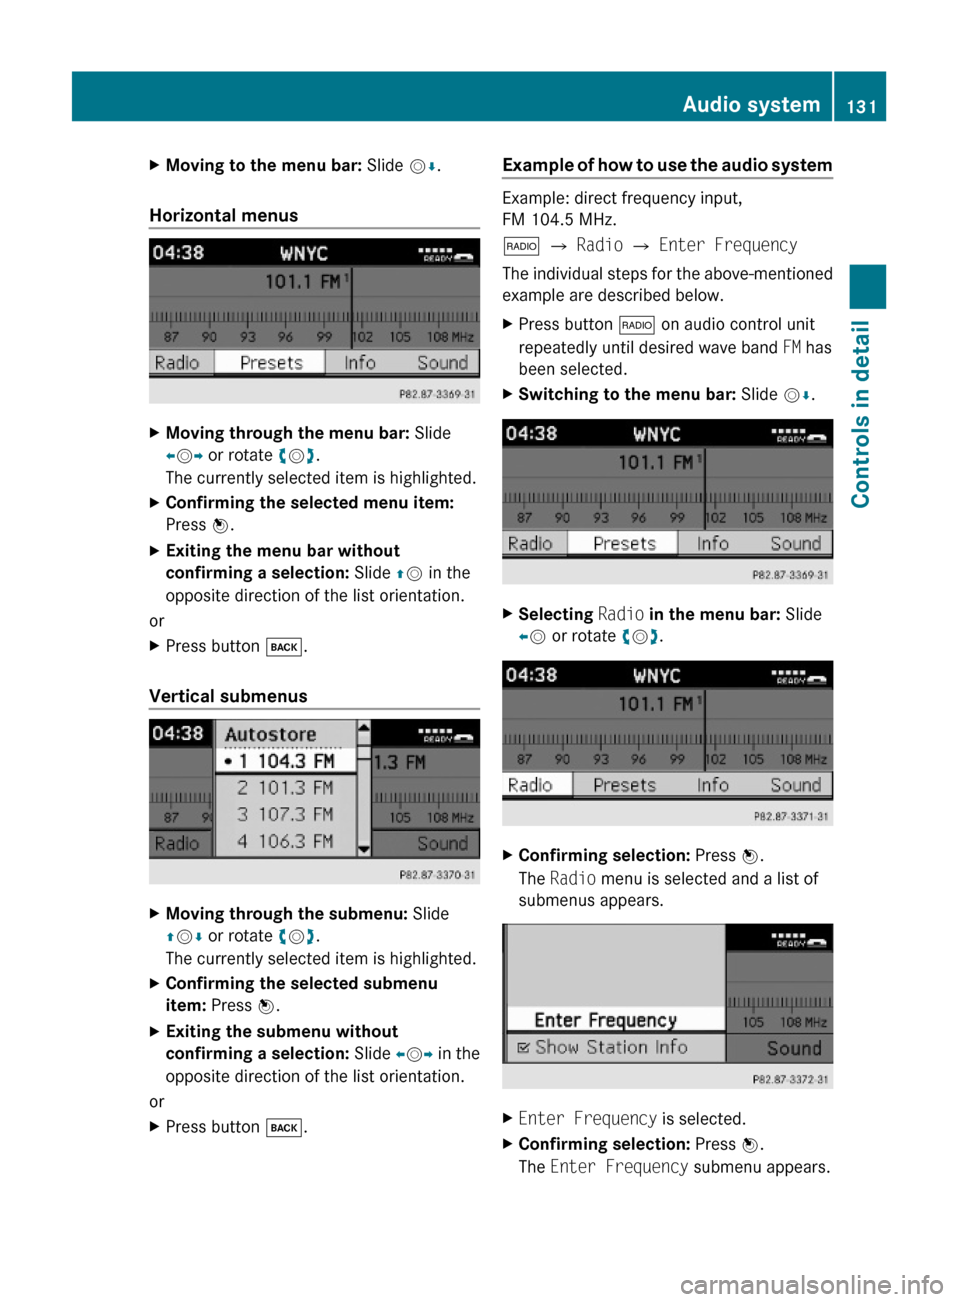
XMoving to the menu bar: Slide VÆ.
Horizontal menus
XMoving through the menu bar: Slide
XVY or rotate cVd.
The currently selected item is highlighted.
XConfirming the selected menu item:
Press W.
XExiting the menu bar without
confirming a selection: Slide ZV in the
opposite direction of the list orientation.
or
XPress button k.
Vertical submenus
XMoving through the submenu: Slide
ZVÆ or rotate cVd.
The currently selected item is highlighted.
XConfirming the selected submenu
item: Press W.
XExiting the submenu without
confirming a selection: Slide XVY in the
opposite direction of the list orientation.
or
XPress button k.Example of how to use the audio system
Example: direct frequency input,
FM 104.5 MHz.
$ Q Radio Q Enter Frequency
The individual steps for the above-mentioned
example are described below.
XPress button $ on audio control unit
repeatedly until desired wave band FM has
been selected.
XSwitching to the menu bar: Slide VÆ.XSelecting Radio in the menu bar: Slide
XV or rotate cVd.
XConfirming selection: Press W.
The Radio menu is selected and a list of
submenus appears.
XEnter Frequency is selected.XConfirming selection: Press W.
The Enter Frequency submenu appears.
Audio system131Controls in detailX204_AKB; 3; 23, en-USd2ureepe,Version: 2.11.8.12009-07-16T19:16:58+02:00 - Seite 131Z