2007 BMW MOTORRAD K 1200 GT Rider's Manual (in English)
-
 1
1 -
 2
2 -
 3
3 -
 4
4 -
 5
5 -
 6
6 -
 7
7 -
 8
8 -
 9
9 -
 10
10 -
 11
11 -
 12
12 -
 13
13 -
 14
14 -
 15
15 -
 16
16 -
 17
17 -
 18
18 -
 19
19 -
 20
20 -
 21
21 -
 22
22 -
 23
23 -
 24
24 -
 25
25 -
 26
26 -
 27
27 -
 28
28 -
 29
29 -
 30
30 -
 31
31 -
 32
32 -
 33
33 -
 34
34 -
 35
35 -
 36
36 -
 37
37 -
 38
38 -
 39
39 -
 40
40 -
 41
41 -
 42
42 -
 43
43 -
 44
44 -
 45
45 -
 46
46 -
 47
47 -
 48
48 -
 49
49 -
 50
50 -
 51
51 -
 52
52 -
 53
53 -
 54
54 -
 55
55 -
 56
56 -
 57
57 -
 58
58 -
 59
59 -
 60
60 -
 61
61 -
 62
62 -
 63
63 -
 64
64 -
 65
65 -
 66
66 -
 67
67 -
 68
68 -
 69
69 -
 70
70 -
 71
71 -
 72
72 -
 73
73 -
 74
74 -
 75
75 -
 76
76 -
 77
77 -
 78
78 -
 79
79 -
 80
80 -
 81
81 -
 82
82 -
 83
83 -
 84
84 -
 85
85 -
 86
86 -
 87
87 -
 88
88 -
 89
89 -
 90
90 -
 91
91 -
 92
92 -
 93
93 -
 94
94 -
 95
95 -
 96
96 -
 97
97 -
 98
98 -
 99
99 -
 100
100 -
 101
101 -
 102
102 -
 103
103 -
 104
104 -
 105
105 -
 106
106 -
 107
107 -
 108
108 -
 109
109 -
 110
110 -
 111
111 -
 112
112 -
 113
113 -
 114
114 -
 115
115 -
 116
116 -
 117
117 -
 118
118 -
 119
119 -
 120
120 -
 121
121 -
 122
122 -
 123
123 -
 124
124 -
 125
125 -
 126
126 -
 127
127 -
 128
128 -
 129
129 -
 130
130 -
 131
131 -
 132
132 -
 133
133 -
 134
134 -
 135
135 -
 136
136 -
 137
137 -
 138
138 -
 139
139 -
 140
140 -
 141
141 -
 142
142 -
 143
143 -
 144
144 -
 145
145 -
 146
146 -
 147
147 -
 148
148 -
 149
149 -
 150
150 -
 151
151 -
 152
152 -
 153
153 -
 154
154 -
 155
155 -
 156
156 -
 157
157 -
 158
158 -
 159
159 -
 160
160 -
 161
161 -
 162
162 -
 163
163 -
 164
164 -
 165
165 -
 166
166 -
 167
167 -
 168
168 -
 169
169 -
 170
170 -
 171
171 -
 172
172
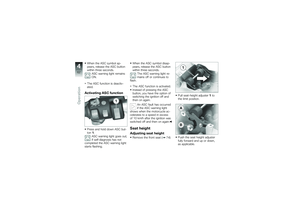
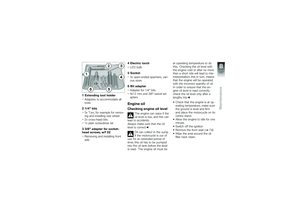
 Limit positionA: high seat pos-
ition.
Limit position B: low seat posi-
tion.
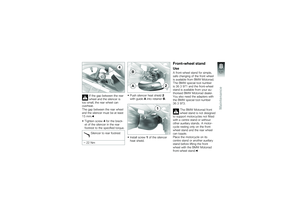
Install the front seat ( 75)WindscreenAdjusting windscreenSwitch on the ignition.
Press the top section of but-
ton 1.
Win")
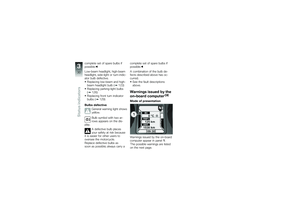
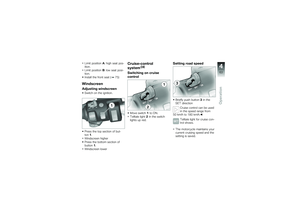
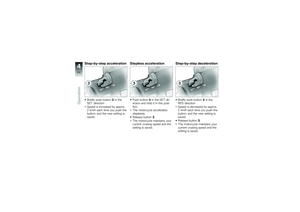
 Step-by-step accelerationBriefly push button3in the
SET direction
Speed is increased by approx.
2 km/h each time you push the
button, and the new setting is
saved.
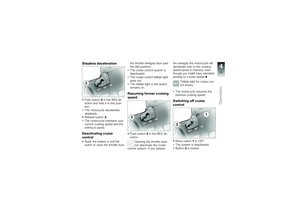
Stepless accelerationPush button 3in")
 Stepless decelerationPush button3in the RES dir-
ection and hold it in this posi-
tion.
The motorcycle decelerates
steplessly.
Release button 3.
The motorcycle maintains your
current cruising speed an")
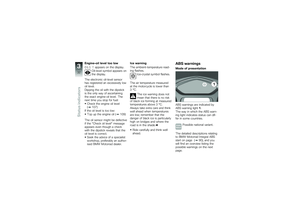
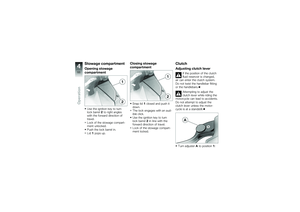
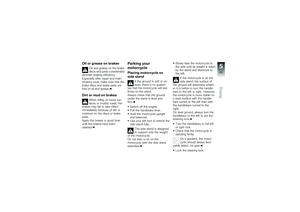
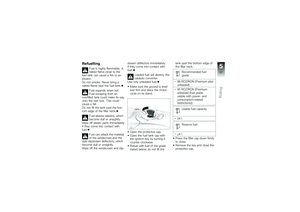
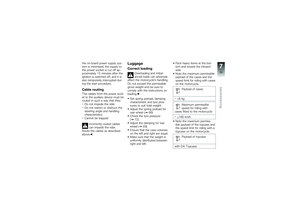
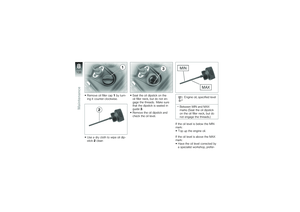
 Stowage compartmentOpening stowage
compartmentUse the ignition key to turn
lock barrel2to right angles
with the forward direction of
travel.
Lock of the stowage compart-
ment unlocked.
Push the lock b")
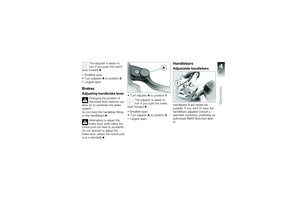
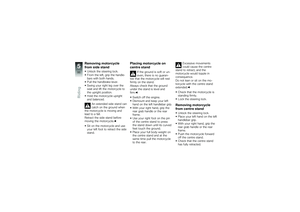
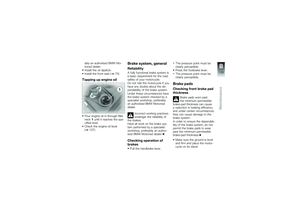
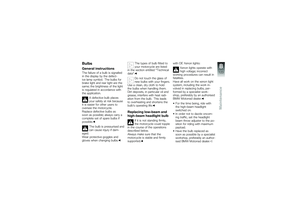
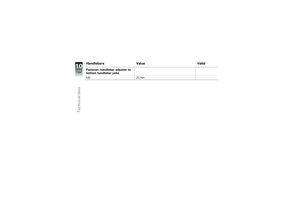
 The adjuster is easier to
turn if you push the clutch
lever forward.
Smallest span.
Turn adjuster Ato position 3:
Largest span.
BrakesAdjusting handbrake lever
Changing the position of
the brake-fluid")
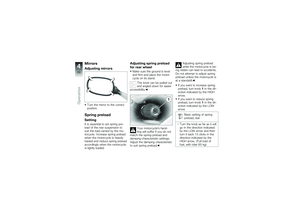
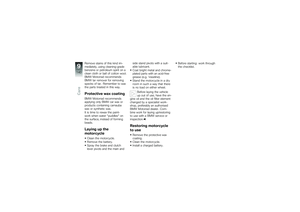
 MirrorsAdjusting mirrorsTurn the mirror to the correct
position.Spring preloadSettingIt is essential to set spring pre-
load of the rear suspension to
suit the load carried by the mo-
torcycle. Increa")
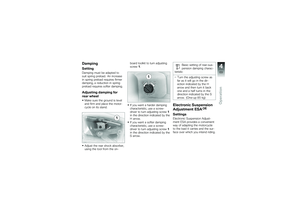
 DampingSettingDamping must be adapted to
suit spring preload. An increase
in spring preload requires firmer
damping, a reduction in spring
preload requires softer damping.Adjusting damping for
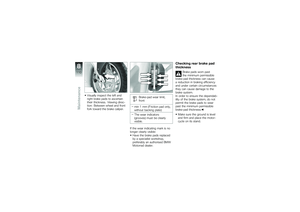
rear wh")
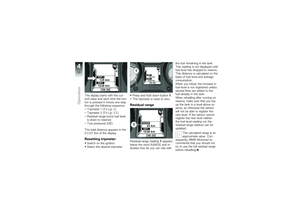
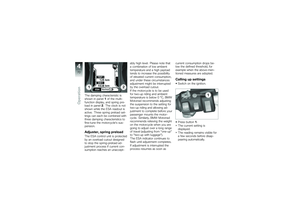
 The damping characteristic is
shown in panel1of the multi-
function display, and spring pre-
load in panel 2. The clock is not
shown while the ESA readout is
active. Three spring preload set-
tings ca")