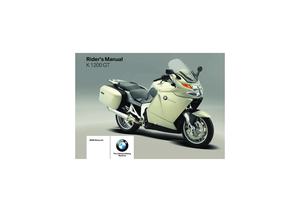
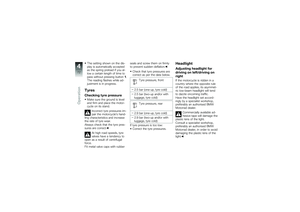
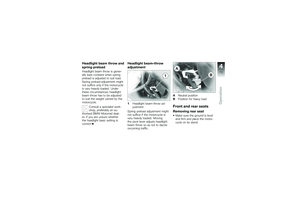
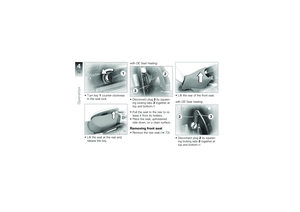
2007 BMW MOTORRAD K 1200 GT Rider's Manual (in English)
-
 1
1 -
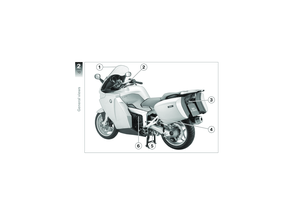
 2
2 -
 3
3 -
 4
4 -
 5
5 -
 6
6 -
 7
7 -
 8
8 -
 9
9 -
 10
10 -
 11
11 -
 12
12 -
 13
13 -
 14
14 -
 15
15 -
 16
16 -
 17
17 -
 18
18 -
 19
19 -
 20
20 -
 21
21 -
 22
22 -
 23
23 -
 24
24 -
 25
25 -
 26
26 -
 27
27 -
 28
28 -
 29
29 -
 30
30 -
 31
31 -
 32
32 -
 33
33 -
 34
34 -
 35
35 -
 36
36 -
 37
37 -
 38
38 -
 39
39 -
 40
40 -
 41
41 -
 42
42 -
 43
43 -
 44
44 -
 45
45 -
 46
46 -
 47
47 -
 48
48 -
 49
49 -
 50
50 -
 51
51 -
 52
52 -
 53
53 -
 54
54 -
 55
55 -
 56
56 -
 57
57 -
 58
58 -
 59
59 -
 60
60 -
 61
61 -
 62
62 -
 63
63 -
 64
64 -
 65
65 -
 66
66 -
 67
67 -
 68
68 -
 69
69 -
 70
70 -
 71
71 -
 72
72 -
 73
73 -
 74
74 -
 75
75 -
 76
76 -
 77
77 -
 78
78 -
 79
79 -
 80
80 -
 81
81 -
 82
82 -
 83
83 -
 84
84 -
 85
85 -
 86
86 -
 87
87 -
 88
88 -
 89
89 -
 90
90 -
 91
91 -
 92
92 -
 93
93 -
 94
94 -
 95
95 -
 96
96 -
 97
97 -
 98
98 -
 99
99 -
 100
100 -
 101
101 -
 102
102 -
 103
103 -
 104
104 -
 105
105 -
 106
106 -
 107
107 -
 108
108 -
 109
109 -
 110
110 -
 111
111 -
 112
112 -
 113
113 -
 114
114 -
 115
115 -
 116
116 -
 117
117 -
 118
118 -
 119
119 -
 120
120 -
 121
121 -
 122
122 -
 123
123 -
 124
124 -
 125
125 -
 126
126 -
 127
127 -
 128
128 -
 129
129 -
 130
130 -
 131
131 -
 132
132 -
 133
133 -
 134
134 -
 135
135 -
 136
136 -
 137
137 -
 138
138 -
 139
139 -
 140
140 -
 141
141 -
 142
142 -
 143
143 -
 144
144 -
 145
145 -
 146
146 -
 147
147 -
 148
148 -
 149
149 -
 150
150 -
 151
151 -
 152
152 -
 153
153 -
 154
154 -
 155
155 -
 156
156 -
 157
157 -
 158
158 -
 159
159 -
 160
160 -
 161
161 -
 162
162 -
 163
163 -
 164
164 -
 165
165 -
 166
166 -
 167
167 -
 168
168 -
 169
169 -
 170
170 -
 171
171 -
 172
172
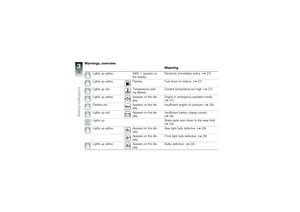
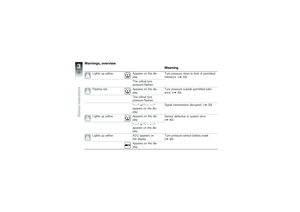
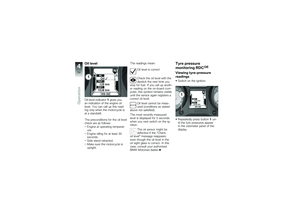
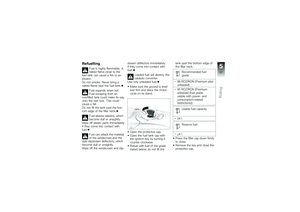
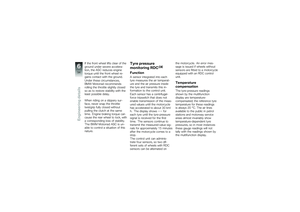
 Tyre-pressure rangesThe RDC control unit differenti-
ates between three air-pressure
ranges, all of which are paramet-
erised for the motorcycle:Air pressure within permitted
tolerance.
Air pressure c")
 696zEngineering details")
 Accessories
General instructions .................. 98
Power socket . ....................... 98
Luggage . ............................ 99
Case ............................... 100
Topcase")
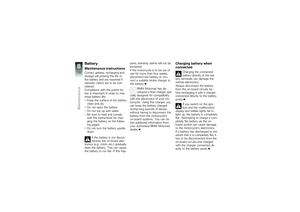
 General instructionsBMW Motorrad recommends
the use of parts and accessories
for your motorcycle that are ap-
proved by BMW for this purpose.
Genuine BMW parts and ac-
cessories and other products
whi")
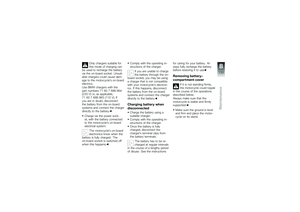
 the on-board power supply sys-
tem is minimised, the supply to
the power socket is cut off ap-
proximately 15 minutes after the
ignition is switched off, and it is
also temporarily interrupted dur-
in")
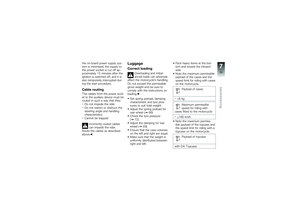
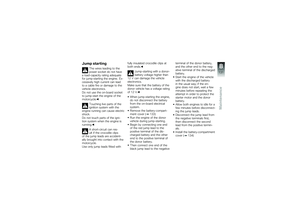
 Payload of topcase
5kg Payload of topcase
with OA Large topcase: 10 kg
Maximum permissible
speed for riding with top-
case fitted to the motorcycle
with OA Topcase:
180 km/h
Note the maximum permissib")
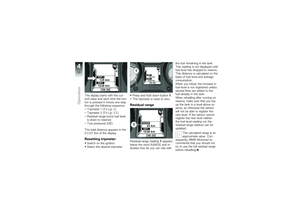
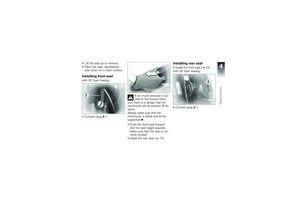
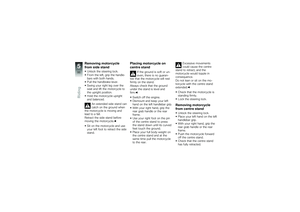
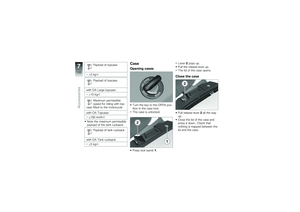
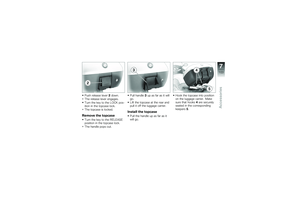
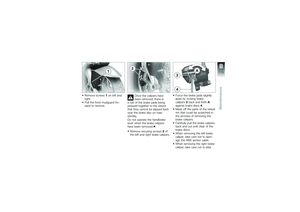
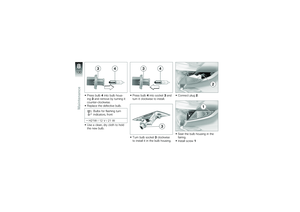
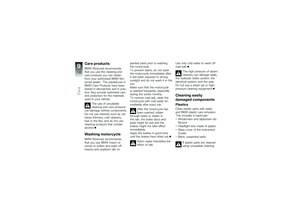
 Push release lever2down.
The release lever engages.
Turn the key to the LOCK pos-
ition in the case lock.
The case is closed.
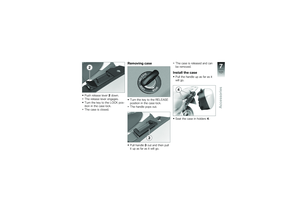
Removing caseTurn the key to the RELEASE
position in the case lock.
The ha")
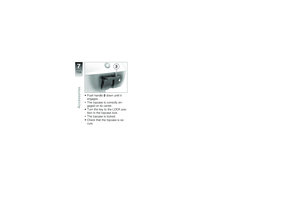
 Push handle3down until it
engages.
The case is correctly engaged
on its holders.
Turn the key to the LOCK pos-
ition in the case lock.
The case is closed.
Check that the case is secure.
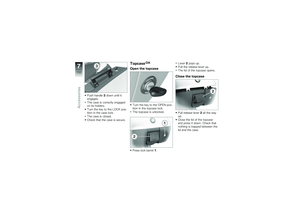
Topcase
OA
Ope")